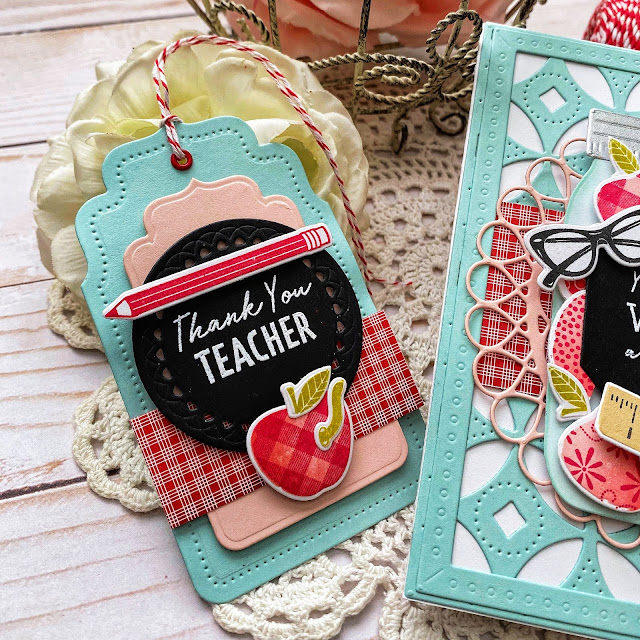
Welcome back for day 2 of the Papertrey Ink March release countdown! Even though it seems faraway, I know that the end of the school year and Teacher Appreciation Week will be here before we know it! With 3 kids in Elementary School I will be needing a lot of teacher thank you cards and gifts! The two new sets that will be showcased today are the Treasured Teacher and Treasured Teacher: Apple Prints stamp/die set.
I knew these cute new sets would work perfectly to accent the fabulous Go-To Gift Card Holder: Pencil Die. I had so much fun putting this together using some of my favorites!
As you can see, once you pull the eraser portion from the main portion of the pencil, it reveals a gift card!
The gingham apple and the floral apple are both from the new Treasured Teacher: Apple Prints stamp set, but the rest of the stamped images, including the stem, are from the Treasured Teacher stamp set.
My next project for today uses ALL of the apples from both the Treasured Teacher: Apple Prints stamp set as well as the apple from the Treasured Teacher stamp set. I inked up each apple using the solid apple image using Sweet Blush ink with a bit of Berry Sorbet ink. I added it in different places on the apples since I knew I would be putting them in the JAR.
I heat embossed the sentiment in white on black cardstock for a chalkboard look. I tucked the stems here and there as seemed fitting.
I'm OBSESSED with this new Cover Plate: Decorative Circles die! As soon as I cut it out of Aqua Mist cardstock, I thought it looked like a quilt. I couldn't get that idea out of my head, so my last card for today uses it in a quilt-like way.
I couldn't resist creating a coordinating tag, especially to feature the darling worm emerging from the gingham apple! So cute!!!
Next up is an artsy card to showcase a few of the fun coloring tools included in the new Treasured Teacher stamp set; like the crayons and the paintbrushes!
I did some quick watercoloring on a panel of watercolor paper and let it dry. Once it was dry, I added the sentiment stamped in black.
From there, I simply added a few of the stamped pieces arranging them with foam squares. I spritzed the entire panel with shimmer spray and finished it off with a trio of sequins. The watercolor panel is adhered to a Soft Stone card base using foam squares.
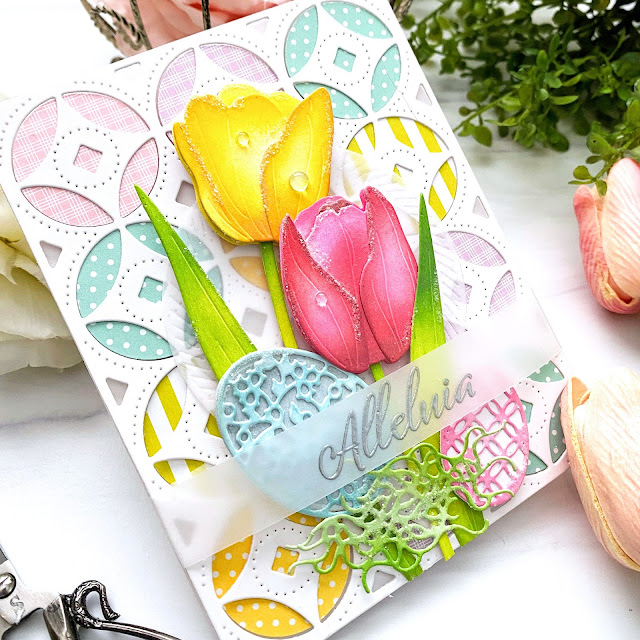
And last, but not least, is my "quilt" card! This was such a fun and easy background to create and would be perfect for a baby card, seasonal cards, etc.
I used a 1 1/4 inch circle punch to cut the 5 different colors of Bitty Big paper. I chose to use the smallest of each of the patterns to keep the scale right for the project.
The entire panel uses 12 circles and the punch made it so quick and easy to get everything cut. I turned the Cover Plate over and added glue to the where the center of each circle would be {you can see the smaller pierced circle and diamond in the center}. From there, I simply placed the punched circles over the glue, making certain to have the pattern that I wanted to show go on facing the right direction. You will be working backwards since it is turned on the wrong side. Hopefully that makes sense.
It didn't matter where I placed the polka dot patterns, but I paid special attention to make sure the plaid and striped patterns were straight.
I thought this background would make a beautiful Easter card, so I colored a few more tulips and leaves and added in a few Elegant Eggs.
I think I may need to apologize up front for how many "quilt" cards you may be seeing in the future! ha ha! Thanks for fluttering by!


5 comments:
All of your cards are gorgeous Kelly!
All your cards are beautiful and so colorful! I like the way you made the backgrounds for each card too. Lots of detail!
Beautiful cards with great details.
Crazy good projects! LOVE that gift card pencil and all the ways you have embellished it!
Thank you so much 😊
Post a Comment