Wednesday, November 30, 2022

Please Deliver To Santa {A collection of holiday greetings}

Hello, friends! I hope you all had a fabulous Thanksgiving weekend and that your new week is off to a great start! We got a fabulous snow storm bringing a delightful blanket of snow; just perfect to cover the leaves I neglected to rake! ha ha!  I spent the relaxing weekend working on a collection of Christmas cards that I'm excited to share with you today! 

I ordered a bunch of delightful things from Spellbinders Paper Arts and they've been waiting patiently for me to use them! I always love a postal theme, no matter the season, but add in vintage Santa.....I just can't resist! I have three additional cards I'm sharing below without Santa, but he just HAD to make his way onto one!

Each of the 4 cards feature the darling Parcel & Post Mailbox Etched Dies paired with the Christmas Mailbox Greetings Glimmer Hot Foil Plates. I also bought the All-Occasion Mailbox Greetings Glimmer Hot Foil Plates because one of my favorite "Santa" designs is included AND I want to use the mailbox for all-occasion cards as well.


To begin, I die cut the main mailbox, the side panel, and the door from Pure Poppy cardstock. I added some Scarlet Jewel ink blending around some of the edges to give the illusion of depth, without using different colors of cardstock. I also did all of the hot-foiling for the main sentiments on the mailboxes using the gold foil included in this 4 pack. I actually use all of the colors from this set year-round, so it's perfect to keep on hand!

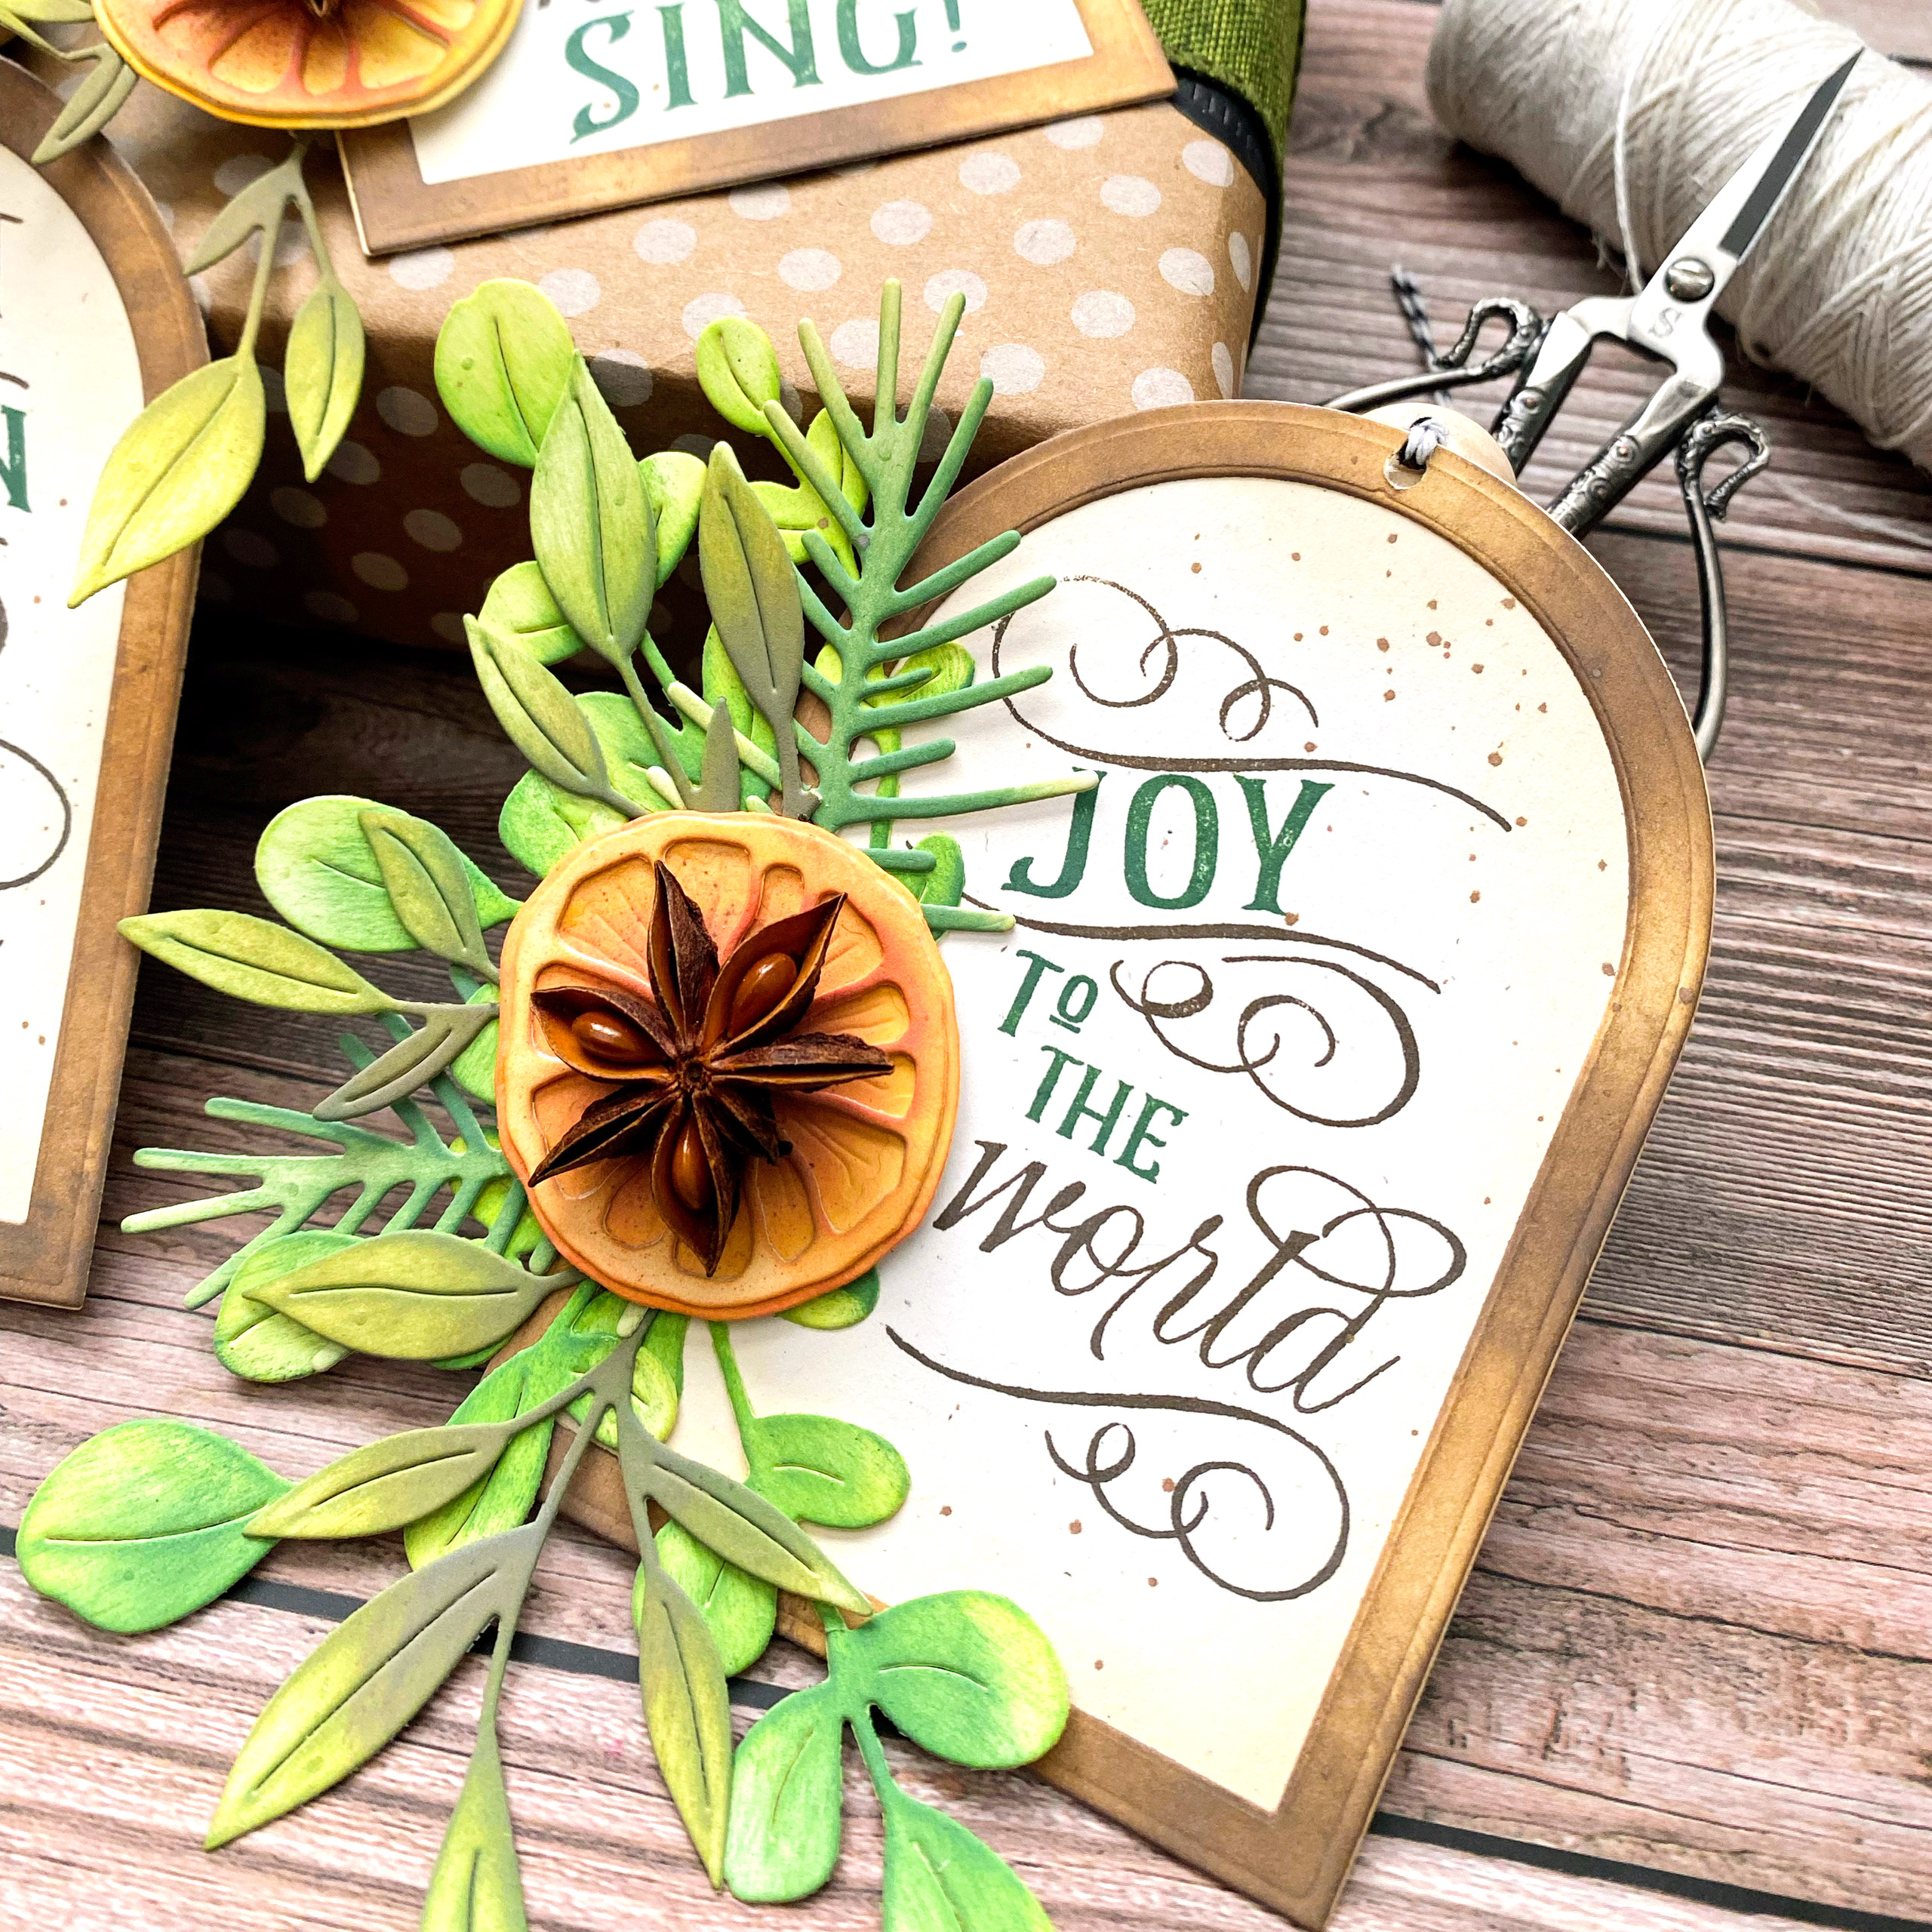
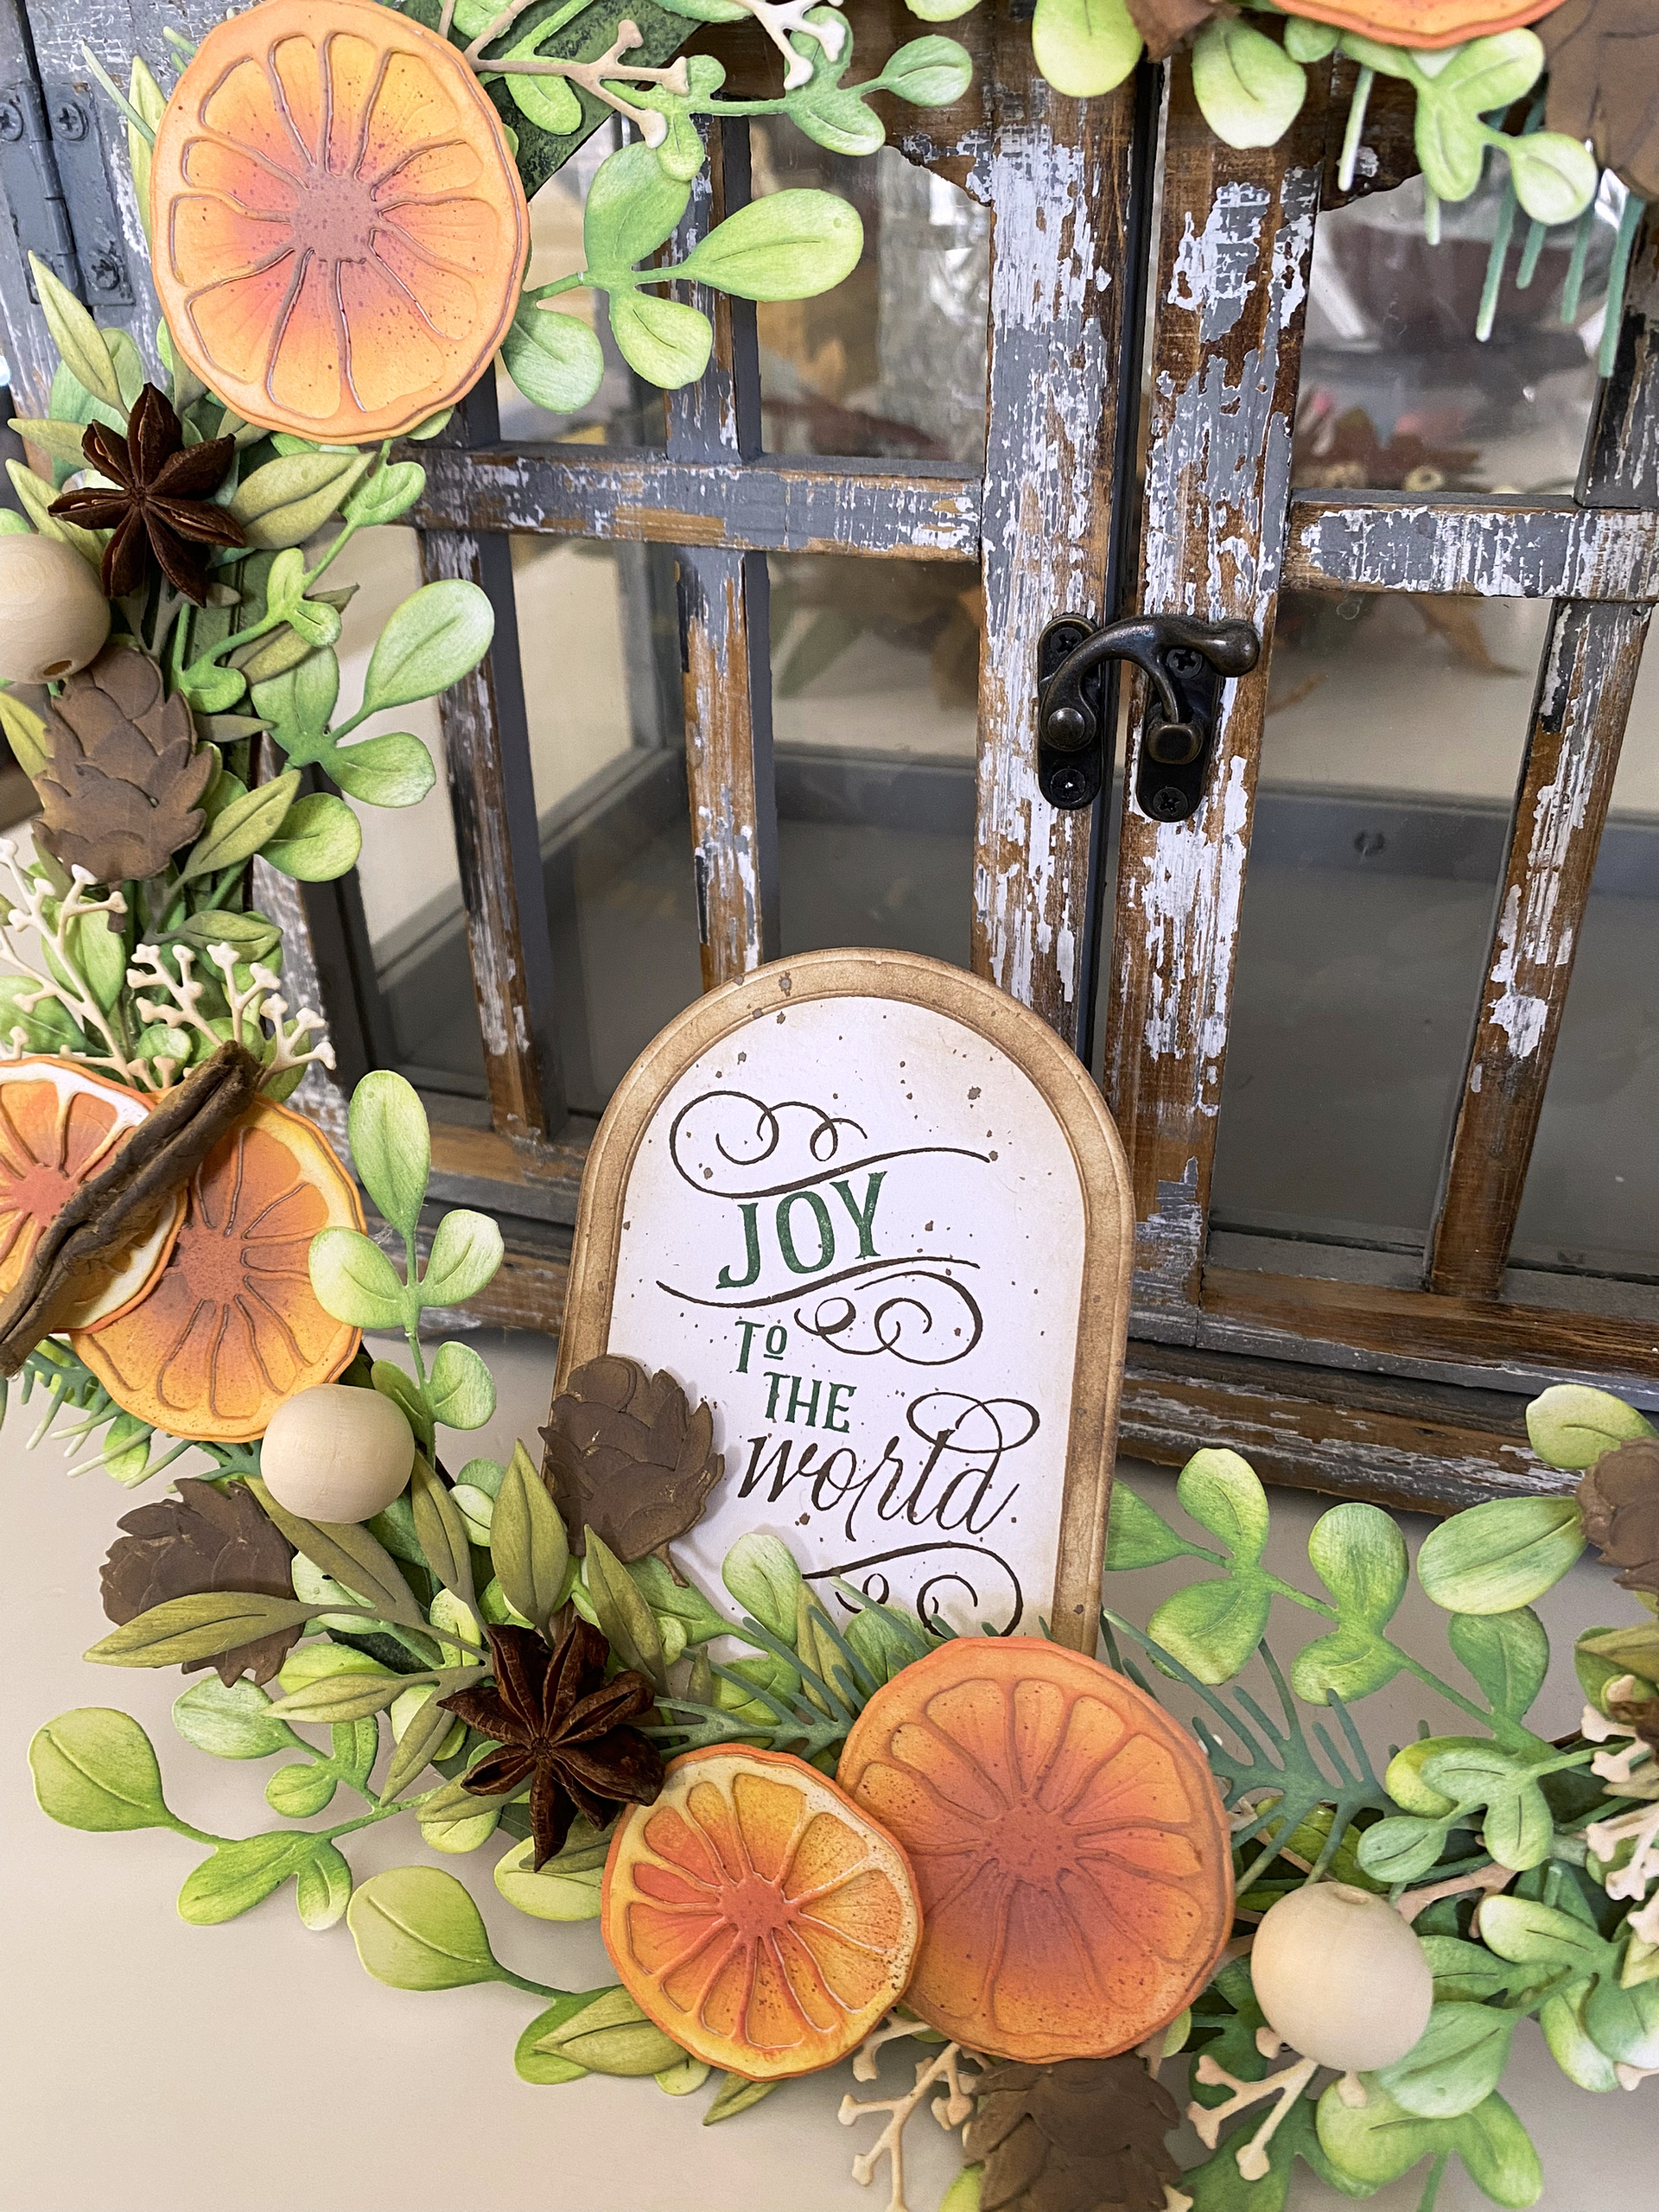
The mailbox dies come with the rectangle so you can die cut the foiled sentiments and they fit perfectly on the front of the mailbox. I didn't use foam squares on this particular card, but for the rest of the cards, I foam mounted the sentiments for added dimension. I used foliage that's included with the mailbox AND a few sprigs from the Winter Welcome Sled dies (I'm sharing a trio of cards using that set later in today's post).

I ended up finding some beautiful pre-made poinsettia embellishments at Hobby Lobby a few weeks ago that made their way into my cart; they're absolutely perfect for these cards! All 4 of the backgrounds were dry embossed using the beautiful Ski Lodge Embossing Folder; I chose Aqua Mist, White, and Pinefeather.

The cute little envelope dies are also part of the mailbox die set and they are just the cutest thing ever! I made some white and some two-toned red; Scarlet Jewel and Pure Poppy. The sentiment strips at the bottom of each card feature the Mini Christmas Sentiments Hot Foil Plates. These little guys were giving me all sorts of fits until I did some adjusting; I raised the temperature to medium, put the sentiments in the middle of the platform, timed them for 18 seconds and added a cardstock shim! voila! perfect! The set also comes with a handy-dandy die to cut them out perfectly once they've been foiled!

My next series of cards uses the ADORABLE Winter Welcome Sled that I'm obsessed with! One of my favorite sets of ALL TIME is the Two Feet Deep Stamp Set, so it's natural that I would fall in love with this sled, too! I actually can't wait to combine the two because the sentiments in the Two Feet Deep set are so fabulous!

I chose to use some pretty pattern paper that I bought HERE; it's double-sided so the main panel is one side and then I used the opposite side for another card I'm sharing next. The striped paper is from a SU! pack I've had for quite a few years.

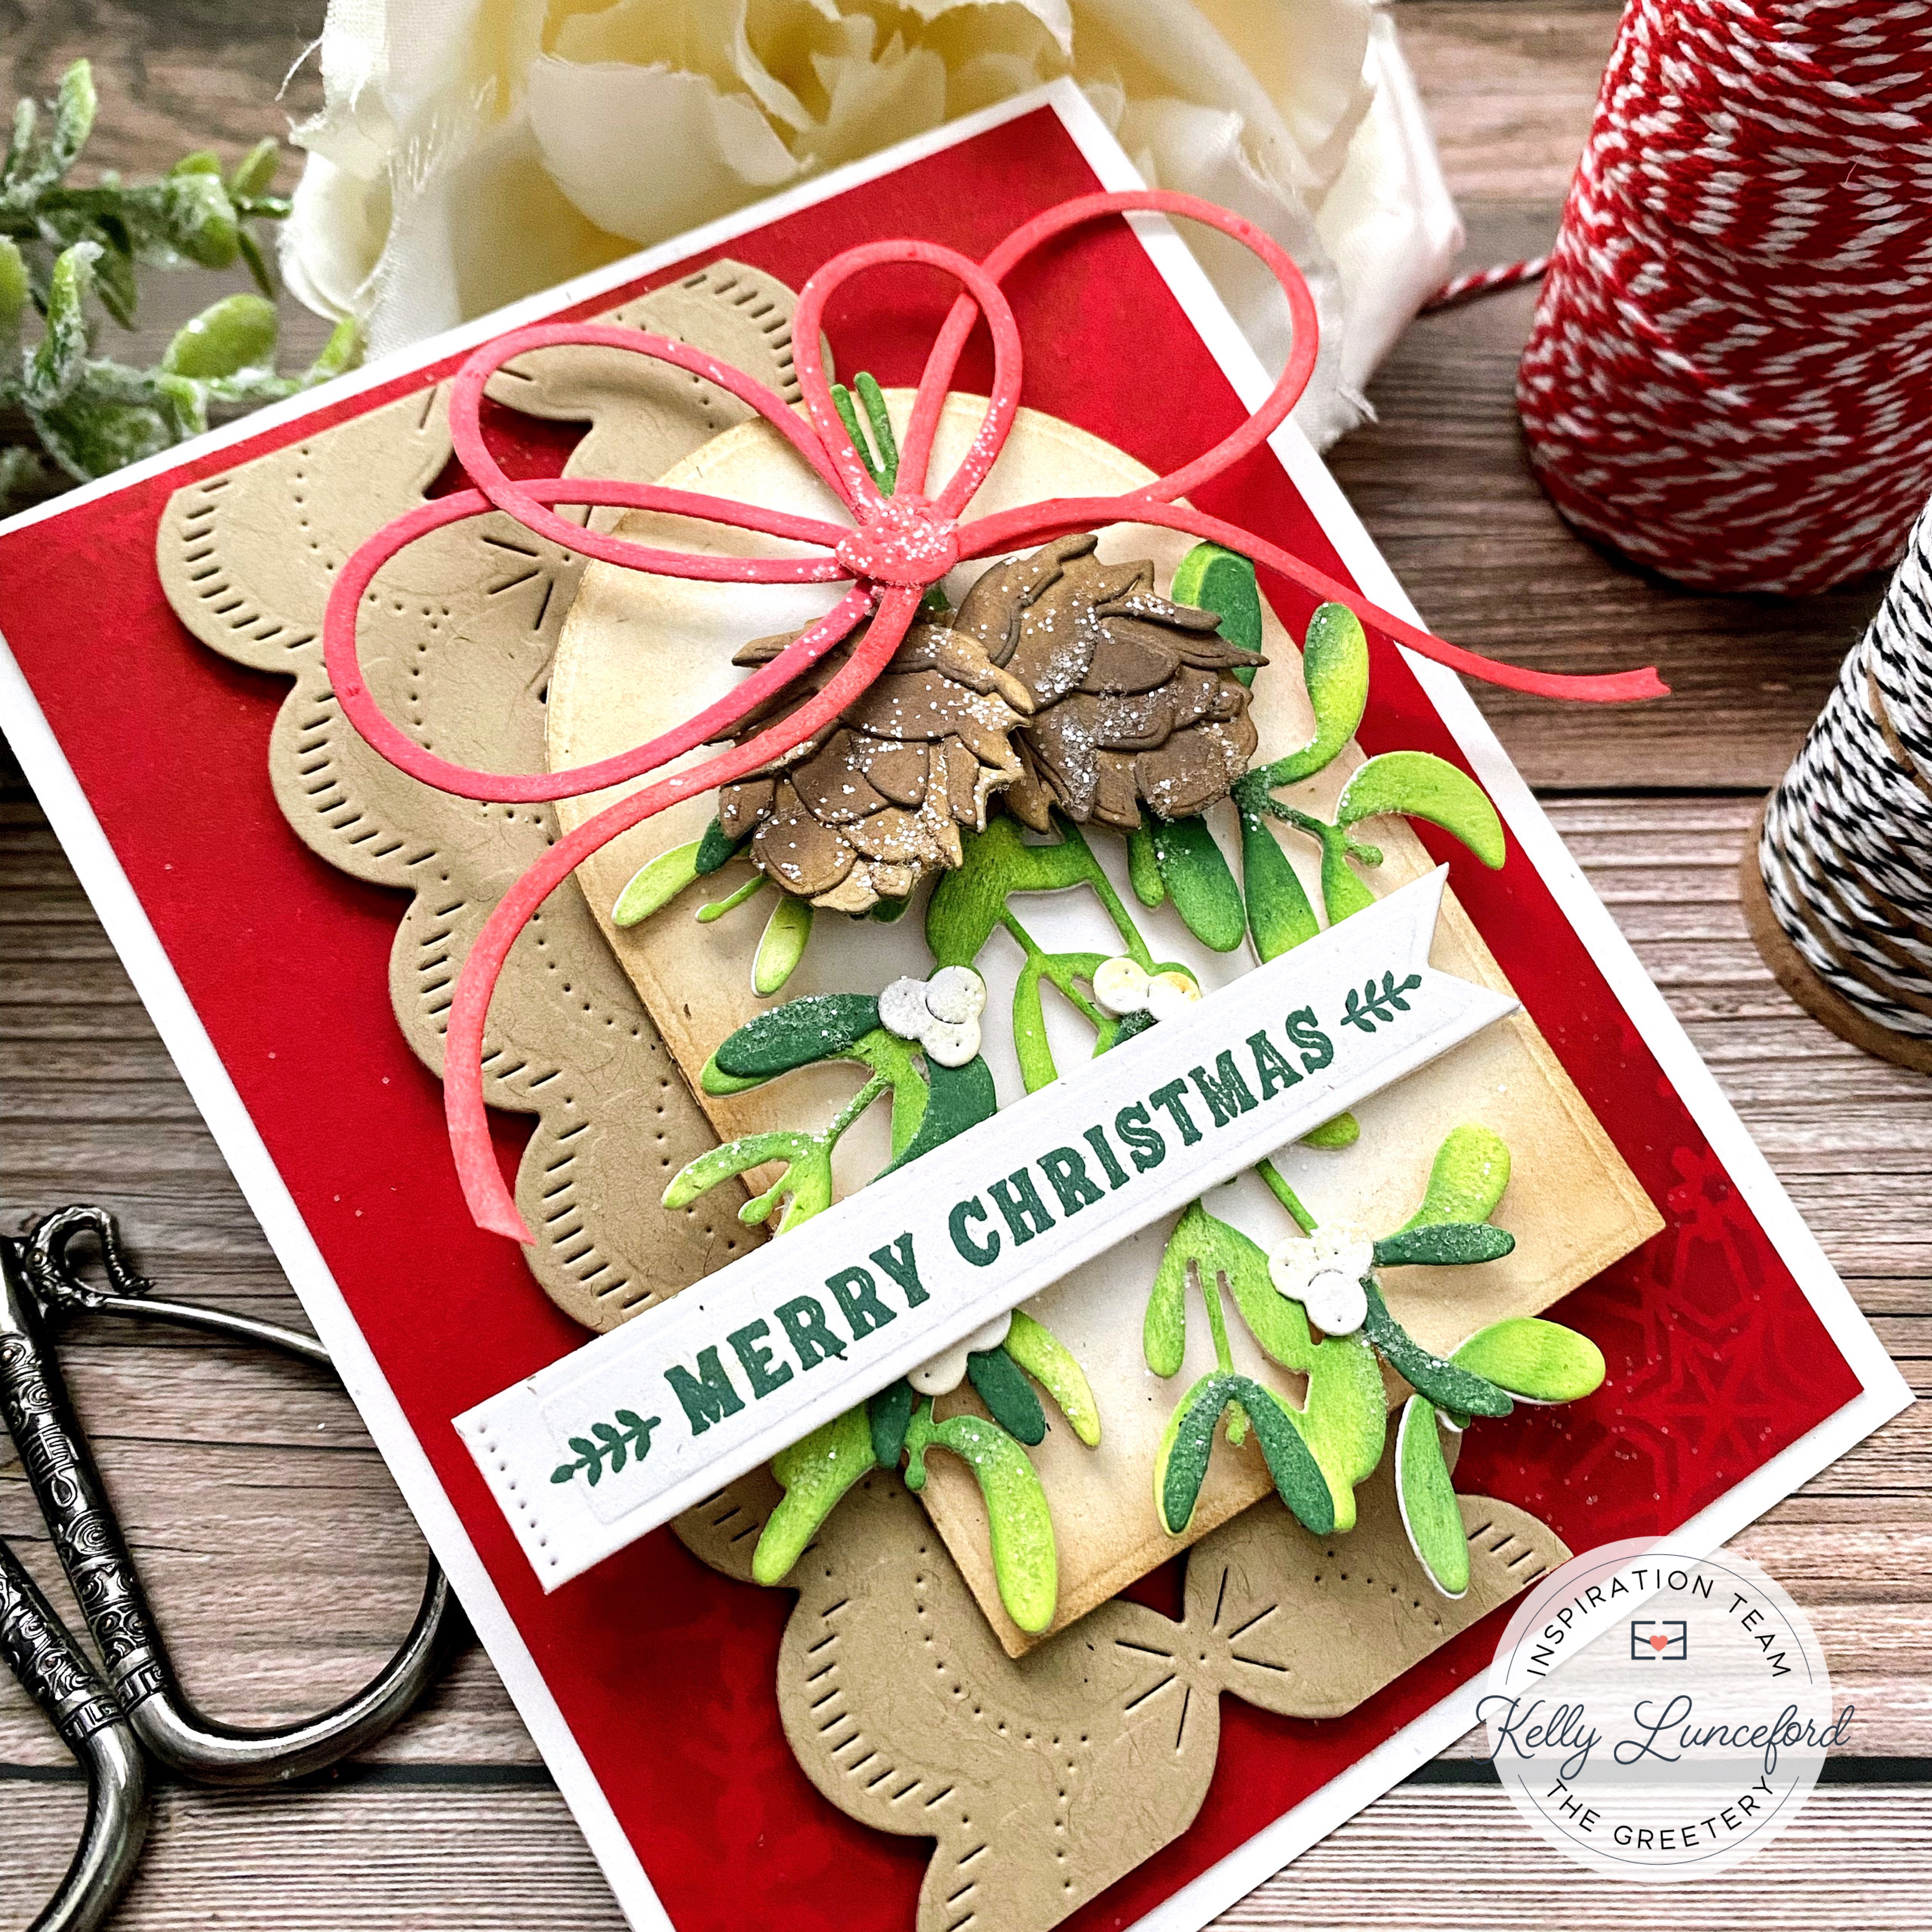
I fell in love with the sled cards that Yana made last year and she used the sentiment on one of the planks, so I used her cute idea! 

I used the same foliage for the sled cards as I did for the mailbox cards. Once again, the poinsettia embellishments are pre-made and easy peasy!

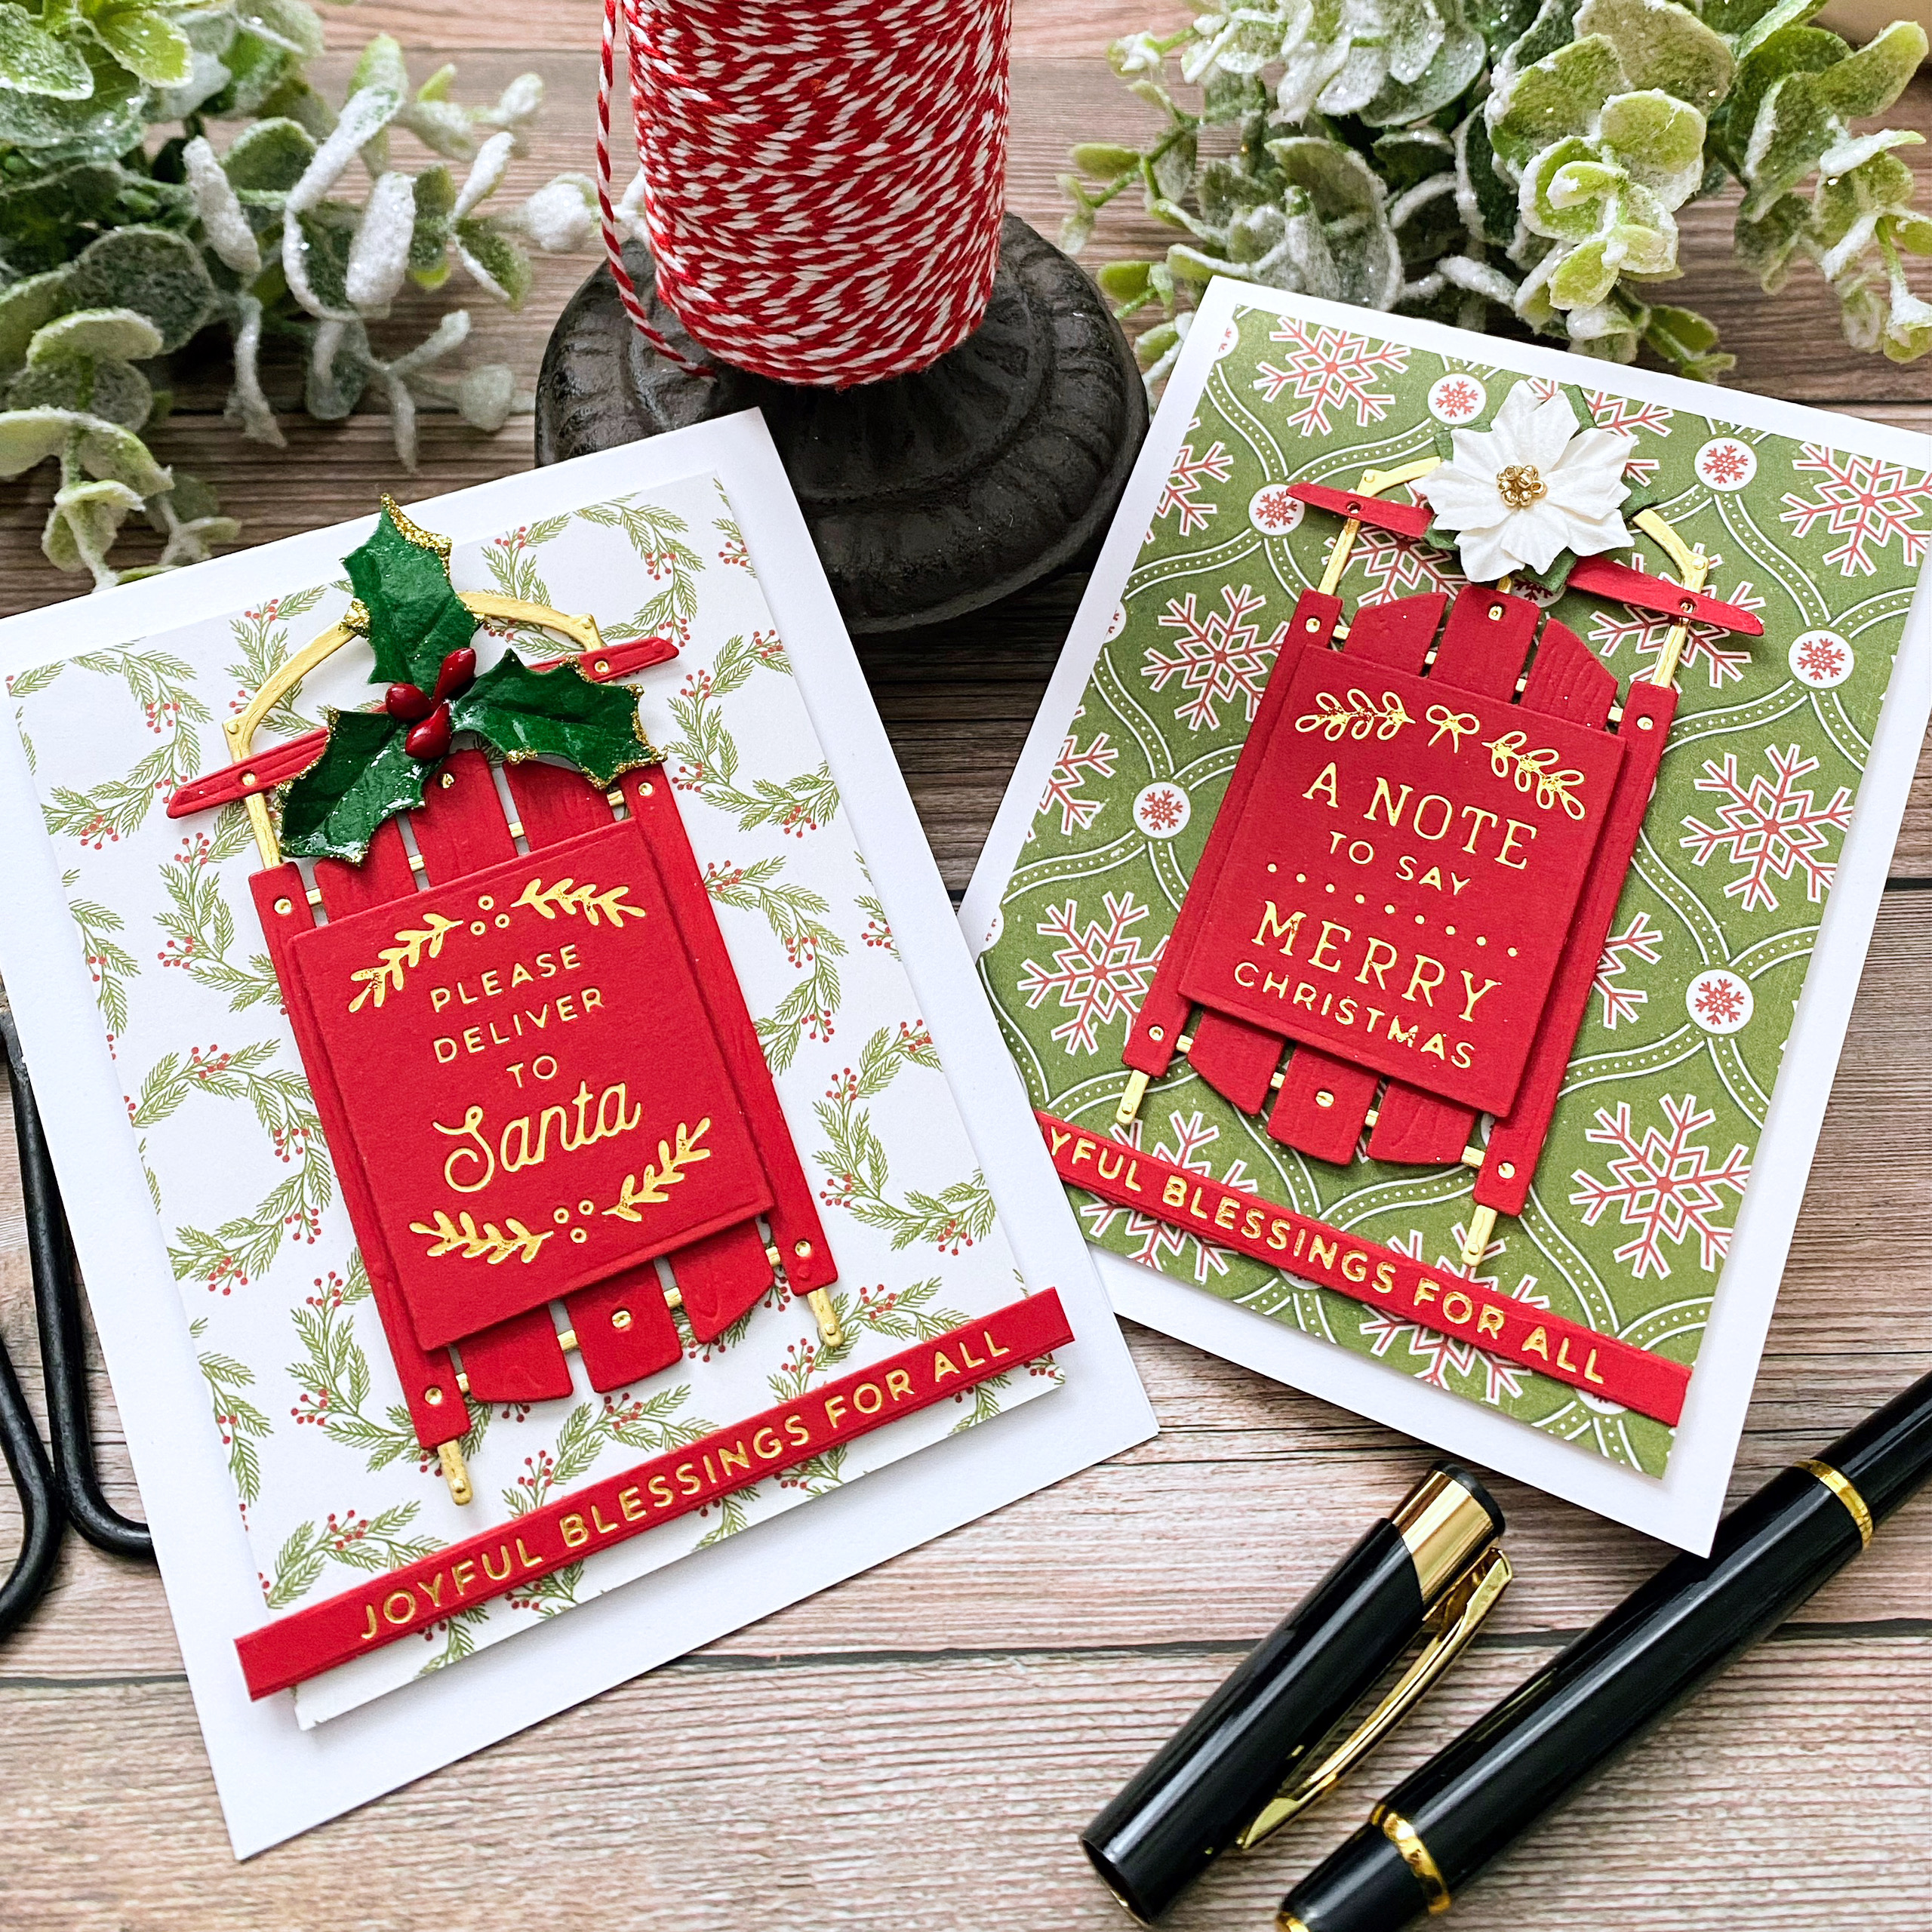
My final pair of cards are on the CAS side, but I love that look! I love making cards that look like they came from Papyrus or somewhere like that! The hot foil really elevates them so you don't have to do a lot, if you don't want to! As I mentioned earlier, this is double-sided paper and these are two designs from one sheet. I absolutely love both of them for these cards.

I had some extra sentiments left over from my mailbox cards so I chose to use them with the sleds. I was hoping they would still look like sleds with the large sentiment, but I love how they turned out. This sprig of holly is also from  Hobby Lobby; I'm addicted to their holiday crafting section!

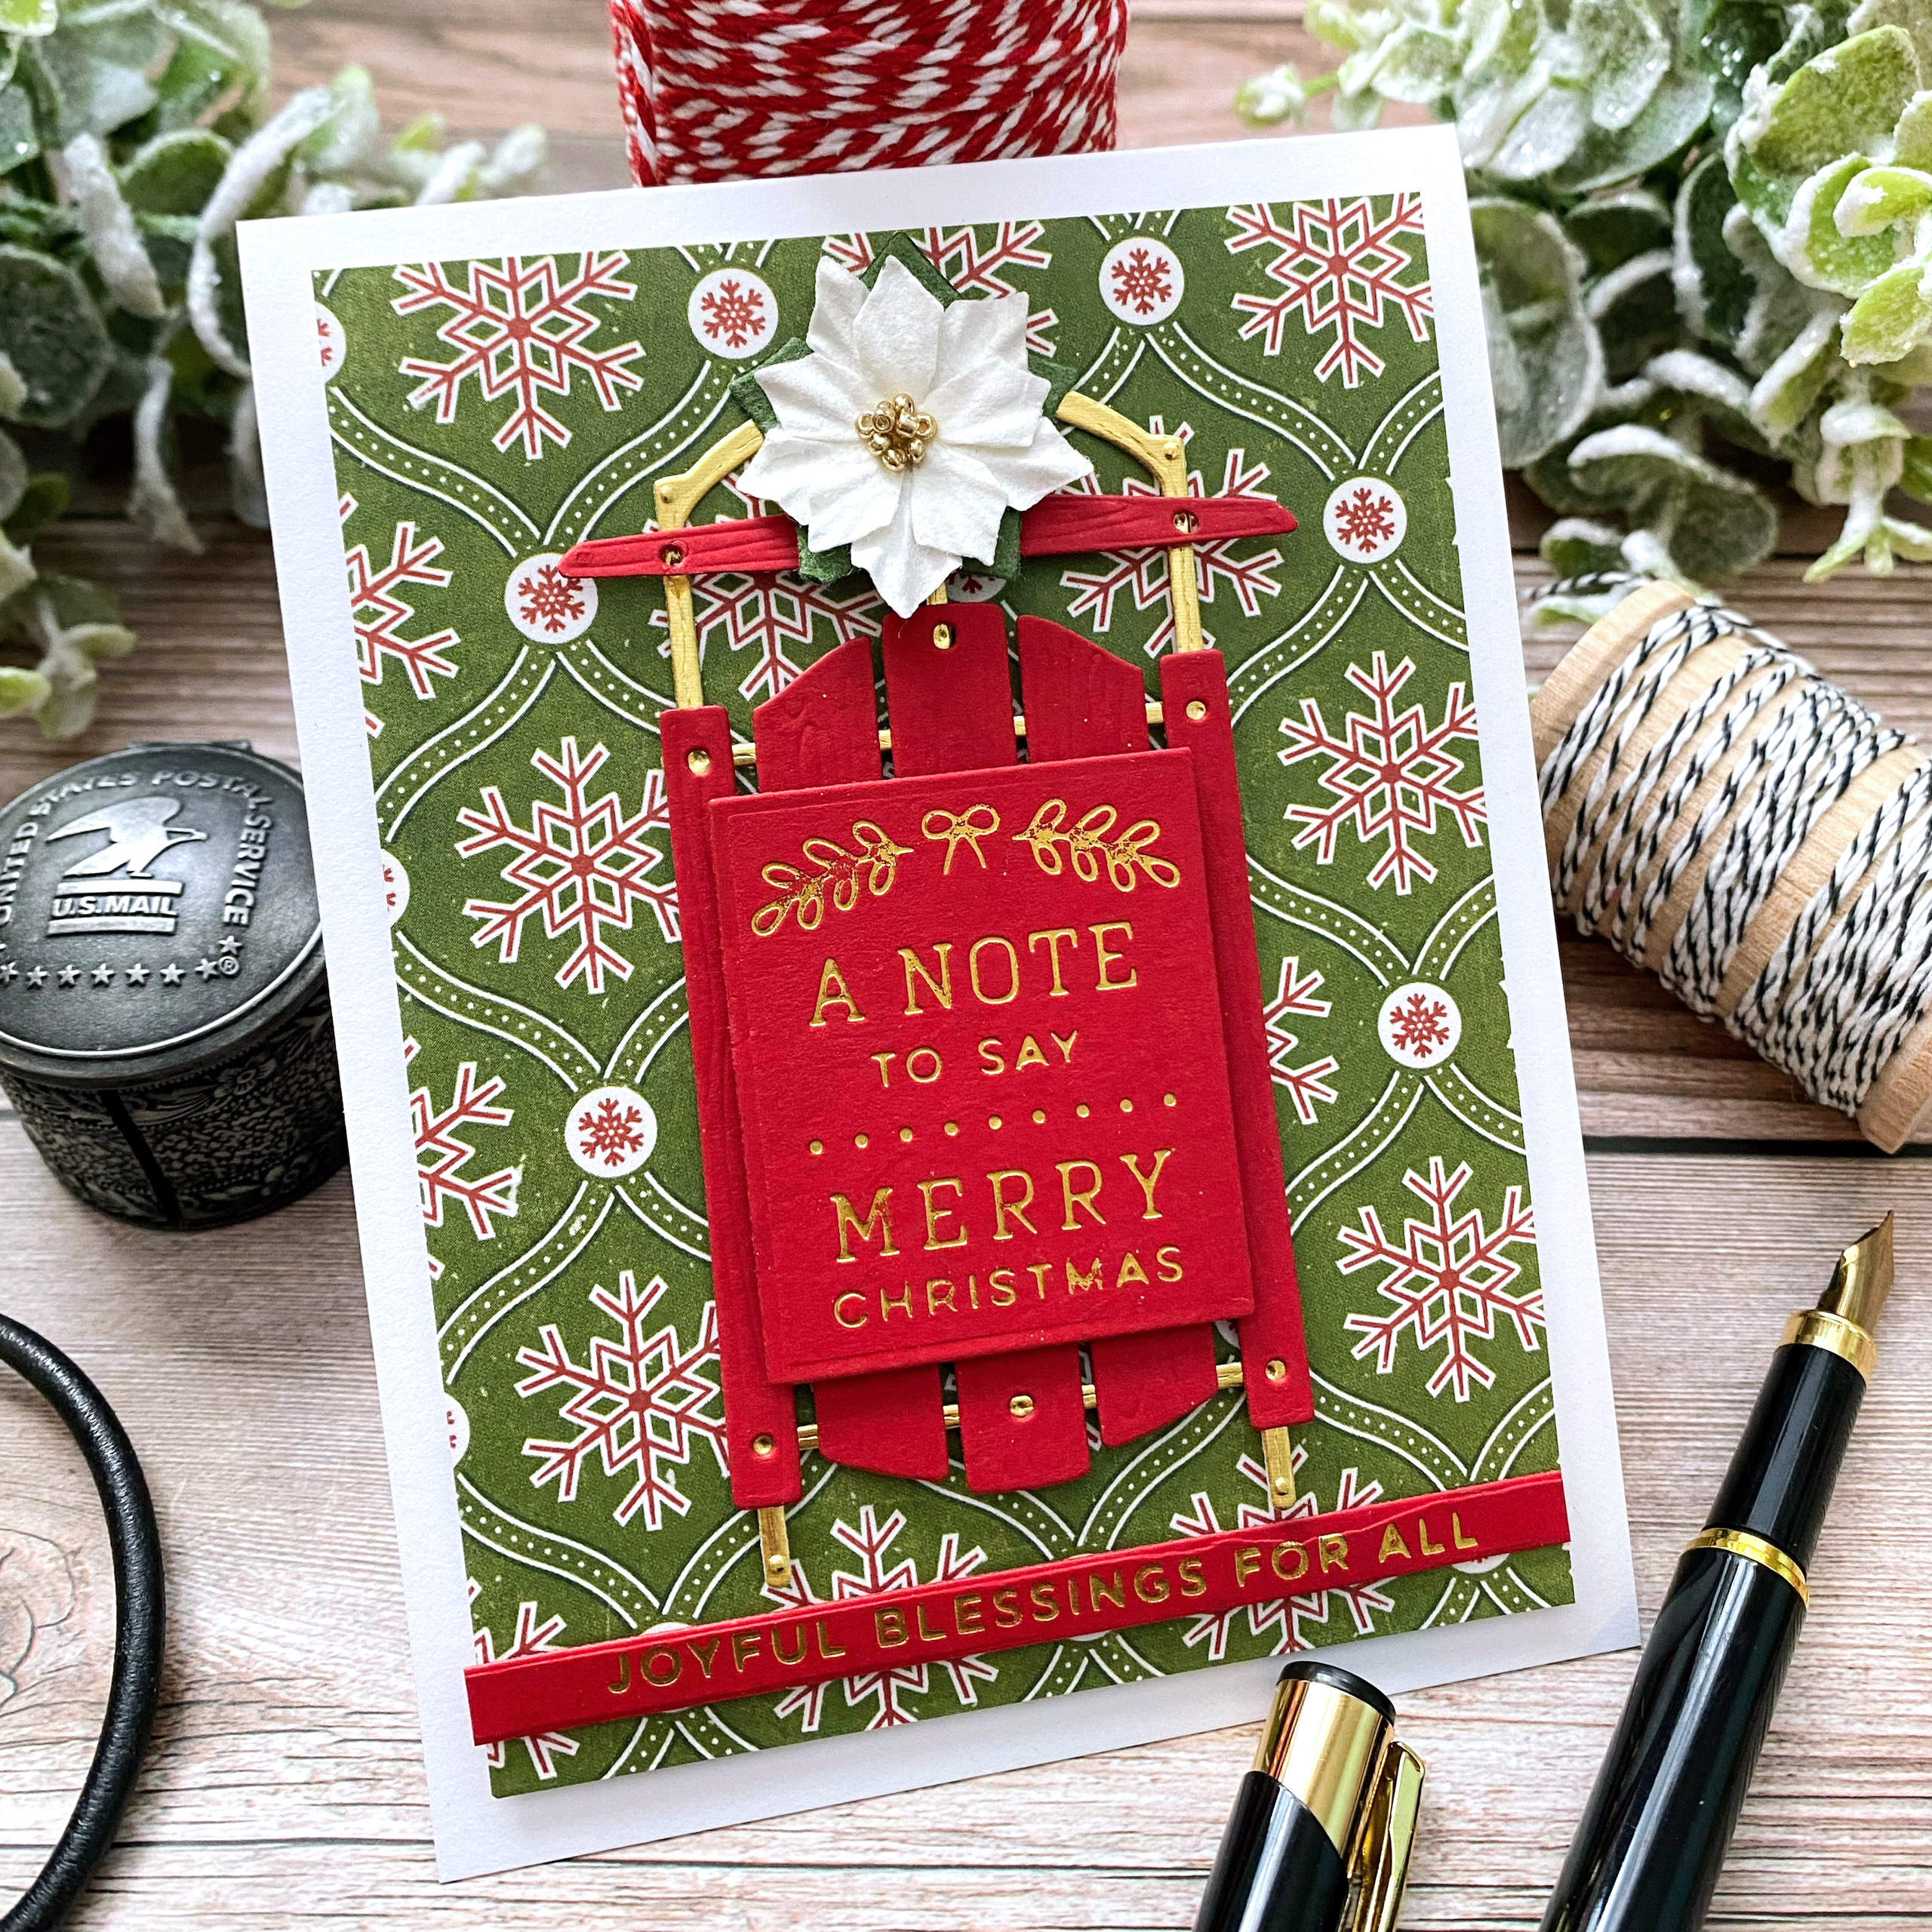
Each of the bases for the sled were die cut using the beautiful Mirror Gold Cardstock; I also die cut many of the elements on the mailbox cards using this same cardstock. It cuts like a dream and is the perfect holiday touch!


I had so much fun creating all of these cards using these amazing products! I didn't want to stop! Thanks for fluttering by!


Tuesday, November 22, 2022

The Greetery {All Wrapped Up Collection Release Day} plus a SALE!!


Welcome, friends! It's release day for the All Wrapped Up Collection from The Greetery! Thank you so much for all of your sweet comments on yesterday's post! I'm sharing a few new projects today using this fabulous new collection, but before I get started, I wanted to announce some fun news!
The Greetery is having their "Thankful For You SALE"! Yay! The ENTIRE store will be 15 % off, including the new collection. There is also an additional 15 % off of select holiday products that you can find HERE!!!! You can read the graphic for dates and details!

My bonus post for today includes a new card and two new tags! There are STILL  few things I haven't had a chance to use, but one that I was dying to use is the cute "to/from" tag die! I just love how easy it is to use!

Even after making my wreath, I still had a few Big Branches left over so I decided to use them on a card. I decided to use the new Tagged Elegance for the sentiment to create a winter themed card.

This tag features the new Banner Gift Tag and the new Crimped Circle Tags dies; these are a match made in heaven! I die cut the largest Crimped Circle Tag from Weathervane cardstock and then die cut the Banner Gift Tag from both Rustic White and Weathervane cardstock. I originally thought I'd use some of the Weathervane pieces over the top of the white portion, but in the end, I liked it all white. With that, I decided to just layer the white portion on top of the gray portion to make the piece more sturdy.

I love how Betsy tucked some of the foliage from the Winter Medley Die, so I added some to my tag as well; I chose to color them the same as the foliage on the card. I couldn't resist adding a snowflake from the Frosty Corners Die, a star anise piece, and glitter!

I also loved how Betsy used the new Ribbon Maker Large Scallop die horizontally on a few of her cards for a striking background so I thought I'd give that a try. I used one vertically on yesterday's card, which I also love!

I chose Weathervane cardstock for the background and the large scallops; I always love tone-on-tone backgrounds. I die cut two and then added them to the card using foam squares. I used a T-square ruler and a pencil to draw some light pencil lines so I could get them straight; my first attempt without guide lines didn't work out so well! ha ha!

I also had an arch left over from one of my tag projects yesterday so I put it to good use as the grounding piece for the foliage. I added some stenciled snowflakes using the Frosty Flakes Stencil to the arch AND the sentiment circle.

I tore off the bottom portion of each of the branches to make them smaller, but I ended up using the leftover sprigs here and there to fill out the arrangement. I used foam squares and liquid glue and then added the smaller Ribbon Maker Scallop die cut over the top. I chose the "Winter Wishes" sentiment from the new Tagged Elegance stamp set for this card. I stamped it in black on the stenciled circle (this circle is the middle portion from the Roundabout Winter Foliage die)

The sentiment is also added with a foam square for even more dimension; this particular card will not be able to be mailed in a regular envelope because of the dimension AND the Star Anise. Since we're on the subject of envelopes; I decided to gussy this one up using the Flappable Stencil to keep with the wintry theme!

I layered the entire Weathervane panel onto a top-folding A2 card base cut from Rustic White cardstock using liquid glue. I added a hemp bow around the card and tied it in a bow and glued a Star Anise piece over the top.

My third tag is very simple, but will be perfect on a package wrapped with a busier pattern. This one features the Roundabout Winter Foliage die layered just twice with the sentiment stamped directly in the middle using black ink. I added a bead to the top of both tags, tying them up with hemp cord. I had so much fun using this beautiful new release! The entire collection will be available for purchase at 10 AM  ET! Thanks for fluttering by!


Monday, November 21, 2022

The Greetery {All Wrapped Up Collection}


Hello and welcome, friends! It's time for full reveals for the All Wrapped Up Collection from The Greetery! I've been busy as a little bee crafting and creating up a storm using all of these fabulous new products! I mentioned a few weeks ago that I haven't made a single Christmas tag yet this year! Well, with this new collection, that has definitely changed! I had so much fun using almost everything from the new collection to create tags and more! Before I dive into the details of my projects, don't forget to head to The Greetery Blog for the official meet and greet! Also, leave a comment here, and on every designers' blogs for a chance to win one of two $50 gift certificates to The Greetery shop!

Up first is a trio of rustic, woodsy tags using the new Citrus Slices dies and an assortment of foliage and greenery from the new Big Branches series of dies; Ruscus, Eucalyptus, Baby's Breath, and Pine. I'm seriously in love and had a ball inking up all of the different branches to tuck behind my orange slices!

These tags will be the perfect addition to all of the packages that will go under my family room tree. There's a few things to point out in this photo; first, the black scalloped detail on the actual gift tucked under the ribbon. That is part of the Ribbon Maker series that you are going to fall head-over-heels in love with! I'm beyond obsessed! I used this same die for another project coming up so you an see the detail a little bit better; I covered most of it up on this package. Next, each tag uses the A2 Arches Die and the previously released Heaven & Nature Sing Stamp Set. I thought all of the nature-inspired foliage and elements really enhanced this beautiful sentiment!

I rummaged around in my spice cabinet to find my tin of cinnamon sticks to discover that I only had one stick left! What? I sent both my husband and daughter to the store only for them to return empty handed! ack! My husband DID find the star anise that is just so darn cute on these tags, so that was a plus! Anyway, the one lone cinnamon stick made its way onto the tag and then I got crafty and creative and made my own cinnamon sticks for a project later on! I had loads of fun sending my husband photos asking him if it was a real or fake cinnamon stick! ha ha! I did have him fooled!

I found that the best looking citrus slices were achieved by layering two of the top die over the top of the base to give it some height and added realism. 


Isn't the star anise just the cutest? I'm a black licorice lover so the aroma in my craft area is just sublime now! Since I had so much fun making the cinnamon sticks, my next goal is to see what I can do to make my own star anise. My husband was balking at the cost of one little jar! ha ha!

Each tag was threaded with black baker's twine and a wooden bead for added detail and charm. One of my paper cinnamon sticks made its way into this photo! ha ha!

My  next project is another collection of tags using the cutest new Winter Foliage Roundabout die! I die cut it four times for each tag for a fuller appearance. Betsy has some absolutely incredible tags using just two. These can also be used to make votive rings; such a nod to my childhood. Every candle at Christmas had some foliage or berries around it!

The Winter Foliage Roundabout tag also features the new Tear Away Tags die and stamps set; such a cute concept! I actually made quite a collection of the tags and then never photographed them, but I'm sure plenty of the other designers used them as well. I simply used two tags glued together to give it the notched end on both sides and heat embossed the Merry Christmas sentiment. The Kraft and red tags also have a wooden bead at the top for added detail and charm!

The other four tags use the new sentiment set that's perfect for tags and cards alike. I used the center portion from the Winter Foliage die to stamp the sentiments. Both the red and Kraft tags both feature more of the ribbon maker dies; so, so, so much fun!

Since I've got a close-up on this one, you can see there is a red circular tag behind the foliage; this is a new tag die that comes with two different sizes of circle tags. I also used a piece of pattern paper for the center portion to give it added detail. The berries were colored using a marker, but then I also added some Christmas red Stickles for some added sparkle and shine.  I also gave both of the circular tags a spritz of shimmer spray because it's just so festive!

As you can see, I really did have A LOT of fun with the new Big Branches set of dies! I just couldn't stop......so I made a wreath! The large size of the foliage is just perfect for a home decor project like this! I flip-flopped on my ability to pull this off, but I seriously had so much fun putting this together!


I loved the look of the tags I made that I shared earlier that I decided to add another arch to the inner portion of the wreath.

I also added some pinecones that were die cut using the BotaniCuts Pine Bough Dies. Because I was making so many, I simply die cut everything from Kraft cardstock and then added some brown ink detailing.

This is why I needed so many cinnamon sticks! ha ha!  I actually made more than I ended up needing, so I'm sure quite a few new projects will feature paper cinnamon sticks!

Here it is hanging in my entry way from a shabby doorknob decor piece I've had for years. If you've been hanging around for awhile, it might look familiar because it's where I hang my banners that I used to make YEARS ago . This is the one that is currently hanging up! I still hang them up every season, every year. Anyway, it gives you a little bit of an idea scale wise how big the wreath is!


The base of the wreath was made using a ring of cardboard; I simply traced a wooden circle that I had on hand on a cardboard box and then used an exacto knife to cut it out. I painted it a dark green and then added a lighter green paint over the top. I wanted to camouflage the base as much as I could and then once it was dried I added the foliage. I used the Eucalyptus first, tucking in each new piece little bit behind the previous piece. Once the Eucalyptus was done, I added the Ruscus leaves, then the Baby's Breath, and finally, the Pine. From there, I added orange slices, pinecones, star anise, cinnamon stickes, and finally wooden beads here and there. The entire wreath is made of paper with the exception of the star anise!
And last, but not least, I made a card using even more fun new products from the collection! To say my mind is reeling with possibilities is an understatement! To begin this card, I used the Frosty Flakes Stencil around the perimeter of a 4 by 5 1/4 Pure Poppy panel using Scarlet Jewel ink. I actually used this same stencil on both the red and kraft tags I shared earlier, but forgot to mention it.

I die cut the new BotaniCuts Mistletoe from Rustic White cardstock and then colored it using Distress Oxide inks. I used the assembly guide to put it together. I also used the new Loopy Bow die to add to the top. I layered it all onto one of the leftover arches from my tag trio I shared earlier. I added some Vintage Photo ink around the edges for contrast.

The Kraft detail portion is die cut using the new Ribbon Maker Large Scallop die. This is what I showed earlier on the wrapped package that was peeking outside the ribbon. This shows you the beautiful detail that is just perfect for wrapping gifts, for tags, and here on a card! The Greetery is also offering paper ribbon rolls that make creating any length with ease. I can't wait until it's time to wrap presents; I haven't bought a single one! ha ha!

Anyway, I die cut if from Kraft and used it as an accent on my card. I layered the arched focal piece over the top and then added the Tear Away Tag across the top using foam squares. I had a few pinecones left over, so I added a pair below the loopy bow! A touch of glitter finishes it off! I hope you enjoyed today's post; everything will be available for purchase beginning tomorrow morning at 10 am ET. Thanks for fluttering by!
Kelly (you are here)