

Welcome to this week's Ink To Paper Saturday Showcase! I've been MIA the last few weeks because of vacation and travel, so it is good to be back sharing some fun new creations with you! This week a few of us are sharing some fun projects using the new Simply Sweet: Thanks stamp set that was just released last week! I had so much fun with it during the release when I made THIS {scroll down} card, but for today I wanted to use it in a more traditional way!
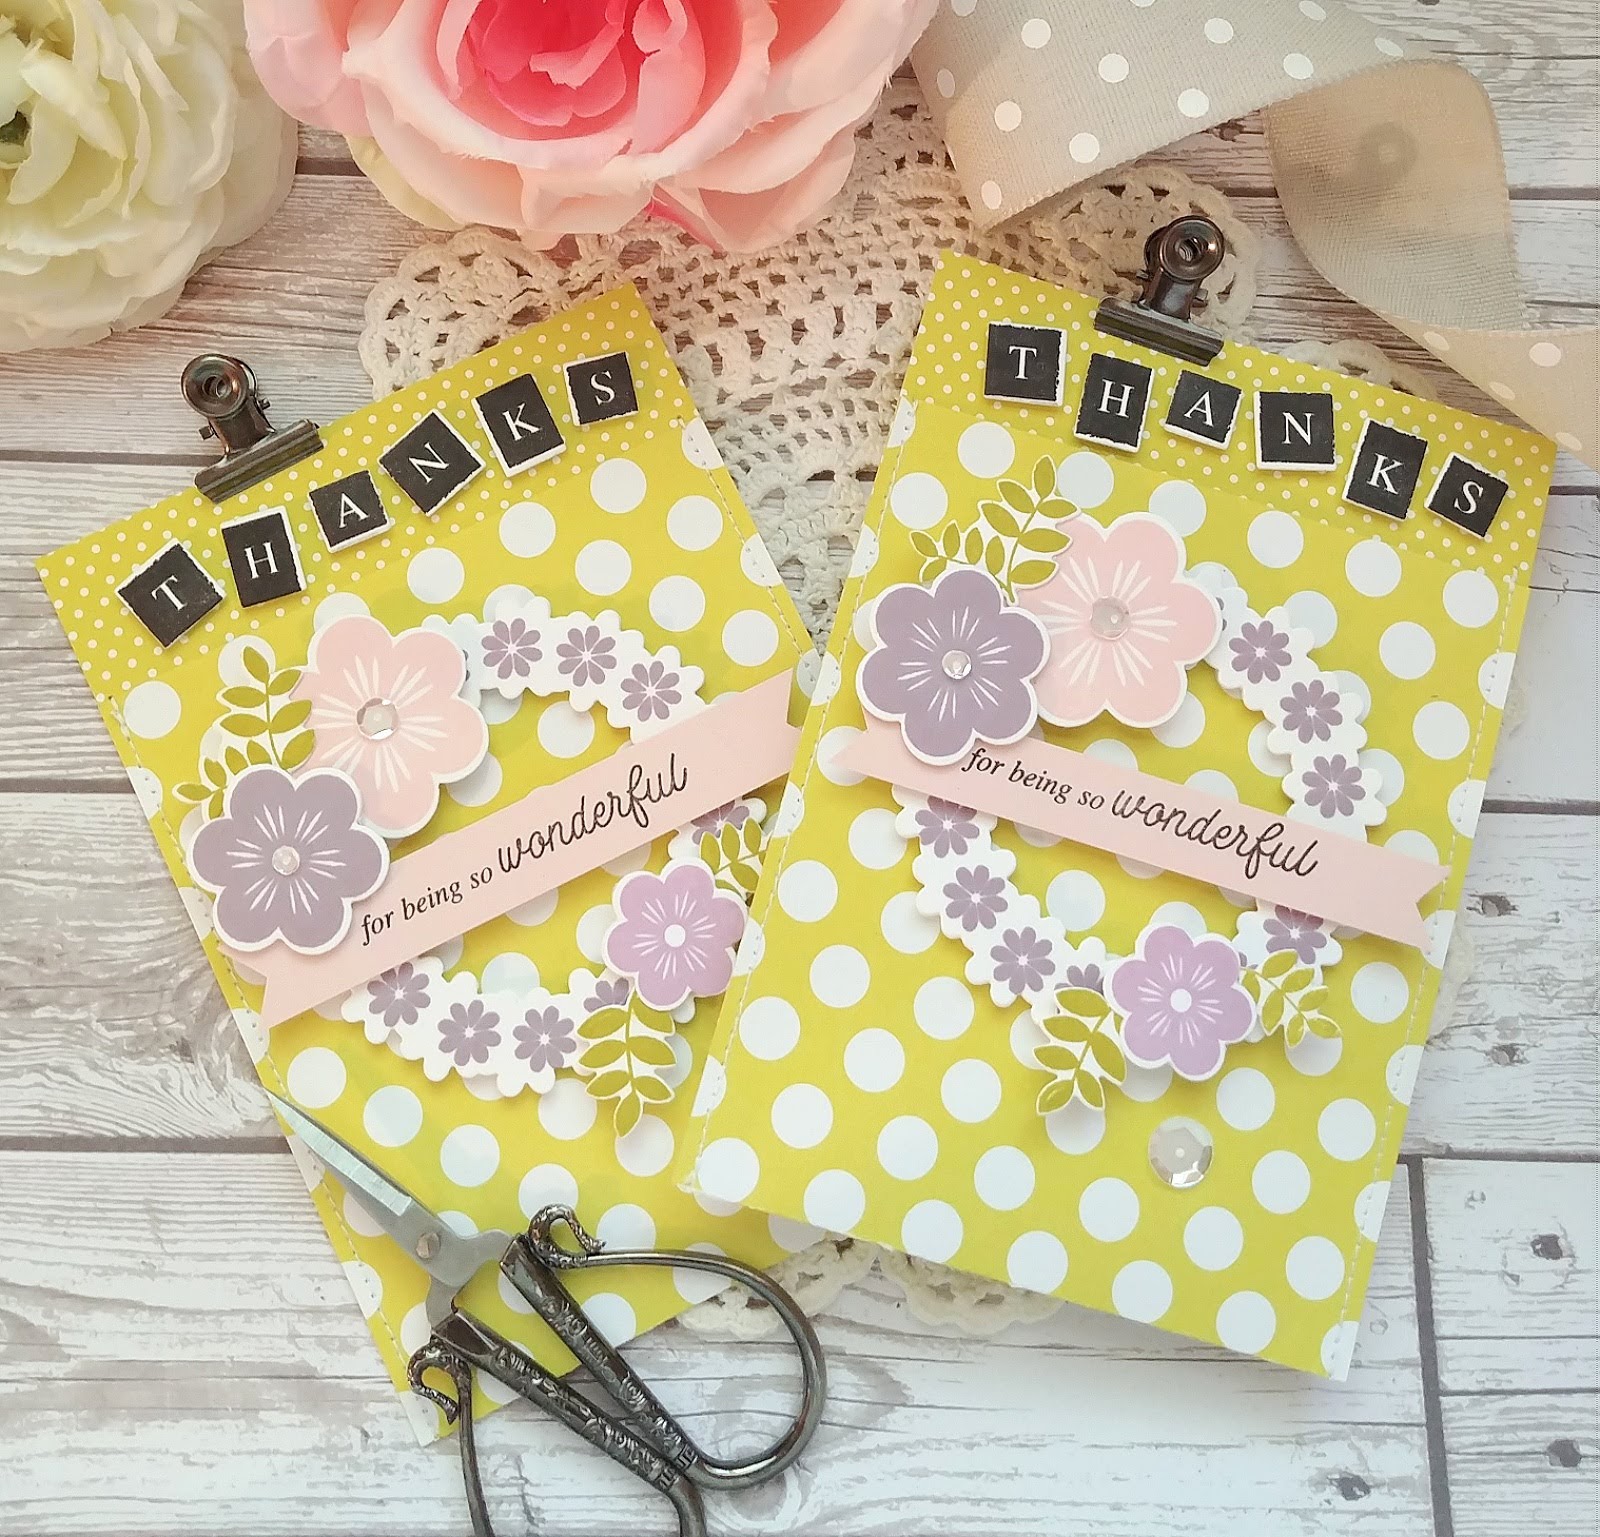

For today's project, I created 2 sewn pockets that can be filled with a sweet treat, lip gloss, or small gift. In this photo, I have a lip gloss inside, but it is really hard to tell {which I guess is a good thing LOL!} . I cut a piece of Bitty Big: Limeade Ice pattern paper in half length wise and scored each one at 5 inches. I folded it at the score mark which leaves that small bit of the smaller polka dot panel at the top. I used my sewing machine to sew along the two edges.

Once the edges were sewn I got to work on the rest of the design details. I die cut the wreath portion 4 times, 2 for each sewn pocket using the Simply Sweet: Thanks die and stamped the flowers using Winter Wisteria ink. The 3 larger flowers are from the new It's A Sign: Beautiful stamp set as well as the leaves. The leaves are stamped in Simply Chartreuse ink, and the three flowers are stamped in Winter Wisteria, Lilac Grace, and Sweet Blush and they are all die cut using the It's A Sign: Beautiful die collection.
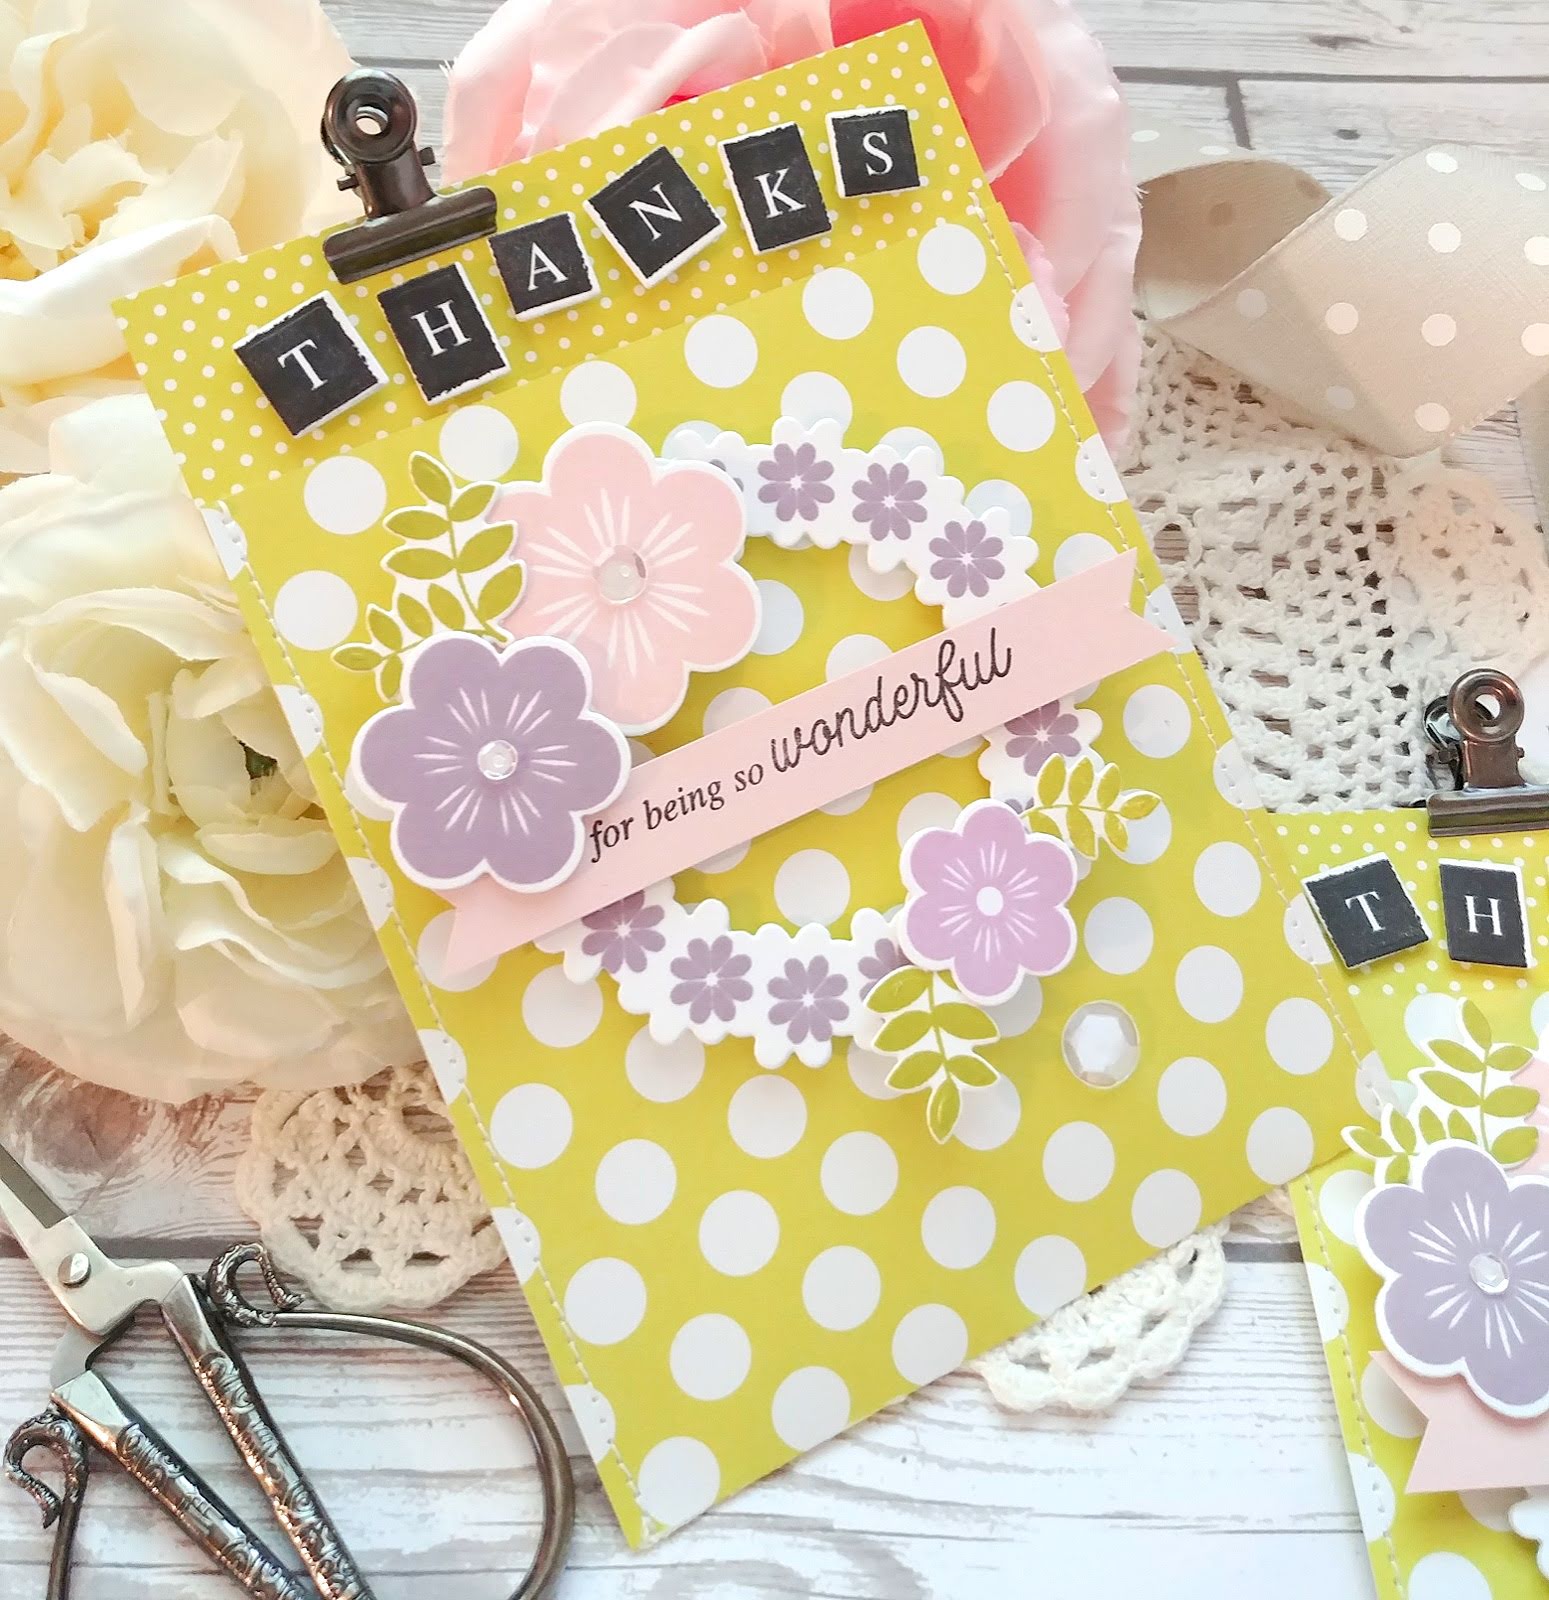
The "thanks" block letters are stamped in black and die cut using the coordinating dies {linked above}.I added them to the top flap of the pockets using foam squares. If you're worried about the size of your gift being to tall so that it might cover those letters, you could always add them to the bottom of the pocket as well.

The "for being so wonderful" sentiment is stamped in black onto a strip of Sweet Blush cardstock and then added to the middle of the wreath using foam squares. I notched the ends for some added detail.

I added a trio of sparkling clear sequins to the bottom right corner as well as the centers of the two flowers on the left hand side for some sparkle. I have been on a Nuvo drop kick lately so I was tempted to just squeeze those babies all over the place, but I resisted! LOL! I felt the sequins were a more appropriate option. As much as I wanted to add them, they compete with the larger polka dot of the pattern paper. I did add some clips to the top of the flap for some added detail. I also experimented with it on one of the sides at the bottom,which I like as well!

When I was making these, I couldn't help but think how cute these would be for Christmas gifties; hot cocoa, candy, gift cards, lotion, etc. My Keeping Christmas post is coming up on the 25th, so don't be surprised if you end up seeing more of these! Ha ha! Thanks for fluttering by!
6 comments:
Adorable, Kelly. I always look forward to your Keeping Christmas posts. Have a wonderful weekend.
so pretty, always love your work Kelly!
I am a big fan of your designs and these cards are really adorable, love the fresh bright colors.
Thank you so much! I appreciate you stopping by and your sweet comment!
Awww...thank you so much, Amy! You're always so sweet!
Thank you so much, Debbie! You're always so sweet! I appreciate you stopping by and for all of your support!
Post a Comment