Thursday, April 24, 2025

The Greetery {Jubilee Collection}

Hello and welcome, friends! I'm so thrilled to be here today celebrating the SIXTH birthday for The Greetery  As always, you'll want to make sure to head to The Greetery Blog for the official "Meet and Greet"! Make sure to leave a comment here, and on each of the designers' blogs for a chance to win one of two Jubilee Collection bundles!!!

I'm absolutely smitten with the new World's Greatest suite of products! This cute trophy cup is so perfect and charming for so many occasions when paired with the World's Greatest Sentiments! I'm already getting excited to use this for my sons' football cards in the autumn! 

I specifically ordered some Rose Gold Mirror cardstock in anticipation of using it for this beautiful trophy cup and some Rose Gold embossing powder; for some reason it's showing up as black or grey in the photos, so go figure! ha ha! For this particular card I die cut the cup twice; once from the mirrored cardstock and again from blush cardstock and glued them together for a sturdy piece. There is also another insert or panel die that comes with the World's Greatest Die which could be used to create shaker cards, but I cut it again to give the trophy more dimension. I heat embossed the No. 1 sentiment before I cut it so I could line it up perfectly.

I also heat embossed the "world's greatest" and "Teacher" portion of the sentiment on the same mirror cardstock and then used the World's Greatest Die to cut them out. I popped them up using small pieces of foam tape for maximum dimension. Teacher Appreciation week is approaching quickly and I want to have a few things ready to go. That being said, they are doing a country-western theme this year, so this is a stretch, but I do feel like it will still work in terms of an equestrian/horse theme! ha ha!

This angle gives you a better idea of the immense shine this mirrored cardstock has; I was worried I wouldn't be able to get any pictures without my smiling face shining in the trophy cup! ha ha! 
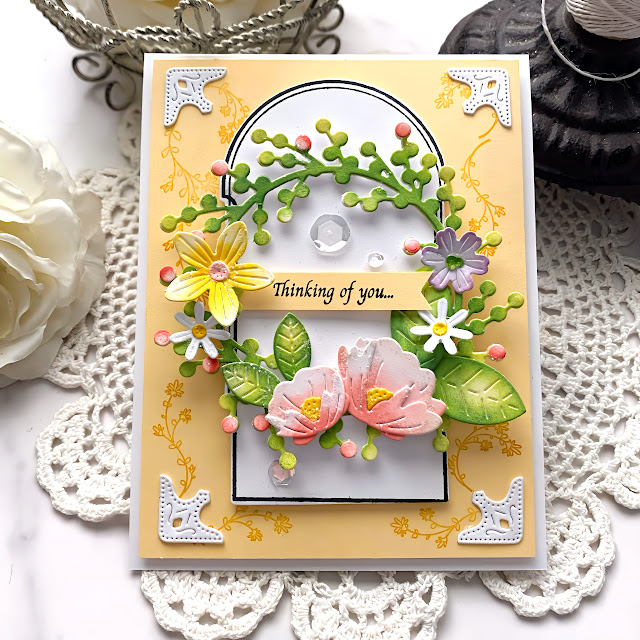
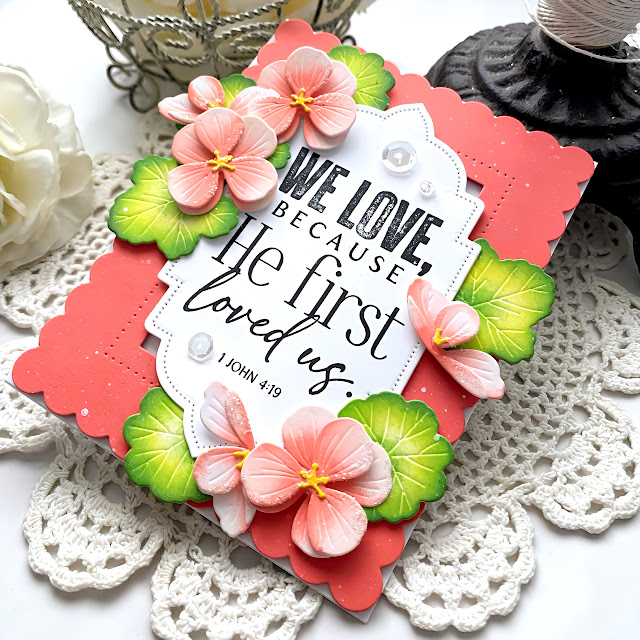
I'm equally in love with the new Best Bouquet Detail Die that I have used on both card today! I cut everything from white cardstock and then used distress oxide ink to color all of the blooms and foliage.

Both card feature an arched background: I used the 2nd largest arch included in the A2 Arches Die and cut a panel measuring 4 by 5 1/4 inches. I added them to top-folding A2 white card bases using foam squares. I also added some blue ink and ink splatter to the center.

For this card, I die cut the trophy cup from Saffron Spice cardstock and then stamped the shadow using ink. I really like both the shiny cup and this one with the stamped detail. I heat embossed the sentiment, which is also from the World's Greatest Stamp Set, and then cut it out using the World's Greatest Sentiments Die.

I particularly love that you can fluff up the petal of the flowers for realism and dimension.
My next project is a planner for the grad using the new Dreams and Plans Stamp/Die set paired with the Sweetest Corners Stamp/Die set and the new Sweetest Frames Stamp/Die set. I've also created a bookmark using the darling new Bow Bookmark! 

You can see the bookmark tucked into the top of the planner on this photo! It's seriously so cute!

To begin, I cut a cover from Grapefruit cardstock from Concord & 9th and used ScorTape to secure it to the planner. I die cut the largest frame included in the Sweetest Frames Die and then stamped it with the coordinating stamp set using gold pigment ink. I also stamped the "it's time for making plans and dreaming dreams" sentiment, which is also included in the Dreams and Plans Stamp Set, using the same gold ink.

The 2025 was die cut from Antique Gold cardstock using the new Dreams and Plans 2025-29 Die and then glued them to the front. The corners are die cut from the Sweetest Corners Die and then stamped using the Sweetest Corners Stamp Set. The bow on the zero is also from the same stamp set.

The "Planner" sentiment is heat embossed using gold powder and then die cut using the Sentiment Suite Basics Die. I added it to the cover using foam squares.

I thought it would be fun to add some corners using the same Antique Gold cardstock. I used the Romantic Corners Die and then adhered them with liquid glue.

Up next is a graduation card and bookmark using the same products! I had SO much fun working on this ensemble! I pulled out my beloved Martha By Mail envelope stencil and cherished paper that was included in the kit to create the envelope for this special card.

As you can see, I used the leftover pieces of paper for the card for a perfectly coordinated ensemble! For the card, I die cut the numbers using the same die as the planner. The lavender paper is very thin because it is designed to be used for the envelope liner, which I did, so I die cut a few of the numbers from the Powder Green cardstock the "class of" portion is stamped on. I glued them together and let them dry while I got to work on some of the other details.

As you can see, I used both sizes of the Sweetest Frames for this feminine card. I just love how cute they are!

The sentiments are from the Dreams and Plans stamp set, which DOES include stamps for the numbers if that's more your style. 

The Sweetest Corners Stamp/Die set are easily stamped in three easy steps for each style of corner and then there are stand-alone bows for accents.

As you can see, I had to make another bookmark for this project! I want bows sticking out of all of the books I'm currently reading! ha ha!

I also included one of the smaller die cuts from the Sweetest Frames so I could heat emboss a sentiment for the inside OR use it as a tag for a gift!
Switching gears now for something a little bit more bright and bold! These two cards feature the new Big Yay! Stamp/Die/Stencil suite of products!

In anticipation of this release, I did a big order from the Cardstock Warehouse and this blue variety turned out to be one of my favorites!  For this card, I used the Big Yay! Stencil for the "rays/sunburst" portion of the design and then cut it out using the Big Yay! Die. I die cut the stars, which are also included in this die set from silver cardstock and then glued them to the rays.

I die cut the shadow "Yay" portion from light blue cardstock and then glued the main Yay sentiment. I stacked those letters three times and then added glitter to the top.

There are quite a few companion sentiments to finish off the Yay! I chose a generic "congrats on your big news" and I can use it for quite a few different occasions. For the background of both cards, I used the Ticker Tape Hot Foil which turned out so great on this sparkly cardstock! 

My other card is almost identical, but I did use the stamp set for the "rays" rather than the stencil so they are just one color!

The stars for this one are die cut from glitter cardstock, but I actually used them after I die cut the Star Struck piece which you can see to the left of this card. I didn't end up using it, but the stars came in handy! ha ha!

For this card, I used glossy accents and glitter on the Yay! die cuts.

I chose a birthday sentiment for this one and of course the same background!
For my last project, I created a set of notecards using the Best Bouquet Details Die, the Best Bouquet Stamp Set (I'm obsessed with the sentiments" and the new Sweetest Frames Stamp/Die.

I die cut all of the pieces for the bouquets from white cardstock and then colored them with distress oxide ink and finger sponge daubers.

I die cut the frames using the Sweetest Frames Die and then stamped the border using the Sweetest Frames Stamp set

I stamped each of the sentiments from the Best Bouquet stamp set with the exception of one sentiment using black ink.

I glued the bouquets to the panels using liquid glue.

I adhered the frames to Kraft Grey A2 card bases and then grabbed a few Nouveau Notes A2 Envelopes to coordinate! 
This concludes today's post and everything will be available for purchase tomorrow at 10 am EDT. Don't forget to  stop by the other designers' blogs to leave a comment to be eligible to win one of the TWO entire Jubilee Collections!!!!


Kelly Lunceford (you are here)


Monday, April 21, 2025

Papertrey Ink April Release Countdown Day 4

Well, it's the 4th and final day of the Papertrey Ink April release countdown! We're switching gears completely and "cooking" up some fun Mother's Day inspiration using the new Mom's Kitchen Stamp/Die set!

This particular set isn't JUST for Mother's Day, so I'll also be sharing some other ways to use this cute new set! I know Mother's Day can be hard for those of you who have lost your mom or maybe didn't have the best childhood for whatever reason.....my heart is with you!

I'll be sharing three cards in total with this set today, but for this first card, I really wanted to give it a vintage, shabby vibe. To begin, I die cut ALL of the pieces I would need for all three cards from white cardstock and then stamped everything. I had fun using all of my favorite ink colors for a fun, vintage feel!

One of my favorite elements of this particular die set is the cupboards/counter detail with the cute handles. There are three different handle styles so you can customize your drawers to your liking.

There are a ton of options for the sign, too! I chose to tailor this one for Mom, but you can use the other's for different occasions. 


I added the corner details from the Corner Decor Stamp Set to give it some added charm!

I'm jumping ahead to show you the cutest new In Stitches: Adorable Apron Die for this second card! There are two styles of aprons included in the set with lots of different styling options.

Once again, I went with a fun vintage feeling for this card. I die cut the apron from some old My Mind's Eye pattern paper (the same paper I used for the "wallpaper" on the first card).

To begin, I die cut the apron and the scalloped detail and glued it together. I had originally put the scallops on top rather than the bottom so to remedy my mistake, I just cut another apron and glued it over the top which also helped with stability.

For the background, I cut a piece of Bitty Big: Aqua Mist pattern paper measuring 4 by 5 1/4 inches. I glued three layers of Ric Rac together and glued it to the background panel. I stamped the sentiment in black, which is from the new Seasoned with Love Sentiments stamp set.

I popped the apron up using foam squares and then added the apron and all of the cooking tools and utensils. They are all just so cute!

The cherries were cut using the Sweet as Pie Die but the leaves are from the new Into the Blooms: Anemones Die from this new release! I added some glitter for some sugary sweetness!

Here is another card using the Mom's Kitchen Stamp/Die, but not Mother's Day themed. I thought this would be a sweet card to send with a homecooked meal when the time comes! 

The background for this card was created using the Weathered Tile Stencil Collection with Spring Moss and Simply Chartreuse Ink.

You can see the other handle option on this set of drawers.

I love the little jam jar, crockery utensil holder, chicken, etc. So many cute details!

There are also two shelf options: one without the hooks and then this one with the hooks for different design options!

My final card for today, and for the release, features the Mom's Kitchen Stamp/Die set paired with the new Seasoned With Love Sentiments Stamp Set and the This is Big Sentiments: Love Stamp/Die set. I thought they all worked together nicely to show another non-mom card!

For this card, I stenciled a panel of white cardstock using the Watercolor Wonderful Stencil  Collection with Aqua Mist and Hawaiian Shores ink. I stamped the sentiments in black, with the exception of the LOVE sentiment.  That was die cut using the This is Big Sentiments: Love Die and then stamped with an ombre look.

I used the Border Bling: Skinny Hearts Frame Die to cut the frame and then I added some ink around the edges. I glued it to the stenciled/sentiment panel using liquid glue.

I had fun arranging all of the different elements to frame the sentiment using foam squares and liquid glue.

I gave it a spritz or two of shimmer spray, added some glitter and sequins and adhered it to a top-folding A2 card base. This concludes my projects for this fun release! Everything will be available for purchase tomorrow at 10 am ET! Thanks for fluttering by!