Thursday, February 29, 2024

The Greetery {Spring Fling Collection} Release Day!

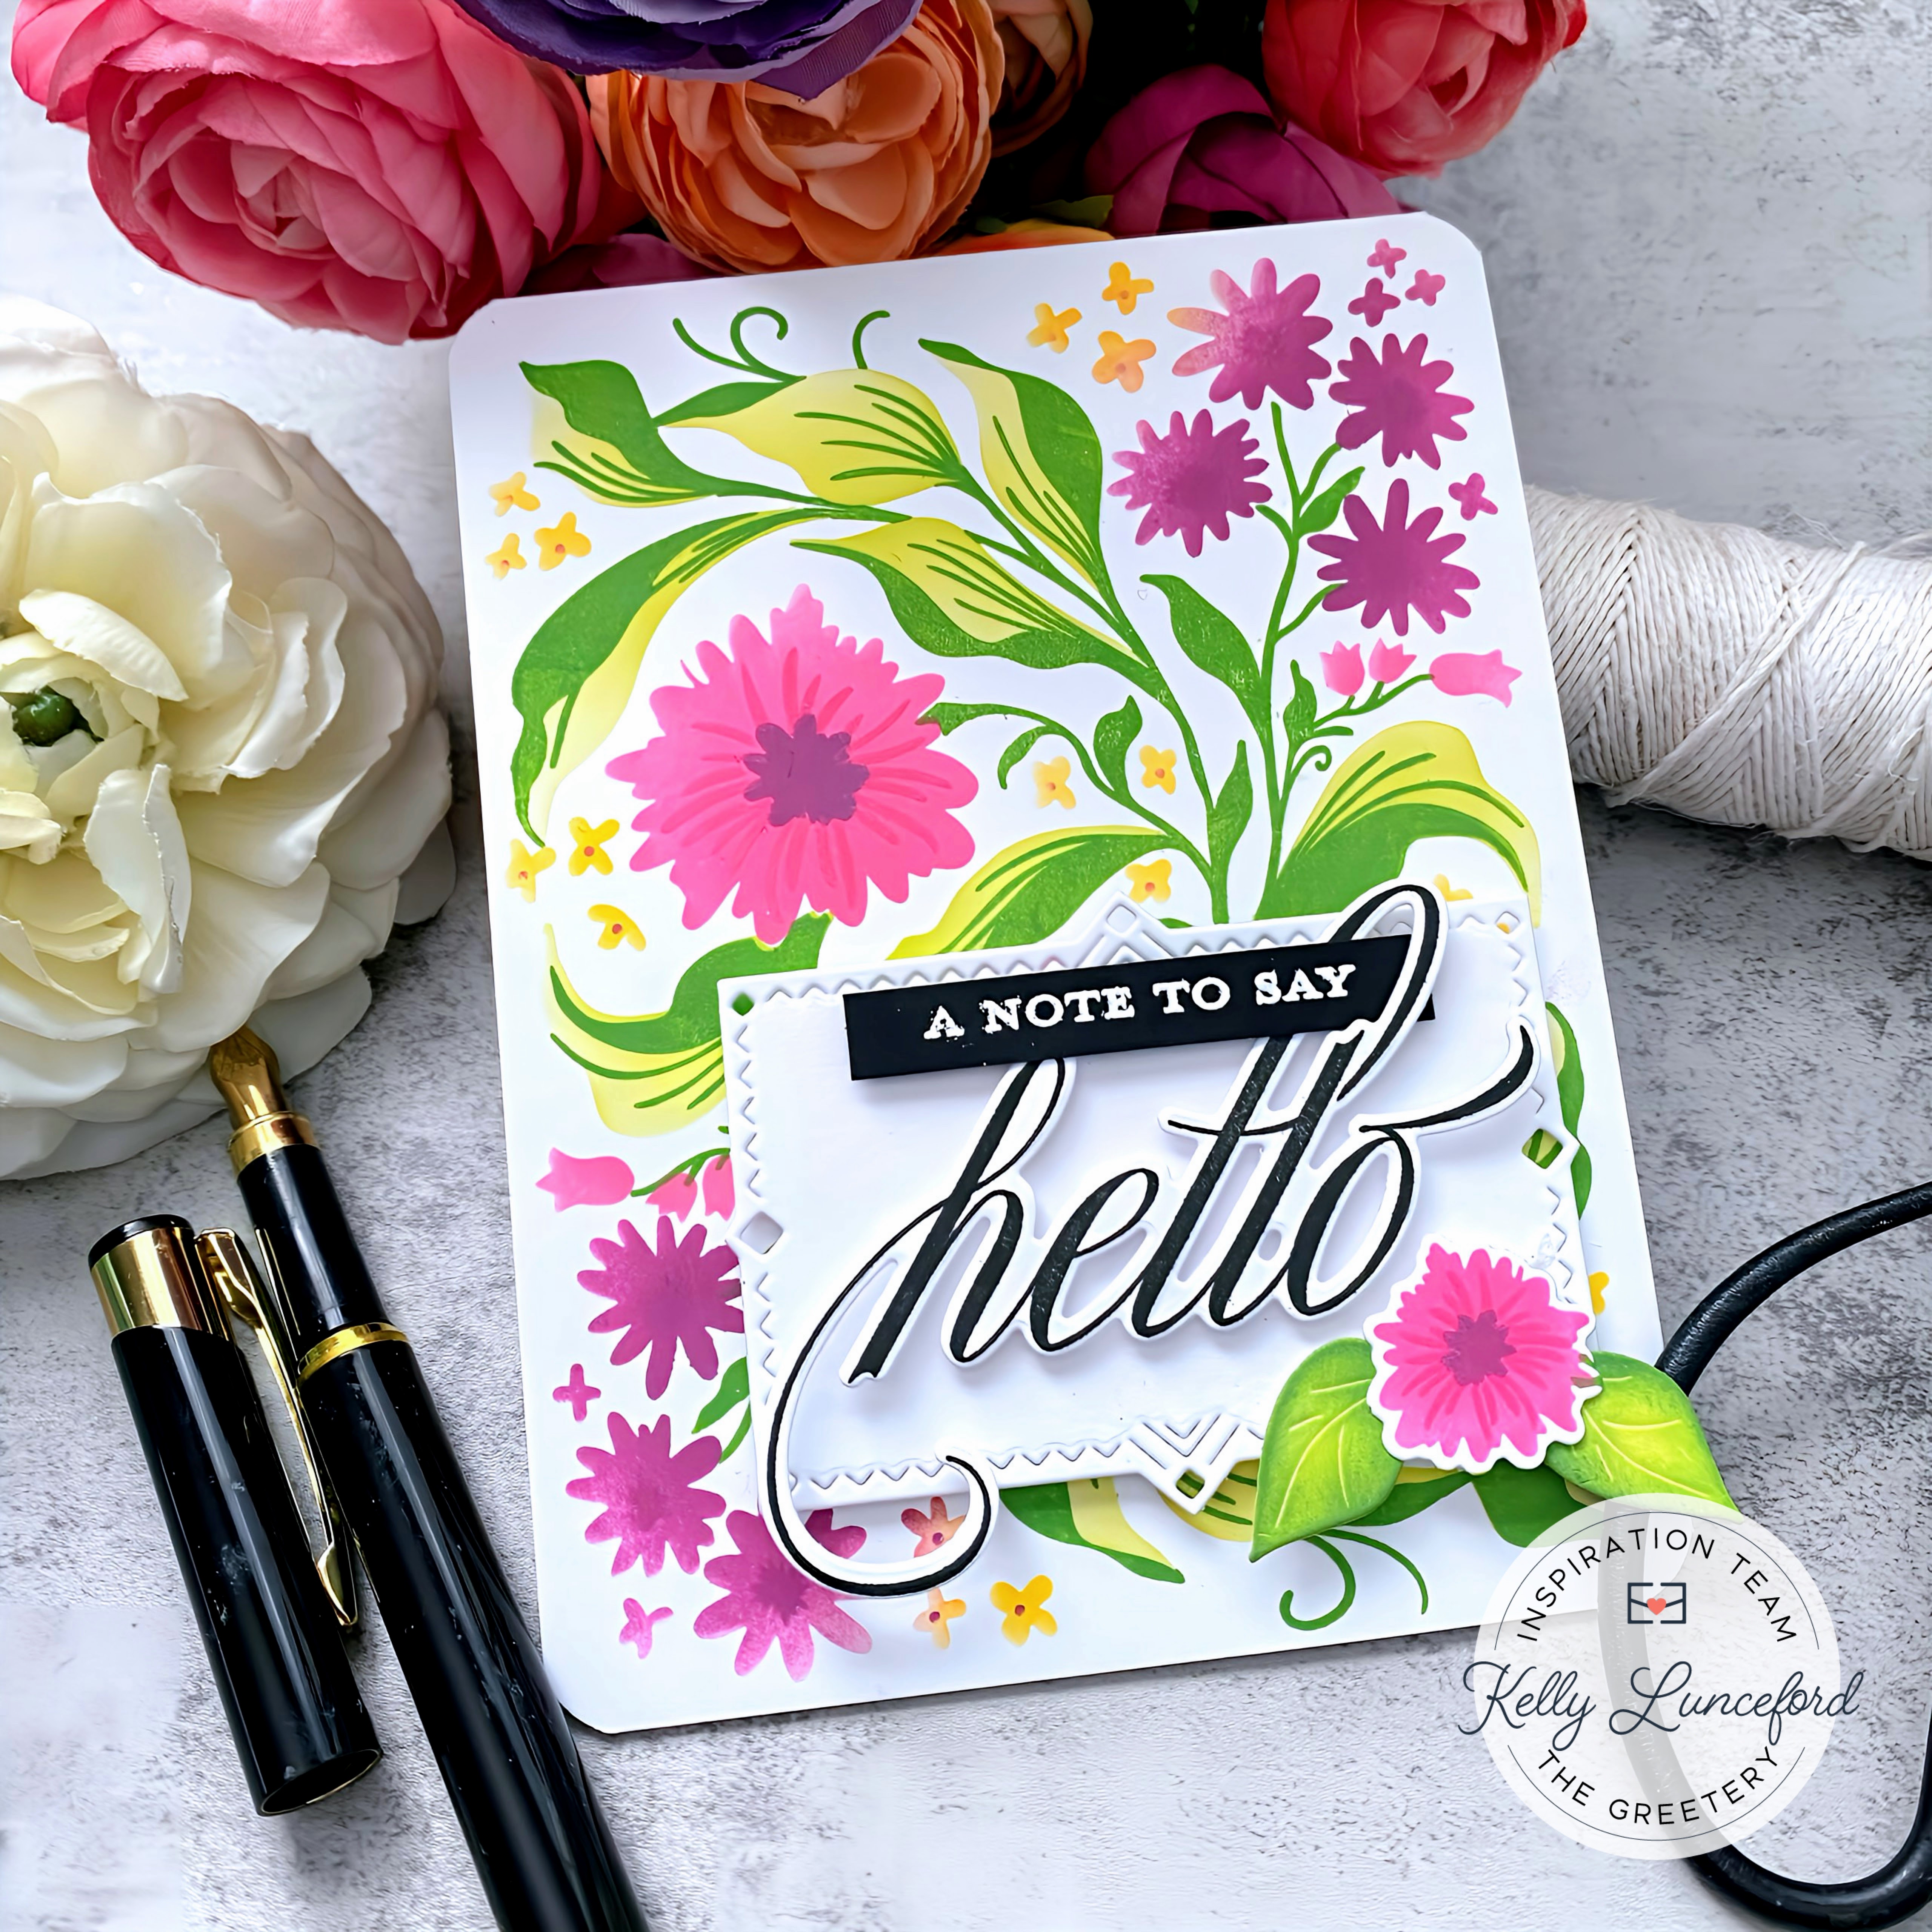
It's release day for the Spring Fling Collection from The Greetery! Everything will be available beginning at 10 am ET today! I created two bonus cards for you today using the lovely BotaniCuts: Lilac dies paired with some fun products from the last release! They are some of my favorites, so I couldn't wait to incorporate the lilacs with the postal theme!

I decided to make two cards; one horizontal and one vertical to add to my stash! To begin, I used the Airmail Border Stencil with Almost Amethyst and Certainly Celery ink from Stampin' Up! I set the two panels aside and then die cut all of the lilac pieces I would need for the two cards. I colored the blooms using milled lavender, shaded lilac, and dusty concord distress oxide ink. The leaves are colored using twisted citron, mowed lawn, and rustic wilderness distress oxide inks. I used a fine-tip black Sharpie marker to add dots to the flower centers. Not the ones on the large, main piece, but rather just the individual blossoms.

 I used the smallest tip of my stylus and a foam mat to curve each of the individual blossoms and then added them to the main cluster using liquid glue and a gem picker for ease. I spritzed both the leaves and the blooms with Shimmer Spray and set them aside to dry while I got to work on the rest of the background pieces.

I used the Postal Modern stamp set for all of the postal themed accents. This is seriously one of my favorite stamp sets and I have a sneaking suspicion I will be reaching for it often! I chose two of the beautiful sentiments from the Scripted Sentiments stamp set for each of the cards. 

I love the guides on the Postcard Details Pierce Plate; it gives the perfect place to add the accent sentiments and the lovely pierced detail. As you can see on this card, I chose to use it for a vertical design rather than the traditional horizontal looking postcard! Before I forget, I did add a bit of black ink splatter for added interest.

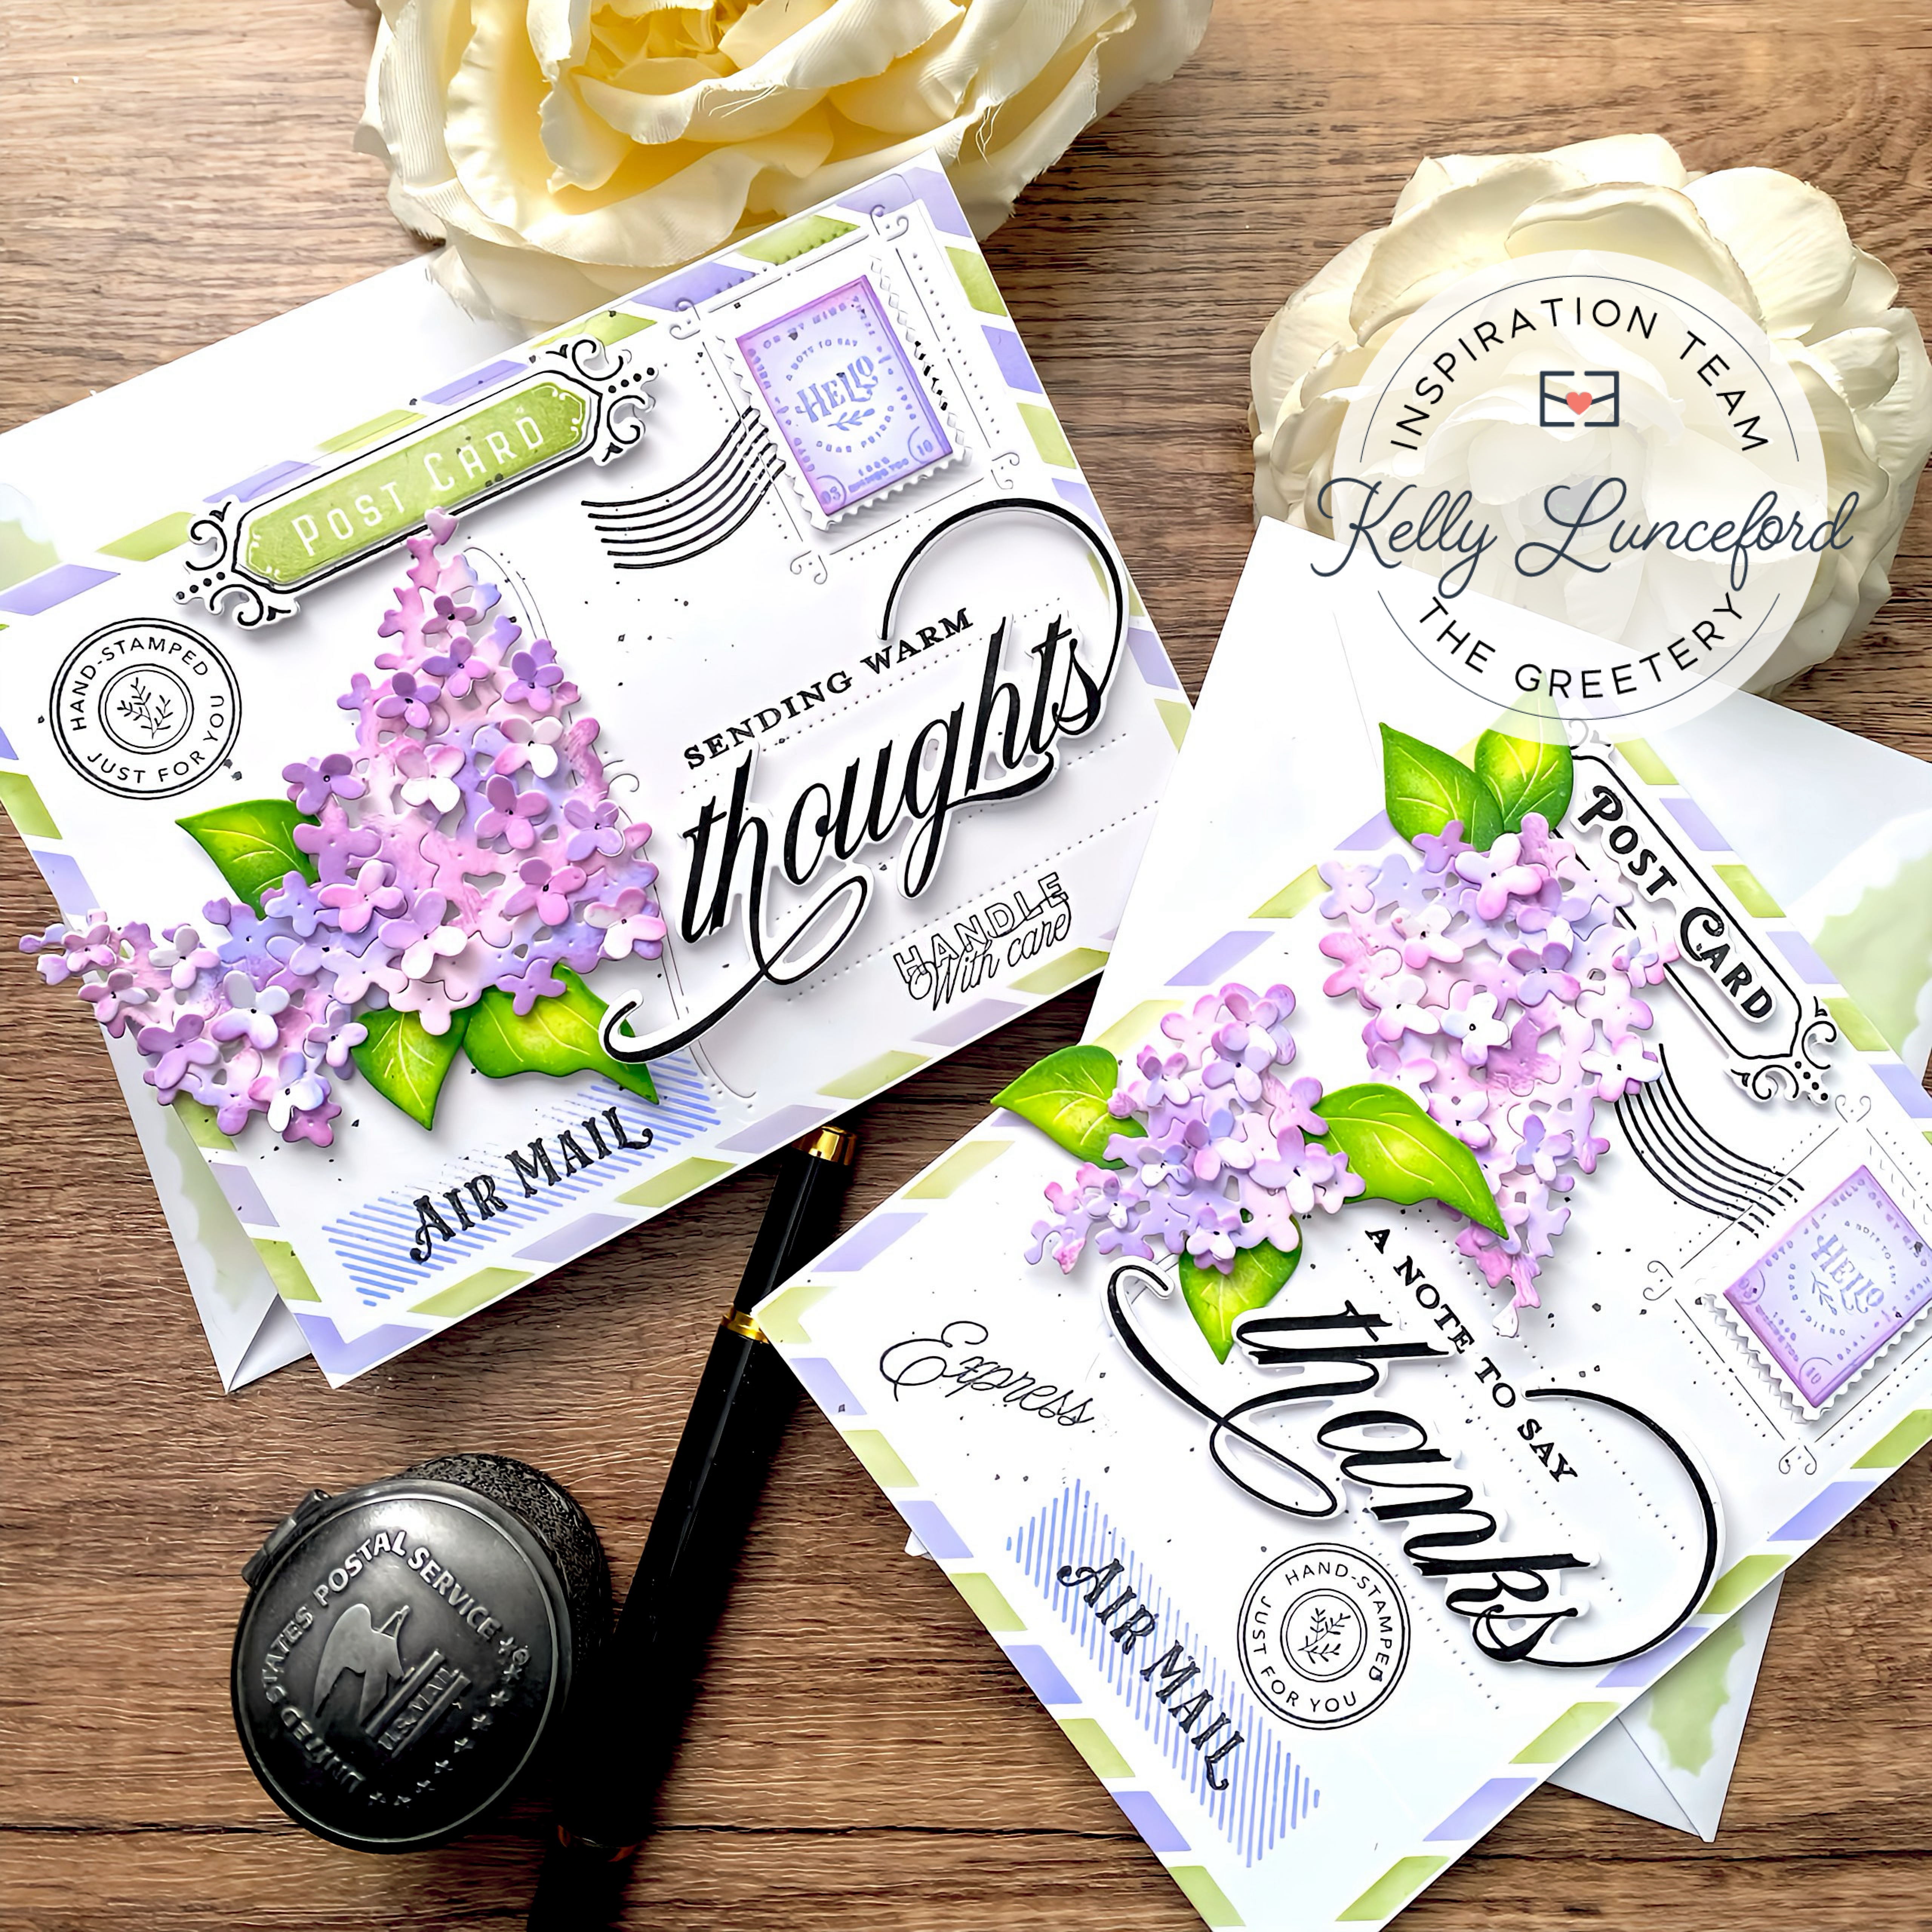
Once all of the postal elements were in place and the scripted sentiments, I had fun arranging the lilacs and leaves until I was satisfied with the arrangement. I did go in and fill in with a few additional postal images. I hope I didn't go overboard....I have a tendency of doing that! ha ha! I hope you've enjoyed this bonus post today! Everything will be available for purchase in The Greetery Shop beginning at 10 am ET! Thanks for fluttering by!

Wednesday, February 28, 2024

The Greetery {Spring Fling Collection} Day 2

Hello and welcome back for day 2 as we showcase projects for the Spring Fling Collection from The Greetery! Make sure to head to The Greetery Blog for the official "meet and greet" for each of the today's featured products! Also, leave a comment here and on the other designers' blogs for a chance to win one of two $50 gift certificates.

My first card for today uses the new Print Shop Modern Botanical stamp +stencil & die! I've always been a big fan of the Print Shop series of products and this one is just as beautiful as the others! I know I say this every time I use a Print Shop background that I just want to sit and stare at it and not do anything with it! ha ha!

I really do have a hard time covering them up, so I chose to keep things simple. I added the beautiful "hello" sentiment from the Scripted Sentiments stamp set and heat embossed the companion sentiment.

I actually stenciled two panels because I wanted to use the dies to cut out the individual flowers, but in the end, I only used one with a pair of leaves from the BotaniCuts Lilacs die collection. I used Distress Oxide inks for my panel which really change the look of the stenciling. When you use dye ink, it creates a softer look. I can't wait to create all kinds of different color combos to change the feel!

My second card for today uses the beautiful new Spring Frame rubber stamp paired with the new Easter Morning Sentiments stamp & die. The base of this card is actually identical to the base of my lilac card from yesterday. This was my first attempt which had a few "flaws" but with the Spring Frame in place, it camouflaged the mistakes! LOL!

I stamped and cut out the frame and then used colored pencils to bring in some added detail and color to the frame. The Spring Frame die also includes the dies to cut out the tulips to add to the frame individually. I colored them with yellow Distress Oxide ink and then added them to the frame using liquid glue. The tulips also got some colored pencil details.

Since I'm addicted to the Wildflower Mix, I added some of those here and there as well. I just love how much color and interest it adds to the frame!

I stamped the large "Happy Easter" in black ink and then die cut it using the coordinating Easter Morning die. I heat embossed the "He Is Risen" in white onto Pale Peony ink and then die cut it using the dies. I added black dots to the centers of the flowers using a fine-tip Sharpie and some glitter to finish off this card!

My final card for today and for the countdown uses the new To Mom with Love stamp/die. I couldn't resist using more lilacs because they are just the ultimate Mother's Day flower, in my opinion! They are generally in bloom in Utah for Mother's Day and I just love it!

I also brought in some tulips for added interest and color. I love tulips, so they are just the perfect choice for a Mother's Day card!

I want to thank you for all of the sweet comments you left on yesterday's post. You're always so kinds and supportive and I really appreciate it! I had such a great time creating for this release! Thanks for fluttering by!
P.S. Don't forget to leave a comment on the other designers' blogs and everything will be available for purchase tomorrow at 10 am ET!


Kelly (you are here)


Tuesday, February 27, 2024

The Greetery {Spring Fling Collection} Day 1

Hello and welcome! I'm so happy to be here today sharing some spring projects using the beautiful new Spring Fling Collection from The Greetery! You can find the official "meet and greet" over on The Greetery Blog and there will be two $50 gift certificates given away each day so make sure to leave a comment here, and on each of the designers' blogs, to be eligible to win! 
My first card features the gorgeous new BotaniCuts Lilacs die. I love how easy this die set is to use and you can achieve beautiful results almost effortlessly. You can make your clusters as full as you want depending on your preferences!

I really wanted the lilacs to take center stage so I used them as the focal point with a beautiful sentiment from the Scripted Sentiments stamp set that was included in the last release! I thought the fonts worked perfectly with the lilacs to achieve the look and feel I was going for!

I used the Halfsies Oval Die to create the frame over the top of the stamped panel which uses the Spring Meadow Background Stamp. I layered it all together and then added the lilacs and sentiment. A sprinkling of glitter finishes off this first card!

Up next is a springtime card using the ingenious and darling Seagrass Basket Die. You can actually weave the two basket pieces together like I did here, OR  you can simply glue the two pieces together without weaving if you're short on time. I filled my basket with the darling flowers included in the Botanicuts Wildflower Mix Die. If you've been around awhile then you know how much I adore these cute flowers; I really can use them all the time if I put my mind to it! ha ha!

The basket die also comes with this cute label; I stamped it with one of the many sentiments included in the new All Occasion Script Sentiments stamp set. This is one that you could leave on your desk permanently because you would need it so often....it's just that versatile and handy!

The basket die also includes a handle which you can simply glue down, but I chose to add some mini silver brads for added detail.

My final project for today uses the ever-so-sweet new stamp/die/stencil set called Spring Snowdrops! I'm smitten...it's so cute! I made two cards because I wanted to showcase the two main sentiments included in the set: Spring and Hope. As you can see, they both say Spring! LOL! I'm a huge dork and heat embossed two sentiments that coordinate with Spring! ha ha! I liked both of them so I just went with it! I can use the Hope sentiment soon!

This suite of products is very easy to use and I can't wait to try other color combinations with the Snowdrops.

As I mentioned before, there are two main sentiments. I really like that they both have coordinating dies so you can cut out the scripted sentiment.

I heat embossed the companion sentiment in white detail embossing powder onto Pale Peony cardstock and then added it below the main sentiment. I added a generous sprinkling of glitter to give it a snowy or dewy look! Remember to leave a comment here and on each of the designers' blogs to be eligible for a chance to win one of the gift certificates to the shop! Thanks for fluttering by!
P.S. Join me again tomorrow for day 2!
Kelly (you are here)

Monday, February 26, 2024

Papertrey Ink February Release Day 4


 Welcome to the 4th and final day of the Papertrey Ink February release! I had so much fun creating these final two cards! Up first is a card using the new He Is Risen die collection. I die cut all of the pieces from white cardstock and then colored them using distress oxide inks and then glued everything together with foam squares and liquid glue.

I loved using the Exquisite Leaf Frame Hot Foil Plate on yesterday's card and I thought it would be perfect to frame the cross, so I used it again! I love  how the Champagne foil looks against the Royal Velvet cardstock!

I heat embossed another sentiment from the Thoughts of Easter Sentiments stamp set onto a strip of vellum and wrapped it around the Royal Velvet panel and then glued it to a top-folding A2 cardbase.

My final card for the release uses the new Beautiful Branches Hot Foil Plate. I used Rose Gold foil at the bottom of an A2 white panel. I then added flowers that were created using the Into the Blooms: Wreath dies to the branches. 

I added some Aqua Mist and Hawaiian Shores to the top portion of the card with some Hawaiian Shores ink splatter. I stamped the sentiment in black and then accented it with the Rejoice sentiment; please note these are from two different stamp sets, but paired up to make one greeting.

The flowers are added using foam squares and then sprinkled with glitter for sparkle and shine. I also rounded the corners! Thanks for fluttering by!

P.S. Everything will be available for purchase tomorrow night at 10 PM ET. 

Sunday, February 25, 2024

Papertrey Ink February Release Day 3

Welcome to day 3! Once again, I couldn't decided what to share first so I am sharing them in the order that I created them! ha ha! Up first is a card created using the new Reflections: February stamp/die set. It  is one of my favorite verses of scripture! He has Risen! 

I heat embossed the verse onto a piece of New Leaf cardstock using white detail embossing powder and then die cut it using the largest die included in the Reflections: February die set. I added some Stampin' Up!  Garden Green ink around the edges ; I wanted something darker, but within the same color tone and so this was the winner.

I did the same shading to the background panel and added some white paint splatter.

I used the flowers from the Into the Blooms: Wreath dies, but the leaves are from the Into the Blooms: Peonies die collection and the Into the Blooms: Clover die collection. I colored the flowers and leaves using distress oxide inks.

I rounded the corners of the background panel and then arranged the flowers and leaves using foam squares and liquid glue. I added glitter and a trio of sparkling clear sequins.

My next card features the new Spring Silhouettes die collection. Please note that I did not use these dies as they were intended, but I'm sure that plenty of the designers DID! ha ha! The concept behind this set is just so sweet and reminds me of the sugar easter eggs they had when I was little. You know, the ones that had a scene inside! Those were my favorite!

Anyway, I did attempt to make a card the correct way but I just wasn't feeling it and threw it away.

I decided to use the egg as a focal piece rather than a window to build the scene. I used one of my favorite sentiments included in the Thoughts of Easter sentiments stamp set.

I used the new Into the Blooms: Spring Nest stencil collection to add patterns to the animals. The stencils didn't come in time for me to use them with yesterday's nest cards, so I was just itching to use them!

I used the Exquisite Leaf Frame Hot Foil Plate to frame the scene. I had so much fun creating these two cards! Join me again tomorrow for the 4th and final day! Thanks for fluttering by!


Saturday, February 24, 2024

Papertrey Ink February Release Day 2

As promised, I'm back today sharing a BIG post for day 2 of the Papertrey Ink February release! I have so much to share, I didn't quite know where to start, so I decided to just share them in the order that I made them! ha ha!

Up first a sweet springtime Easter card using the new Into the Blooms: Spring Nest dies paired with the new Thoughts of Easter Sentiments stamp set.

I die cut all of the pieces for the nest from white cardstock and then colored them using Distress Oxide inks. For the background, I used the Watercolor Plaid Stencil Collection; Aqua Mist ink on a panel of white cardstock. I only used two of the stencils so a loose, less-busy background. I stamped the "wishing you" sentiment in black directly on the panel. 

I layered the nest onto the largest die in the Reflections: February die set. I warmed you yesterday you would be seeing more of this beautiful die set!

I die cut the Rejoice word and then stamped it in black and layered it on the wreath using foam squares. I added the entire focal panel to a top-folding A2 card base using foam squares. I added glitter to the nest and eggs!

My second card also used the new Spring Nest dies, but this time I used the elements outside of a nest to create little vignettes.

I colored everything the same way as the first card. I die cut four of the smallest size in the February: Reflections die set and then arranged the elements until I was happy with the four vignettes.

The background was created using the Simple Stitch Crochet-Small Stencil Collection. I just love how it looks like leaves if you just use one of the stencils. I layered the four vignette pieces using foam squares.

I'm slightly obsessed with the Rejoice stamp and thought it looked so cute on this card so I used it again. I paired it with another sentiment included in the Thoughts of Easter Sentiments stamp set. I heat embossed it in white on a strip of Pale Peony cardstock.

I finished it off with a sprinkling of glitter and layered it onto a top-folding A2 cardbase!

I wanted to change the look and feel of my final nest card; something a little more natural and rustic, but still feminine and sweet. Does that even make any sense? ha ha!

I created the nest in the same way as my first card, but with different colors. I layered it onto  the medium sized oval included in the Love to Layer: Ovals die collection using foam squares. 

It's kind of hard to see in the photos, but I used the Nifty Plaid Background stamp set on a panel of Lilac Grace cardstock and Fresh Snow ink. You can see it a bit better on the bottom of the panel. 

I heat embossed the sentiment in gold onto a strip of vellum and wrapped it around the Lilac panel and secured it on the back with transparent tape. The photo corners add a bit more detail; they are from the retired Fairytale Christmas kit. I layered it onto a top-folding Olive Twist A2 cardbase using liquid glue. I opted to not add glitter to keep the card on the natural side.

My final card for today is a little more playful and features the new Easter Buddies stamp set. I chose to create a bunny, but there are so many animal options included in this set.

The sentiment is from the new Thoughts of Easter Sentiments stamp set. 

I pulled in some leftover bits and bobs from a few recent projects to gussy up this springtime scene! Join me again tomorrow for day 3! Thanks for fluttering by!