Showing posts with label masculine designs. Show all posts

Monday, May 26, 2025

Papertrey Ink May Release Countdown Day 4

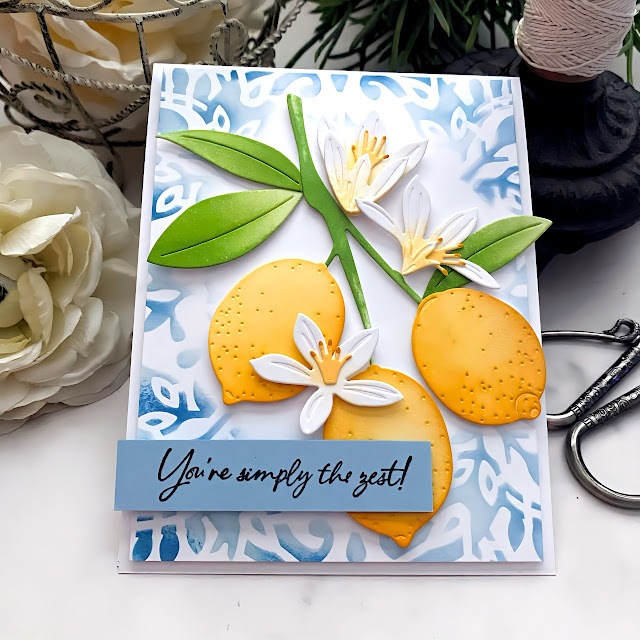
Welcome! Thanks for joining me for the 4th and final day of the Papertrey Ink May release countdown! I hope you've enjoyed the countdown so far! Up first is card using the delightful new Into the Blooms: Lemon Blossoms; I know this is going to be a new favorite

I went for an Italian Positano lemon look for this card. I die cut all of the pieces I would need to create the lemon branch from white cardstock. I colored the leaves using Green Parakeet and New Leaf ink with blender brushes. The lemons are colored using Harvest Gold and Summer Sunrise ink as well as the flower centers. There are really small pieces to add to the tips of each of the flower centers, but I just used an orange alcohol marker to color them instead.

The flower centers look like tiny hands and I felt like I was painting tiny fingernails! ha ha!

For the background, I used the Woodblcok Print stencil collection with Spring Rain and Blueberry Sky ink.

The sentiment is from the Main Squeeze stamp set that was showcased on day 2. I stamped it in black on a strip of Spring Rain cardstock.

I arranged the lemons, leaves, and blossoms using foam squares for dimension. I forgot to mention that I used shimmer spray only on the lemons, leaves, and blossoms before assembly.

Switching gears to something a little more masculine and perfect for Father's Day: Tool Pouch Die and Best Dad Stamp Set.

I had so much fun putting this all together; the tiny nails, tools, and bag are so fun to assemble!

The panel the tool pouch is on was stamped using Stormy Sea ink on Stormy Sea cardstock using the Weathered Wood Background Stamp

The sentiment is from the Best Dad stamp set and is stamped on a banner that was cut using the Banner Builder: Basics Die.

I cut an A2 panel of Dark Chocolate cardstock  using the Border Bling: Tin Stitch Die

I used the Cornered: Jean Pocket Die for the grommets in the four corners.

This was such a fun card to make!

Last, but not least, is another baby girl card (I know, I know) using the new Build-a-Buggy Die paired with the This is Big Sentiments: Baby Stamp Set.

This is definitely going to be my go-to baby die set for years to come, I can already tell!

A few things to note: the ruffle coming out of the buggy is from the new In Stitches: Onesie die that was featured on day 2. The bow is from the Bows Galore Die.

I die cut everything from white, with the exception of the tiny wheel centers, which are cut from silver and then I added pearls over the top.

Well, this concludes my post for today and for the release! Thanks for fluttering by!


Saturday, July 27, 2024

Papertrey Ink July Release Countdown Day 2

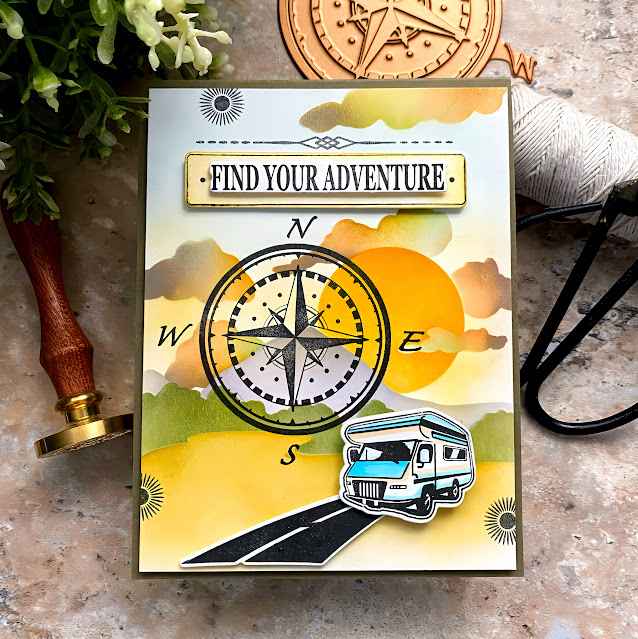
It's day 2 of the Papertrey Ink July release countdown! Thank you so much for your sweet comments on yesterday's post! I have two cards to share with you today using some fun new products! My first card showcases the new Adventure Away Stamp/Die set paired with a fun new stencil collection called Incredible Views.

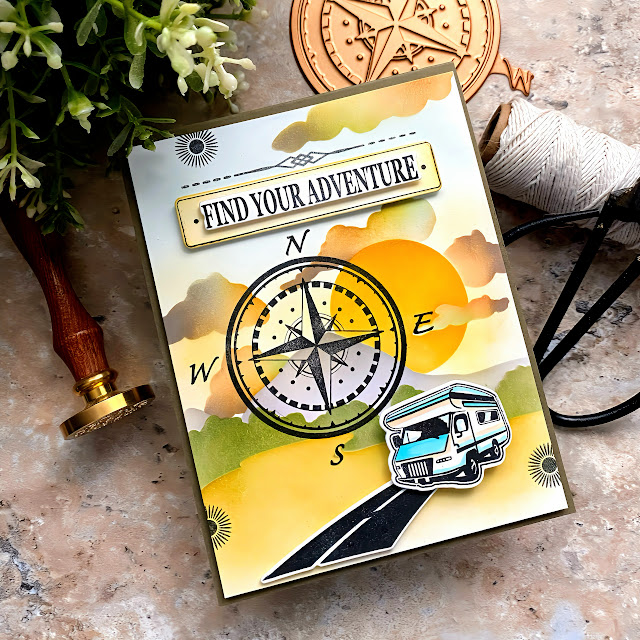
To begin, I used the stencil collection to build the scene using a sunset color combination. These stencils are very easy to use and create a stunning background in no time!

I stamped the compass image directly onto the panel to give a transparent look because I didn't want to cover up the gorgeous landscape. There is a coordinating Adventure Away Hot Foil Plate (you can see it in the upper right corner of the photo), but I didn't end up using it on this card. 

The RV is a line-art image so I added some alcohol marker color. I like that the sentiments have coordinating dies so layer the sentiment portion.

I can't stop with the acetate sentiment overlay! ha ha! This card features the new Cornered: Celestial dies in the upper left corner and lower right corner.

To begin this card, I used Tumbled Glass, Faded Jeans, and Unchartered Mariner Distress Oxide inks to blend on an A2 panel of white cardstock. Once that was done, I used the Stargazing Hot Foil Plate and gold foil over the top. I also splattered the panel with metallic watercolor paint for added depth.

Once the panel was complete, I used the Cornered: Celestial Dies and then layered the panel on top of an A2 white card base.

I die cut the stars using the Starry Delight Die from gold metallic cardstock and then added them to the blended panel using foam squares.

I chose to use the Psalm Reflections: September stamp set on an acetate panel like I did on yesterday's card. I stamped it using Jet Black StazOn Ink on a piece of acetate and then added glue strategically to the back of some of the letters that would touch one of the stars. I placed a large acrylic block over the top and let it set. I also added quite a few sequins for added sparkle and shine! Thanks for fluttering by!


Monday, April 29, 2024

Papertrey Ink April Release Countdown Day 4

As promised, here is some inspiration for Father's Day and masculine cards! I'm in love with this new Hats Off to Dad stamp/die set! It's such a fun and easy set to use and it's just perfect for all kinds of occasions! The hat die could be used for feminine cards as well, not just masculine!

This card also features the new Perfect Stripes Stencil collection; I know I will be using these a lot! To begin, I stenciled the background using Spring Rain and Classic Kraft onto Vintage Cream cardstock. I added some Classic Kraft ink around the edges and then set it aside.

I die cut the main pieces of the hat from Kraft and then the front patch from Spring Rain. I added some Dark Chocolate around the perimeter of the hat and Kraft around the Spring Rain patch.

The "professional dad" sentiment is from the Hats Off to Dad stamp set and the sentiments at the bottom are from the new Father's Day Sentiments stamp/die set. I used some Bitty Big: Kraft paper to layer over the stenciled panel. I die cut the largest piece in the Reflections: April die set. I layered the Dark Chocolate strip, which was die cut using the Love to Layer: Decorative Bracket dies over the top and then added the hat. I accented the bottom with additional sentiments.

The Father's Day Sentiments stamp set also includes some options for the inside of your cards.

My second card for today, and the last of the release, uses the new Argyle Stencil collection paired with another sentiment from the Father's Day Sentiments. 

I also snuck in another strip from the Love to Layer: Decorative Brackets die set; I love how the stitched detail looks with the Argyle!

I used the medium and smallest sized die cuts from the Reflections: April die set as a mat for the tree, from the Towering Trees stamp set.

I love all of the sentiments in the Father's Day Sentiments, but I chose this fun one to accent this card.
This concludes my projects for today and for the release! Everything will be available for purchase tomorrow night at 10 PM ET! Thanks for fluttering by!


Friday, April 26, 2024

Papertrey Ink April Release Day 1

It's day one of the Papertrey Ink April release countdown! My first card features the new Blissful Blooms paired with the new Cover Plate Stitched! This floral set is whimsical and artsy!

It includes solid and outline images to create a playful design!

I'm not sure there are any set rules for how to use this set, so you can just play around and have fun!

It includes three sentiments: I chose this one because it's my favorite of the bunch!


My next set of cards uses the new Life's Great Adventure! This is such a fun new camping set!

This card also features the new Playful Stripes stencil collection.

I used the stamping guide for my color and layout ideas. I can't wait to play with this set more!

Some of my favorite images are the backpack and birthday banner.

I love the flannel blanket that you can add to the back of the chair!

And that cooler is pretty realistic! 

This finishes up day 1! I have a big post coming tomorrow so stop by! Thanks for fluttering by!


Saturday, May 20, 2023

Papertrey Ink May Release Countdown Day 2

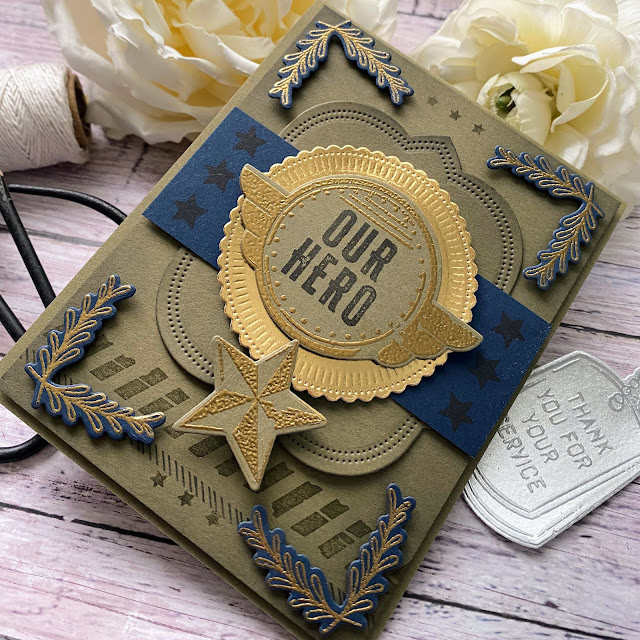
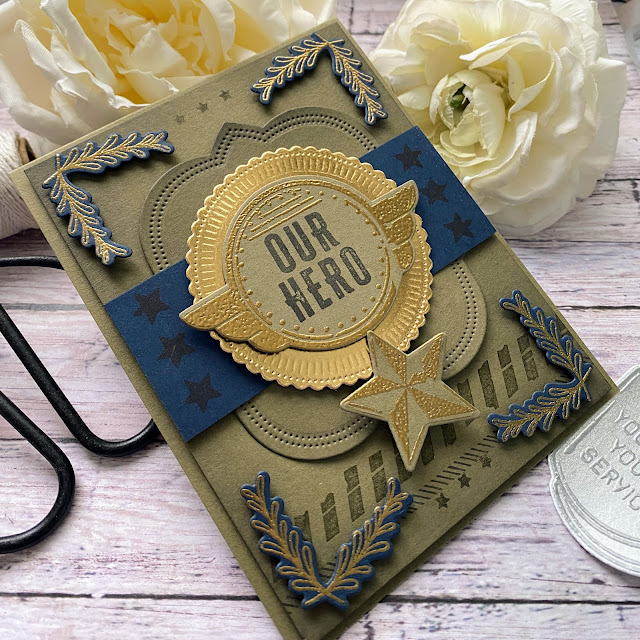
Welcome to day 2 of the Papertrey Ink May release countdown! Today's cards feature some really fun new products geared to the military! I really like the fun twist on patriotic this year because the new products mix and match so well with the previously released American themed products!

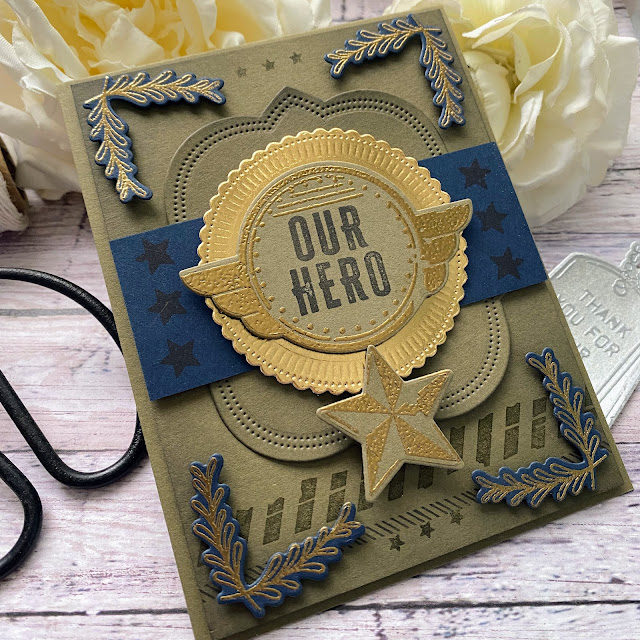
I have a funny (almost not funny, though) story to share with you about this card. I wanted some military inspiration so I headed to Pinterest and typed in Military aesthetic. Up popped a gorgeous uniform all decked out with sashes and pins, and beautiful belts with gold accents! Bingo....a wealth of inspiration and lots of design possibilities using the featured products for today!

I got to work embossing, and die cutting and stamping and I just couldn't resist showing it to my daughter who had entered the room! I told her my inspiration was a beautiful uniform and I quickly showed her! Her face crumpled up and said," Mom....what COUNTRY is that uniform from?"....I scrolled down a bit to read the description.....RUSSIA!!!! I just about died! LOL! I quickly searched for AMERICAN dress uniform and with a few touches of blue and heat embossing on blue, it took a more patriotic turn! ha ha!

Surprisingly, the American uniforms aren't much different and I really like how this turned out! I was especially excited to see how well the Corner Decor worked for this military inspired design!

The Our Heroes stamp set comes with some fun sentiments, different badges, stars, etc. I think it is going to be a great addition to my patriotic stamps/dies!


My second card for today uses the new Footlocker die collection; I also paired it with some of the stamped images from Our Heroes and the previously released United States of America die.

This die collection comes with A LOT of pieces, so I took an organized approach and die cut all of the pieces for each individual element, glued it together and set it aside. I placed the dies back in their storage pocket as I used them to keep things tidy.

I love the cute boots; they remind me of some boots I had for my Ken doll growing up! ha ha! They're so cute in miniature form, don't you think?

I used silver specialty paper for the dog tags for realism. This was a fun card to put together! Thanks for fluttering by!