Secret Sister Gifts
My daughter is off to camp and I've been busy helping her get her Secret Sister gifts all put together. I absolutely love gift giving, but the camp leaders put a price limit on what should be bought (which I understand) but it puts a cramp in my style! ha ha! I decided to jazz up the gifts a bit with some hand crafted tags and boxes. Surprise, surprise! I guess it won't be very secret when she starts delivering her things.
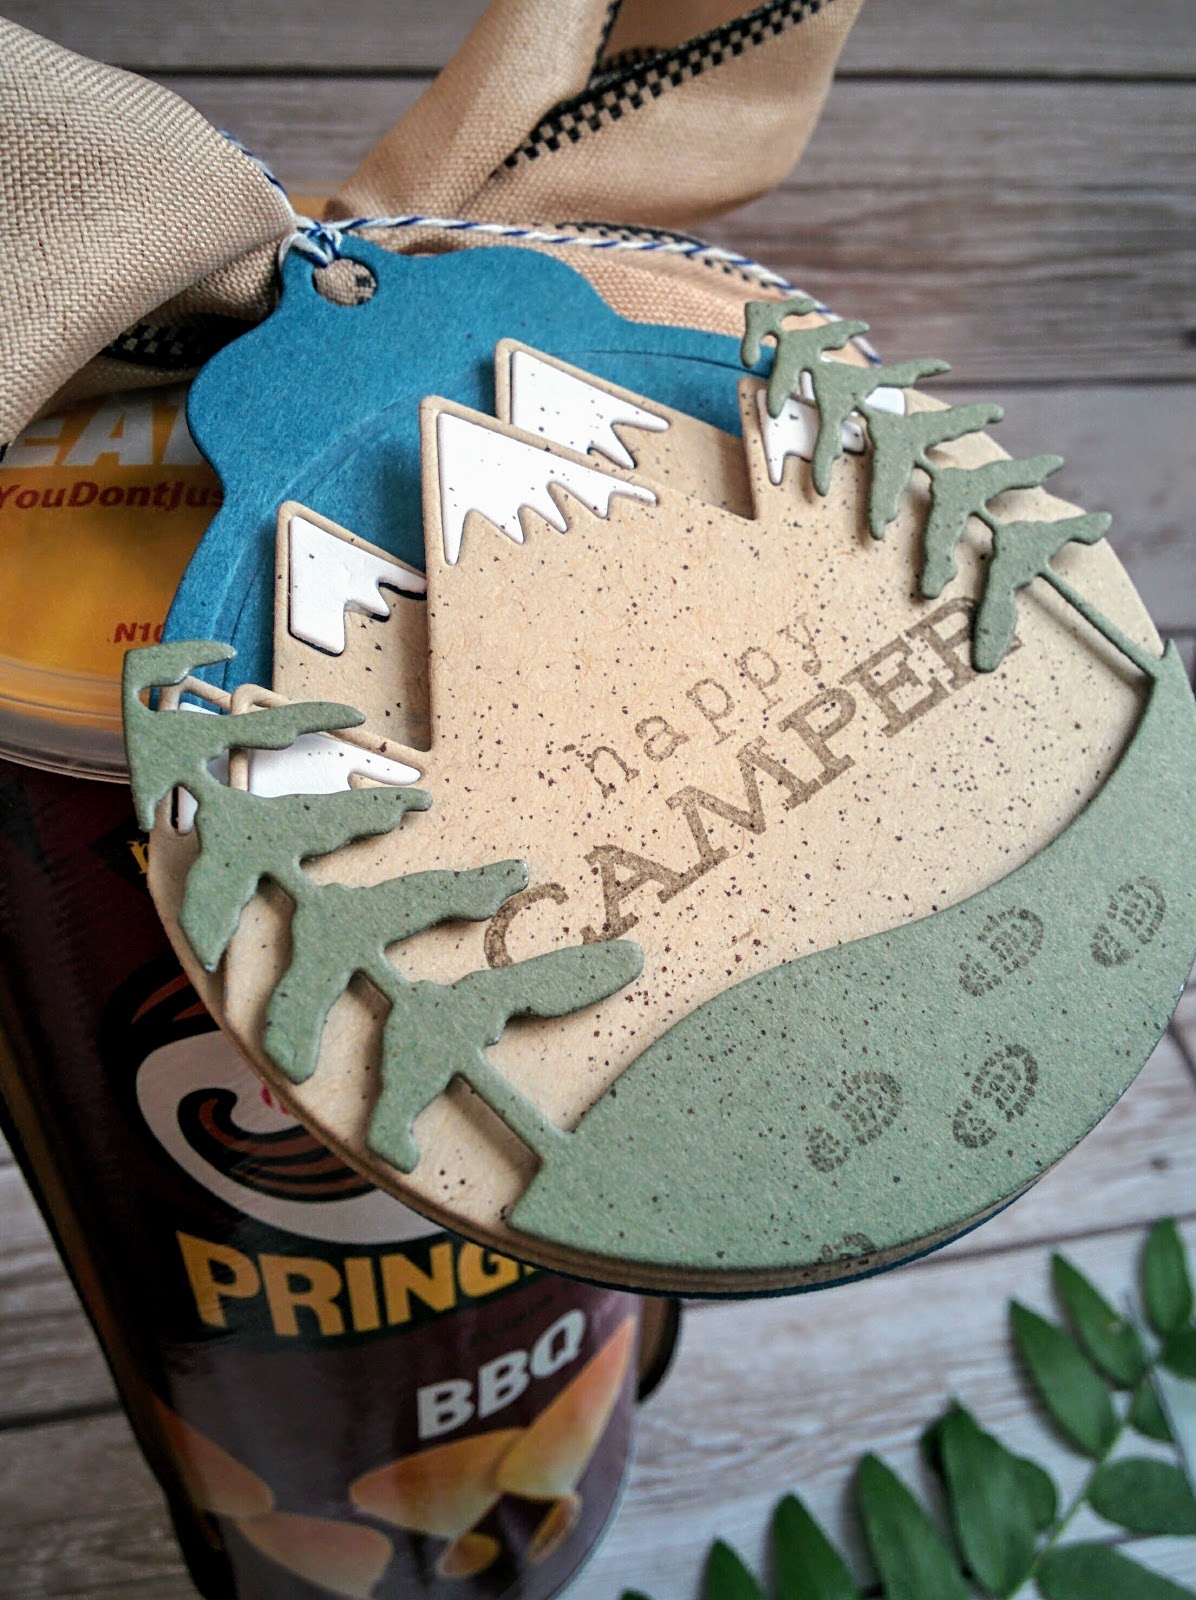
They were also given certain themes for each day as well; a treat, a beauty item, and something spiritual. I made up a quick tag to attach to a package of chips and a little 3 by 3 card she can write a little note in.
The card and tag use the Happy Camper stamp set that is one of my favorites!
You can see it on the chips here. Quick, easy, but thoughtful and not just a container of chips!
The second project is another quick tag and card. I'm sorry to admit that this is the first time I've actually used any of the images from Round Repeats on a finished project. I can tell I'm going to enjoy using it more in the future. I bought it when it was released in 2013 or so... Shame on me for not using it!
The card and tag both use sentiments from the New Every Morning set that I love! I added some turquoise Nuvo drops for a quick embellishment!
I tied the journal and pens up in a satin ribbon and added the cute tag.
I've been SO excited for the Market Street: Make it Market kit and it arrived on Monday. I wanted to use it SO bad but didn't have anyone to make something for, until today! Yay!
The next gift was supposed to be a beauty item so nail polish for the win. I knew it would be super cute inside the flower cart. I watched Betsy's video on assembling tips...I definitely encourage you to watch it.
Here's what I found: definitely reinforce the bottom with a second bottom portion of cardstock. You can see mine bent in this photo, and that was WITH reinforcement. Maybe use your thickest card stock. Also, you will definitely need to attach brads to the awning if you want to get anything in or out! In addition, make sure you line your tabs up the same on both sides...mine is crooked. My dies were VERY dirty (the metal residue) so I encourage you to run them through your machine with scrap paper a few times. I was in a serious time crunch, so I couldn't do this. My poor cart looks like it was in the flower garden itself! LOL! Anyway, I'm excited to work with it some more when I have more time. Thanks for fluttering by!


6 comments:
Love the mountains! Adorable gift ideas. Love them all.
Beautiful projects, as always. Since your carrot box is like mine, and cuts through on the score lines, I wanted to ask how the flower basket dies are doing? Do the score lines also cut through? Thank you very much!
Karen
We cut a second cart out of card stock and reinforced the whole cart. We found this made the whole flower cart sturdier.
Thanks Karen! I was happy that they didn't cut through, but it is close. I cut the box portion out of Kraft cardstock which is thick. If it has problems like the carrot, I'll just use a second layer. So far so good!
Yes! I'm definitely doing that next time! Thanks for the comment!
Thank you!!!
Post a Comment