Hello friends! It's my turn for this week's T.G.I.F {The Greetery Inspiration Friday} over on The Greetery Blog but I wanted to share my project here as well! My card for today is a shaped tri-fold design with a belly
band! I’m enamored with the newReflections stamp set/die set and couldn’t wait to
try using it for this tri-fold design! It was easy to put together, but DID
require a little planning. I’m hoping that I can walk you through step-by-step
easily so you can try your own!
To begin, I cut two panels from white cardstock measuring 4
¼ by 5 ½ inches and then die cut the outline using the new Reflections die. I
die cut one a little further down on the panel and one up a little bit higher
so that when the card is assembled, it gives the realistic illusion of a
forest. Once the two panels were cut, I went ahead and stamped both panels
using assorted Distress Oxide inks. As you can see on the panel on the right, I
varied the shore line to keep it visually interesting.
Once that was done, I was able to get the base for my
tri-fold design put together. I cut a piece of Kraft cardstock measuring 5 ½ by
11. The two panels that fold in measure 3 ½ inches, but I ended up cutting them
as I will explain in the next steps, but you’ll want to begin with these
measurements. I placed the first panel on the left fold butted right up against
the bottom and corner and then carefully placed the die directly around the
trees, and secured it with washi tape. Once it was secure, I removed the
stamped portion and ran it through my die cut machine. You’ll repeat this for
the second flap, but you’ll need to leave it hanging off the edge of your die
cut machine so it doesn’t cut through the back of the card. It might seem
confusing reading it, but when you go to make your card, you’ll understand!

I used an Exacto Knife and a ruler to remove the pieces that
I didn’t need along the fold. From there, I went ahead and glued the two
stamped panels in place, using the die cut portion of the Kraft base as my
guide. From there, you will see that you have pieces hanging over the edge that
will need to be cut straight with your paper trimmer. Once I had it all squared
up, I got to work on the inside!
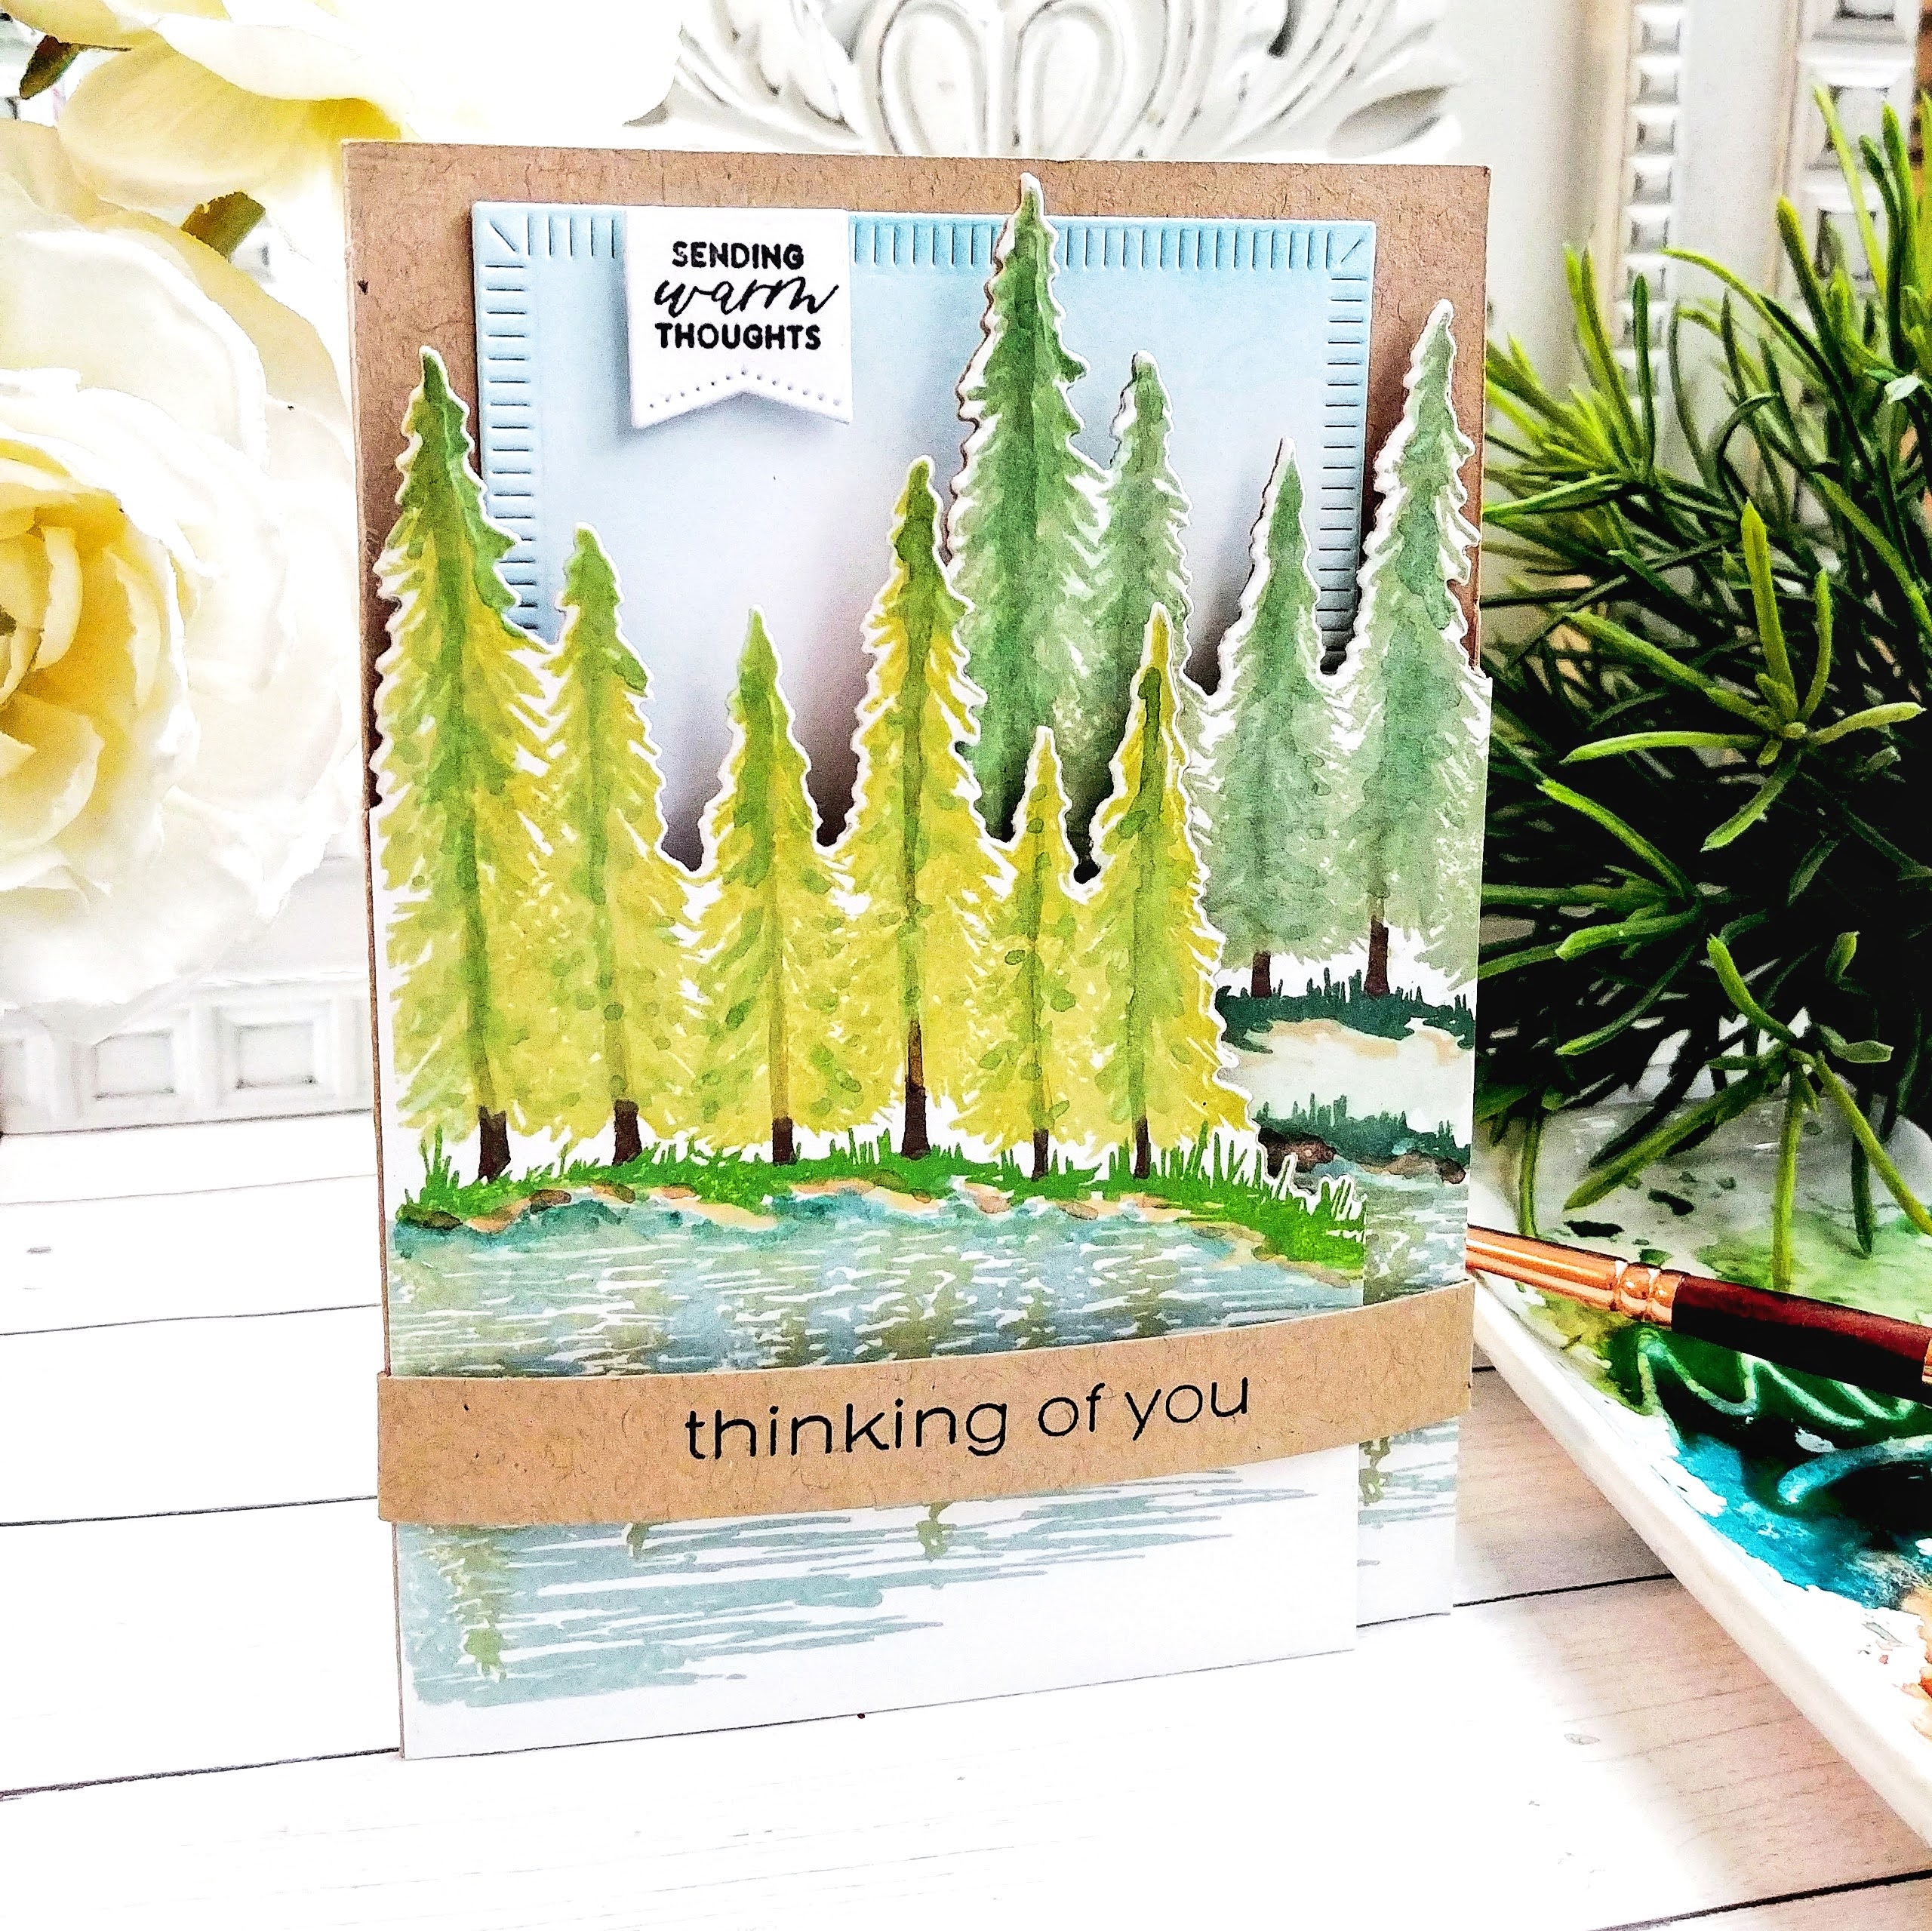
I die cut the middle size of the Crimped Frame and added
some blue ink blending around the edges for a sky. I stamped the sentiment,
which is from theSentiment Suite: Thinking of You stamp set, directly onto the
panel. The smaller sentiment at the top
AND the sentiment for the belly band are from the same set. I used theSentiment Suite: Basics Die for the little banner piece at the top. The belly
band is just a strip of the same Kraft cardstock with the sentiment stamped in
the middle and then scored slightly larger than the width of the card so it can
easily slide off and on.
I finished off the card by adding some watercolor details to
the trees, sand, and water. While I don’t enjoy needing Sympathy cards, I do
like having a few on hand. I really like this particular stamp set for a
sympathy card because flowers, etc. aren’t always the perfect choice, even if
we want them to be (wink!). I hope you get a
chance to try your own shaped tri-fold design! Thanks for fluttering by!


2 comments:
Kelly, you did a magnificent job making this beautiful trifold. I understood everything until I got to the part of “ hanging off my diecutter”. But as you say, it will make sense once you actually make it. The details you added are just beautiful. I love this set too! 😎❤️
What an AWESOME card Kelly, and now I really can't wait for this set to arrive...hopefully tomorrow!! And thank you for the detailed instructions...really looking forward to trying this tri fold card! Someone will definitely treasure this card when it's needed...just beautiful!! Hope you have a wonderful looooong weekend! Hugs. :0)
Post a Comment