Wednesday, January 17, 2024

The Greetery (Love Letters P.S. Collection} Day 1

Hello friends and welcome to day 1 of full reveals fo rhte Love Letters P.S. Collection from The Greetery! I'm absolutely smitten with this release and I hope you all love it as much as I do. I have three projects to share with you today, but first a few items of business; you can head to The Greetery Blog for the official "meet and greet" for each of the new products. Also, make sure to leave a comment here, and on each of the designers' blogs, for a chance to win one of two $50 gift certificates to the shop!

My first card for today features the fabulous new Sent with Love product suite and the new Airmail Border stencil. I can't tell you how much fun I had putting these tiny envelopes and notes together! 

To begin, I took some time to work on all of the little floral clusters you see on this card, and peppered throughout other projects for this release. I used the Winter Medley Die to die cut all of the pieces out of white cardstock (three times each) and then used Distress Oxide inks and finger daubers to color them. I used my foam mat and fine-tip stylus to give them realistic shape. I also used a fine-tip Sharpie pen to add a dot of black to the centers of each flower for dimension and detail.

Once I had all of my floral clusters and leaves, I die cut all of the pieces from the Sent With Love die collection; so many fun bits and bobs! I used gold cardstock for the scissors, stamp handle, sealing wax,  and the nib of the fountain pen and lid detail. I used the cute Screw-top Mini Brads to put the scissors together. Because only one side is glued down, you can actually open and close the scissors, although I don't know if the recipient will know that! ha ha!

One of my favorite details, besides the scissors, is the envelop liner you can add to the open envelope. I chose to die cut it from pattern paper to give it a bit more detail. That being said, the Sent With Love sentiment set has a stamped liner so you can stamp it if you choose. 

For the background, I used the Airmail Border Stencil, the previously released Spring Meadow Background Stamp and then a layer using the Postal Frames Die to layer all of the cute envelopes and notes on! I added glitter to the floral clusters and leaves for added detail!

My second project for today is a box using the new Four Square Valentine Tags stamp set and die! This coordinates with the previously released Four Square Tags Die + Guide.

To begin, I assembled the box, first die cutting the pieces using the Stationery Box Die. I also added a contrasting strip to the front using the Ribbon Maker: Scalloped Hearts die

Once that was done, I had fun making the tag. As you can see, I snuck in a few of the sweet details from the Sent With Love die set AND a few more floral clusters. 

The stamp image and post card image are from the new Postal Modern stamp and die set and you will be seeing A LOT more of that between today and tomorrow! ha ha! 

I love all of the different fonts and sentiments included in the new tag set!

My third and final card for today uses the new Flourished Phrases Hello product suite. There is also a Flourished Phrases Love suite as well, and I'll be sharing another project tomorrow using that, but some of the other designers have used it today, so make sure to stop at their blogs as well! 

This suite of products works like the Plaid Tidings products that were released this past Christmas. I absolutely LOVE the results and can't wait to make all kinds of cards using the stencils and dies!

I used the Airmail Border stencil again AND more elements from both the Postal Modern stamp set and the Sent With Love die set.

I tucked a few floral clusters and leaves here and there for added detail! Of course a sprinkle of glitter was in order!

Well, that finishes up day 1, but join me again tomorrow for day 2; you won't want to miss it! Head to the other designers' blogs to leave a comment to be eligible to win one of the two gift certificates!

Kelly (you are here)


Tuesday, January 16, 2024

The Greetery {Comforting Floral Sympathies}


Hello and welcome! Today I'm sharing a set of floral sympathy cards over on The Greetery Blog, but I wanted to share them here, too.  I sat down a few months ago and mass-produced quite a collection of sympathy cards to have on hand since these types are often needed unexpectedly. I’m saddened to say that my collection has dwindled and I’m in need yet again. As soon as I saw the recently released Comfort and Joy Stamp Set, I knew it would transcend beyond Christmas cards and I couldn’t wait to use the beautiful sentiments on a fresh set of sympathy cards. 

I’m particular about certain design elements and colors on sympathy cards and I will explain my reasoning throughout today’s post. That being said, I’m also known for breaking my own rules, so these aren’t “hard and fast”, but I use my judgement depending on the situation and recipient. (wink) Since these don’t have a particular recipient in mind, it didn’t matter necessarily. One more thing before I dive into the how-to, I don’t usually make “seasonal” sympathy cards, but changing up colors can make them more appropriate for a different season and I will explain that a bit more, too!

To begin, I chose to use the beautifulSpring Meadow Stencil Collection and coordinating Spring Meadow Die. I like using stencils for mass production because you can just go step-by-step, panel by panel. Let’s take a minute to talk about color; as you can see, each of the four cards has a different color combination, but can you believe it’s only because I changed the final color for each of the four cards? Just changing one color can really change the look and feel of your design. I chose the final color to create something more fitting for a  particular season. Keeping the rest of the colors exactly the same makes the mass-production element much simpler!

Once I had the four panels stenciled, I used the coordinating die to cut them out. I set them aside and got to work on the background. For sympathy cards I don’t generally like a lot of layers and design elements, but I DO like visual interest. For today’s cards, I added some vintage patina distress ink to the center of four 4 by 5 ¼ inch panels of white cardstock. I wanted to make sure I concentrated the ink where it would peek out from behind the die cut stenciled flowers. I also added some Hawaiian Shores ink splatter to each of the four panels for some depth and interest.

While the ink was drying, I got to work on the sentiments. I chose 4 sentiments from the Comfort & Joy stamp set that work well outside of Christmas and would work nicely for the sympathy cards. I used black ink and then used the coordinating dies to cut them out. Once I had that done, it was time to decide on a layout for each individual card. Some of the sentiments have the stamped companion sentiment such as “sending” or “sending wishes for”. Because of the intricacies of the die cut florals, I needed to stamp them up at the top or in the corner. I really like how easy it is to tilt the bouquet in either direction for variety. You could also use two for each card and arrange them at the top or bottom and then add the sentiment in the middle; lots of possibilities! I used my mini MISTI to stamp the companion sentiments and then assembled each card one-by-one.

Part of me wanted to add some sequins, but another one of my sympathy card “rules” is that I don’t want anything too flashy, so instead, I opted to spritz each card with a shimmer spray and a light hand! Each of the four panels was mounted onto A2 card bases using foam squares. I’m pleased to add these to my collection and fingers crossed I won’t need so many this year! Sending wishes to each of you for a blessed and happy new year! Thanks for fluttering by!

Tuesday, December 19, 2023

The Greetery {Christmas Garland Slimline Card}


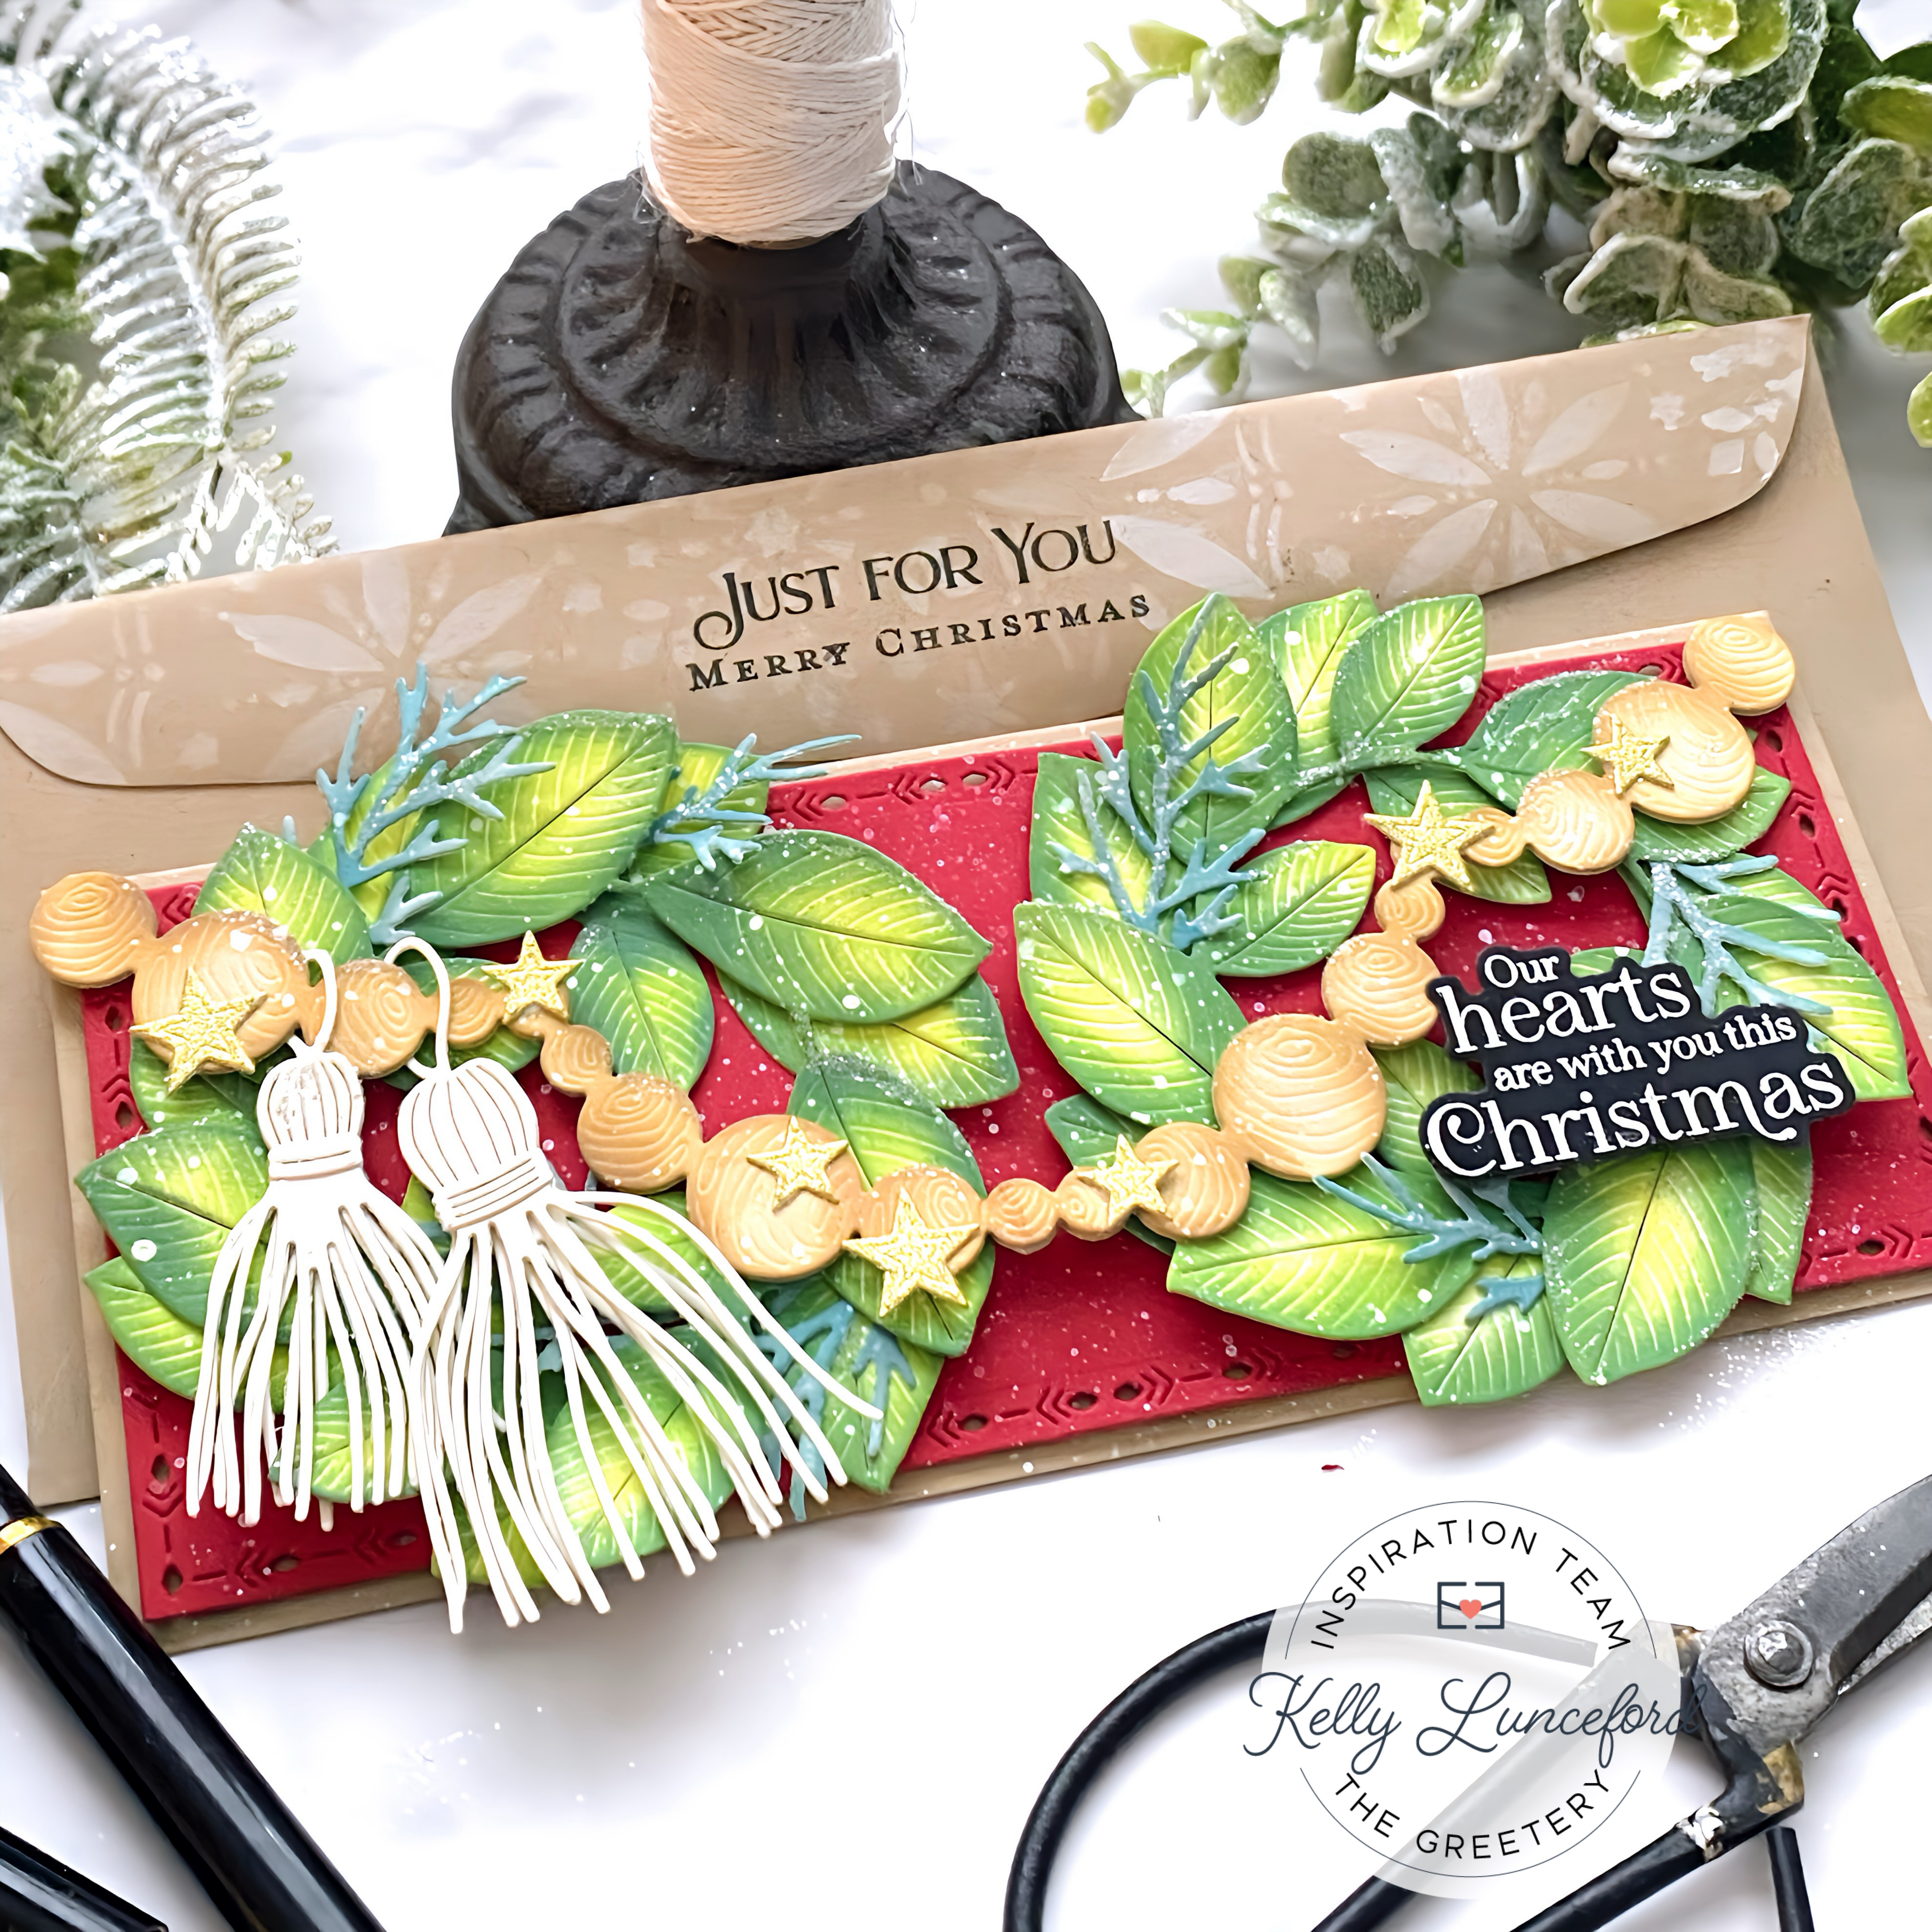
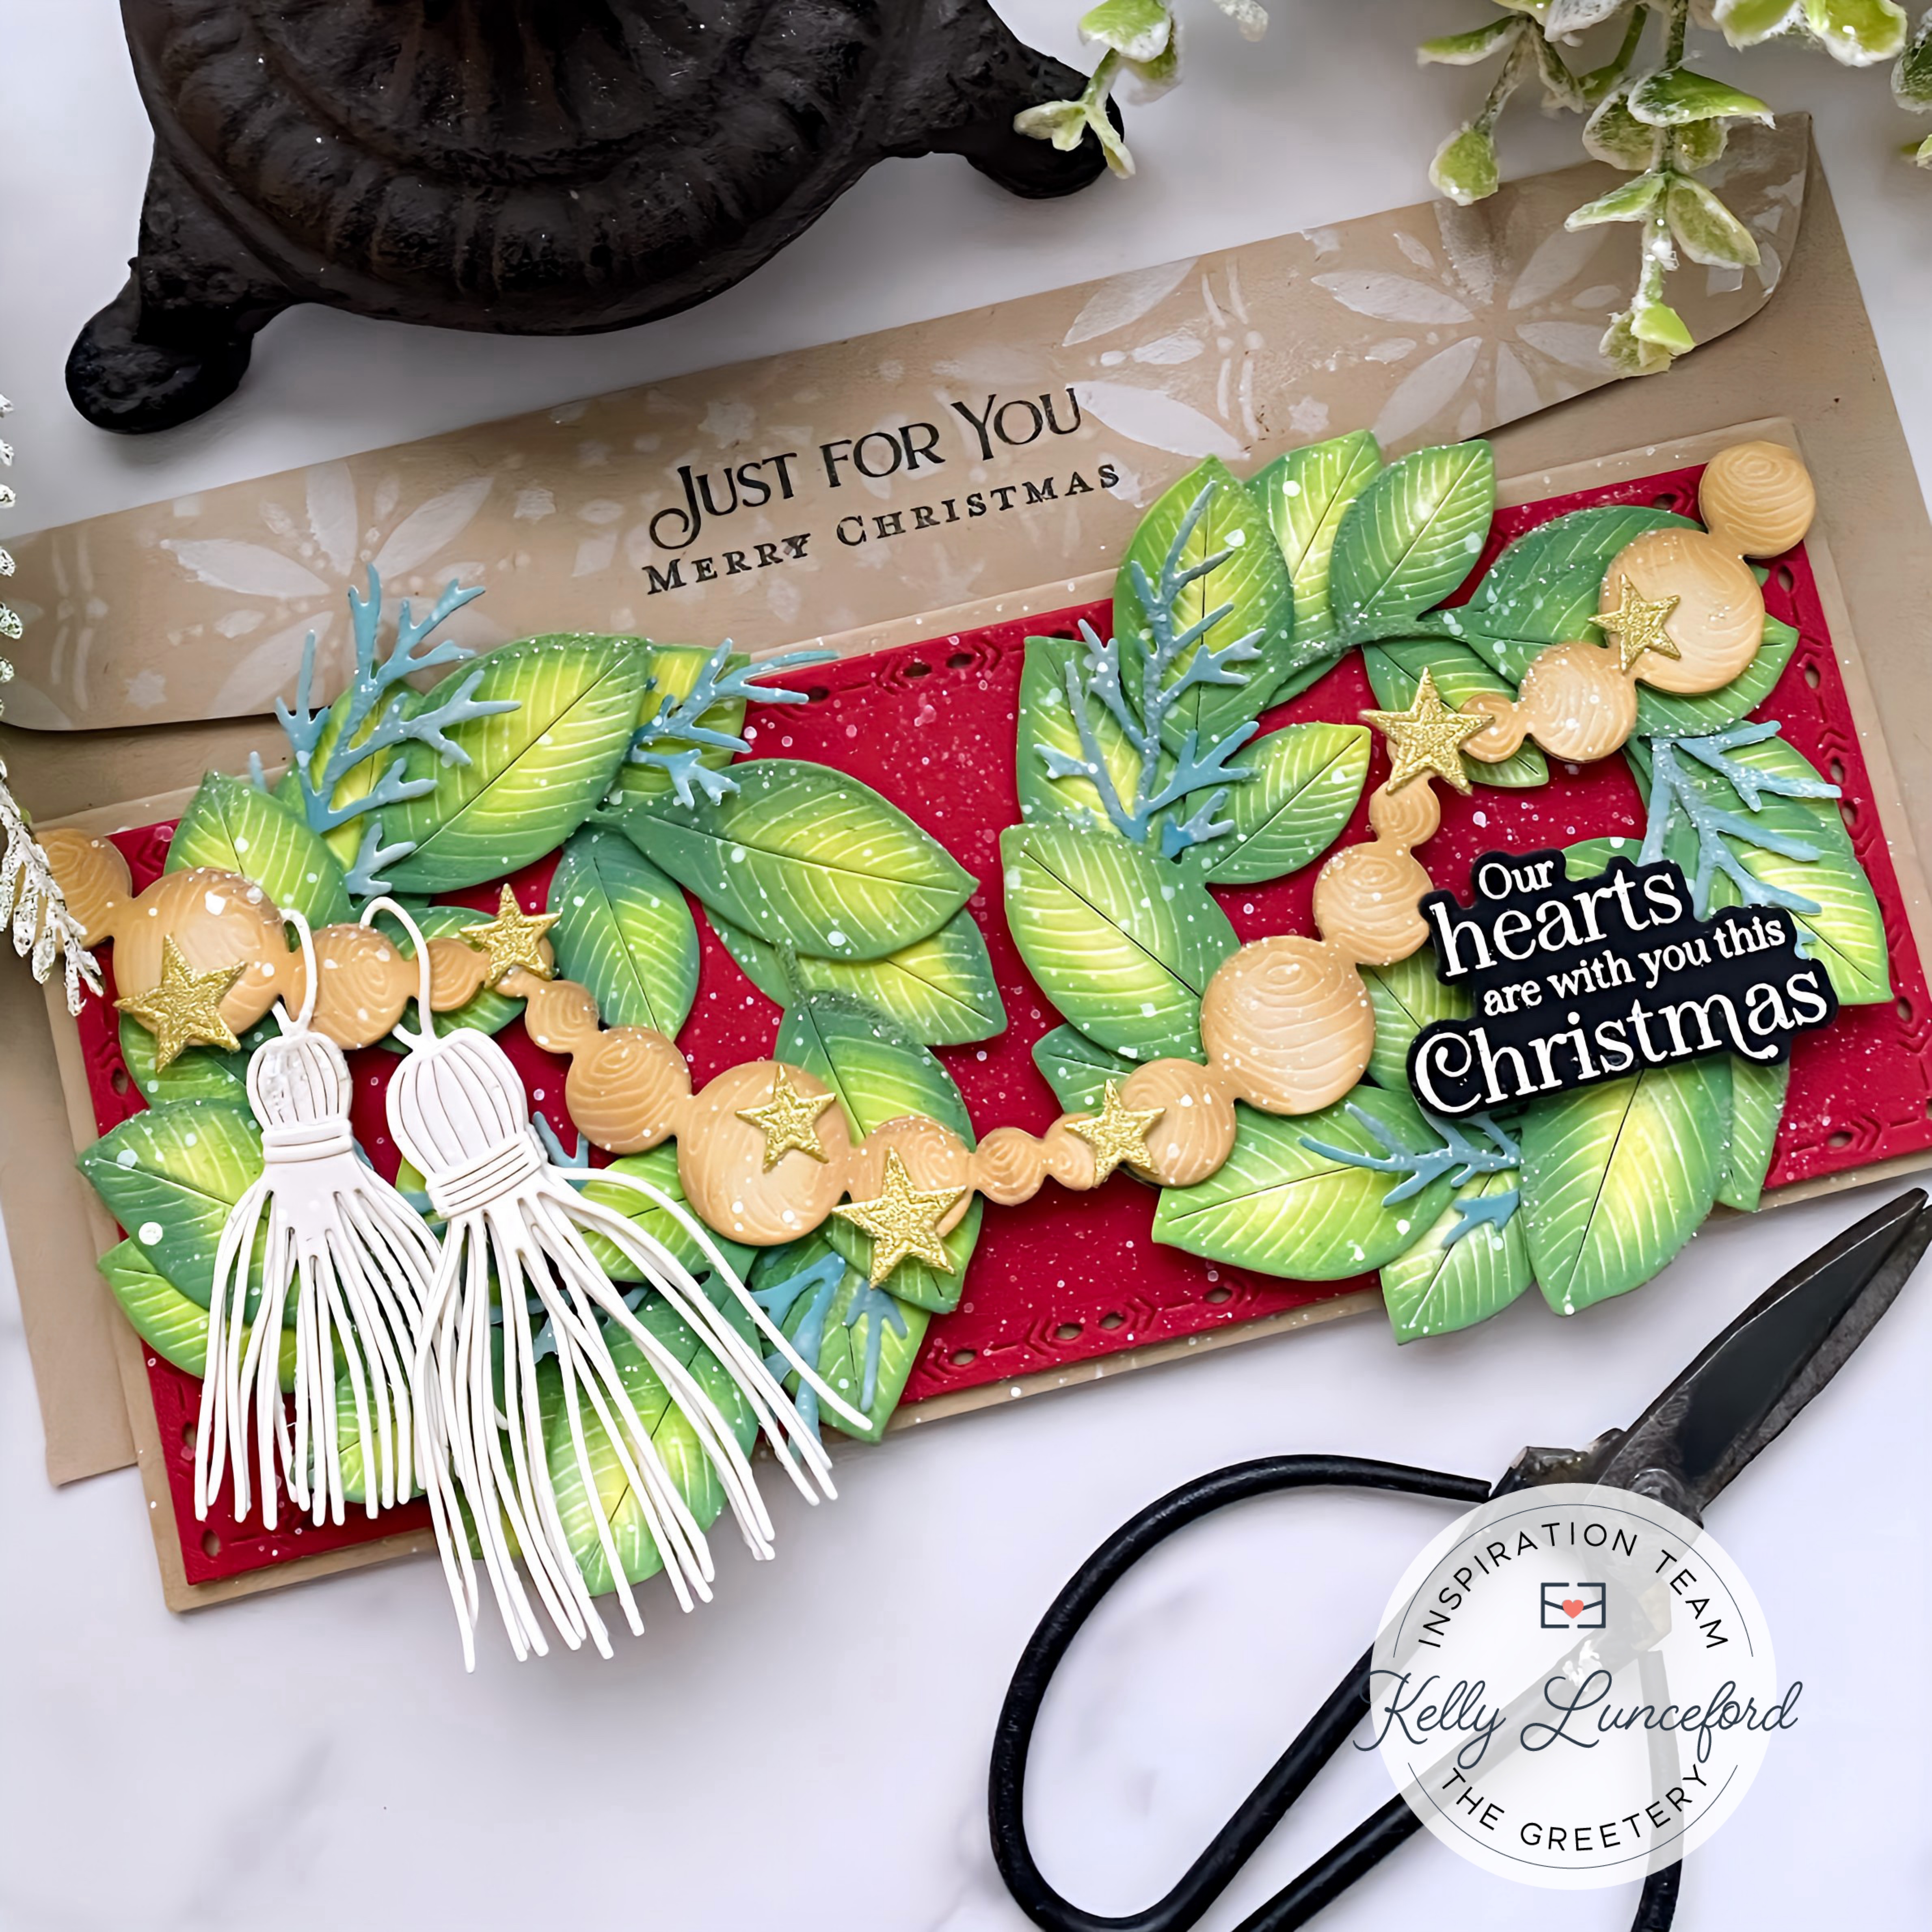
Hello friends! I’m happy to be here today sharing a slimline card that features some of my absolute favorites from the latest release from The Greetery! I had wanted to make a card featuring a wooden ball garland for the release, but just didn’t end up executing that particular idea. I couldn’t get it out of my mind, so I was happy to create this card to share with you today!

To begin, I die cut 4 wreaths using the Magnolia Wreath die from white cardstock.  I used twisted citron, mowed lawn, and rustic wilderness Distress Oxide inks and a finger dauber to bring them to life. I adhered two wreaths together using strategically places foam squares to give me two finished wreaths. I knew I would want additional greenery for my design, so I also die cut some BotaniCuts Juniper pieces to tuck here and there.  I set them aside and got to work on the bead garland.


I used the Ribbon Maker: Wood Bead Garland die and die cut the curvy design 4 times from Kraft cardstock. I glued two together for a nice, sturdy piece and then added some brown ink around the edges for contrast and depth. I glued them together after I had fussed and fidgeted with how I wanted the garland to hang for this design. I ended up cutting off the pieces at the top so it would hang just right; you can adjust things how you need if you’d like to try this idea!

Every Christmas, I add a beautiful icy garland over my fireplace, but have fun adding all kinds of “extras” like snowflake ornaments, icicle ornaments, etc. so of course I needed to give this garland some “extras” as well! I added both sizes of tassels using the Tassel Large Die and the Tassel Small Die.  I simply die cut them from Rustic White cardstock and adhered them together. I couldn’t actually thread them through the bead garland because of size, so I simply snipped a strategic slit in the loop and added them that way, securing them with foam squares. I also added a few gold glitter stars in two sizes; you will find these darling stars in the Rustic Star Small die collection and Rustic Star Large die collection.

I was having a hard time deciding on a sentiment, but I knew it would need to be one with a coordinating die, so I chose the gorgeous Comfort and Joy stamp setwith its coordinating die. I heat embossed it in white onto black cardstock and then die cut it. The black and white provided the perfect contrast against the red and greenery.


For the background, I die cut the largest panel included in the Nordic Slimline die collection out of Pure Poppy cardstock. I added that to a slimline-sized Kraft card base using foam squares. Once that was done, it was finally time to pull it all together….my favorite part! Once I had the wreaths, garland, and tassels in place, I added some white paint splatter. The stars are added using liquid glue and then everything got a generous sprinkling of glitter for that holiday sparkle I love so much! I also gussied up a Kraft slimline envelope using the Snowflake Prints Stencil and the Four Square Holiday Tags stamp set. I don’t often make slimline cards so this was a fun change-of-pace for me! I hope you’ll try your own garland card! Thanks for flluttering by!

Tuesday, December 5, 2023

Sent With Love

It's my turn for the Papertrey Ink Flash Sale and since it's December, that means it will be a Valentine's Day theme! My card for today features the adorable All You Need Is Love stamp set! I took December off last year so this is actually the first time I have ever used this set and I absolutely LOVE it! This tiny envelope image would also be so cute for Christmas tags and cards! I think I might just leave it out and make some cute tags with it or something!

For this card I knew I wanted an overall postal theme so I chose to use the Border Bling: Postage Frames Die for the background and then layered up all kinds of fun things to pull this card together!

To begin, I die cut all of the pieces and then stamped them using reds, pinks, and corals! I die cut everything twice so I have enough left over to make another card! Yay! 

The base of the envelope and the flap are two separate dies and images so it makes tucking everything in a breeze! I layered the two pieces onto the largest heart in the Love to Layer: Hearts die collection, cut from Pure Poppy cardstock, and then added that to the largest rectangle in the Love to Layer: Rectangles die collection.

I added all of the stamped pieces here and there. I would recommend stamping the cute little flourishes coming out of the heart BEFORE you add the envelope. I did it after, but it was a little tricky, so do that before if you can.

I arranged the three pink hearts around the envelop for added detail. I added the postage frame on a top-folding A2 cardbase using foam squares and then layered everything on top of that. I added a touch of glitter for some sparkle and shine! Thanks for fluttering by!
P.S. I mentioned at the beginning of today's post that I took last December off and I am doing the same this year. I have SO many stamp/die sets that I have purchased for my personal use that are just sitting there (like YEARS worth) and I am planning on taking some "me" crafty time and pull them out and do some Christmas crafting! I will be sure to share everything here! But first.... finish decorating for Christmas! ha ha!


Saturday, December 2, 2023

Season's Greetings Shaker Card

Welcome! I shared this card on Instagram a few weeks ago for the Papertrey Ink Flash Sale, but I didn't share it here. It seemed to be quite popular so I thought I'd share it here and give a few details on how I made it!

One of my favorite die sets from last year is the Christmas Shaker Dies; I love shaker cards, but I seriously struggle with them and these dies make creating shaker cards a dream! For this card, I wanted each portion of the tree to be it's own "compartment" so I chose to die cut the tree shape about 5 or six times and then glued them together using liquid glue. I used the "backer" die, which is also used for the acetate portion and glued the acetate layer underneath the top tree piece. I turned it over and added the tiny star embellishments in each compartment and then glued the pattern paper backer to the back using additional liquid glue. 

I have gotten quite a few questions about the pattern paper that I used for this card; it really does set the tone of the card, doesn't it? It is called Holiday Spice from the Recollections brand. I did a quick google search and it looks like there is a pack available on Ebay and I saw one on Etsy I believe, but it is a 6 by 6 pad. Anyway, it DOES look like you could get your hands on some.

I carried out the star theme and die cut the included star from the shaker set from silver glitter cardstock and glued it to the top of the tree. I tucked some greenery behind the tree for added detail. The sentiment is from the Winter Globes Sentiment Set and is just perfect for this card!

The light panel is die cut using the Love to Layer: Rectangles Die and I just love the pierced detail! It lends itself nicely to the piercing on the tree to keep things cohesive. I chose the big plaid for the background to warm it up even more and glued it to a top-folding Kraft card base. Thanks for fluttering by!


Thursday, November 30, 2023

In the Spotlight: Season's Greetings + Bonus Tag

Hello friends! I'm sharing a holiday card that is featured in today's Papertrey Ink newsletter and I thought I'd share it here as well with a few more details about the process AND I had a few sprigs and berries left so I am sharing a bonus tag that I made with the leftovers!

This is the finished card, but in the next series of photos, I will share step-by-step instructions on how I created this Christmas design.

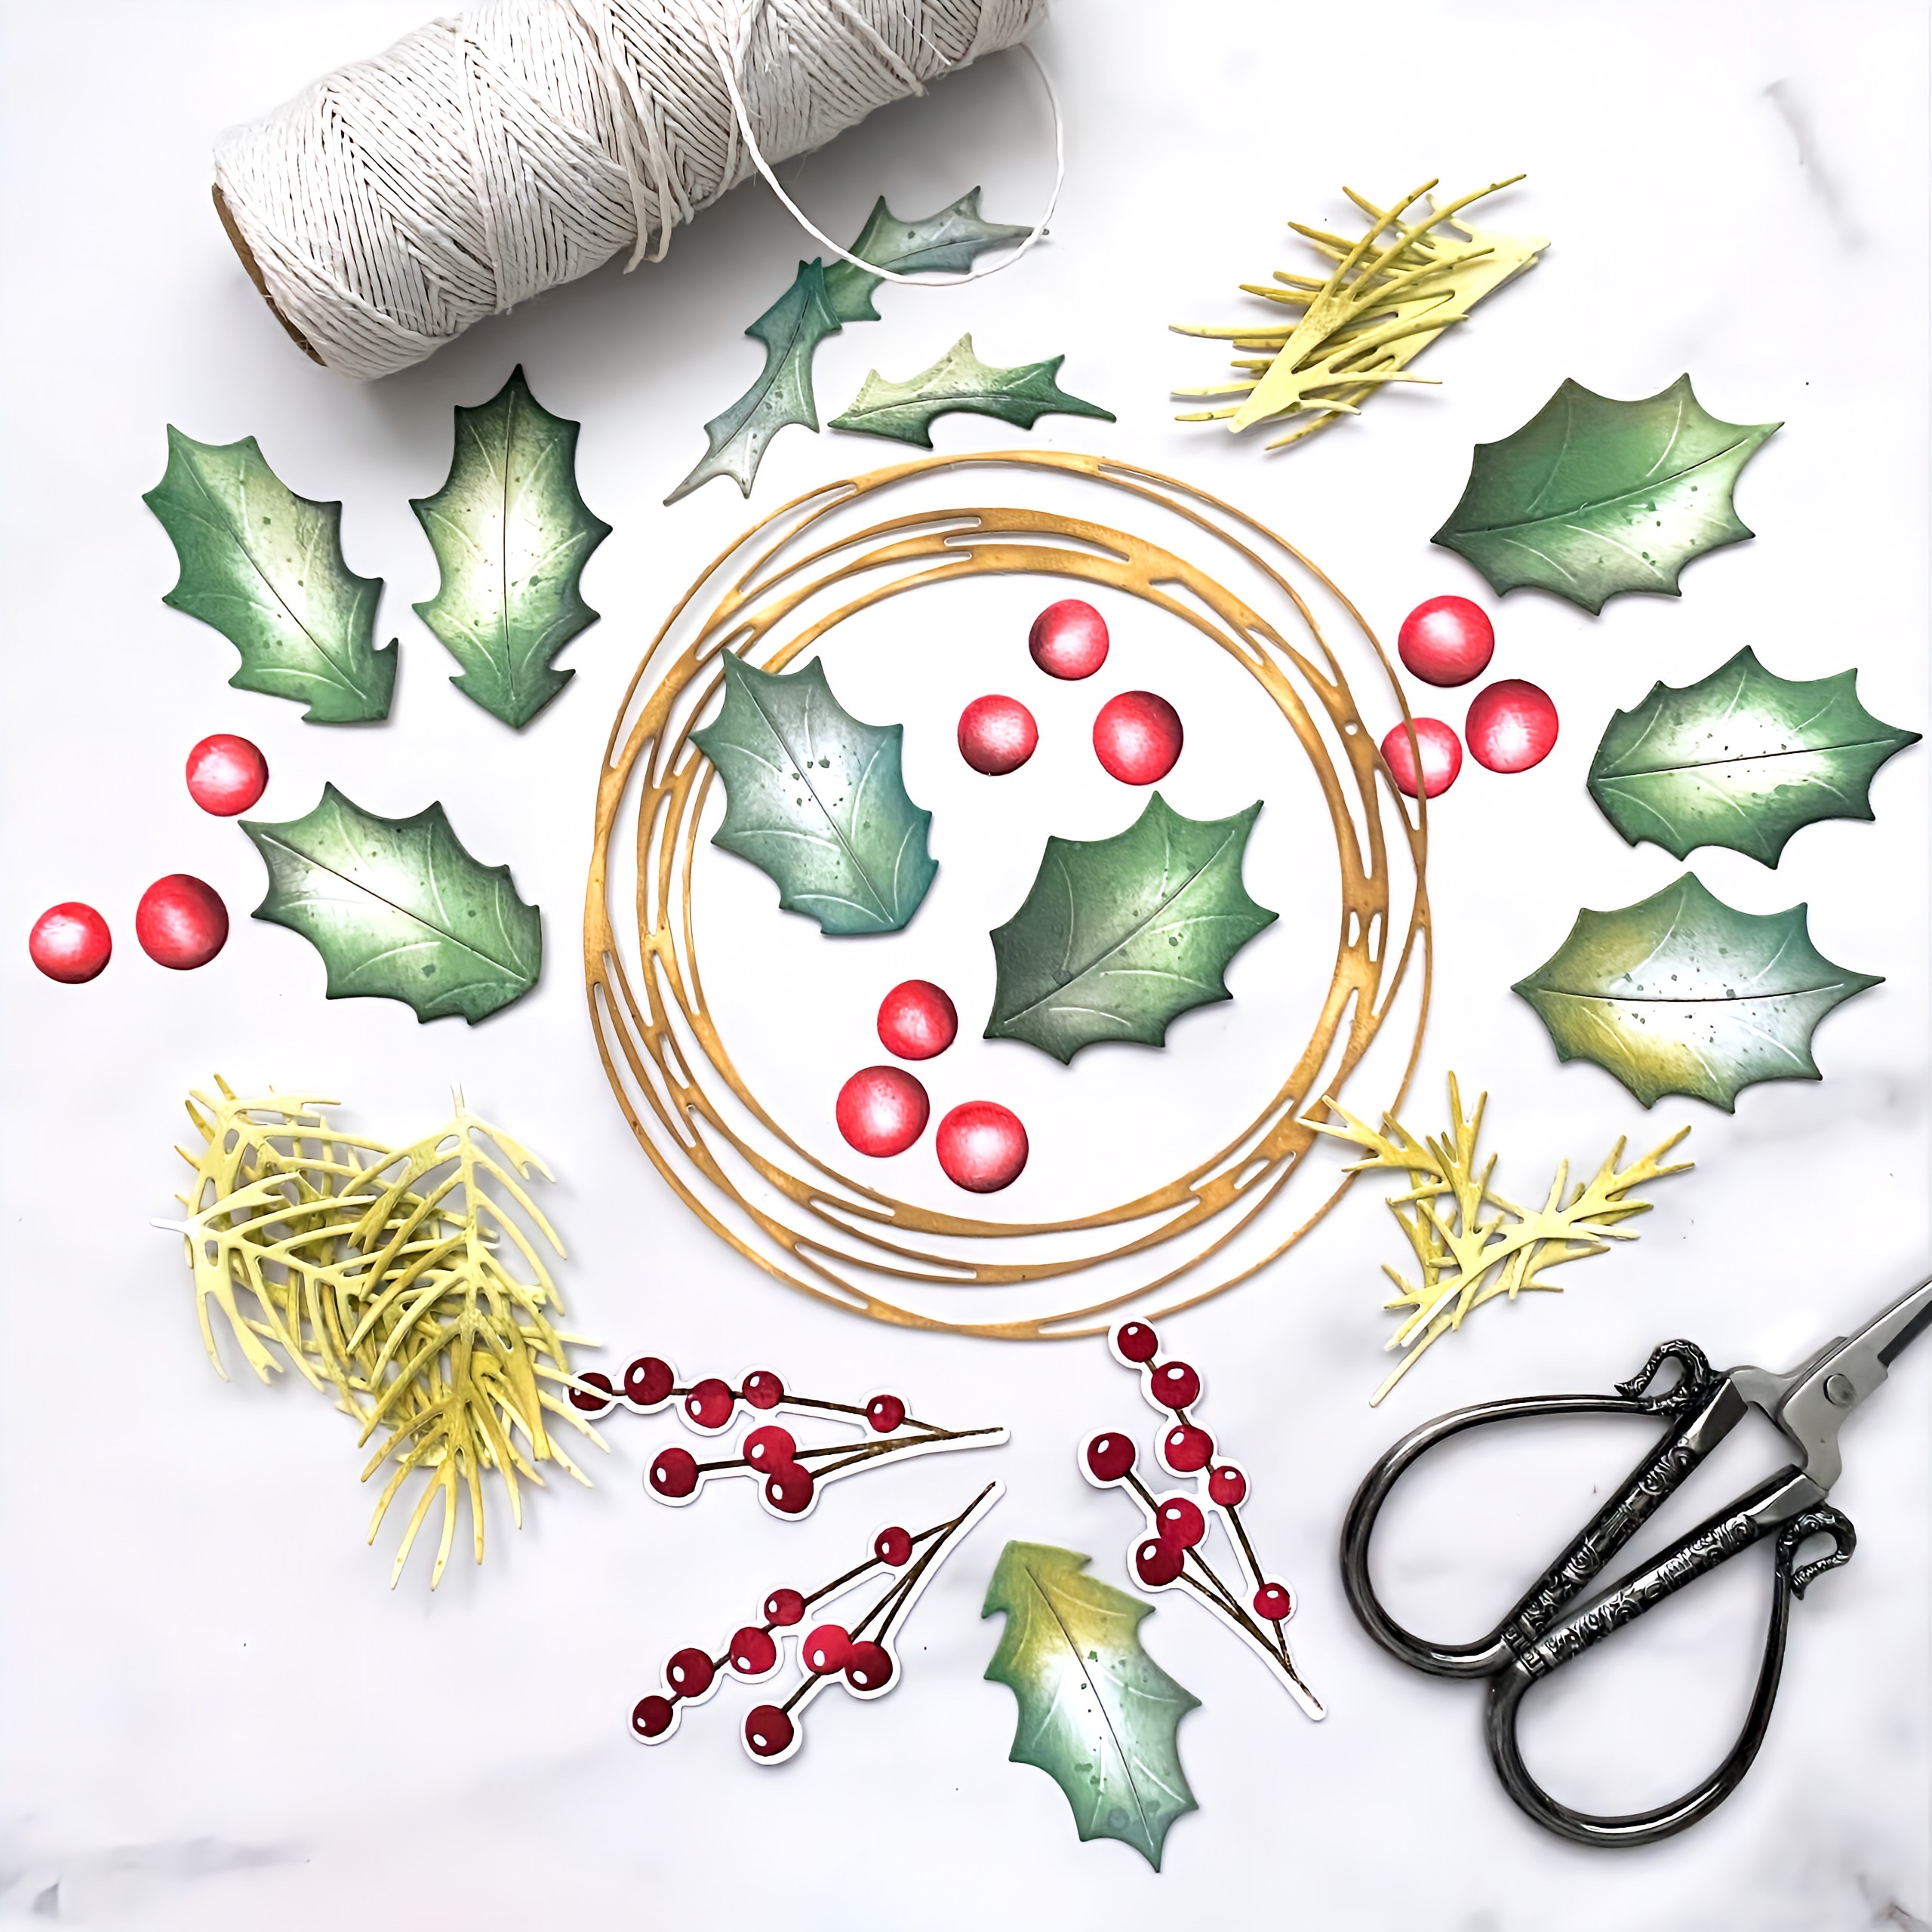
To begin, I die cut and colored all of the pieces I used for my wreath. I used the Into the Blooms: Holly DiesInto the Blooms: Christmas Sprigs dies, the berry branches included in the Christmas Bouquet stamp set, and finally, the wreath from the Forever Snowflake Frame Die. I used an assortment of Distress Oxide Ink Pads for the die cuts and then stamped the berry branches using Pure Poppy, Scarlet Jewel, and Cocoa Bean ink.

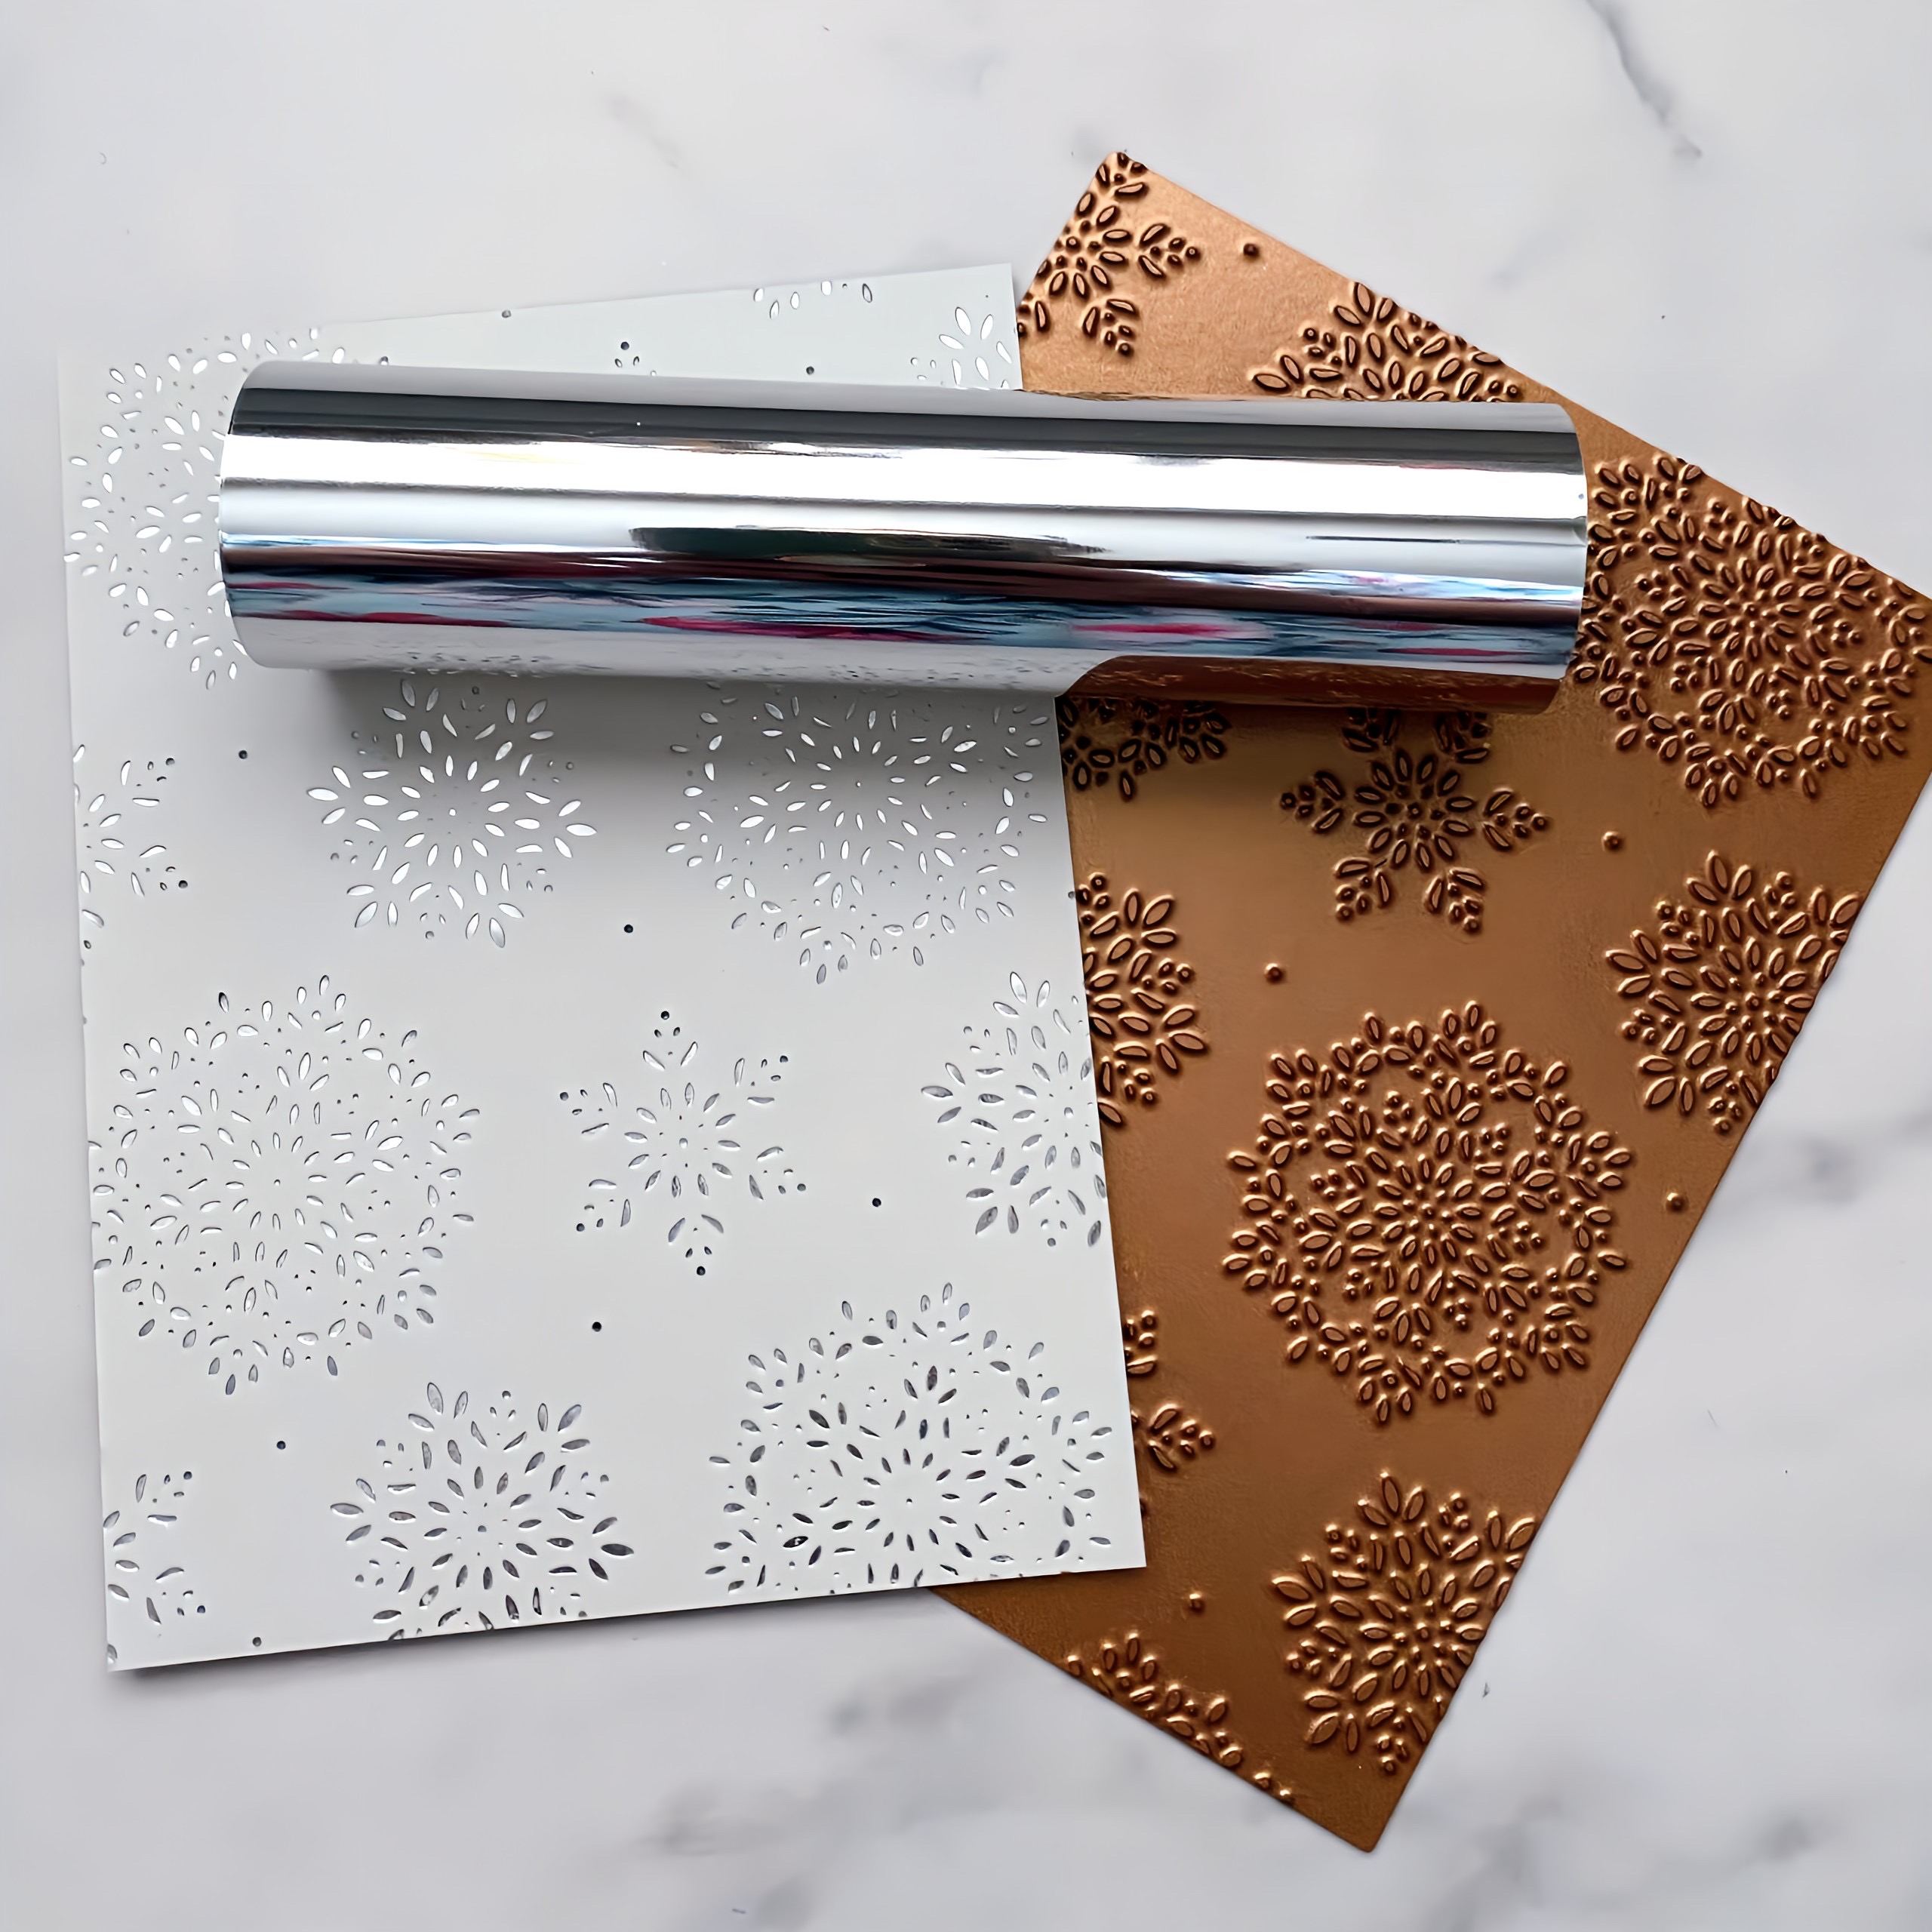
Next, I hot foiled a 4 by 5 1/4 inch piece of Soft Stone cardstock with silver foil. Use the coolest setting on your machine for 15 seconds; this Fanciful Snowflake Hot Foil Plate always provides amazing results without a lot of fussing and guessing which setting!

Glue the wreath to the foiled panel and attached the panel to a white A2 top-folding card base with foam squares.

Arrange Holly, berries, and pine sprigs around the wreath frame using liquid glue and foam squares. Add the stamped./die cut sentiment from the Christmas Your Way stamp set and then heat emboss the accent sentiment using silver powder on a black strip of cardstock.

Finally, add the finishing touches like white puff embossing powder and glitter! I also added black detail to the berries using a fine-tip Sharpie marker. 

Here's the finished card! I forgot to mention that I added some ribbon "tails" to the bottom of the wreath using the Bows Galore die set. I did rip it in half at the top so I could arrange them the way I wanted.

I chose to stamp the Season's Greetings sentiment on the same Soft Stone cardstock as the background to keep the wreath's openness. I used the black sentiment strip to add contrast.

I don't normally mix stamped images and Into the Blooms die cut pieces, but I really felt that the berry sprigs worked nicely with this design.

I like starting off with white cardstock for die cuts like this because it allows me to create built-in "shine" and realism by keeping portions white, like I did on the berries and leaves. 
Since I had some die cut pieces left over AND a few sentiments from the November release, I decided to have some fun and make a bonus tag.

The Happy Holidays sentiment is from the Vintage Holiday Flair stamp set and is one of my favorites from the new release.

I also added one of the postal images from the Deliver by December 25th stamp set and is part of this week's Flash Sale.

For the tag, I used Wow! White Sparkle embossing powder and I absolutely LOVE the result! As you can see in this photo, I went one step further on the berries and added some details with a white gel pen to give them a bit more realism. I gave the entire tag a couple flicks of white paint splatter and called it done! Thanks for fluttering by!