Tuesday, July 30, 2024

The Greetery These are the Days Collection Release Day

Hello friends! I hope your week is off to a great start! Thank you so much for all of your sweet comments on yesterday's post! Today is the day that the These are the Days Collection is available for purchase starting at 10 am EDT! I have a bonus card to share with you today as well!

I was invited to a baby shower coming up in August and I thought it would be fun to make a card for the mom-to-be using the new calendar themed items! Since we don't know exactly WHEN the baby will be born, I thought it would be fun to make a shower card with her due date!

I loved some of the darker, moody calendar cards Betsy made for the release so I thought I would start with a darker panel for the calendar.

To begin, I used the Calendar Grid dies to cut the grid. I used the same popped up date like I did on the card I shared yesterday. I simply saved one of the pieces from the grid and stamped the date using the Calendar Basics stamp set.

Since the mom-to-be is expecting a baby girl, I chose some pink flowers to add to the calendar. There is an awesome sentiment from the "One Fine Day" stamp set that talks about the day you were born, so that would be perfect for a baby card once the baby is born, or for birthdays!

I used silver metallic ink for the September and "you'll remember always" sentiment.

I die cut the spiral binding and hanger from gold cardstock and added them with scotch tape to the back to add the binding and then liquid glue to add the hanger to the spirals.

I layered the calendar on a pink card base using foam squares.

This is such a fun and beautiful new release! Thanks for fluttering by!


Monday, July 29, 2024

The Greetery These are the Days Collection

Hello and welcome, friends! I've been busy as a little bee working on all kinds of fun projects and I'm so happy to finally be able to share them with you! Today I have 3 projects to share with you using all of the beautiful new products from the These are the Days Collection from The Greetery! Don't forget to head to The Greetery Blog for the official "Meet and Greet" for all of the new products! Also, don't forget to leave a comment here, and on each of the designers' blogs, for a chance to win one of two $50 gift certificates to the shop!

As you've probably gathered, this collection is calendar-themed which is so fun and unique! They are being released just in time to get started on all of those handmade Christmas gifts we all love to create!

My first project is a 2024 floral desk calendar for my upcoming 5th grader to give to his teacher. It begins at August and ends with December. I will make her a new one for 2025 and have my son give it to her as part of her Christmas gift!

I used the new Calendar Basics stamp set to create each of the calendars for the month. As you can see here, I used the circle image and "Big Day" sentiment to highlight the first of school that is approaching WAY too quickly! eek! 

This project is easy to put together in assembly line fashion! To begin, I stamped the grid image using the Calendar Basics stamp set and Hickory Smoke distress oxide ink on white A2 panels. I used my MISTI to make quick work of this part. Once the panels were stamped, I used the Jumbo Jar Die to cut each of the calendar months. I used the Calendar Grid stencil to add color to each of the months. I had previously stamped ALL of the Birth Month Blooms flowers so I was able to decide which color stenciling I wanted to do based on which flower would coincide with that month. Hopefully that makes sense!
I tucked the flowers into the jars and secured them with liquid glue. I alternated them from one side to the other so that when they are stacked up the display would be full and beautiful. If you look at the full calendar all put together, you will see some violets popping out on the right-hand side; I added those to a blank jar panel to the back to give the calendar more symmetry and additional color .


I was pleased to find some wood blocks to use as the calendar stand and you can find them HERE. They are a good price and I will be able to give calendars as gifts as needed! The cover was created using the previously released Bold Numbers Die to make the 2024. I added some flowers using the BotaniCuts: Wildflower Mix dies and the Winter Medley Die. The Greetery is also offering some pre-printed 2025 calendar pages and I used the cover as inspiration for this cover.

My next project is a birthday card I just made for my daughter who celebrated her birthday on the 22nd! I just love how you can make your projects so personalized with these new products! This card features the Calendar Grid Die paired with the Spiral Bound die, (this gives you the option of creating faux spirals like I did here, or to make the holes to add the real spiral binding on an actual calendar) Birth Month Blooms, and the new One Fine Day stamp/die set.

One of my favorite flowers in the collection is the Larkspur and I was pleasantly delighted to find out it is July's flower! Yay! I had already told myself I would use it no matter which month it was for! ha ha! I added in a few other month's flowers to give it variety and additional color!

To give the calendar personalization, I added the 22 that was stamped using the Calendar Basics stamp set on a rectangle that was cut when I die cut the grid. I popped it into the proper space using a min foam square.

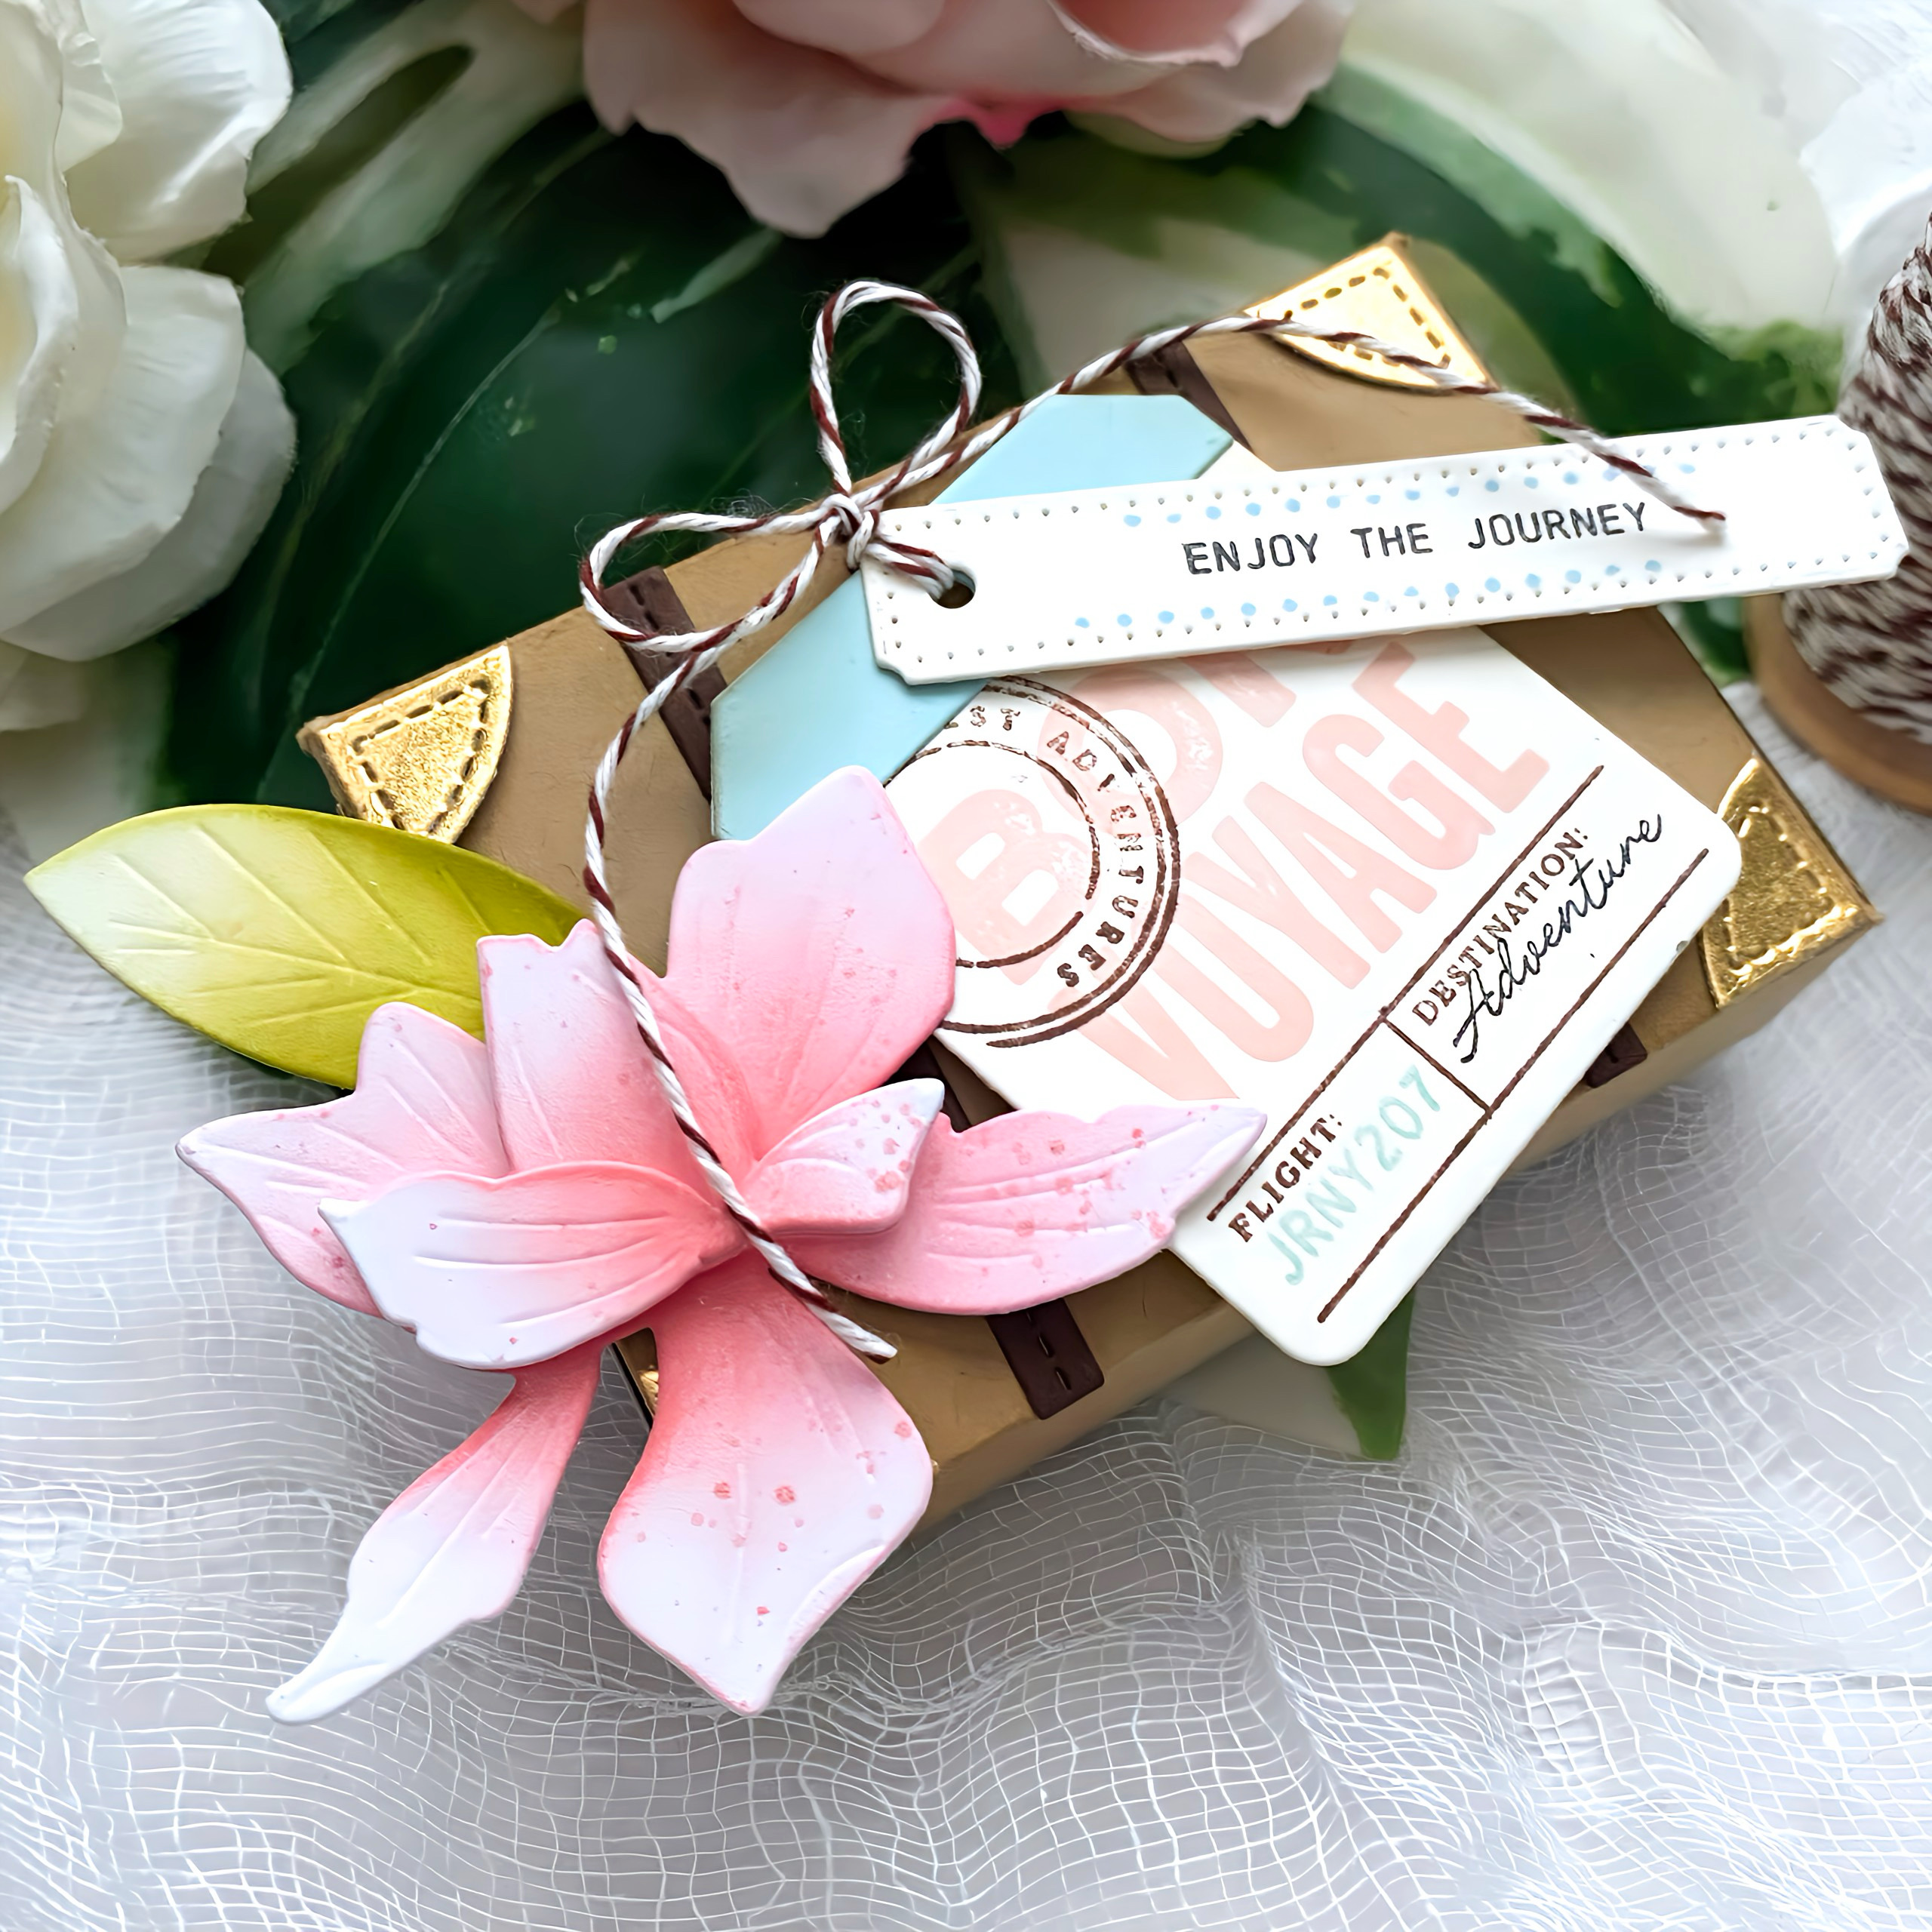
I used metallic cardstock for both the spiral binding and the cute hanger at the top.

My cute daughter kept leaving comments on my Instagram posts (if it was a birthday card) saying, "Can this be my birthday card?" so I was worried she would be disappointed she didn't get one that she commented on, but she LOVED this one and said she liked it best!

My final project for today is a fun notecard set using the different Birth Month Blooms. I haven't mentioned before, but each of the Birth Month Blooms are compiled in quarters. There is a Q1, Q2, Q3, and Q4 stamp/die set so you can buy them as you need them or for those months where loved ones have special days. 

I had set out at the beginning of my creative sessions by stamping all of the flowers multiple times so I would have a good variety of images to pick from as I was creating! Doing that made this project go much quicker than if I stamped them all out one by one.

Here you can see a few of the different varieties with their coordinating envelopes.

 I have made and shown this stationery box a few times over the years, but for those who may be new, I will share the dimensions. The bottom of the box is made using a piece of cardstock measuring 8 1/2 by 10 and then score at two inches in from each side. The top is made using a piece of cardstock measuring 7 1/8 by 8 5/8 and score on each side 1 1/4 inches from the edges.  Use a bone folder and cut tabs on the four sides and secure with ScorTape.

As I mentioned before, this box holds nine cards, so I wasn't able to get a full year of cards. I used foam squares for each of the cards so if you made them flat, you could possibly get 12 in there. I also want to mention that the shop will also be offering some Birth Month Blooms Cutables so you can save some time using those as well. They would be perfect if you're planning on making a bunch of gifts for Christmas and you find yourself in a pinch! 
Just a reminder that the collection will be available for purchase tomorrow at 10 am EDT. Thanks for fluttering by!


Kelly (you are here)


Papertrey Ink July Release Countdown Day 4

Well friends, it's the 4th and final day of the Papertrey Ink July release countdown! I have 3 projects to share with you today using the fun new Going Places stamp set and dies! My first project is inspired by a few destination wedding ideas I had saved on Pinterest and I really like how it turned out.


I created a passport style card to tuck in the outer pocket that is also decorated with images from the Going Places stamp set.

The pocket portion is created using the In the Pocket Die; I die cut all of the pieces from Spring Rain cardstock. I used the new Adventure Away Hot Foil Plate on the inner pierced piece for a fun look when the recipient pulls the passport-style card out of the pocket.

This is what it looks like with the card tucked inside.

The compass from the Adventure Away stamp set is embossed in gold and then die cut using the coordinating die.

I chose to use Encore Ultimate Metallic Silver ink for the "Adventure Awaits" and the sentiment on the bottom for added interest.

I'm absolutely in love with all of the stamps and dies from the Going Places stamp set!

For my next project, I made a cute box using the Vintage Travel Suitcase Dies that were released a few years ago. I actually took that month off so this is the first time I've ever used it! It's so cute!

I created a few tags using the Going Places stamp/die set to accent the case.

I used mini gold brad to secure the handle on the top!

I had a leftover flower from yesterday's bride-to-be card that is the perfect addition!

My third and final project for today is a card using the Going Places stamp set paired with the World Map Stencil collection.

I ended up by covering up more of the map than I was planning on, but to begin, I added some Salvaged Patina Distress ink to the edges of an A2 sized panel. I then gave it a few good spritzes of Salvaged Patina Distress Spray Stain. Once that was done, I used Mowed Lawn distress oxide ink to stencil the map.

I had fun making a few tags to accent the map.

My card also features the new Circular Postage dies. I plan on using these quite a bit, I can already tell!

Thanks for fluttering by!


Sunday, July 28, 2024

Papertrey Ink July Release Countdown Day 3

Welcome back for day 3 of the Papertrey Ink July release countdown! My card for today features the new This Is Big Sentiments: Celebrate stamp/die set. I really like this set because it's so versatile for so many different celebratory occassions! I chose to showcase the "Bride-to-Be" sentiment with this floral design.

I chose to make a wedding gift looking card front using the Wrap-It Ribbons die. To begin, I die cut the pieces using Sweet Blush cardstock and layered them over a 3 3/4 by 5 inch panel of pattern paper. This is from a paper pad I've had for awhile: The Paper Studio Blanc Boutique Pearl.

I added a bit of shading using Sweet Blush ink to the pieces prior to adding them to the pattern paper. I mounted this piece to a top-folding A2 Sweet Blush card base using foam squares for dimension. I die cut the pieces for the sentiment and stamped the "Let's" in True Black ink, the "Celebrate" is stamped in Encore Ultimate Metallic Silver ink, and the "bride-to-be" is stamped with the same metallic ink on a sweet blush strip.

The flowers are cut using the Into the Blooms: Gardenia dies and then colored using Sweet Blush, Berry Sorbet, Spring Moss, Simply Chartreuse, Ripe Avocado, and Harvest Gold ink. 

I added some Berry Sorbet ink splatter to the flowers and then added them to the card using foam squares, tucking the leaves here and there.

I'm happy to add this card to my wedding stash! Thanks for fluttering by!


Saturday, July 27, 2024

Papertrey Ink July Release Countdown Day 2

It's day 2 of the Papertrey Ink July release countdown! Thank you so much for your sweet comments on yesterday's post! I have two cards to share with you today using some fun new products! My first card showcases the new Adventure Away Stamp/Die set paired with a fun new stencil collection called Incredible Views.

To begin, I used the stencil collection to build the scene using a sunset color combination. These stencils are very easy to use and create a stunning background in no time!

I stamped the compass image directly onto the panel to give a transparent look because I didn't want to cover up the gorgeous landscape. There is a coordinating Adventure Away Hot Foil Plate (you can see it in the upper right corner of the photo), but I didn't end up using it on this card. 

The RV is a line-art image so I added some alcohol marker color. I like that the sentiments have coordinating dies so layer the sentiment portion.

I can't stop with the acetate sentiment overlay! ha ha! This card features the new Cornered: Celestial dies in the upper left corner and lower right corner.

To begin this card, I used Tumbled Glass, Faded Jeans, and Unchartered Mariner Distress Oxide inks to blend on an A2 panel of white cardstock. Once that was done, I used the Stargazing Hot Foil Plate and gold foil over the top. I also splattered the panel with metallic watercolor paint for added depth.

Once the panel was complete, I used the Cornered: Celestial Dies and then layered the panel on top of an A2 white card base.

I die cut the stars using the Starry Delight Die from gold metallic cardstock and then added them to the blended panel using foam squares.

I chose to use the Psalm Reflections: September stamp set on an acetate panel like I did on yesterday's card. I stamped it using Jet Black StazOn Ink on a piece of acetate and then added glue strategically to the back of some of the letters that would touch one of the stars. I placed a large acrylic block over the top and let it set. I also added quite a few sequins for added sparkle and shine! Thanks for fluttering by!