
Hello friends! I'm sharing a holiday card that is featured in today's Papertrey Ink newsletter and I thought I'd share it here as well with a few more details about the process AND I had a few sprigs and berries left so I am sharing a bonus tag that I made with the leftovers!

This is the finished card, but in the next series of photos, I will share step-by-step instructions on how I created this Christmas design.
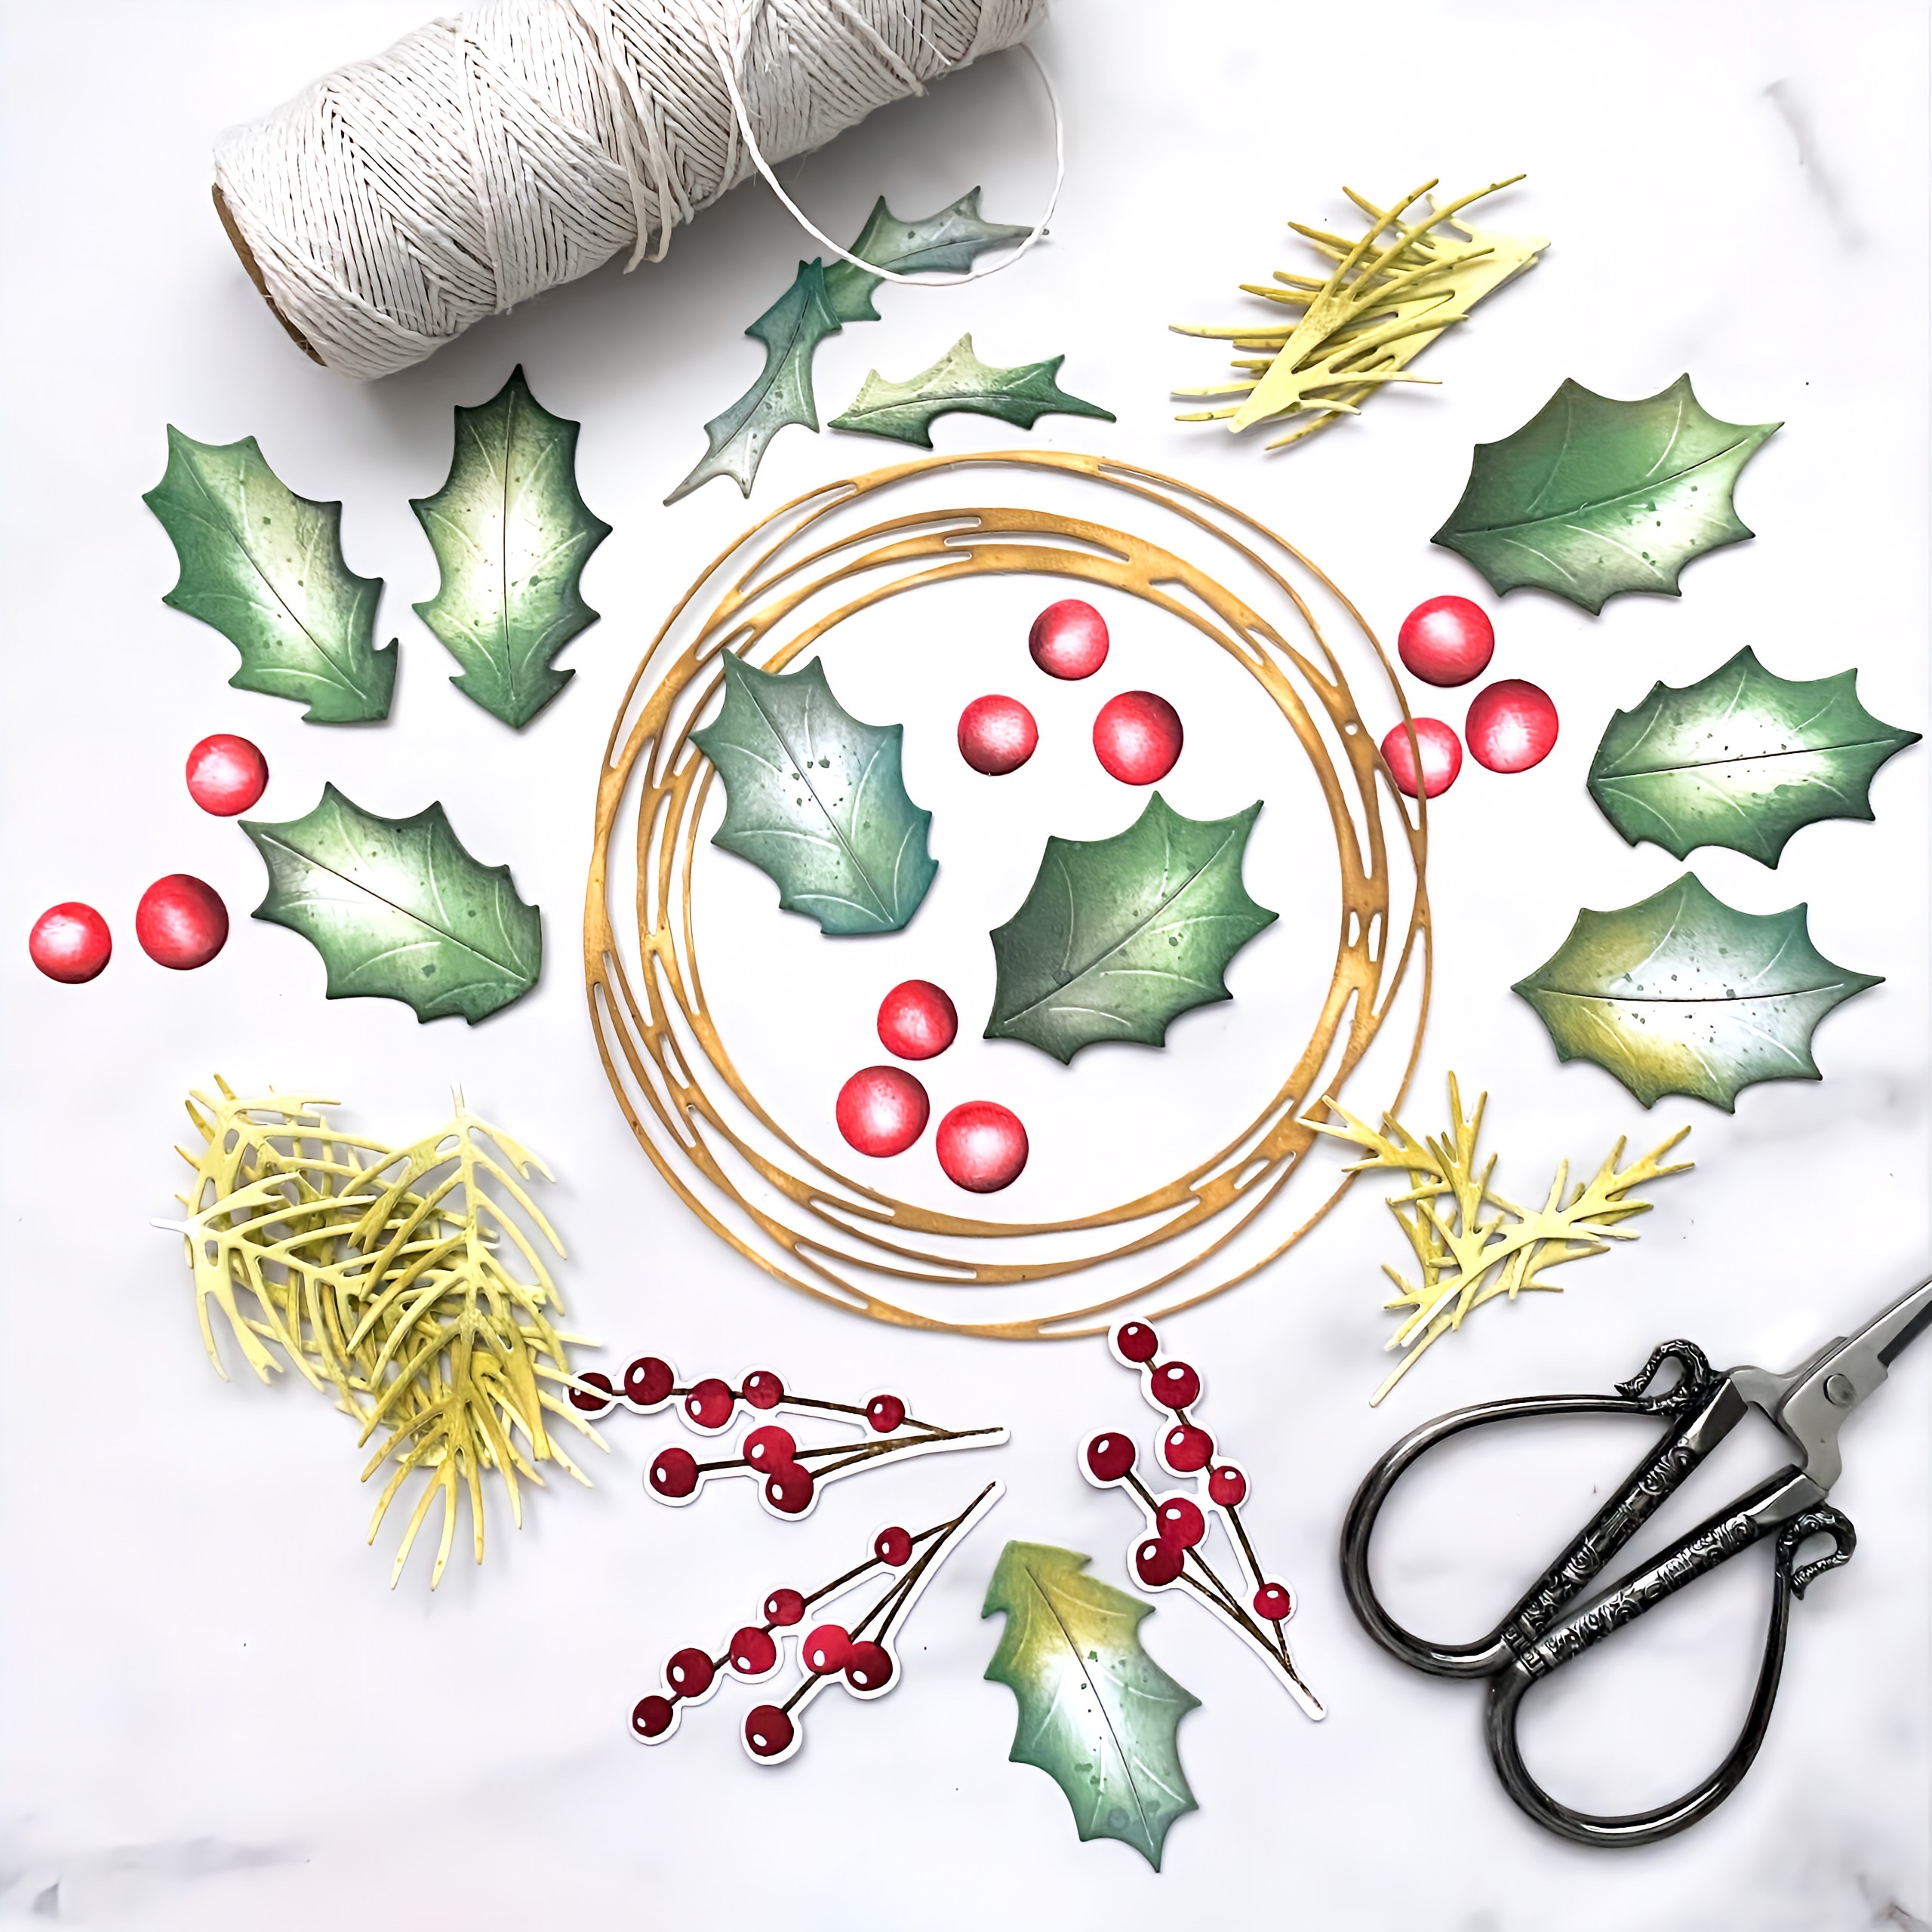
To begin, I die cut and colored all of the pieces I used for my wreath. I used the Into the Blooms: Holly Dies, Into the Blooms: Christmas Sprigs dies, the berry branches included in the Christmas Bouquet stamp set, and finally, the wreath from the Forever Snowflake Frame Die. I used an assortment of Distress Oxide Ink Pads for the die cuts and then stamped the berry branches using Pure Poppy, Scarlet Jewel, and Cocoa Bean ink.
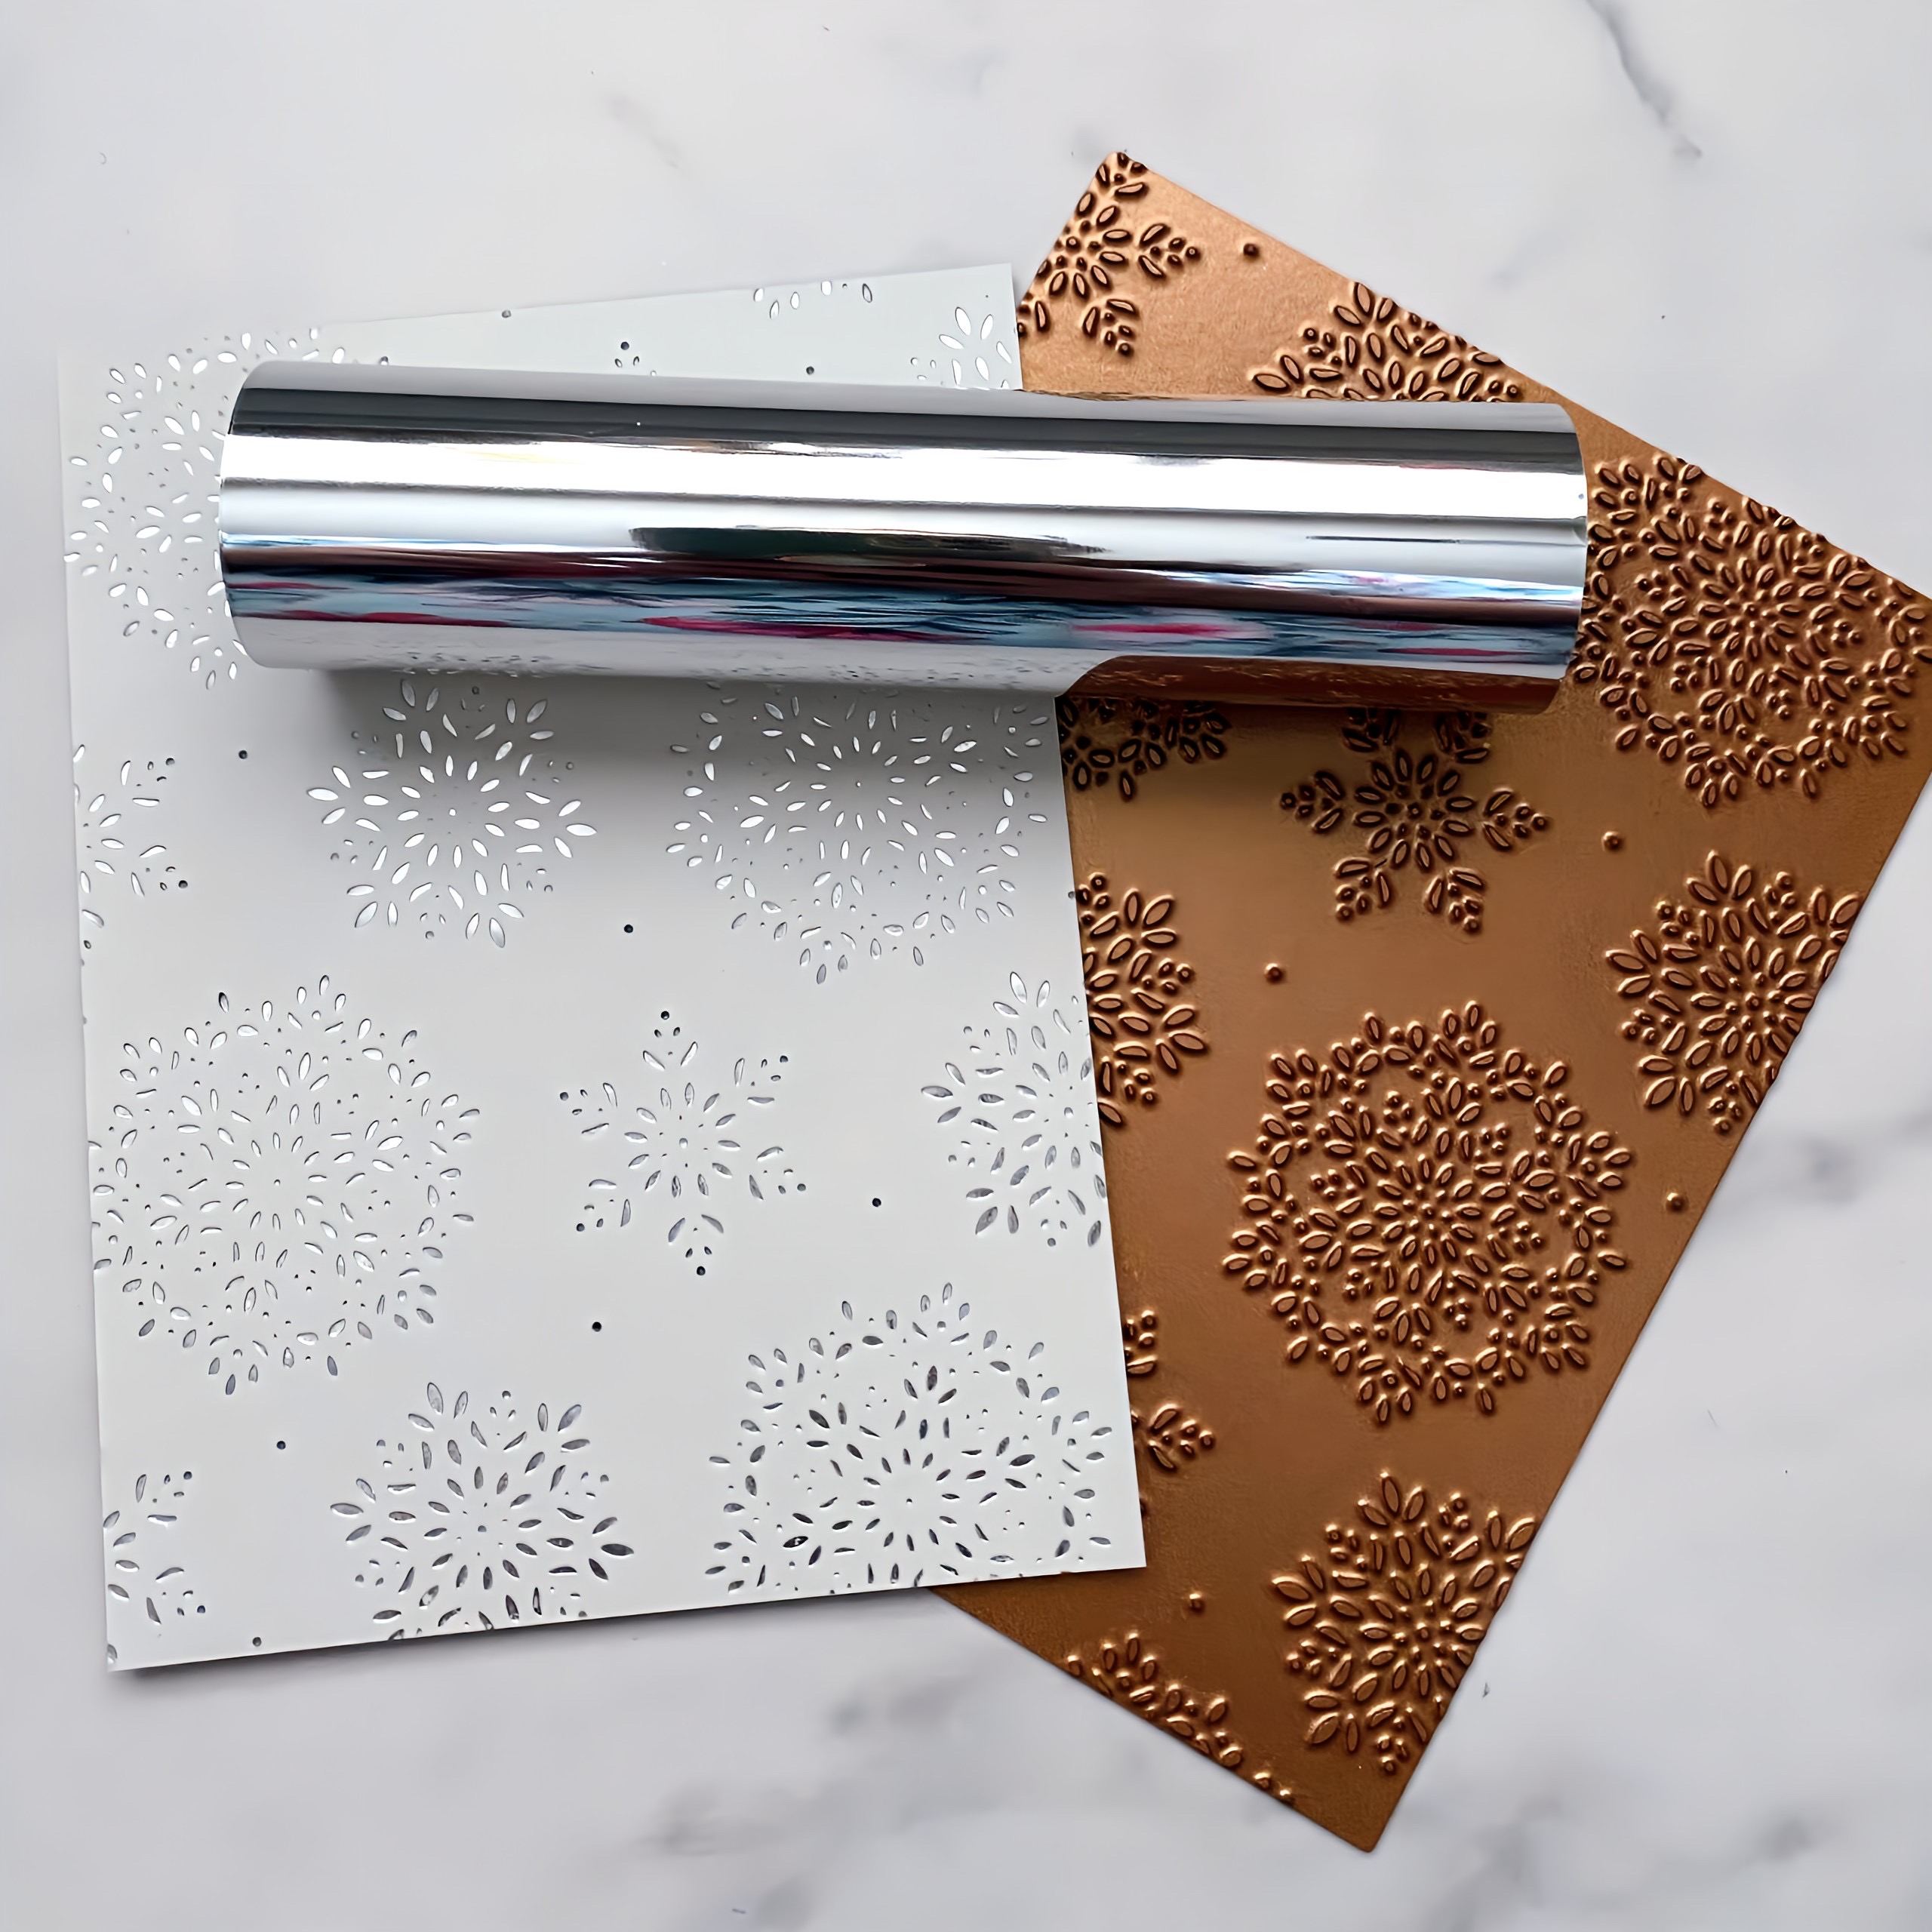
Next, I hot foiled a 4 by 5 1/4 inch piece of Soft Stone cardstock with silver foil. Use the coolest setting on your machine for 15 seconds; this Fanciful Snowflake Hot Foil Plate always provides amazing results without a lot of fussing and guessing which setting!

Glue the wreath to the foiled panel and attached the panel to a white A2 top-folding card base with foam squares.

Arrange Holly, berries, and pine sprigs around the wreath frame using liquid glue and foam squares. Add the stamped./die cut sentiment from the Christmas Your Way stamp set and then heat emboss the accent sentiment using silver powder on a black strip of cardstock.

Finally, add the finishing touches like white puff embossing powder and glitter! I also added black detail to the berries using a fine-tip Sharpie marker.

Here's the finished card! I forgot to mention that I added some ribbon "tails" to the bottom of the wreath using the Bows Galore die set. I did rip it in half at the top so I could arrange them the way I wanted.

I chose to stamp the Season's Greetings sentiment on the same Soft Stone cardstock as the background to keep the wreath's openness. I used the black sentiment strip to add contrast.

I don't normally mix stamped images and Into the Blooms die cut pieces, but I really felt that the berry sprigs worked nicely with this design.

I like starting off with white cardstock for die cuts like this because it allows me to create built-in "shine" and realism by keeping portions white, like I did on the berries and leaves.

Since I had some die cut pieces left over AND a few sentiments from the November release, I decided to have some fun and make a bonus tag.

The Happy Holidays sentiment is from the Vintage Holiday Flair stamp set and is one of my favorites from the new release.

I also added one of the postal images from the Deliver by December 25th stamp set and is part of this week's Flash Sale.

For the tag, I used Wow! White Sparkle embossing powder and I absolutely LOVE the result! As you can see in this photo, I went one step further on the berries and added some details with a white gel pen to give them a bit more realism. I gave the entire tag a couple flicks of white paint splatter and called it done! Thanks for fluttering by!
3 comments:
kelly, your card is gorgeous. I love the layers, that "shine" and that you put it all in a step by step. I am with you on not normally mixing stamped and die cut florals, but this turned out amazing and now I'm wondering why that has been a thing for me.
Wonderful card and tag, Kelly!
Love your touch with the black marker on the berries, making them more realistic.
You always add the right touch to make your work shine.
Thanks for your inspiration.
Stunning !!!
Post a Comment