Hello and welcome! I'm thrilled to be here today for the Pinkfresh Studio February 2021 Stamp, Stencil and Die Release Blog Hop! I have three projects to share with you today using quite a few of the new products! This is such an amazing and beautiful new release; I hope you love it as much as I do! Pinkfresh Studio will be giving the entire release away to a lucky winner on Instagram, You Tube, and Facebook, so be sure to enter to win there! As always, leave a comment here for a chance to win a $25 gift certificate.


My first project for today uses the fabulous new Slimline Layered Starburst Layering Stencil. You might recall that an A2 version came out for the last release, so I 'm excited that there is a slimline option as well! I haven't even used the A2 version (am I crazy, or what?) so it was super fun to use it on this floral design!

The next suite of products are absolutely AMAZING! I'm just going to apologize right now because you will be seeing A LOT from me with these flowers! ha ha! I used the Friendship Blooms Layering Stencils paired with the Friendship Blooms die set to create the beautiful flowers and leaves and the sentiment is from the coordinating Friendship Blooms Stamp Set.

The awesome thing about this bundle of products is that you can use the stencils by themselves, or with the dies, OR combined with the stamp set. You can also just use the outline stamp images by themselves to use with any coloring medium of your choice, whether it's watercolors, pencils, Copics, etc. If you don't feel as confident with your coloring skills OR you're short on time, the coordinating stencils make creating these beautiful blooms a cinch!

I wanted my flowers to be soft and airy, so I opted for just the stencil/die combo, but can't wait to try heat embossing the line images over the top for a different look! Like I said, watch out!

The sentiment is also from the same set and I absolutely LOVE each and EVERY sentiment in this entire release! I want to make a card with every one! There are just so many to love!

I finished it off with some glitter and sparkles, of course!

My second card uses a few more new goodies; up first is the Folk Floral Print Layering Stencils all done up in bright, summer-y colors! This is seriously such a fun and beautiful stencil set and the color combinations are endless! It's amazing what color can do to create a different mood, don't you think?

I also used the new Leafy Circle Die as an anchor for the fabulous new Happy Birthday Sentiments! I am super excited for these because they are perfect for anyone and everyone and the mixing and matching possibilities are endless! I think this set really fills a need to help us create fabulous birthday cards!

Another thing that I really like about this sentiment set is that is has a coordinating Happy Birthday Sentiments Die for all of the main words in the set. You can see I die cut the "celebrate" word and then heat embossed the "Birthdays look good on you" portion of the sentiment onto a strip of vellum. I am obsessed with the way these particular sentiments look heat embossed! All the heart eyes!

My third and final project for today is a quick and easy home decor piece that I made using the new Leafy Circle Die and the new Curvy Leaves die set paired with some older favorites! I was looking for a few last-minute Valentine's Day decorations the other day only to find that the display had really been picked over. St. Patrick's Day decorations, however, were full and plentiful! I picked up a few new things and thought how fun it would be to make a coordinating banner using these new leaves and wreath!
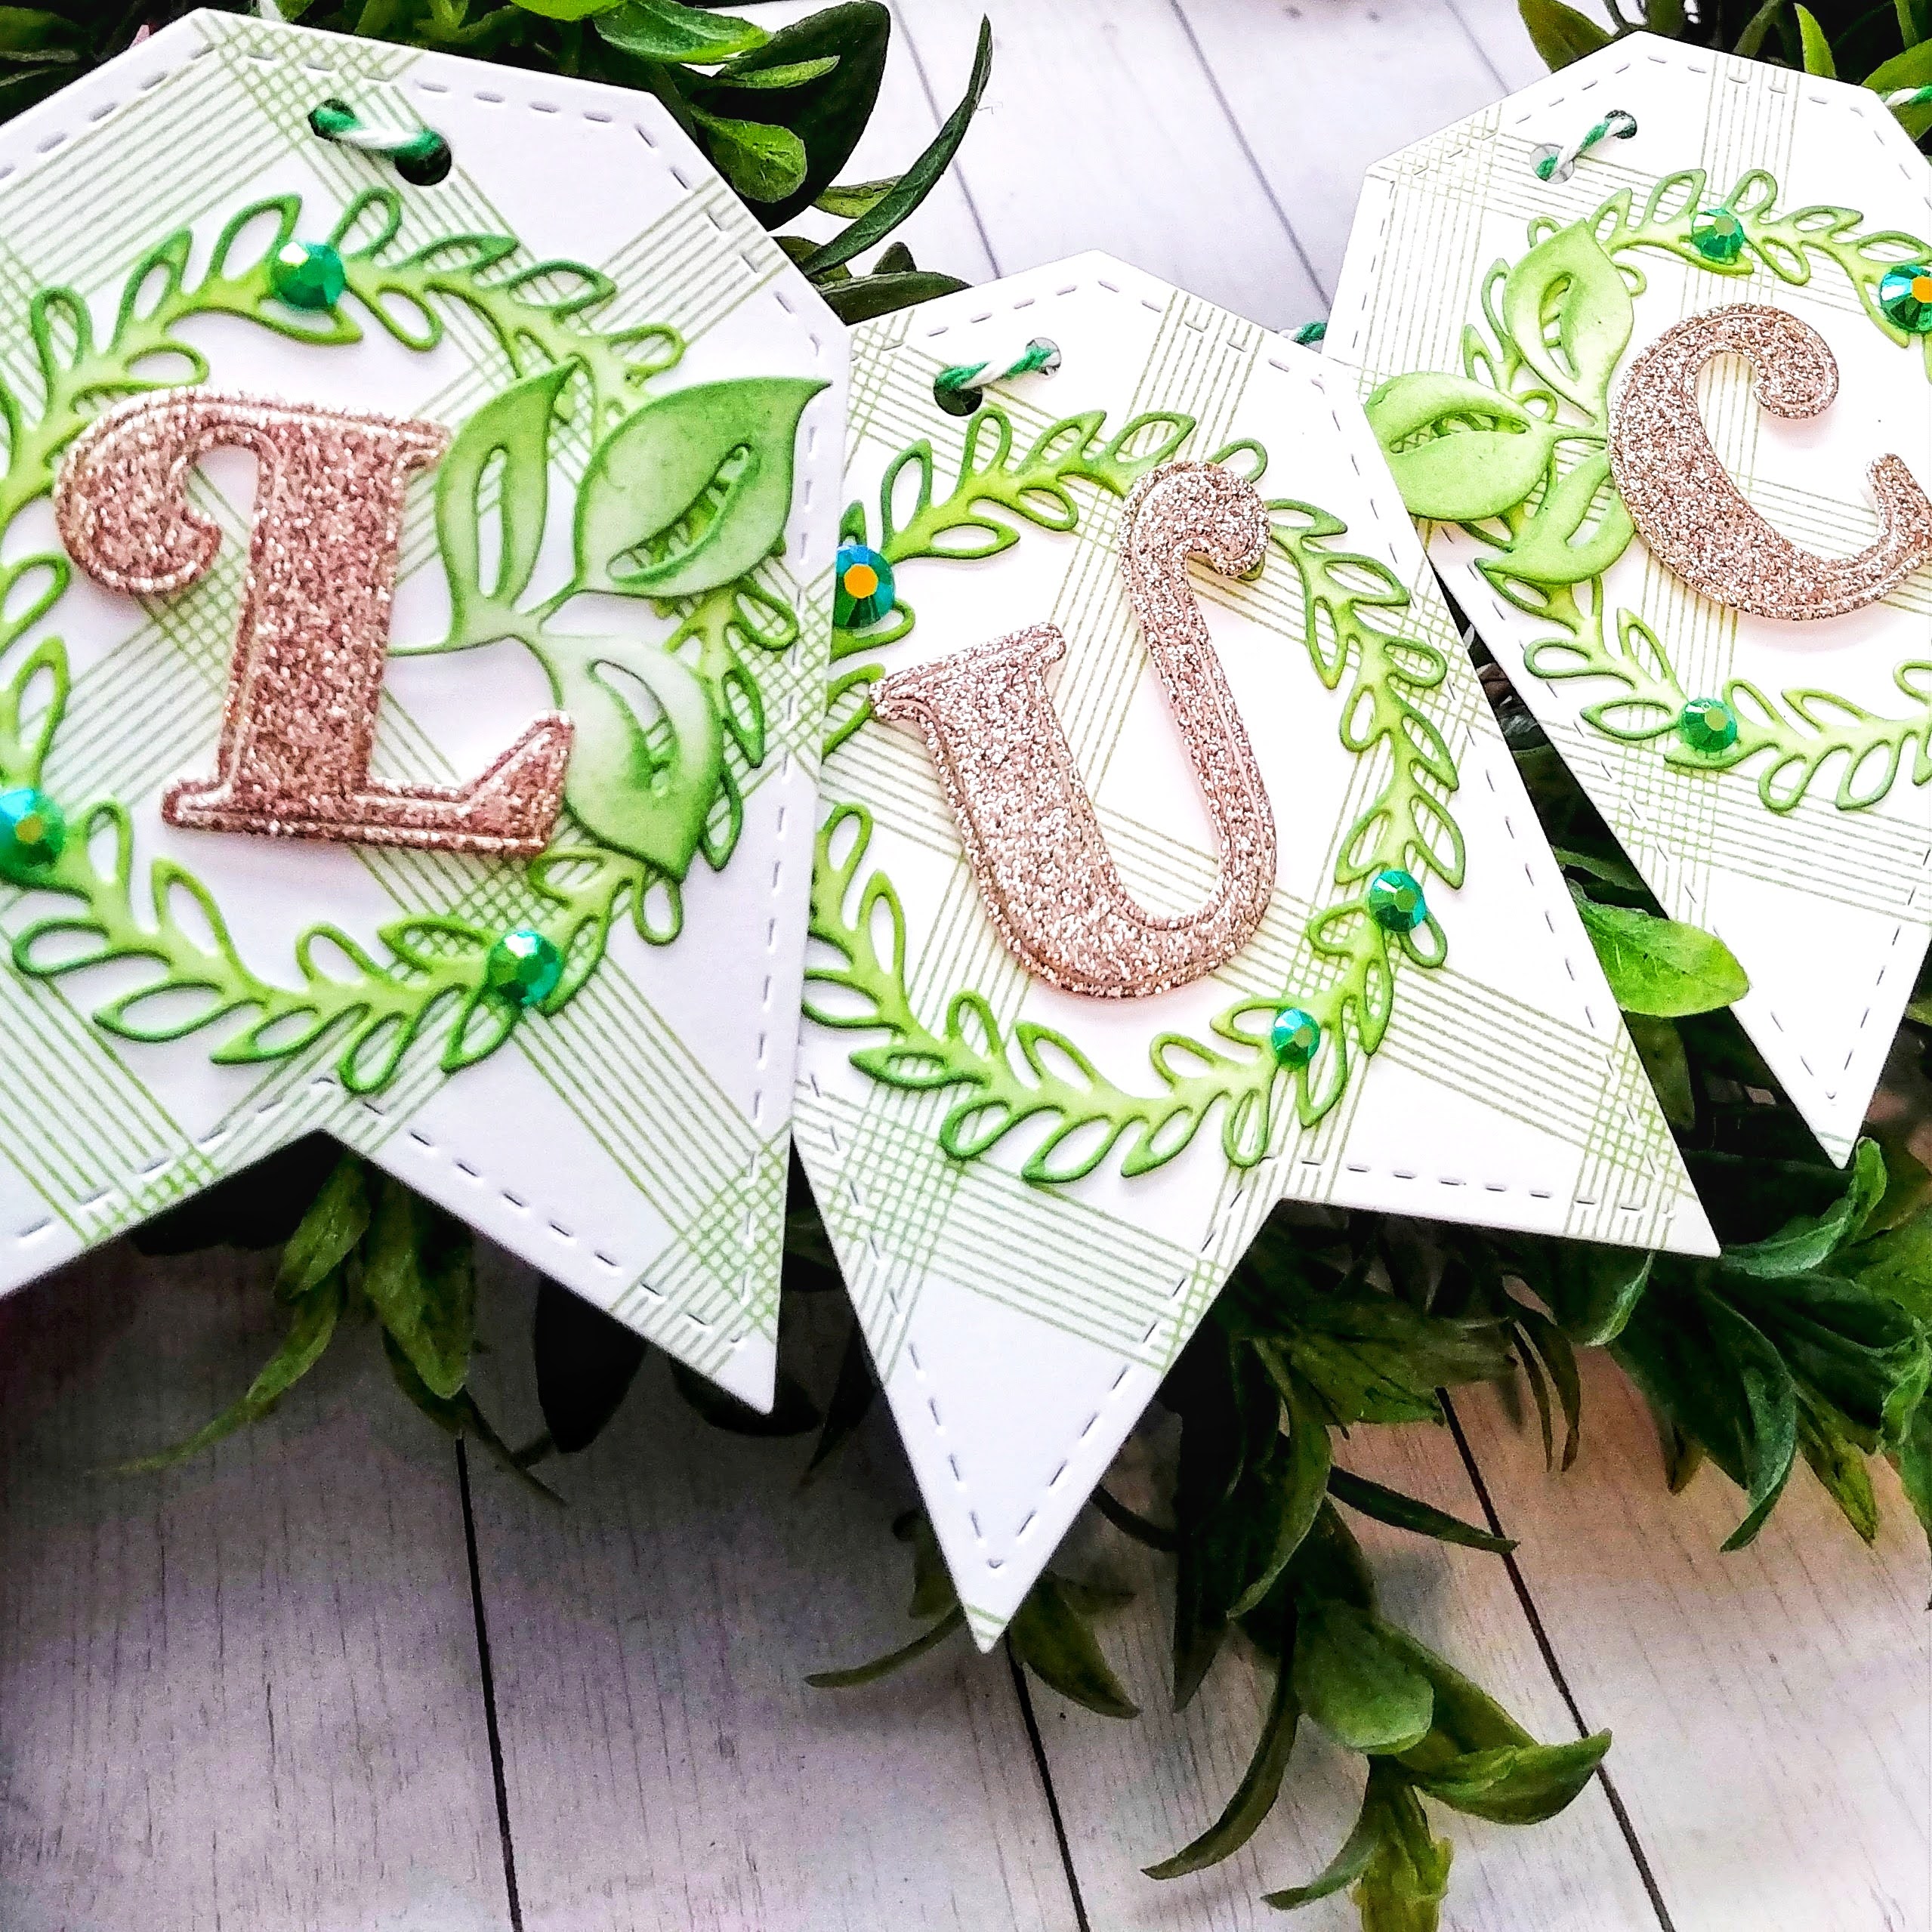
I die cut 5 wreaths, one for each letter and added some Key Lime and Evergreen ink over the top using a blender brush. I set them aside and then die cut the LUCKY letters out of gold glitter cardstock using the Lea's Ornate Uppercase Alphabet dies. I have been making banners for quite a few years and I have previously been using chipboard letters. Some of my favorite letters that I've used over the years are from this same font! I love that I can make an endless supply of letters and never run out. Depending on the word I was using on my banners, I often had to buy two packages so I would have enough vowels! Can I buy a vowel? LOL!
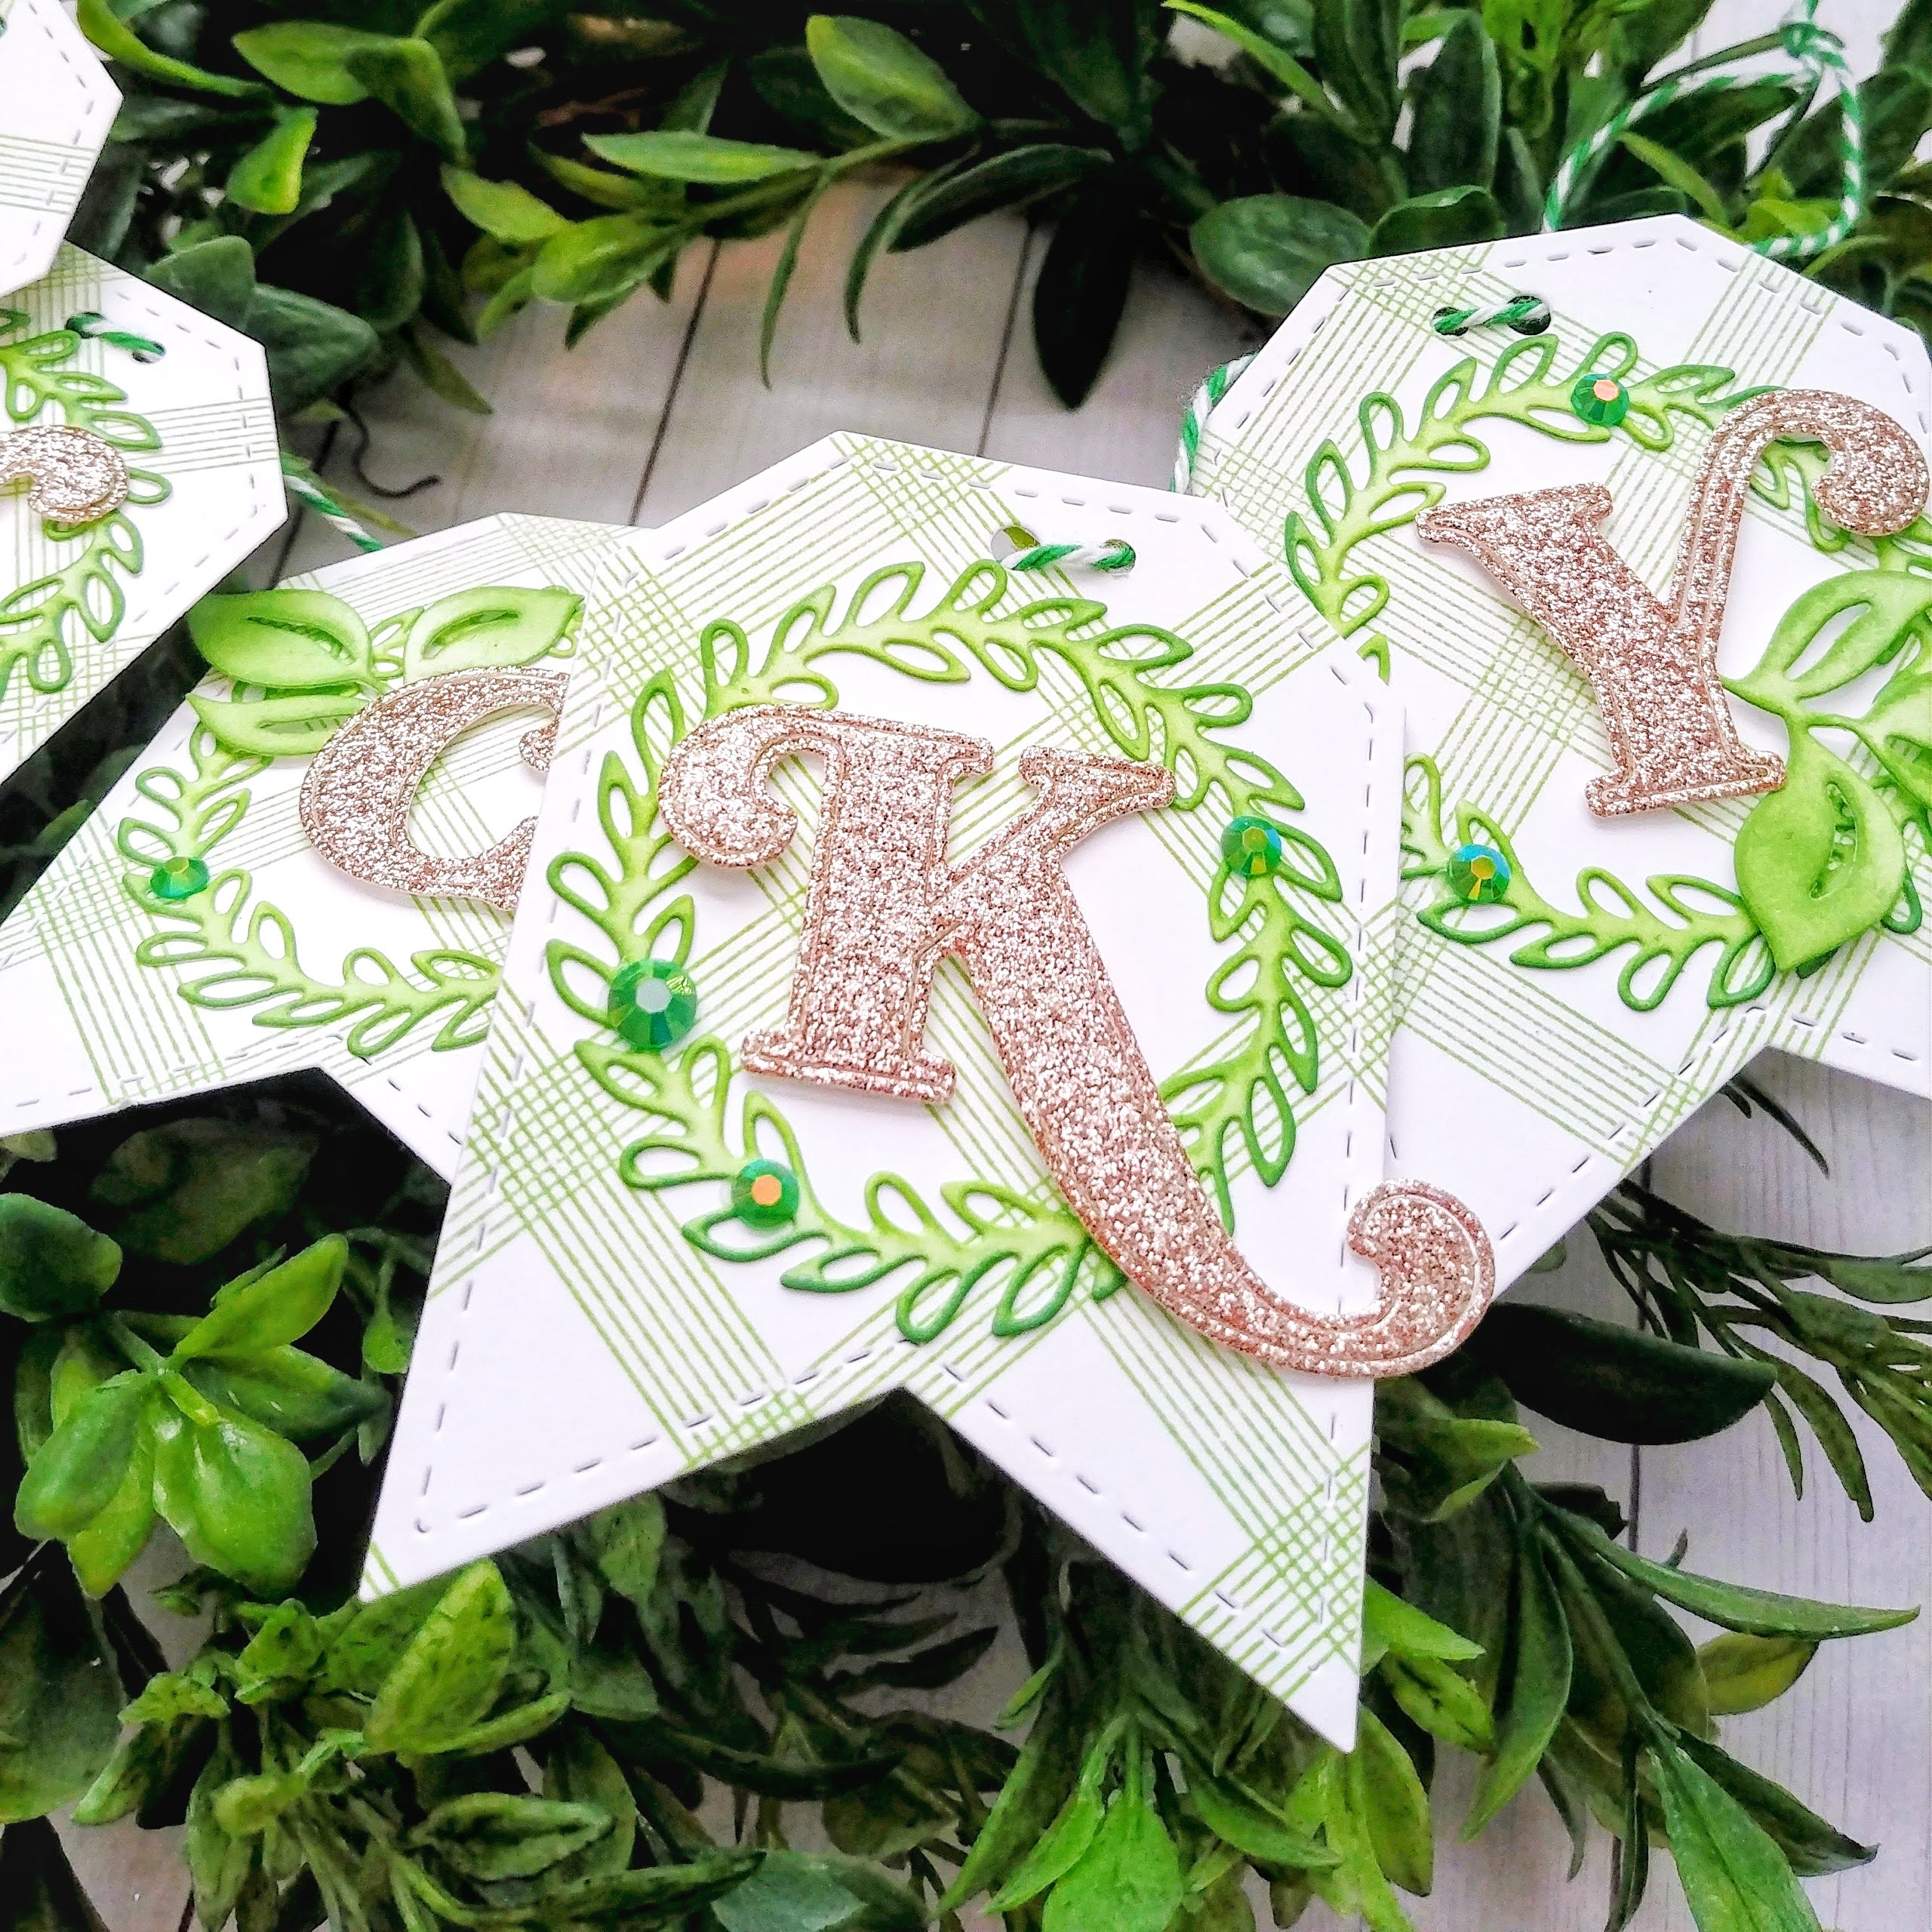
I layered the letters onto the smallest banner piece from the Essentials: Shaker Tags dies, which is the perfect thing for this little banner! I stamped each of the pennants using the Diamond Tiles stamp and Key Lime ink. I added a few jewels for added sparkle. The banner pieces all have a hole at the top since they are actually tags, so I just simply added another hole using a Crop-a-dile so I could thread the green baker's twine through the holes. I'll have to take a picture of it in March with all of my other St. Paddy's decorations! Don't forget to head to the other designers' blogs to see their fabulous creations and to see even more of the new products! Thanks for fluttering by!