Showing posts with label Concord & 9th. Show all posts

Thursday, February 8, 2024

Happy Heart Boxes

I've been busy as a little bee the last few days working on some "just for fun" projects, including these two heart boxes. My 4th grader has two teachers this year: one in the morning and one in the afternoon. He is my last child in elementary school so I was shamefully looking forward to only having one teacher to spoil, but that isn't the case, AND, it's not like I'm not used to making multiples of things, so it's been fine! ha ha! I've been having fun putting together their gifts for Valentine's Day, and wanted to make something to hold some chocolates and a lip-balm that is small and I don't want it to get lost with the rest of the items. Cue the amazing Happy Heart Box Dies from Concord & 9th! I made a few of these in 2022 and haven't revisited them since!

They are really easy to make; I simply followed the video that you can find underneath the product photo. I just fast-forwarded until I got to the part where she begins making the box, but she does show some ideas for the other dies included in the collection. I die cut all of the pieces for each box from Pale Peony cardstock and then assembled them using the video.

I used some cute pattern paper called Hello, Darling from The Paper Studio...this is a 4 by 6 pad I believe...something smaller in scale. I used the heart die included in the collection: once from the pattern paper and once from Pale Peony. This pattern paper is very thin so I wanted to glue the two hearts together for a more sturdy piece.

I heat embossed the sentiment, which is from the retired Be Mine, Valentine stamp set from PTI in gold powder onto a black strip of cardstock. I notched the end for added detail and then used black foam squares to pop it up on the box.

The flowers are from the Into the Blooms: Wreath dies and I colored them using SU! ink and small blender brushes. I added them to the boxes using mini foam squares. These boxes match the style of the  cute notebooks I found on Amazon and some cute pens. I will share the links here if you are interested. I am not an affiliate with Amazon, I just find quite a bit of cute stuff there! ha ha!
Thanks for fluttering by!

P.S. I feel really bad when people leave me comments and questions that I can't reply to. I'm not sure what's going on, but SUE asked a question about THESE cards and what color the pink is....it is Rose Red from Stampin' Up! I hope you see this....I feel bad that it's been so long! If you see this, will you please leave a comment so that I know that you have seen it?


Sunday, July 24, 2022

Thank You Berry Much!

I guess I'm on a summer food-themed creative spree! ha ha! I just really enjoy soaking up all of the delights of summer and delicious-looking berries (stamped and real) are at the top of the list! There is something about gingham and berries that go so well together, don't you think?  I've always been so enchanted by the multi-step stamps that have such realistic looking results! I bought the Berry Bliss stamp set and Berry Bliss dies last year and made a few tags using the cherry image, but for today, I chose to use JUST the berry images for something "berry" sweet.

I had quite a few berries already die cut from last year; I kept the dies wired together, but since I only used the cherries, I had a lot of extra pieces. I was pleased with myself that I had them all ready to stamp! I chose a hodge-podge assortment of ink pads to get the desired results I was hoping for.


I'm fairly certain I didn't ink up the last step of the raspberries correctly, but I think they look ok! Once I had all the berries inked and ready to go, I switched gears to the background.
As I mentioned earlier, there's something vintage and wonderful about gingham paired with fruit, don't you think? My favorite gingham background is the Gingham Background Stamp from Concord & 9th; I inked it up in Spring Rain ink!

I grabbed the Shape Shifter Oval 2 die to use as the focal panel for the sentiment and berries. At this point I realized that I have never clipped the wired edges as cleanly as they should and I didn't want those pesky indentations that occur without clean snips. Once I did that, I must have left a tiny shard of metal that went directly into my right thumb (I'm right handed) and it became impossible for me to remove! Can you believe that I tried to use a Misti magnet to coax it out? ha ha! It didn't work! Needless to say, I had to abandon my creative session and get to work removing the metal sliver! Have you ever tried to remove a sliver from the thumb on your dominant hand with old eyes? ha ha!

I was finally able to revisit my project a few days later, but because I'd come so far, I only needed to add the sentiment and a few extra details! I added photo corners to the edges of the gingham panel. I used the beloved Berry Patch Sentiments stamp set to stamp the "thank you berry much". 

I arranged the berries here and there around the bottom of the sentiment and a trio at the top! I added a few die cut leaves to add extra texture, detail, and interest to the design. I added some glitter and sequins for sparkle and shine; the berries look like they're ready to be baked in a pie!
I had a few berries left over so I made a coordinating tag; something quick to accent the card! I'm sure I'll find something berry-themed to give as a gift and the tag will be perfect!

I added the entire gingham focal panel to a top folding A2 Pure Poppy card base using foam squares. I also added a bit of Scarlet Jewel ink around the edges to give it a little bit of depth and contrast. This was such a delightful card to create, despite my annoying injury! I hope you have a fabulous day! Thanks for fluttering by!


Saturday, July 23, 2022

You Are So Cool!

Summer is obviously in full swing and so is the popsicle consumption around here! It has been SO, SO hot the past few weeks, so a cool treat in the afternoon is the perfect thing! I'm summer-card obsessed, so when I saw the new Sweet Summer Dies and Sweet Summer Stencil Pack from Concord & 9th, I just HAD to have them! They arrived during the PTI release countdown, so I didn't have time to play right away, which was torture! I finally pulled them out to create this fun, citrusy card!

I felt that the impact of two pops on one card would be much greater, so I did some ink blending on a standard A2 panel of white cardstock; I chose Squeezed Lemonade, Twisted Citron, and Spiced Marmalade. I was able to die cut two popsicles from the one panel, which was awesome! I also die cut two "sticks" and colored them with ink as well.

Once they were die cut, I was able to add the citrus slice pattern using the stencils. I used Mowed Lawn, Abandoned Coral, and a heavier hand with the Spiced Marmalade to achieve the look I was hoping for!
The background is created with the Bubbly Stencil; I bought this to use with underwater/sea cards, but I thought it worked so nicely in the background with the pops!

I opted not to get the sentiments that go with the popsicle dies, but decided to make something custom using alphabet dies and selectively embossing the "You are so" portion of the sentiment. I simply die cut the letters from the leftover blended panel. I also die cut each letter from white cardstock so I could glue them together; it helps since I added the Nuvo Cyrstal Glaze over the top! I also die cut a few leaves and tucked them here and there for aded detail! I also added some dew drops and glitter for sparkle and juicy detailing! Thanks for fluttering by!


Tuesday, February 8, 2022

Valentine's Day Heart Boxes

Hello friends! I'm popping in quickly today to share some Valentine's Day heart boxes that are just perfect for chocolates and sweet treats! I absolutely adore the new Happy Heart Box Dies from Concord and 9th! These are one of those "must-have" items for me and as soon as I saw them I scooped up a set for myself! Of course, they are perfect for Valentine's Day, but I plan on using these year-round because they are fabulous for so many other occasions! There is a fabulous video that shows how easy these are to assemble that you can watch at the link I share above (it is below the picture of the item). 

I assembled two boxes and then had fun decorating them with a few left-over bits and pieces I've had hanging around from previous projects. This particular box uses one of my favorite flowers and leaves from the Into the Blooms II die. I've had this flower and leaf cluster all inked up since these beautiful dies were released last year. I was thrilled to be able to use it to decorate this cute box.

This box uses one of the left-over roses from THIS card that I had so much fun creating! That card has already made its way to a new home. I made some buttermilk blueberry banana bread last week and delivered it around the neighborhood with cards to say "thinking of you" to some of the widows and such. 

The "happy valentine's day" sentiment is from the older Be Mine, Valentine stamp set from Papertrey Ink. I love it and like to use it each year on different projects. The circle seal image is from another older, but favorite set called With all my Heart.

I had so much fun putting these two boxes together! I plan on making a few more using different supplies to change the look and feel of the boxes, but I wanted to share these two today! I'll post any others that I make as well! Thanks for fluttering by!


Saturday, June 20, 2020

June birthdays are the most fun!

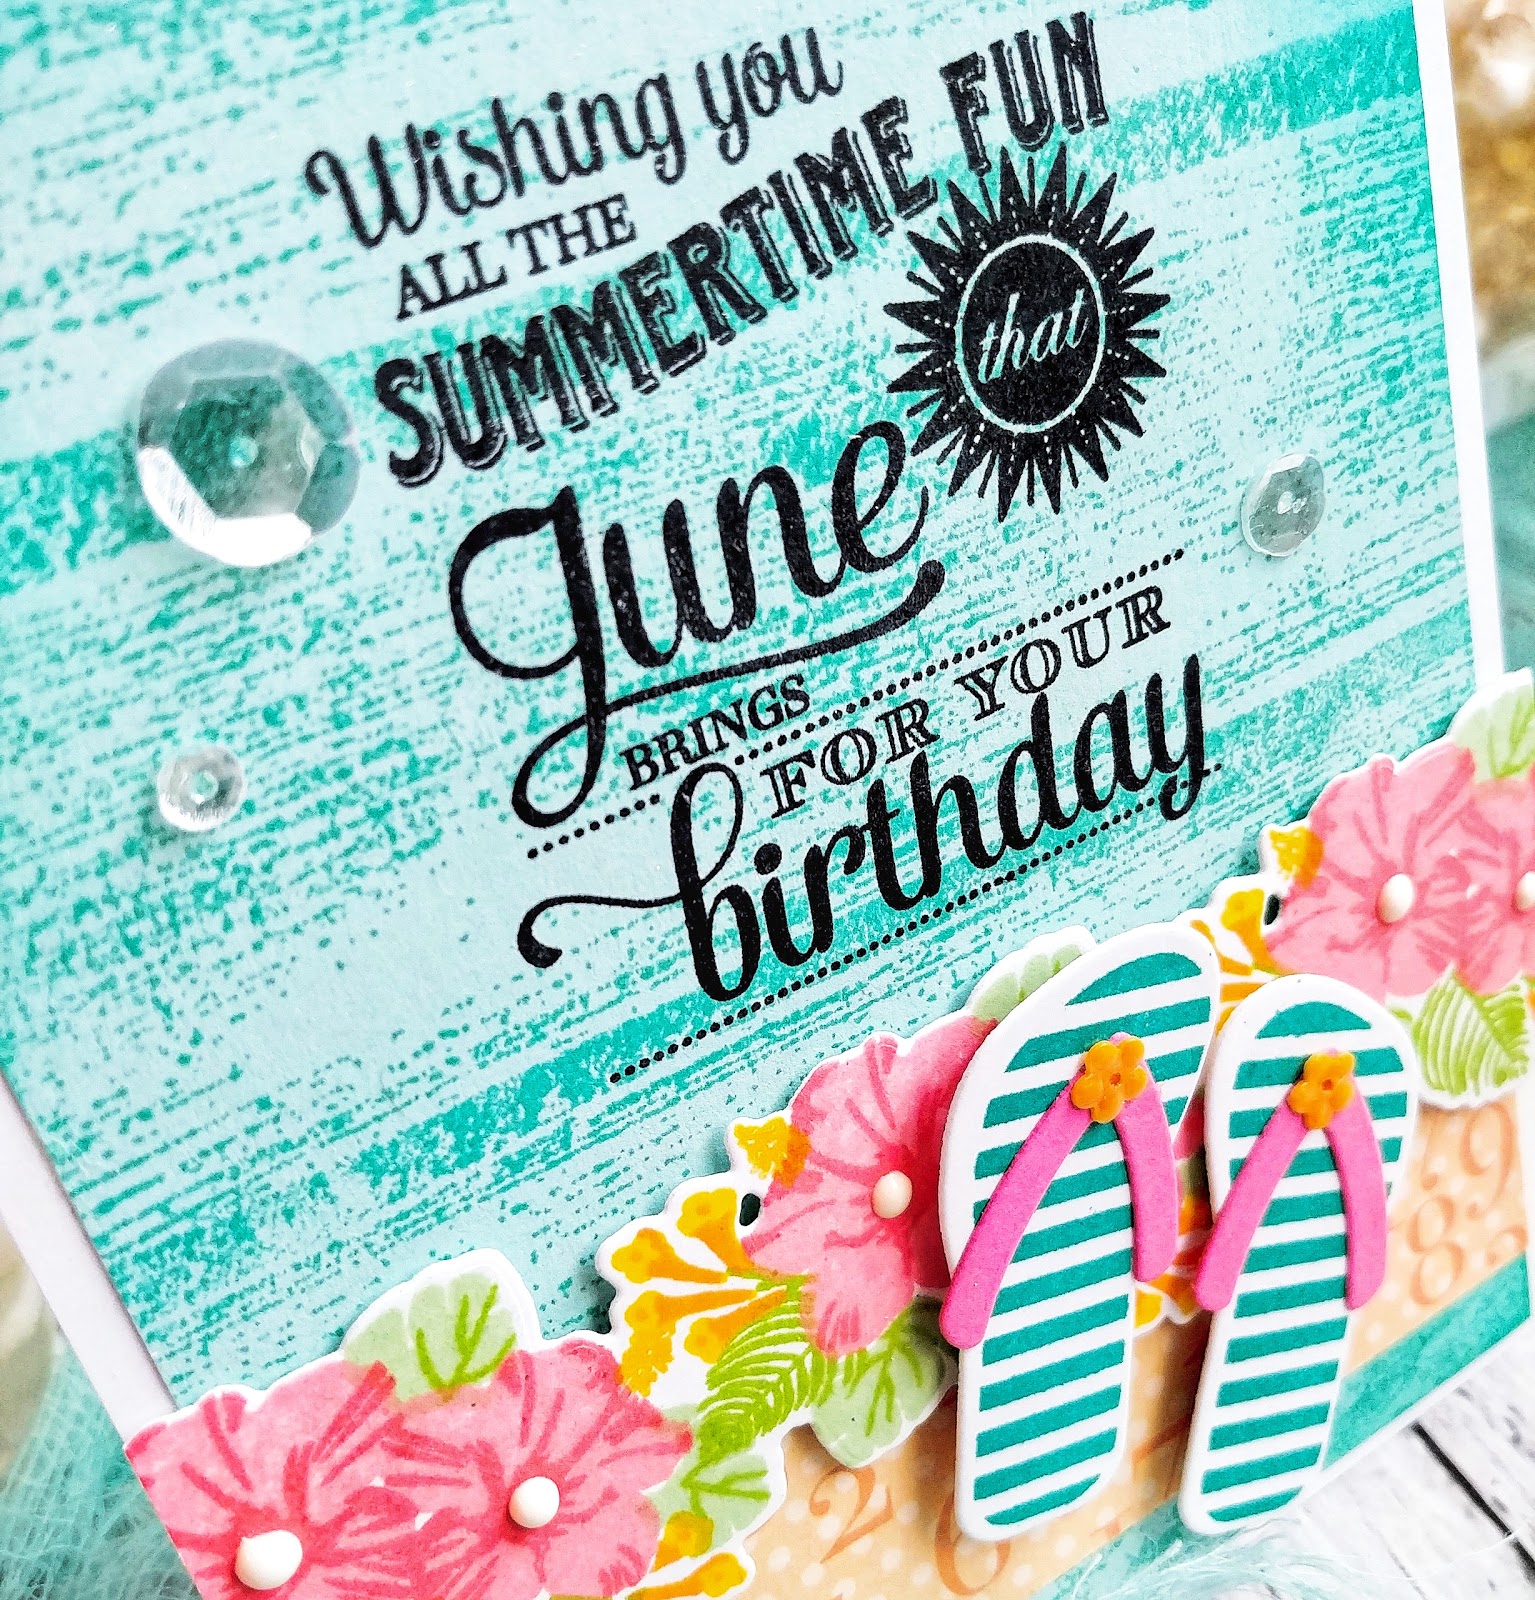
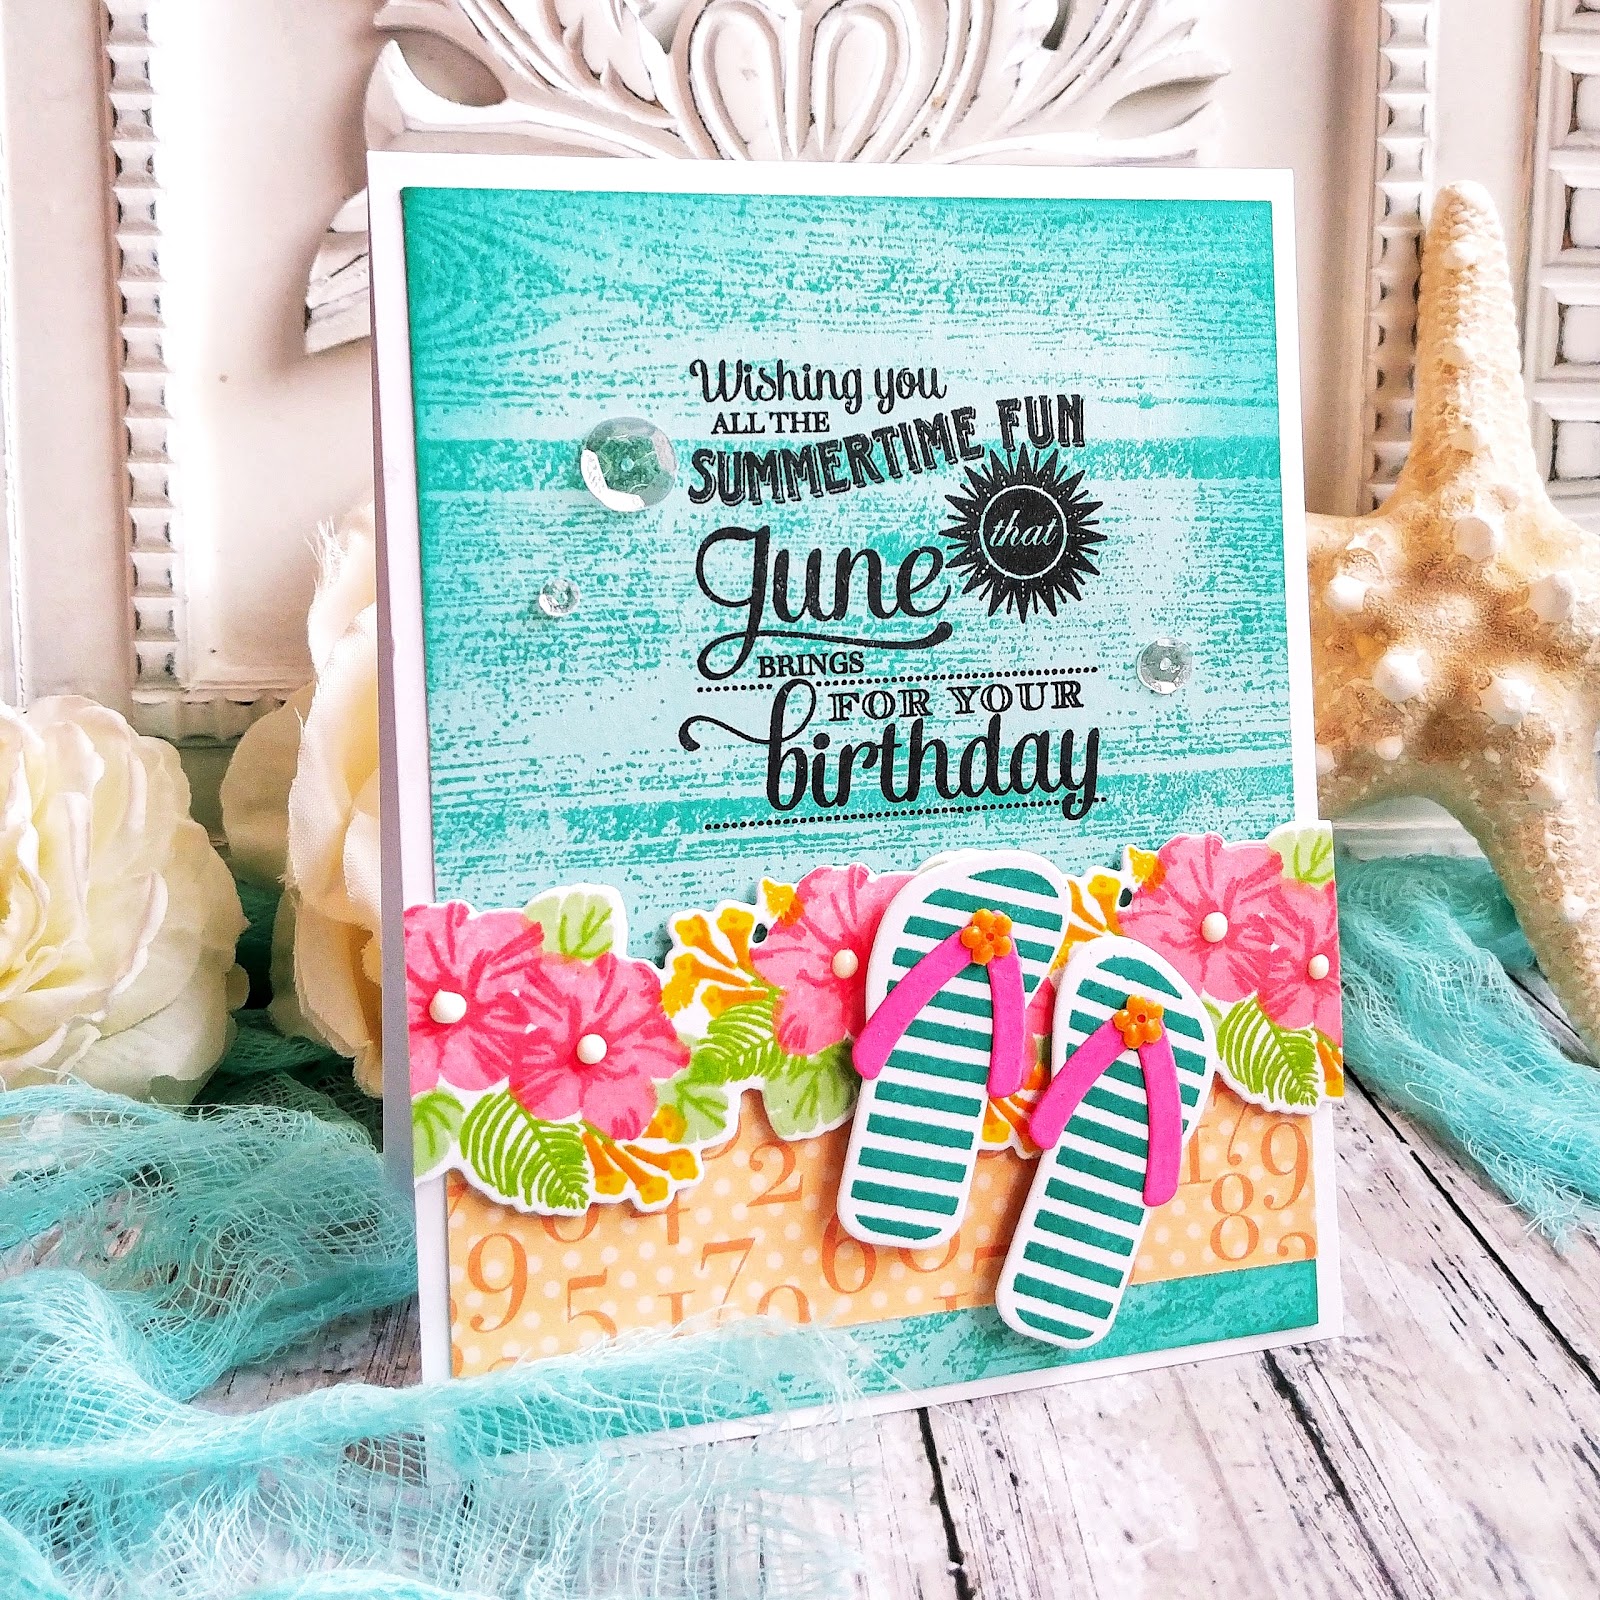
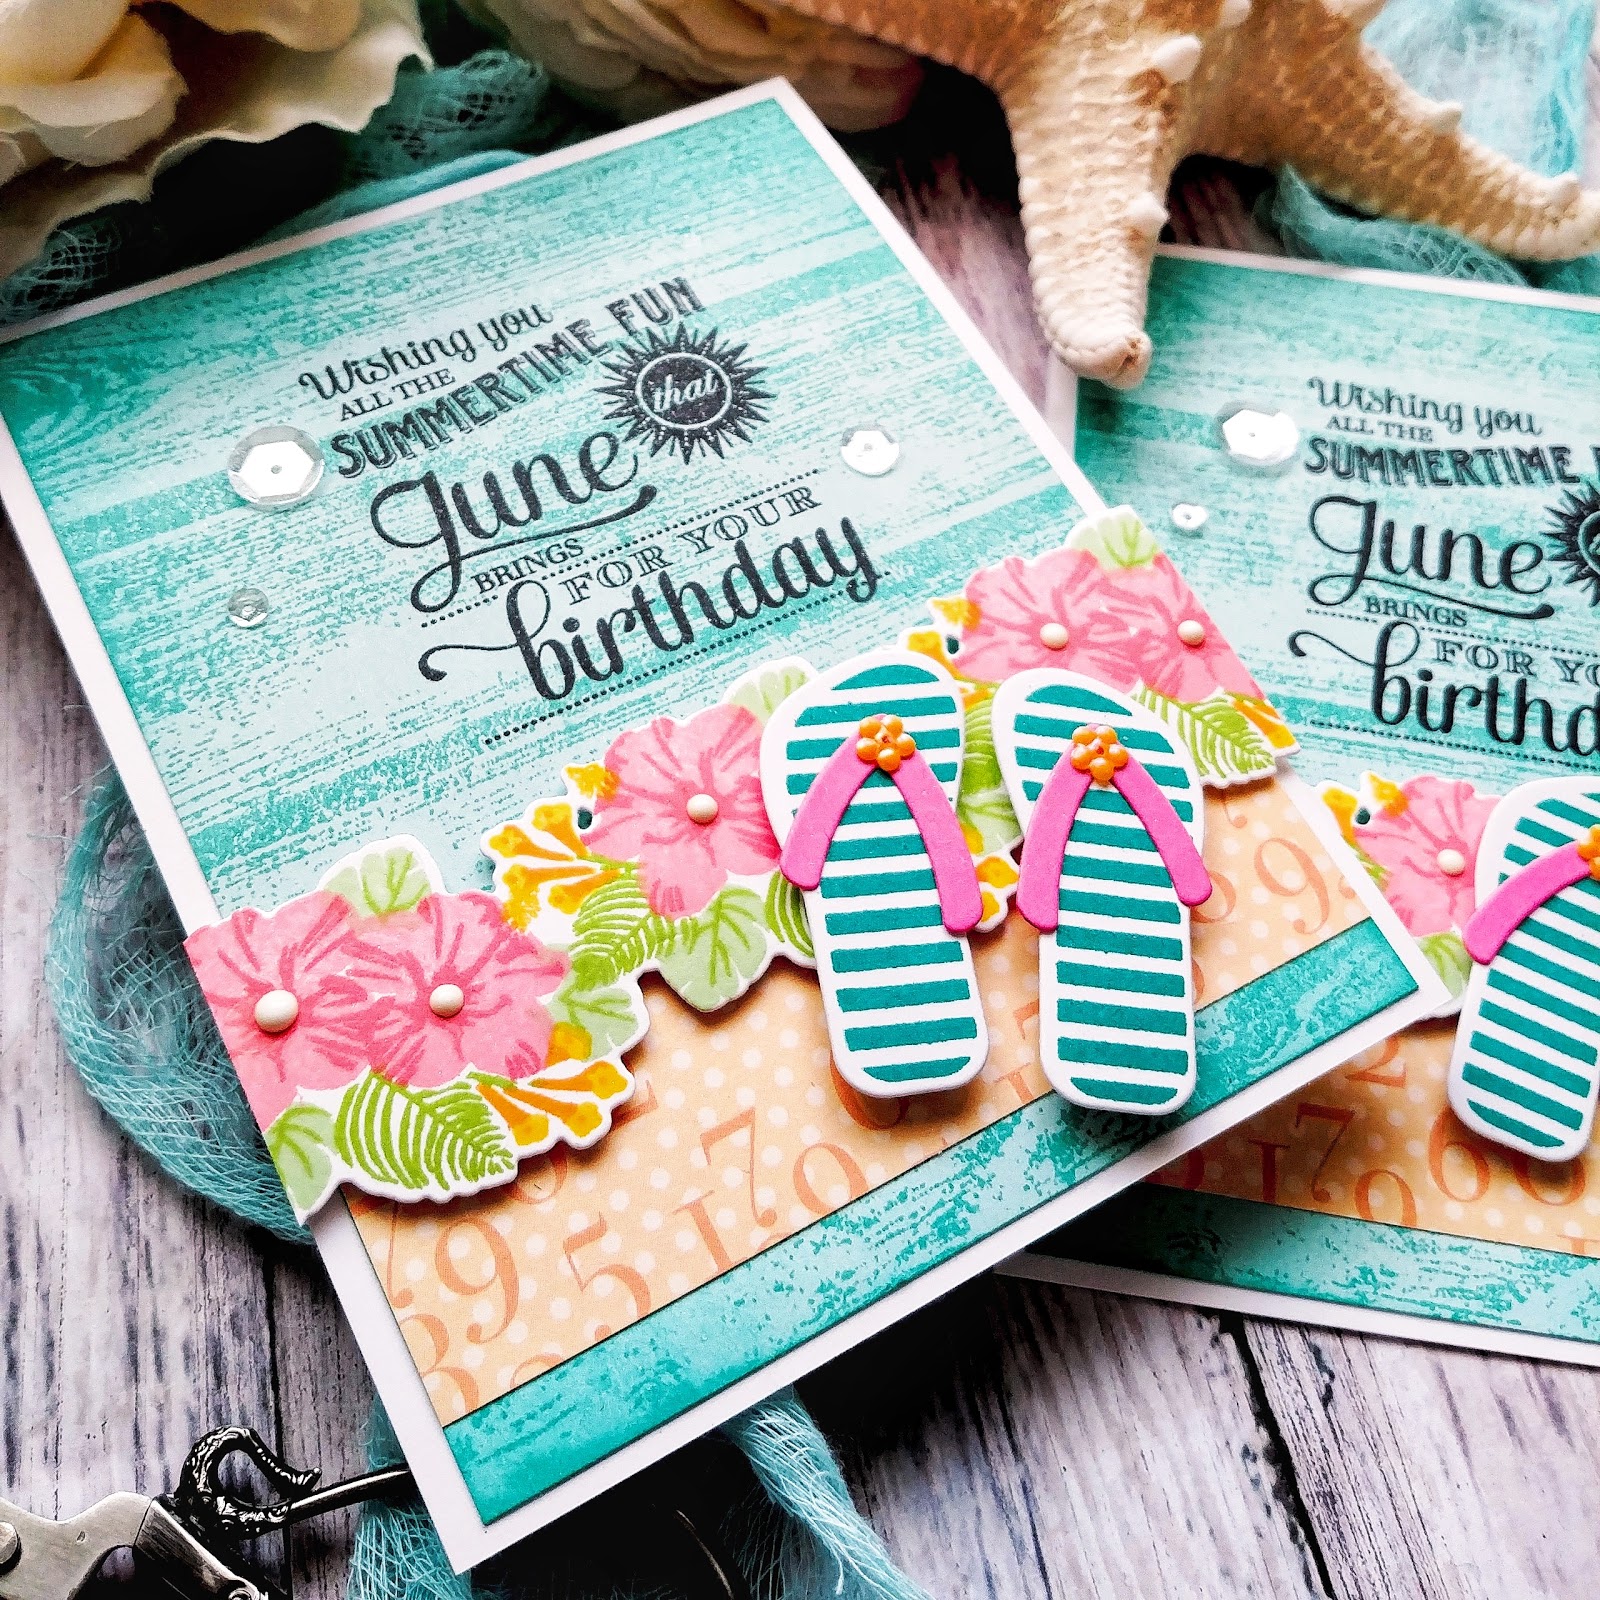
Happy summer, friends!  I wanted to share a few more summer birthday cards I've been working on! I've written out my birthday card list for the month and knew I wanted to include a few using the Birthday Classics: June Mini stamp set. I made a total of 3 of this particular design so I used all of my usual mass producing steps to make it easier!

To begin these summer cards, I die cut the flowers that I planned on incorporating into the design using the Seasonal Borders: Summer die collection and then used my MISTI to get them all stamped using the Seasonal Borders stamp set. Once those were done, I set them aside to begin working on the background.

I cut the panels out of Aqua Mist cardstock measuring 4 by 5 1/4 inches and then stamped them using the Barnwood Background stamp. I also added a little bit of ink to each corner using a blender brush for some added defintion.

After the backgrounds were stamped, I used my mini MISTI to stamp the large sentiment in black for some contrast. I toyed around with heat embossing it in gold, but in the end, the crisp black won! I also added a strip of paper to the bottom, which is from the By the Numbers Patterned Paper, using a tape runner. I added the seasonal border using foam squares for dimension. At this point, I used my paper trimmer to cut off the extra portion of the border that was hanging over. It kills me to waste my hard work (ha ha) but I didn't want a horizontal card, so it had to be done!

I'm still on a flip-flop kick after I made THESE cards, so I decided to add a pair to each of the three cards. I die cut three of the foot part and three of the strap portion using the Flipping Out die collection. Once that was done, I stamped them using the Flipping Out stamp set. I also added a tiny flower sequin to each flip flop using liquid glue. The die collection comes with a flower die, but I thought these sequins were cute and added a different visual element other than paper.

I added the flip flops to the card using foam squares. I also added some white Nuvo drops to the center of the hibiscus blooms for added detail. A few sparkling clear sequins frame the sentiment as well.

I added another sentiment to the inside along with another cluster of flowers I stamped in the beginning. I didn't quite know where they would be used, but they ended up being perfect to decorate the inside of the card. Two of these cards are already on their way to the recipients and I hope they enjoy them!  Thanks for fluttering by!

Friday, December 27, 2019

Concord & 9th December 2019 Release

I hope you all had a very merry Christmas and enjoyed time with family and loved ones! I'm back today with my final Feature Friday as a Guest Designer for Concord & 9th! I had a lot of fun on today's card using the Special Delivery BUNDLE!

Tacos seem to be all the rage right now and I have a dear friend who loves them, so this card is for her! To begin this fun taco inspired design, I wanted to create a background that looks like a hard taco shell. I used the amazing Rectangle Masking Stencils to do some ink blending using Scattered Straw and Fossilized Amber Distress Oxide ink. I also added some black paint splatter to look like an actual corn tortilla. It looks light in the photos, but there is actually a nice amount in real life.

Once the background was done, I added the sentiment, which is included in the Special Delivery stamp set using black ink. I used my mini MISTI so that I could get a good saturated image. I also stamped the delivery truck using black in and then die cut it using the coordinating Special Delivery dies. I added some Crystal Glaze on the windows for some added detail and interest.

The taco images are stamped in black and then colored with Copic markers. I attached them to the truck using foam squares. The truck image is adhered to the blended background using additional foam squares for dimension. I also added two hearts that were die cut from red cardstock with a quick coat of Crystal Glaze. 
I had so much fun creating the lettuce detail that is sandwiched between the focal panel and the card base. I simply cut very narrow strips of green cardstock, spritzed it with a water bottle, and then crumpled it in my hand to get it more "lettuce-y"...LOL! I used ScorTape to secure it to the base layer and then used a double thickness of foam squares to raise up the focal pane. I can't wait to give this to my taco loving friend! Thanks for fluttering by!


Friday, December 20, 2019

Concord & 9th December 2019 Release


Hello friends! I'm back today with my second Feature Friday for Concord & 9th using some amazing new products! I took a minute to put away all of the Valentine's Day cards I've been making this month and one might think it was February, not December! LOL! These first two cards feature some super fun and versatile new products that I can't wait to tell you about!

Both of these cards use the new Sew Happy Hearts stamp set as well as the versatile Sew Happy Hearts dies. I knew I wanted to incorporate some stitching on these two cards, but I barely scratched the surface as far as the creative possibilities that they possess! ha ha!

I wanted the stitching to be evident, but not overpowering so I chose a Rose colored floss to do the stitching around the heart. I used all 6 strands of floss based on the size of the die cut holes. If they were smaller, I might have split it into a 3 strand length.

The best part of stitching on cardstock is there are no knots required! I simply secured the ends with a bit of washi tape and was done! For this top card, I used the heart cluster image and the "you have my heart sentiment" to decorate the heart die cut.

I also added a few sparkling clear sequins for some sparkle and shine! I love the postage stamp edge that you can get using the dies.

Of course I HAD to use this cute sentiment to accent and highlight the stitching that was done on the card. It's so cute! I use this saying a lot in my daily life as well, so it is a fitting card for me to send!

These cards measure 4 1/4 by 4 1/4 and are the perfect little Valentine size!

This second card uses another fun new collection of goodies; the I Chews You stamp set and the coordinating I Chews You dies. What I have failed to mention is that you can purchase these in a convenient BUNDLE, which is always handy!

I heat embossed the base of the gumball machine and the top of the machine using silver embossing powder for some realistic detailing. The die collections comes with a cute little die that cuts three sides of the portion where the gumball would fall so you can lift the flap!

I also used the fun new XOXO Turnabout stamp to do a little background embossing for this fun card!

This set comes with ALL KINDS of punny sentiments, which are my favorite, and I know I'll be using year round!

I added some Crystal Glaze to the gumballs for some realistic shine and detail!

A simple bow of red baker's twine finishes off this fun design! Join me next Friday for another Feature Friday! Thanks for fluttering by!


Friday, December 13, 2019

Concord & 9th December 2019 Release


I'm so excited to be a Guest Designer for Concord & 9th this month! I'll be sharing projects using all of the new goodies from the December 2019 Release all month long! Join me each Friday for the rest of December to see how I've used the fabulous new products! 


Who loves sugar juju hearts as much as I do? Raise your hand! I used the new Love You to Pieces Dies and the coordinating Love You to Pieces stamp set to create this fun and graphic card! To begin this design, I did some ink blending onto a panel of white cardstock using Festive Berries, Worn Lipstick, and Spun Sugar Distress Oxide ink pads for a Valentine-y ombre effect. I layered that onto a panel of red cardstock measuring 4 by 5 1/4 inches using foam squares.

I die cut the "LOVE" word twice; I intended to stack them up for a sturdy piece, but upon experimenting struck on this idea of lining them up side by side for a more whimsical feel. The sentiment is heat embossed in white onto a piece of red cardstock and then I die cut it using the banner die from the Love You to Pieces dies

The hearts are also die cut and then I added a layer of Crystal Glaze and sprinkling of coarse crystal glitter to create the juju jelly hearts of my dreams! Don't they look good enough to eat? My sister has a February birthday so she always got to take cupcakes to school decorated with hearts and sprinkles and I had a summer birthday so I never got to bring any cupcakes! LOL!

My second card also includes some juju jelly hearts and inkblending, but this time in a circle using the same colors. I forgot to mention earlier that I also spritzed them with a light mist of Shimmer Spray for some added sparkle. I used the large XO images that are included in the Love You to Pieces stamp set and my MISTI to get them nice and saturated. You can see that the ink doesn't stamp the same over the oxide ink so I wanted to get it as dark as possible and the MISTI allowed me to do that. The sentiment is heat embossed the same as in the first card, but I used the "all the hugs" sentiment because it just so darn cute! I hope you've enjoyed today's projects! Join me again next Friday for additional inspiration using even more new products! Thanks for fluttering by!