Showing posts with label distress ink. Show all posts

Sunday, May 16, 2021

Hello Bluebird {Hello Sunshine}


Happy Sunday, friends! I've had a whirlwind few days taking my cute daughter graduation dress (and other end of year occasions) shopping and then we took Senior Pictures! It's so fun seeing her blossom into such a fabulous young lady! 
Despite my whirlwind, it was so fun to sit down and create this cute springtime scene using these cute critters from the latest Hello Bluebird release!

This particular set is called Bloom and Grow and has so many cute and fun images to create fun springtime scenes! I stamped them all out and then had fun coloring them with an assortment of Copic markers. I used the coordinating Bloom and Grow dies to die cut the images.

The background was created using Distress Oxide inks and regular Distress inks. I used brown at the bottom because I just HAD to have Mr. Mole poking up from the dirt. Isn't he the cutest?

I love the little bunny planting his/her pots for the season and watching them grow! I seriously love this new set and can't wait to use even more from the new release over the next week or so! Thanks for fluttering by!


Friday, January 24, 2020

Pinkfresh Studio January 2020 Stamp and Die Release Blog Hop


Hello and welcome to the Pinkfresh Studio January 2020 Stamp and Die Release! There are so many AMAZING products being released today and I've just used the tip of the iceberg! I will be using these stamps and dies quite a bit next week so make sure to stop by to see more samples using all of these incredible products!
You are invited to the Inlinkz link party!
Click here to enter
You'll also want to make sure you head to the other amazing designers' blogs to see how they've used these products!

Pinkfresh Studios is giving away the entire release to two lucky winners: one from the Pinkfresh Studios Blog and one on the Instagram page @pinkfreshstudio
Pinkfresh Studio is also giving away a $25 gift certificate to one lucky commenter on my blog, so make sure to leave a comment here today to be eligible to win!
There is also a US Shipping promo going on now....simply place an order of $100 or more and you will receive FREE shipping! Wahoo! Just remember to click on the "free shipping" method at checkout!

For today's card, I chose to use a couple of the new stamps/dies paired together to create a one-of-a-kind design! To begin, I die cut the BEAUTIFUL new Foliage Frame Inset Die twice using white cardstock and glued them together using liquid glue. I set that aside and got to work on the focal panel.

I cut a piece of cardstock to 4 inches by 5 1/4 inches and did some inkblending around the perimeter using a blender brush. I also added some ink splatter using the same ink and a paint brush. Once that was done, I added the foliage piece using additional liquid glue.

I chose to use the "Live life in full Bloom" sentiment from the Full Bloom stamp set and used my MISTI to get it lined up perfectly in the recesses of the foliage. After that was done, I got to work on the beautiful stems and flowers.

I stamped the greenery from the Wildflower Sketches stamp set in Fresh Pear ink and the various blooms in Raspberry BlissMarigold and Lavendar ink.

I used the coordinating Wildflower Sketches die collection to die cut each of the stamped images. I really love these dies because they are SO easy to use! They line up perfectly and leave a perfect border! Once they were all cut, I added them to the card front using foam squares for added dimension.

The finishing touch is a few of the beautiful Essentials Jewels added here and there for some shine and interest! The focal panel is added to a top folding A2 card base using foam squares. I had so much fun putting this springy card together! Remember to stop back next week to see additional designs made with this release! Thanks for fluttering by!


Friday, July 12, 2019

Ink to Paper Countdown Day 2

Welcome to day 2 of the Ink to Paper July release countdown! I have quite a bit to share with you today using some of the new, fun products! First up is this AMAZING new die called Gift Card Holder: Pencil! This will be getting A LOT of use around here and today I'll be sharing 3 different ideas on how to use it! 

For my first project, I just used it as it is intended; a gift card holder that is just as cute as can be! It is designed so well; you just pull the end of the eraser and out comes the portion with the slits to hold the gift card. I created a "cover" for my gift card to make it all cohesive, but really, since it slides into the pencil sleeve, you could just have the gift card showing.

I used the new "To Die For Sentiments" to decorate the outside of the pencil sleeves. These are so much fun and I have used different ones on each of the 3 projects I created using this pencil die. 

I kept things pretty traditional by creating the standard "Number 2" pencil in yellow with a pink eraser! These will be perfect to give to teachers, artists, or anyone who loves pens and pencils! 

For my next project, I created a little treat slider that could be used for teachers OR for a note of encouragement for a child. My cute little 5 year old is headed to a special "Kindergarten Summer Camp" in a few days so I thought it would be fun to give him this when he is finished! These would be awesome for teacher appreciation, too!

I gave this pencil a spiffy look by using one of the pieces of pattern paper from the Men of Life pattern paper pad, which is a steal of a deal right now! In fact, there are so many amazing paper pads that are on sale for 2 dollars! They are perfect for projects like this!

I used the new To Die For sentiments on this one as well, as well as the new banner die that was showcased yesterday and the new sentiment set called Simply Sentiments. I used it on the first project as well. It is fun because it has different sizes of the same sentiment so you can tailor it to your needs. 

I slipped a Hershey's bar inside the sleeve! I contemplated wrapping it in some coordinating paper, but realized that for photography purposes, I should show it like this.

The candy bar fits perfectly inside. I left the foil sticking out, but you could totally tuck it in if you wanted. I just really liked the idea that you could see that there was a goodie tucked inside. 


My 3rd project probably doesn't come as much of a surprise for most of you. I realized when making the gift card holders, that I could create a box by adhering two of the die cuts together to create a box. I absolutely love making paper boxes, so of course I had to give it a try!

The only reason why I hesitate to make projects like this for blogging is because they are incredibly difficult for me to get good photos, so hopefully you can get the gist! 

I used the Men of Life paper for this pencil as well and added some flowers using one of my new favorites, It's a Sign: Beautiful. This box is quite large and can hold quite a bit of candy or whatever you decide to fill it up with. 

I created a base to glue to the bottom so that it can hold something. It is just a tiny box that I created and slid underneath and glued it with liquid glue. 

I put a cellophane bag inside filled with candy. I can't wait to make more of these for my kids' teachers!

My final project for today uses a fun new set called Bon Voyage! This one is so versatile and comes with so many fun sentiments that you can mix to create fun phrases. I decided to use the "sending" sentiment paired with the new banner dies and the Simply Sentiments stamp set.

To begin this design, I blended some ink onto a panel of Linen cardstock. I really like how it looks like fabric once it gets ink on it. I used it on a card I'll be sharing tomorrow as well! Once the blending was done, I added the Clouds and then the banner with the word CONGRATS embossed in white. I added some ink splatter using my color spritzing tool.

It's really easy to bend your stamps to get them to curve the way you need on these new border dies. 


The airplane and flying sentiment banner are stamped in black and then colored with copi markers. The stamp set comes with the solid image to add to the outline, but I like coloring, so I chose to do that.

I added a strip of Bitty Big: True Black pattern paper to the top and then used my sewing machine to stitch it along the top. Once that was done, I adhered it to a standard A2 card base using foam squares for added dimension.

A few sparkling clear sequins tucked here and there finish off this playful design. This will be perfect to give to new parents or someone headed off on a fun new adventure that requires congratulations.

Join me tomorrow for Day 3 of the release; there are some beautiful new products that you'll definitely want to see! Thanks for fluttering by!

Wednesday, June 19, 2019

SugarPea Designs Sweet Peek Week Day 3

Welcome to day 3 of the SugarPea Designs Sweet Peek Week! Today the team is showcasing an ADORABLE new set that is so much fun! Make sure you head to the other designers' blogs to see how they have used this cute new set!
Image may contain: text

This cute little dude is from the new Hey Summer stamp set! There are two bears included in the set along with TONS of sentiments and accessories, of course! I decided to give him some swim trunks, a popsicle, a beach ball, and a surf board! It all just screams summer!
No photo description available.

I also brought in a few of the other products that were previously showcased on day 1; Meadow MotfisEveryday SentimentsSentiment Strips SugarCuts, and the Spirograph Mandala Stencil

This card features some die cut "sand" that I created by using the Card Front Element Builders. I die cut the two pieces from Kraft cardstock and then used my color spritzing tool and a brown marker to give it that speckled look. 

No photo description available.
The surfboard is layered 4 times,colored with copic markers and then a nice coat of Crystal Glaze is over the top for that "just waxed" look. I added the flower over the top to give it a somewhat tropical vibe. I used the coordinating Hey Summer SugarCuts to die cut everything. The arm on the bear is cut so that you can have him/her hold some of the different accessories. The popsicle and ball both have Crystal Glaze as well! This card was a joy to make! Thanks for fluttering by!

Friday, May 24, 2019

Sending you sunshine!

I'm thrilled to be here today sharing my bright and colorful "sending you sunshine" card! We've had rain pretty much every day for the last I don't know how many days! Sunshine peeks through here and there, but this card is certainly fitting for the weather we've been having! I'm pretty confident that with this cute duck sporting a pink polka dot umbrella and splashing around, this is sure to send some sunshine!


I've been dying to use the new Over The Rainbow Confetti Cuts paired with the Square & Circle Frame Confetti Cuts so that was the jumping point of my design. The arc of the rainbow and the arc of the die cut circle didn't quite match up, but I decided to go for it anyway. In the end, I added so many other details that it's hardly noticeable!  LOL!
I had a bunch of rainbow pieces left over from my rainbow cards I made during the release, so I just sort of scrambled up the order and made my own custom rainbow!  The clouds are die cut and then I did some ink blending as well as some ink splattering on them for a rainy day feel! I also added some extra detail by layering the largest square from the Stitched Squares Confetti Cuts over the card. The background paper is from the Sweet Stripes 6 by 6 pattern paper pad. The diagonal lines kind of bring in the look of diagonal rain falling, which I love.

 I stamped the umbrella, which is from the Rainy Day Fun stamp set, onto a piece of white cardstock and again onto a piece of Darling Dots pattern paper. I fussy cut the polka dot portion and adhered it to the other stamped image using liquid glue. I die cut it using the Rainy Day Fun Confetti Cuts. Once that was done, I gave it a good coat of Crystal Glaze for some shine! The duck's bill, feet and "splashes" all got some as well!
The duckie, puddle, and "splash" images are all from the Rainy Day Fun stamp set as well. I think the duck looks so cute holding the pink umbrella and splashing around! The sentiment is stamped in black onto a white strip and then added to the top of the card using foam squares. This entire card has SO many foam squares it is kindof comical! This one is definitely not going to be able to be mailed unless I put it in a special box or something! LOL! I had a lot of fun on this design! Thanks for fluttering by!

Sunday, May 12, 2019

Ink To Paper Countdown Day 2

Welcome to day 2 of the Ink To Paper countdown! Today I'm sharing a card made using the new Celebrating You stamp set. I also have two other projects below, so make sure you scroll down to  see those! Before I begin, you'll want to head to the Ink To Paper Blog as well to see some other awesome inspiration!This new set has lots of different balloons, strings, confetti and bows! As much as I wanted to add EVERYTHING onto today's card, I tried to edit my enthusiasm! Ha ha!

To begin this design, I added some Hawaiian Shores ink around the edges of the card to create a soft look. I kept it lighter in the center to provide contrast. The "happy birthday" sentiment, which is included in the Celebrating You stamp set is stamped in black. I like to use a stamp positioning tool to get the image nice and crisp. 


I stamped a whole bunch of balloons in different colors and shapes to create some visual interest. I also stamped and die cut different strings, bows, and tassels for some interest as well. I die cut an oval using the Nesting Basics Pierced Oval die cuts and layered that onto the blended panel. I also added the sentiment using foam squares. Once that was done, I simply arranged the balloons and added some confetti using the included circle image. A few sparkling clear sequins finish off this bright birthday design!


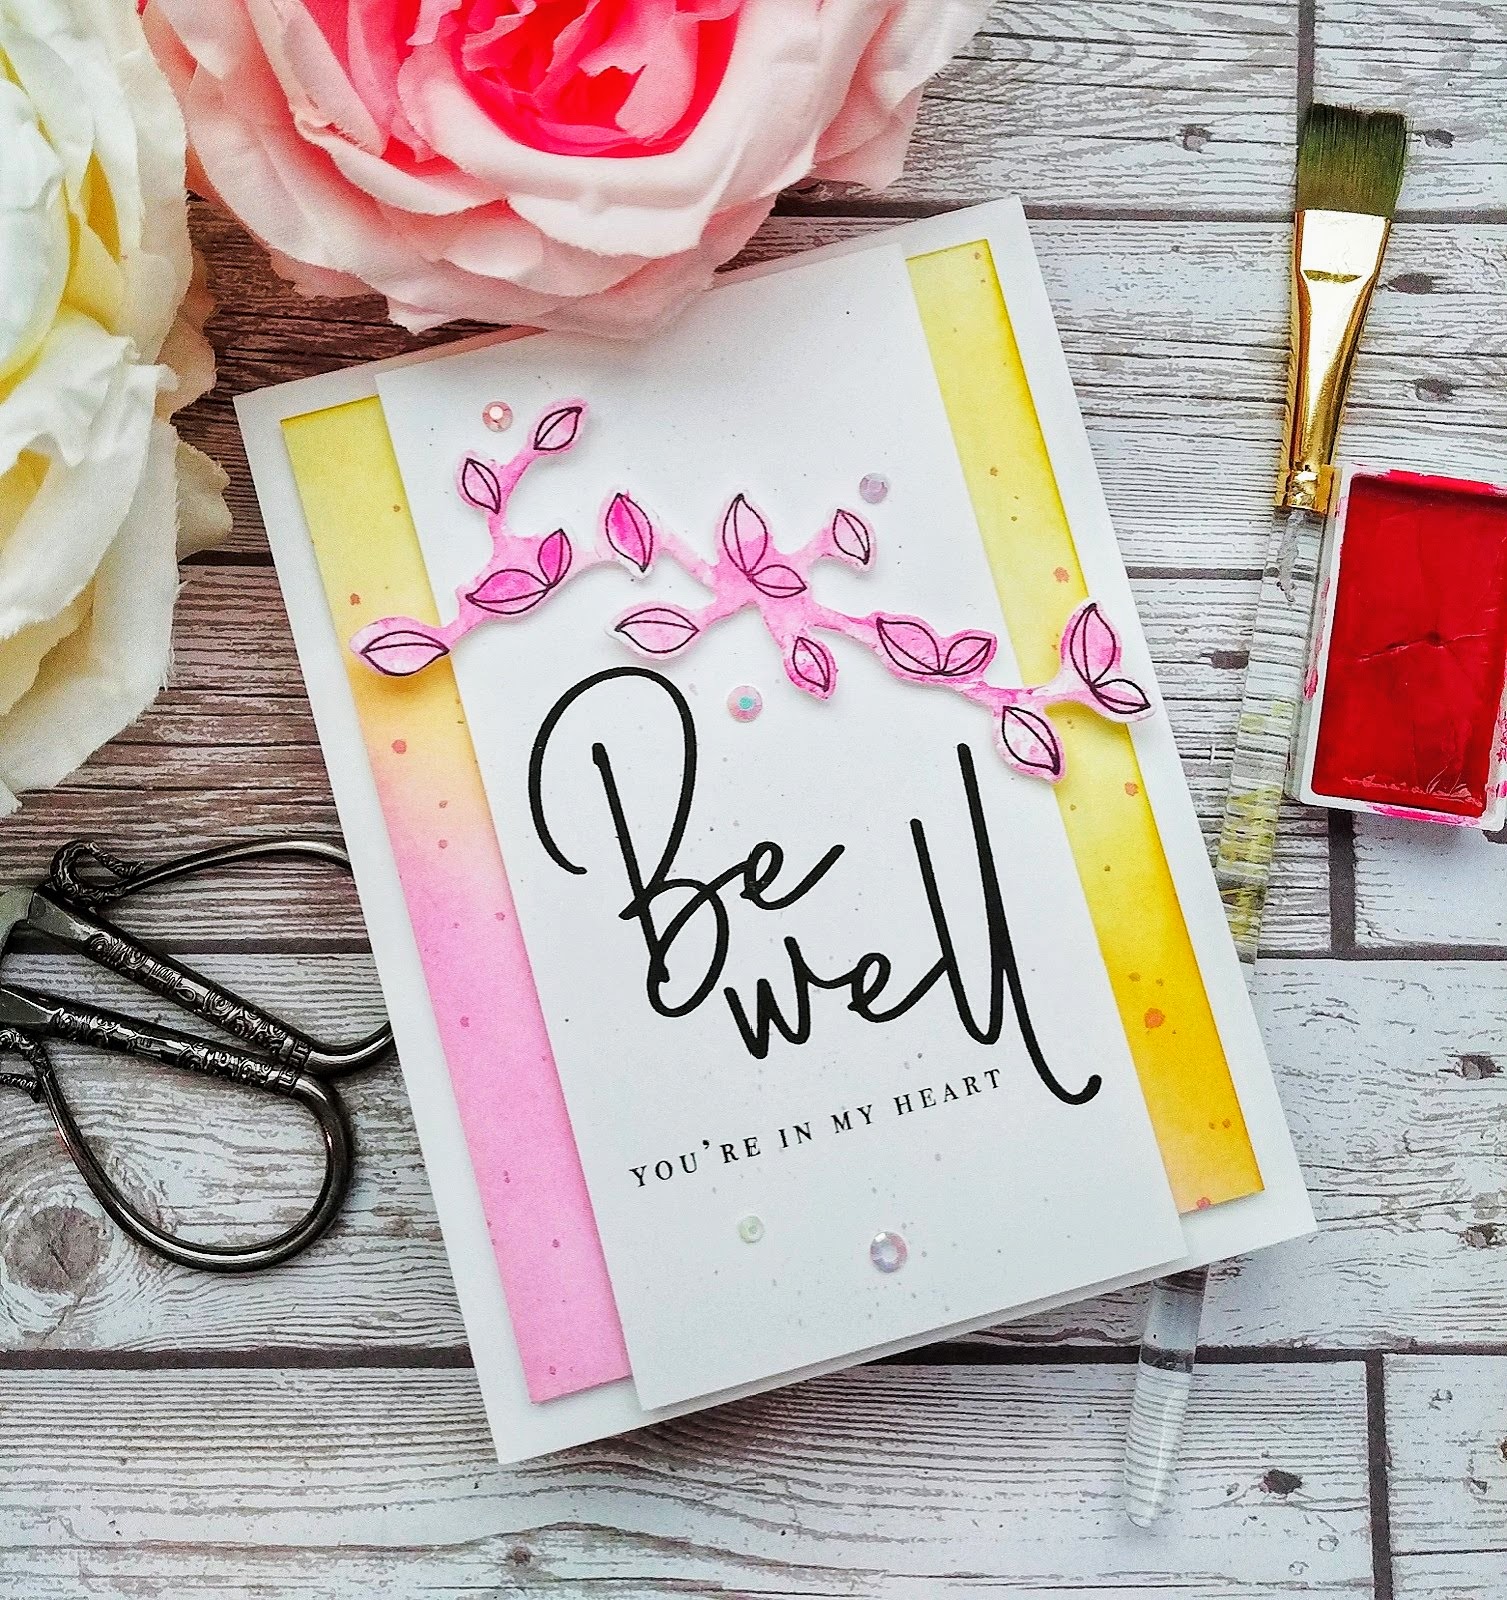
My next project uses the new Frame It Out: Wishes stamp set. Once I finished this card, it reminded me of packaging for a perfume or something! LOL! I didn't think I would like a simple design so much! To begin, I did some ink blending in pink and yellow. I also added some ink splatters in the same pink. I set it aside to dry and got to work on the sentiment panel.

I had accidentally gotten some splatters on this piece of white that was sitting on my desk, but rather than throwing it away, I decided to embrace more splatters and used it as the focal point for the design. I simply stamped the sentiments in black and added it to the blended panel.

 I stamped the leaf image in black and then die cut it using the coordinating dies. I did some quick, messy watercoloring and adhered it above the sentiments using foam squares.
 You can see how everything is popped up in this picture. I really like adding a lot of dimension when I create CAS designs. I added a few sparkling gems here and there for some sparkle and shine!

My last project of the day uses the new Be Happy stamp set and coordinating dies! These daisies were just begging to be stamped in shades of yellow and red for a "Happy" design! I don't normally create in these colors so it was fun to stretch myself!

I got to work stamping lots of daisies in different yellows and the red. I also stamped the pot in a few different shades to get a realistic looking terracotta pot. Once I had everything stamped, I die cut them using the coordinating Be Happy dies. I also added some tiny black dots to the center of the flowers using a black marker.

I stamped all of the sentiments in black and then die cut the word "happy" using the included dies. I glued those directly onto the stamped portion using a 2 Way glue pen. Once that was done, I added some Crystal Glaze over the top. I used a piece of Bitty Big: Green Parakeet pattern paper as the background for today's design. I thought it made the flowers pop and reminded me of something from my childhood!

I hope you've enjoyed today's projects! I'll be back tomorrow for Day 3 of the release, so stay tuned! Thanks for fluttering by!