Showing posts with label thinking of you. Show all posts

Monday, April 27, 2026

Papertrey Ink April Release Countdown Day 4

Wow! What a whirlwind it's been; we've made it to the 4th and final day of the Papertrey Ink April release countdown! As I mentioned yesterday, I have quite a bit to share with you again today! Up first is a card using some of my favorites from the new release and then the last 3 cards use a beautiful new sympathy set called Peaceful Meadow. I did use the leaf image from that set for the background on this first card.

To begin, I cut a 4 by 5 1/4 inch panel of white cardstock and then stamped the leaf image on two corner using Spring Rain ink. I didn't move the stamp, but rather just rotated the panel so that it would be the same for each corner. Once that was done, I added the hot foil design using the Filigree Frame Hot Foil Plate and champagne foil to the stamped panel.
I cut the middle-sized mat that's included in the Love to Layer: Top Notch Die from Spring Rain cardstock and attached it to the center of the foiled frame. I also cut the smallest mat from the same set and stamped the sentiment, which is from the Just Sentiments: You're on My Mind Mini Stamp Set in black. 

I created the Blueberry Sky banner piece using the Hold That Thought Die. I cut one of the pieces twice and then trimmed it and mounted them underneath the white portion to hide the cut seam.

I can't get enough of the Into the Blooms: Pressed Flowers Die, so I used it for the flowers and foliage.

I sprinkled some glitter on the flowers and leaves for sparkle and shine.

I added some pearls to the four corners of the foiled design and then mounted the entire background on an A2-sized Spring Rain panel. I glued it to a top-folding A2 card base using liquid glue.

For my next three cards, I'll be showing three different ways to use the new Peaceful Meadow Stamp Set. When I first saw it, I wondered if I would really be able to create anything other than the prescribed way of using this set, but much to my pleasant surprise, this set has become a favorite and I really love all of the delicate pieces that can be used in so many different ways! 

My goal was to use each of the three included sentiments on each of the three cards. For this first card, I paired the "remembering" sentiment, which is included in the set, with the Strength sentiment that was featured on day 1.

I used the new Regal Flourish Frame (yes, again) on a panel of Lilac Grace cardstock using champagne foil. I trimmed it down and then mounted it onto an A2-sized panel of white cardstock that has been cut using the Nesting Basics: Pierced Rectangles Die.

The die set comes with the option to combine the branches and leaves together one one die OR there's the option to cut the leaves or flowers separately and then add them to the branch image. I decided to omit the branches altogether on this card and just lay the leaves over the top for a delicate look.

I cut the flowers separately from the stems and then glued them together. This is the same thing you could do with the leaves and branches, but as I mentioned earlier, I chose to just use the leaves.

The stamp set comes with six different birds and I chose to use these two to perch in the leaves. I did add some black marker to create eyes, but in retrospect, I'm not sure if I like it!

I probably should have shared this card earlier, but this is more of the prescribed way for using the set. This shows the branches and leaves/flowers and stems put together on their singular die cut. I wanted something springy, so I chose to make leaves that look like blossoms.

This card features the second sentiment included in the set, which is a nice sized "With Sympathy" stamp.

For the background, I used the stencils included in the Elegant Notes Stationery Kit; blue to mimic the sky and green at the bottom to mimic grass.

This will be a perfect CAS sympathy card for mailing!

I went for a rustic look for my next card using just the leaves on the corners again, but this time stamped in green! I love all of the versatility I was able to achieve with this stamp set!


The flowers are from the new Into the Blooms: Pressed Flowers Die and the wood slices are from the Into the Blooms: Wild Wood. I cut the middle portion from Fine Linen cardstock and the outer portion from white and then colored it with Walnut Stain distress oxide ink.

This is the third sentiment included in the set; I love that they each have a coordinating die! It really makes the design options easier! 
Everything will be available for purchase tomorrow! Thanks for fluttering by!


Tuesday, September 3, 2024

You're On My Mind

Hello friends! I'm popping in today to share one of my last summertime cards! This card was featured in the newsletter yesterday, but I thought I'd also share it here and give you step-by-step instructions on how I put it all together!

This cards was actually mailed to its recipient quite awhile back, so it's fun to revisit this bright and floral design!

To begin, I die cut the floral border twice and then glued it together using liquid glue.

I used bright and bold inks and blender brushes to give it some color!


I used some salvaged patina spray on an A2 panel of white cardstock and allowed it to dry completely.


I adhered the border to the background panel using liquid glue. I stamped the flowers using the Breathtaking Blooms stamp set.

I die cut the medium sized arch included in the Love to Layer: Arches die collection. I spritzed it with stain as well and then stamped the sentiment from the Just Sentiments: Thinking of You stamp set using black ink.

I arranged the flowers and then added some sparkling clear sequins here and there.

I'm back on my shimmer spray kick, so this card got a generous spritz of that as well!

I'm fairly certain it's going to be seasonal and holiday projects from here and out, so here's saying adieu to summer! Thanks for fluttering by!


Thursday, February 29, 2024

The Greetery {Spring Fling Collection} Release Day!

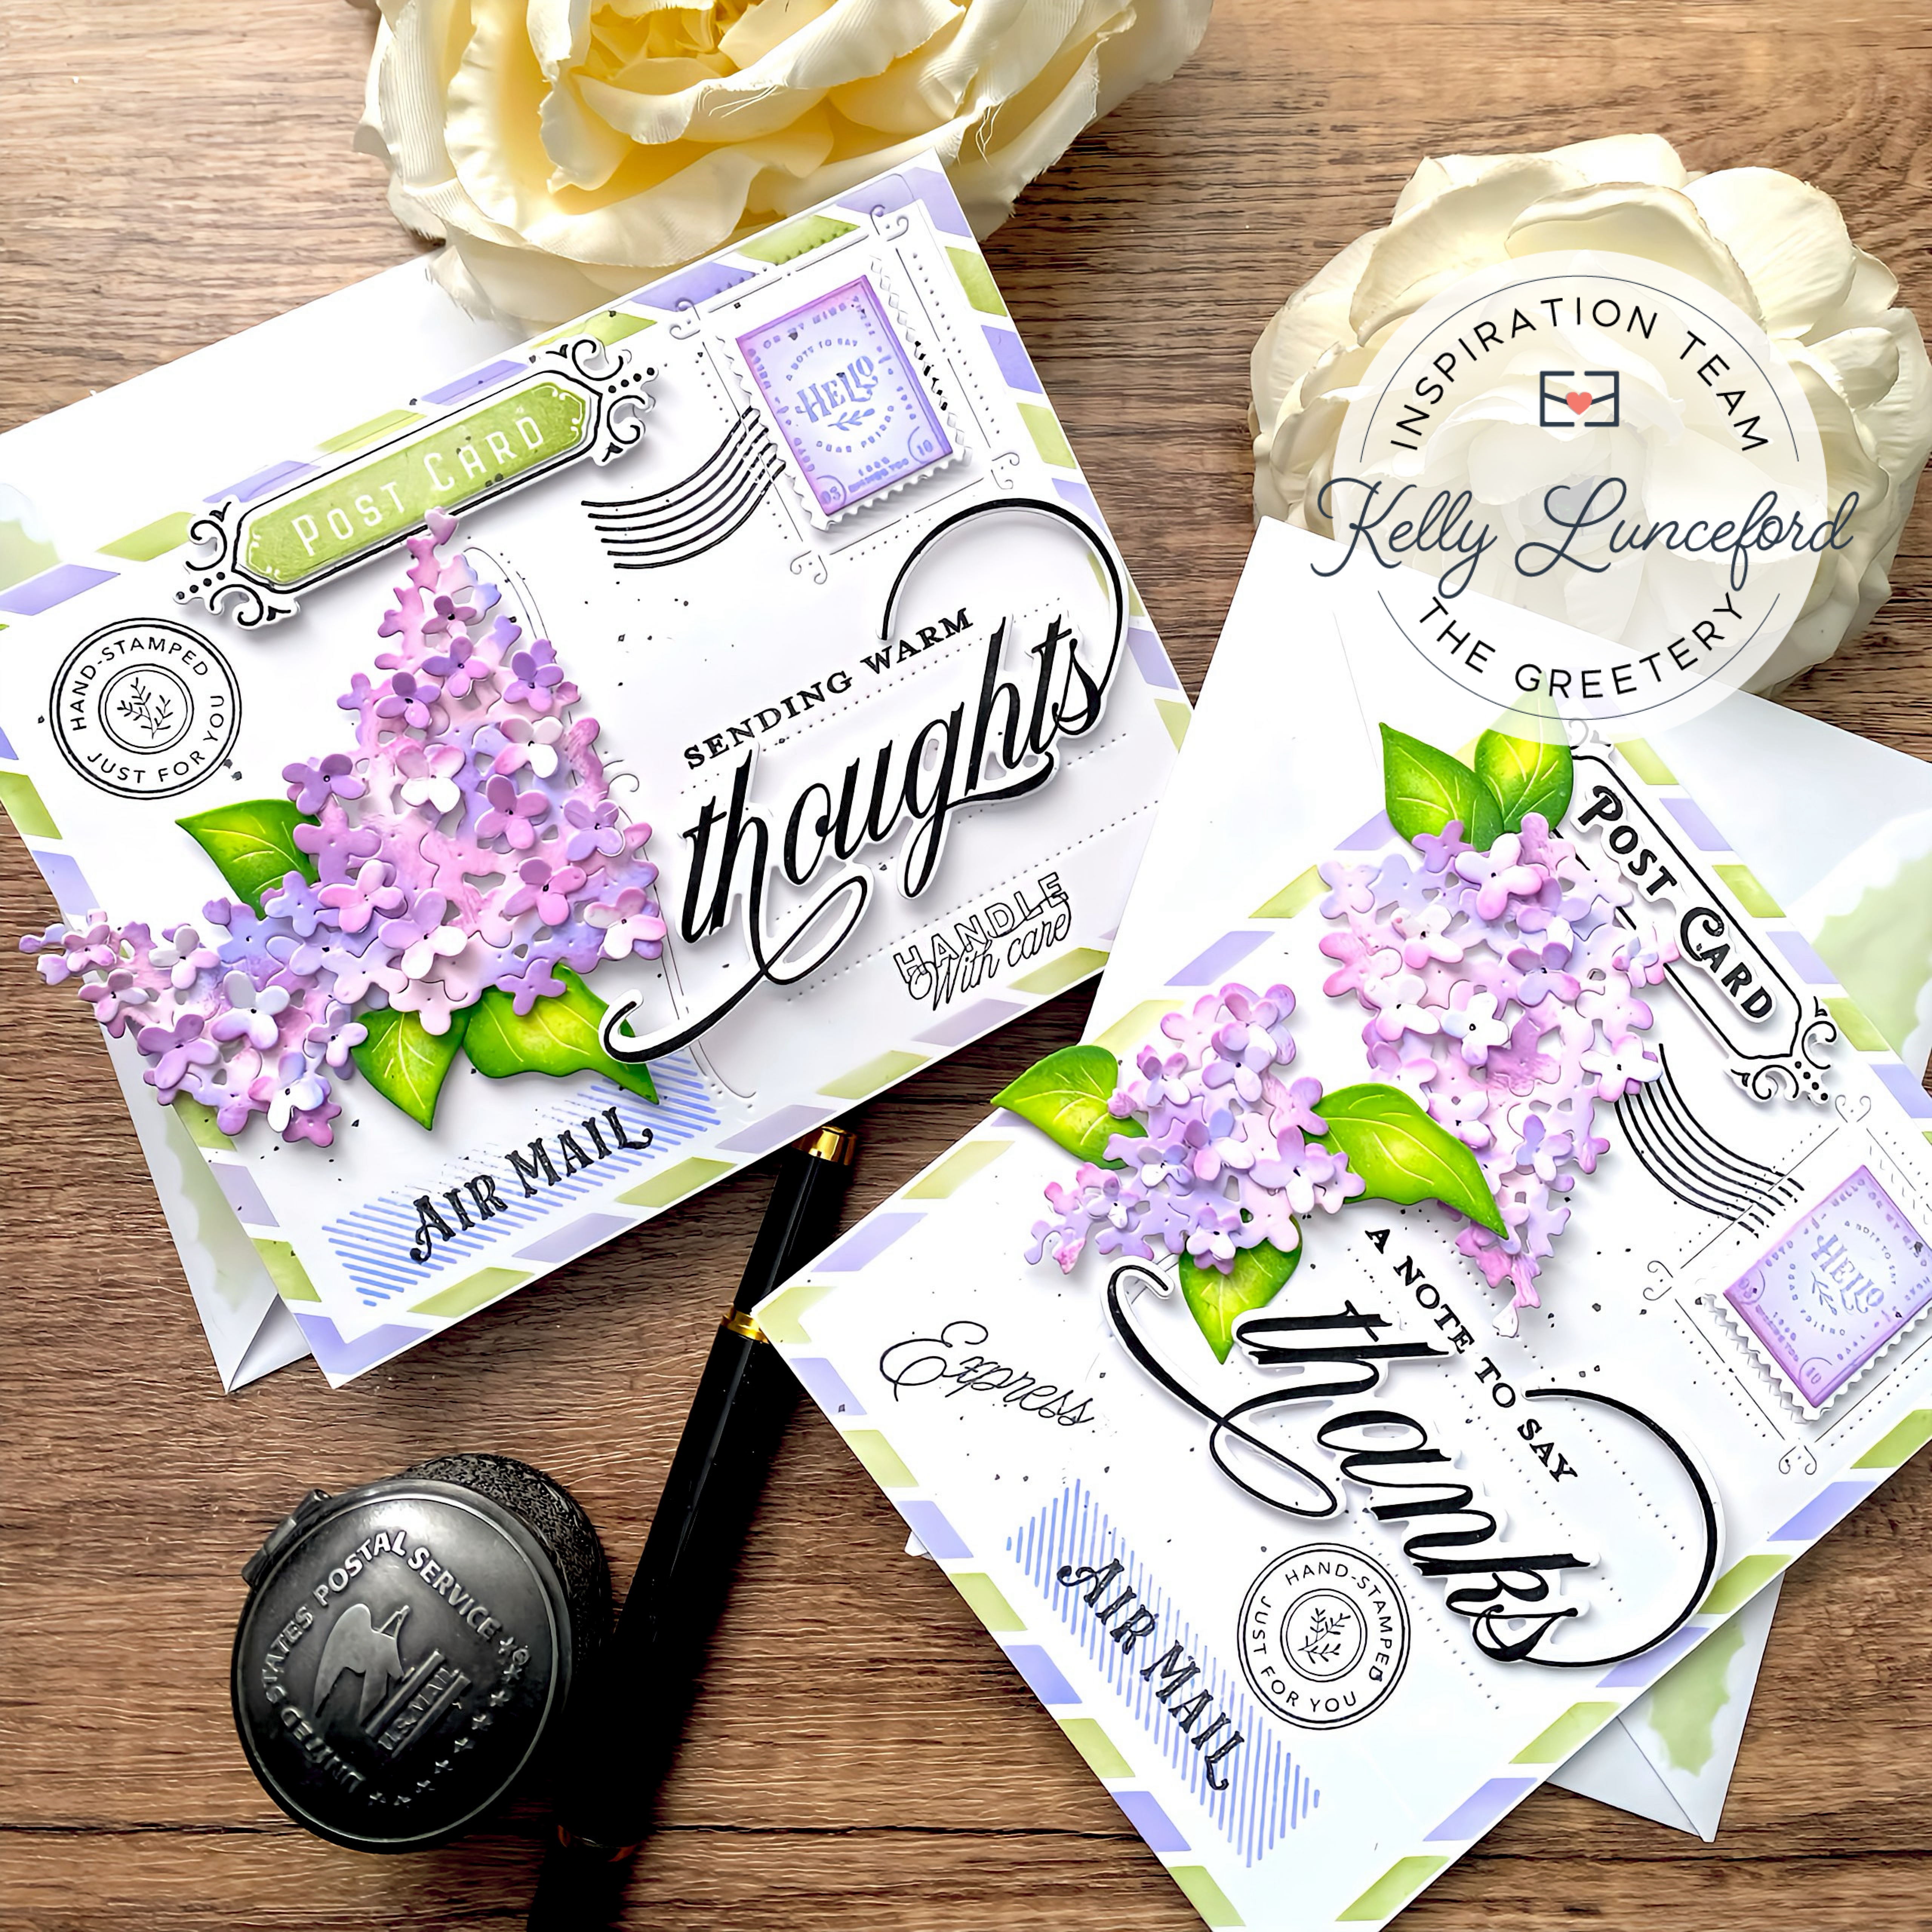
It's release day for the Spring Fling Collection from The Greetery! Everything will be available beginning at 10 am ET today! I created two bonus cards for you today using the lovely BotaniCuts: Lilac dies paired with some fun products from the last release! They are some of my favorites, so I couldn't wait to incorporate the lilacs with the postal theme!

I decided to make two cards; one horizontal and one vertical to add to my stash! To begin, I used the Airmail Border Stencil with Almost Amethyst and Certainly Celery ink from Stampin' Up! I set the two panels aside and then die cut all of the lilac pieces I would need for the two cards. I colored the blooms using milled lavender, shaded lilac, and dusty concord distress oxide ink. The leaves are colored using twisted citron, mowed lawn, and rustic wilderness distress oxide inks. I used a fine-tip black Sharpie marker to add dots to the flower centers. Not the ones on the large, main piece, but rather just the individual blossoms.

 I used the smallest tip of my stylus and a foam mat to curve each of the individual blossoms and then added them to the main cluster using liquid glue and a gem picker for ease. I spritzed both the leaves and the blooms with Shimmer Spray and set them aside to dry while I got to work on the rest of the background pieces.

I used the Postal Modern stamp set for all of the postal themed accents. This is seriously one of my favorite stamp sets and I have a sneaking suspicion I will be reaching for it often! I chose two of the beautiful sentiments from the Scripted Sentiments stamp set for each of the cards. 

I love the guides on the Postcard Details Pierce Plate; it gives the perfect place to add the accent sentiments and the lovely pierced detail. As you can see on this card, I chose to use it for a vertical design rather than the traditional horizontal looking postcard! Before I forget, I did add a bit of black ink splatter for added interest.

Once all of the postal elements were in place and the scripted sentiments, I had fun arranging the lilacs and leaves until I was satisfied with the arrangement. I did go in and fill in with a few additional postal images. I hope I didn't go overboard....I have a tendency of doing that! ha ha! I hope you've enjoyed this bonus post today! Everything will be available for purchase in The Greetery Shop beginning at 10 am ET! Thanks for fluttering by!

Tuesday, January 25, 2022

Papertrey Ink January Release Countdown Day 4

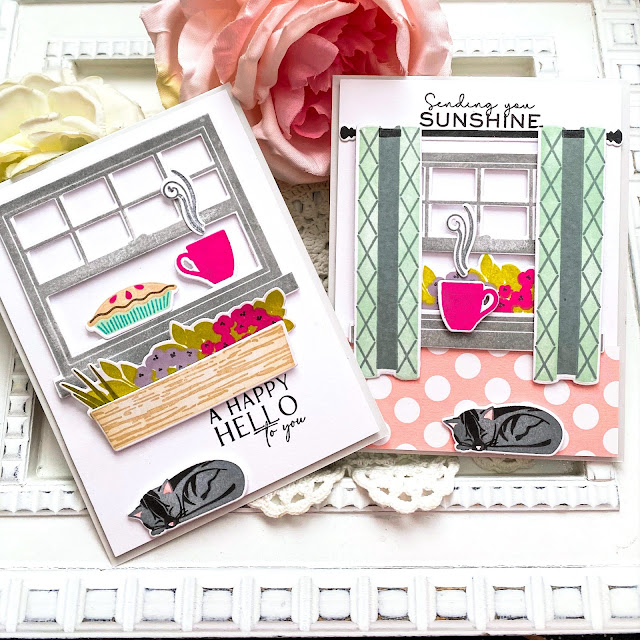
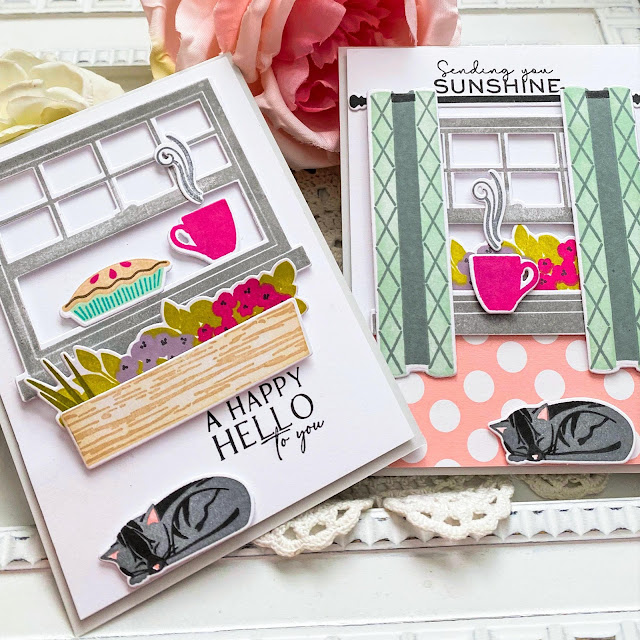
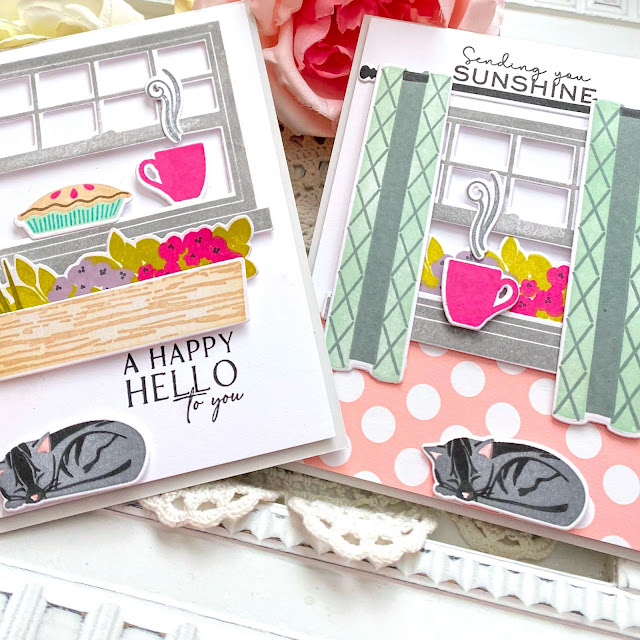
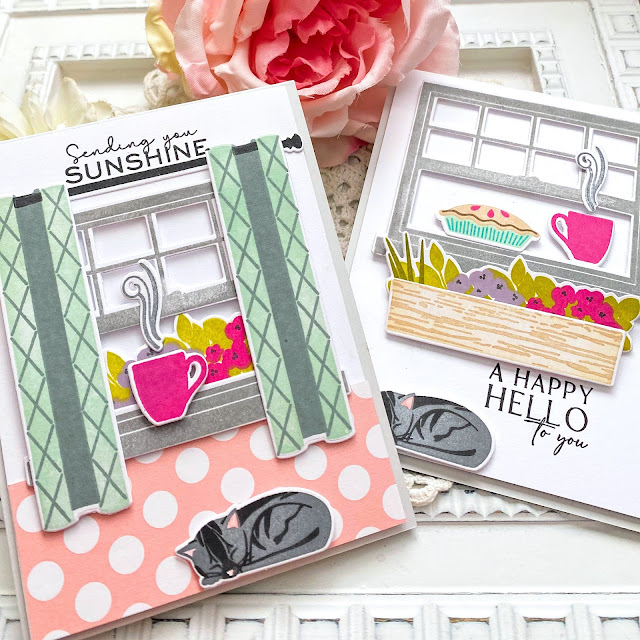
Well friends, it's the fourth and final day of the Papertrey Ink January release countdown! Everything will be available for purchase beginning tomorrow night at 10 PM ET. There's a really fun new set called Scene Everywhere: Windowsill that we're featuring today before the release goes live tomorrow! I haven't done many simple cards for this release, but I wanted to keep these two cards on the simple side to really let these sweet details shine.


I couldn't decide if I wanted an "inside" or "outside" window scene, so I made it easy and just made one of each! I love the drapery rod and panels so really wanted to give that a try and I also couldn't resist the window box with the pie cooling in the window!

A few simple sentiments finish off these easy cards! I had such fun choosing which colors I wanted to use to bring these scenes to life.

I really enjoyed this release, so I'm hoping to get a few more cards made with my favorites, but life has been crazy lately, so we'll see! I hope you've all enjoyed the last four days of the countdown! Thanks for fluttering by!


Monday, January 24, 2022

Papertrey Ink January Release Countdown Day 3

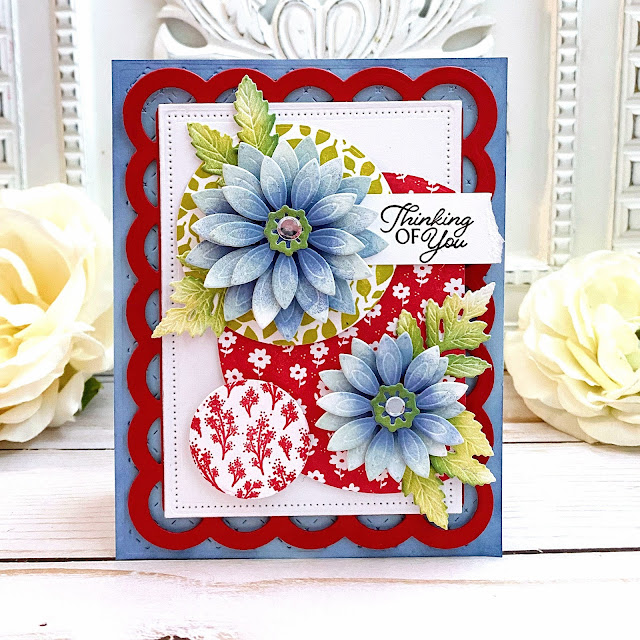
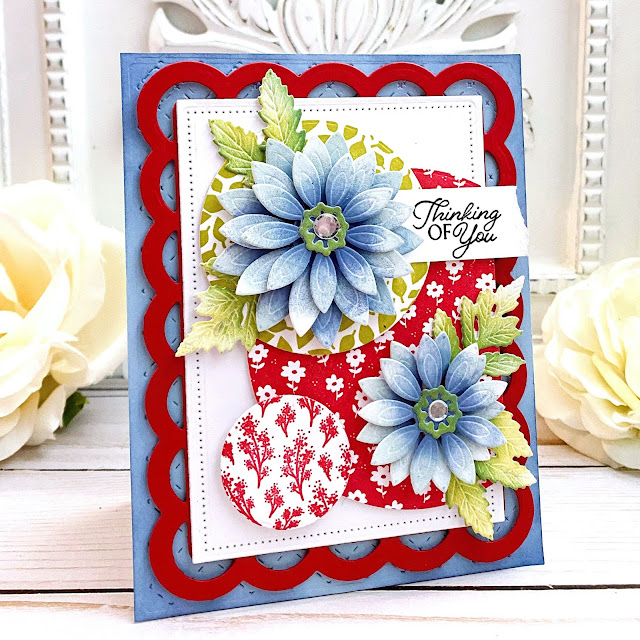
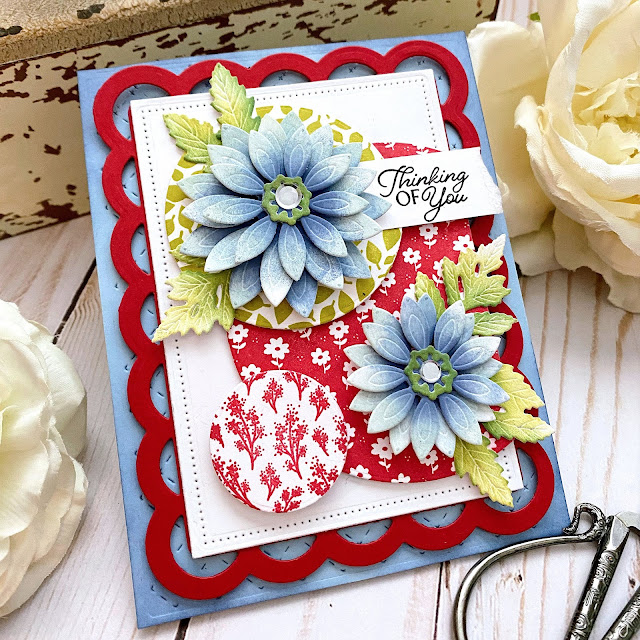
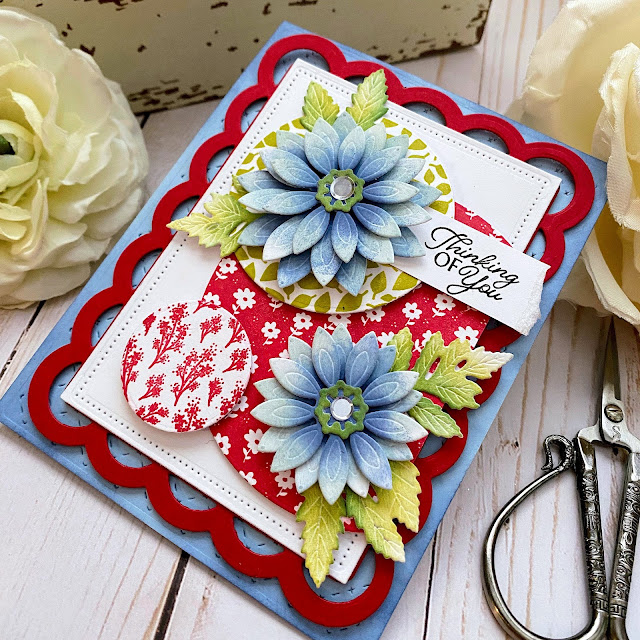
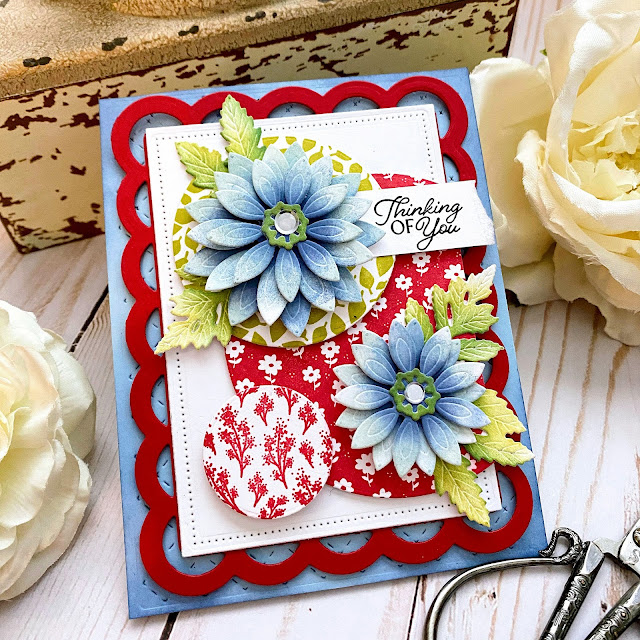
Hello and welcome to day 3 of the Papertrey Ink January release countdown! As promised, I'm sharing two more cards today using so many fun new products from the new release AND those dahlias I can't seem to put down! Up first is the cutest new set called Pattern Play! Who knew a set of patterned circles and dies could be so much fun? I'm having so much fun with them and know I will be reaching for them often! 

When I set out stamping my circles, I envisioned something on the Valentine's Day end of things, but when I saw how cute the blue dahlias from yesterday's bird card looked with the patterned circles, I decided to make a few more!

To begin, I stamped the largest pattern in Pure Poppy, the next pattern in Simply Chartreuse, and the smaller circle using Pure Poppy. There is a super cute small gingham pattern that I'm itching to use, but that will have to wait until the end of the countdown!

I created my dahlias and leaves by die cutting everything from white cardstock and then colored them using an assortment of Distress Oxide inks. I glued them together using foam squares and liquid glue and set them aside to dry while I got to work on the background elements.

I used the same elements for this card as I did for my first rose card from day 1 but switched up the colors and size of the scallop stacker for a completely different look. I love how it turned out; it complements the patterns and flowers so well.

I arranged the patterned circles and flowers here and there and then added a quick "thinking of you" sentiment from the newer Jar Accessories stamp set.

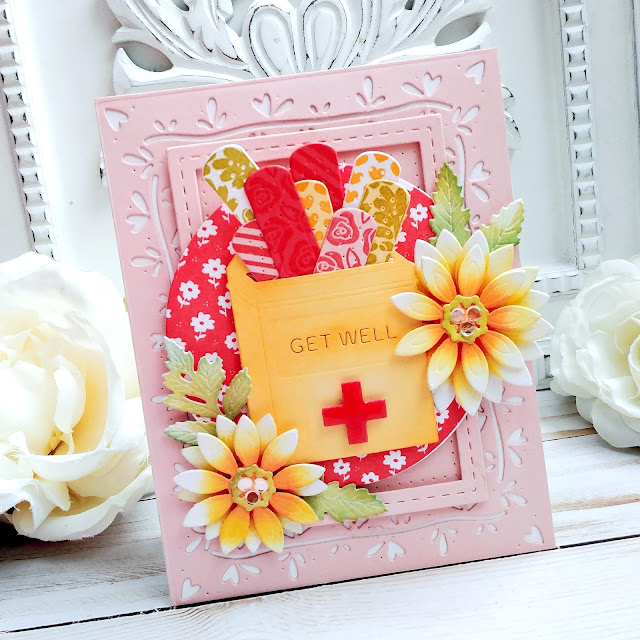
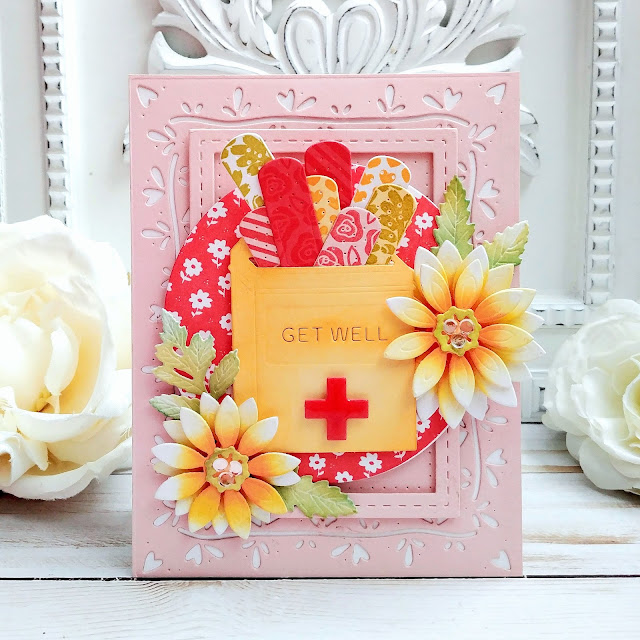
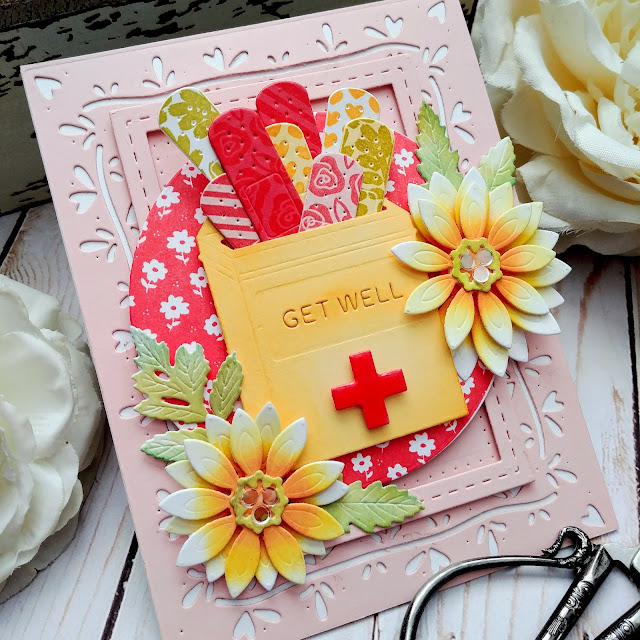
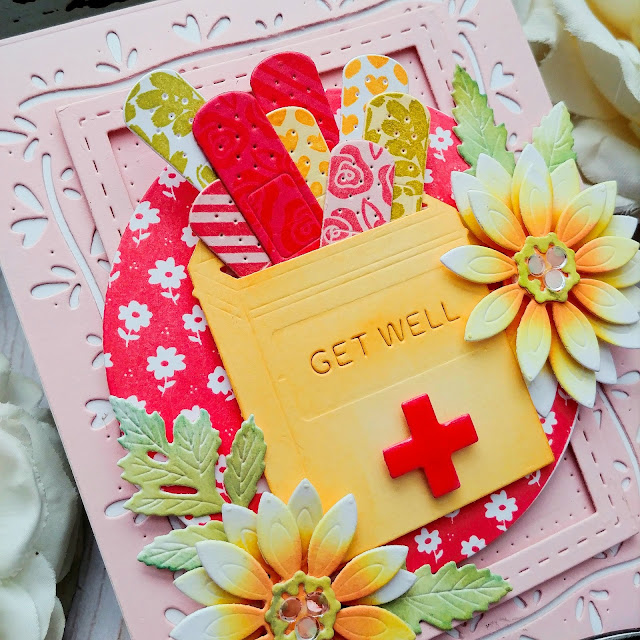
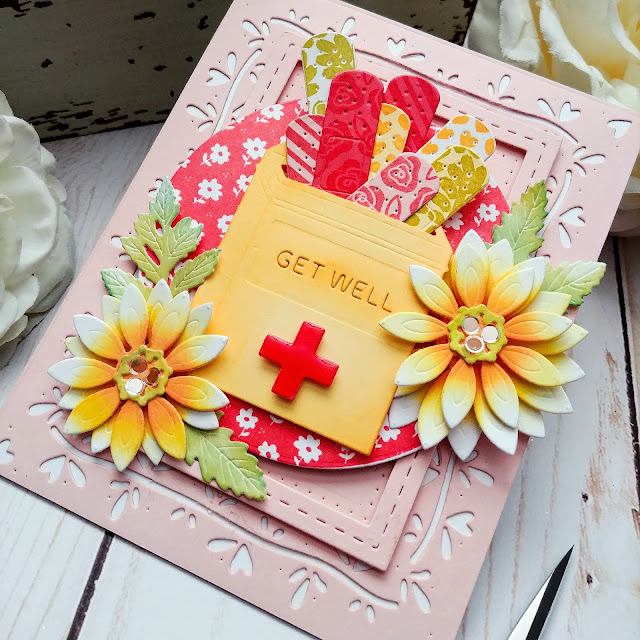
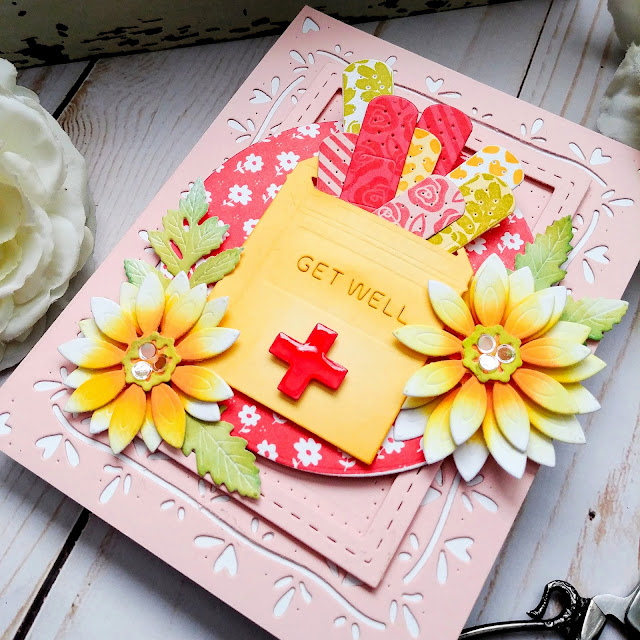
My next card uses both the new Pattern Play stamp set  and the cutest new set called Band-aid Wishes. I am obsessed with the older band-aid set that was released YEARS ago...I think it was called Healing Wishes, but I can't remember. Anyway, this one has stolen my heart, too! I love that you can create all sorts of different patterns for the band-aids!
I die cut the band-aid box from Lemon Tart cardstock and then added the die cut "get well" sentiment using the included die. Some Summer Sunrise ink around the edges really gives the box some contrast. I die cut the "red cross" symbol using Berry Sorbet cardstock and added it to the box using foam squares and then a coat of Nuvo Crystal Glaze.
Once the box was done, I set it aside to let the glaze dry while I worked on the band-aids. I die cut them from white, Lemon Tart, Berry Sorbet, and Sweet Blush to fulfill my bright and sunshine-y feeling I wanted for this get well design.


I stamped the largest circle from the Pattern Party stamp set using Berry Sorbet ink and die cut it using the die. I layered the box stuffed full of cute patterned band-aids on top of the circle using foam squares and liquid glue to adhere the stack of band-aids.

I've surprisingly only used the new Border Bling: Blooming Hearts die for one card, so I thought it would be super cute for this card. I die cut it from Sweet Blush cardstock and glued it to a top folding A2 card base. I also added one of the Border Bling: Skinny Stitched Frames in the center using foam squares. 

I added the circle with the box directly in the center and then clustered the flowers and leaves around the box. Thanks for fluttering by!