****edited to add: I created an updated tutorial for the key wristlets shown in this post. You can find it HERE ******** Valentine' Day is fast-approaching and I have been having such a fun time making ALL kinds of gifts and things for the big day! I have quite a bit to share, so get cozy and I'll dive right in! This card was made a few days after I made the post boxes from my previous post. I had all kinds of goodies left over and my mind was racing with possibilities! I did add in a few doves for an added vintage touch and the sentiment is from the new Folk Heart Sentiments.
To begin this card, I die cut a panel of Pure Poppy cardstock using the Stitched Scallops Die and then stamped it with gold ink using the large frame included in the Bookish Holiday Frames Stamp Set. I die cut the largest heart and backer using the Nordic Hearts Die; the main heart from Pure Poppy cardstock and the backer from Pale Peony cardstock. I adhered them together using foam squares. I added it to the center of the background panel using additional foam squares.
You can read all about how I made the embellishments in THIS post. I had so much fun arranging them here and there until I was satisfied with the arrangement.
I added the Be Mine sentiment and gave it a generous spritz of shimmer spray. I layered the scalloped background onto a top-folding A2 card base.
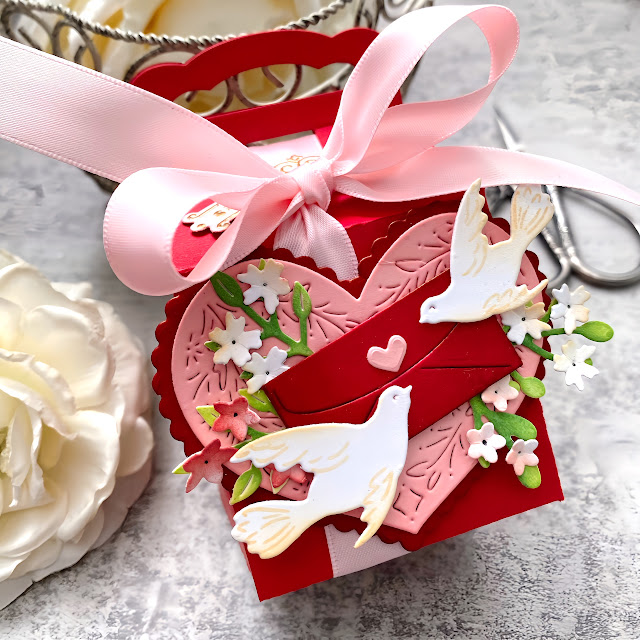
I still had quite a few embellishments left so I got to work on some treat boxes. I bought the Spellbinders Ribbon Box Die in November with plans to use it for Christmas, but we all know how things like that go! womp, womp! LOL! Anyway, it was the perfect thing for Valentine's Day treats!
I added the "feet" using the Fancy Feet Die and I just love how it looks! They don't have to only be used on post boxes!
This one doesn't have the ribbon threaded through it yet, but I wanted to share it so you could see how it all works.
5/8 inch ribbon works perfectly to slide through the slot.
And now onto some sewn projects. I will most likely add these to my neglected sewing blog, but for now, I am going to post them here until I get some extra time to post over there. The fabric that I used for these projects is from Riley Blake, but I didn't note the collection.
I always love making these keychain wristlets to give as gifts and with the "P.S. I love you" labels, they're just perfect for Valentine's Day. I bought the labels years and years ago from the local quilt shop, so I don't have a source, unfortunately.
I also love making tissue cozies as well. I ended up making 8 in total, but here is what they all look like.
I bought a bunch of the purse-pack tissue packages at Christmastime, but once again, womp! womp! I just didn't have enough time! Thank heavens for Valentine's Day to give us all a second-chance, right? ha ha!
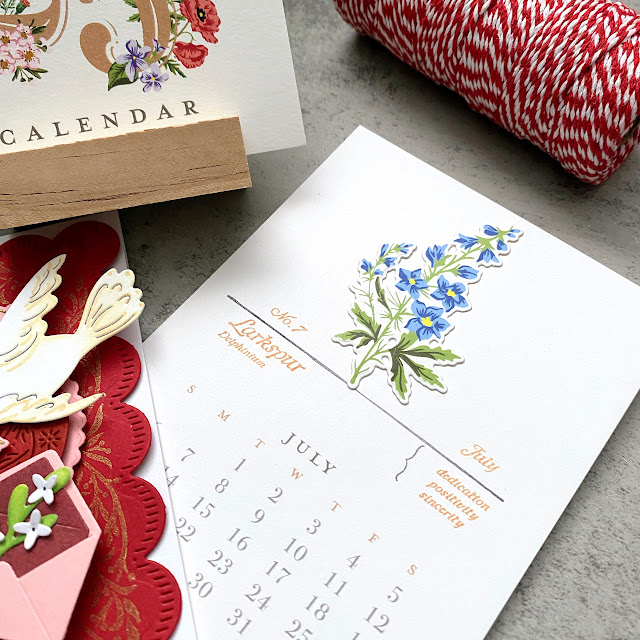
And to keep the theme going, I had planned to make these calendars for Christmas, too, but here they are for Valentine's Day gifts. I made 5 in total to give to a few friends and my son's teacher.
The 5 calendars didn't take long at all, especially when you're mass-producing! I'm so glad I got them finished because they look so cute with all of the other goodies! You can find everything I used in the These Are the Days Collection. Thanks for fluttering by!
P.S. Have a happy Valentine's Day! xoxoxoxoxoxoxo


