The Greetery {Christmas Garland Slimline Card}
Hello friends! I’m happy to be here
today sharing a slimline card that features some of my absolute favorites from
the latest release from The Greetery! I had wanted to make a card featuring a wooden ball garland
for the release, but just didn’t end up executing that particular idea. I
couldn’t get it out of my mind, so I was happy to create this card to share with
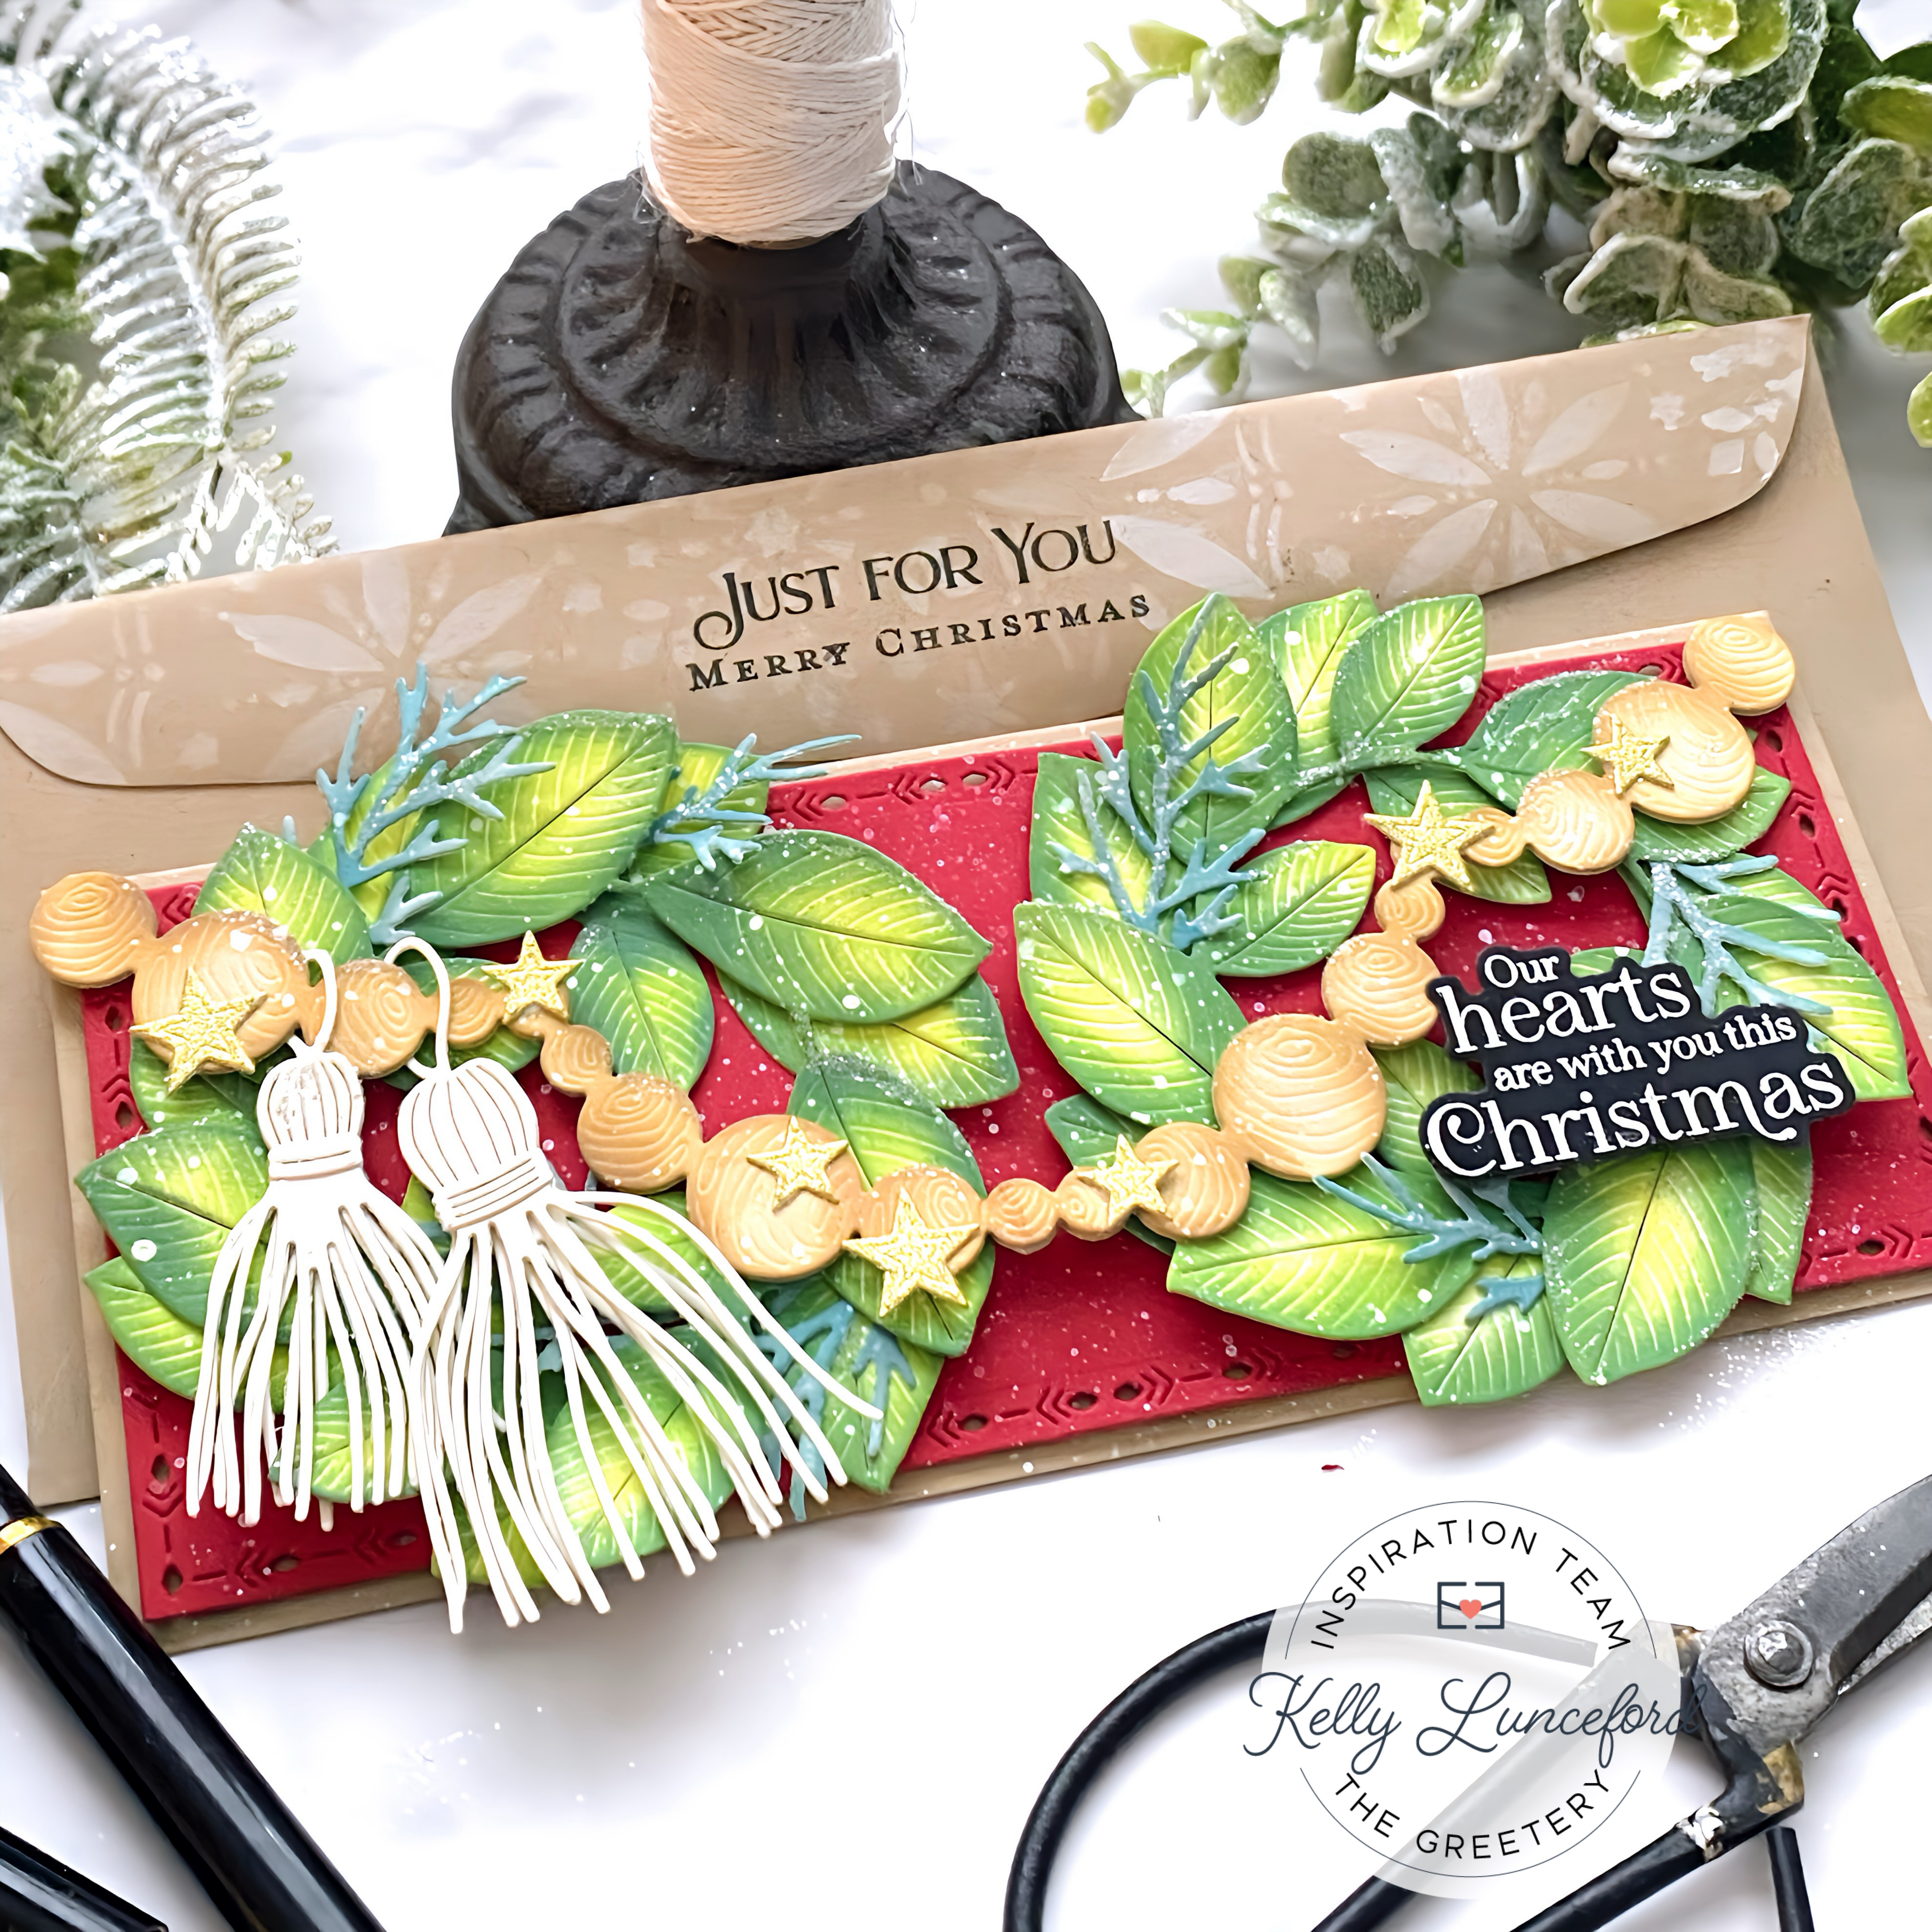
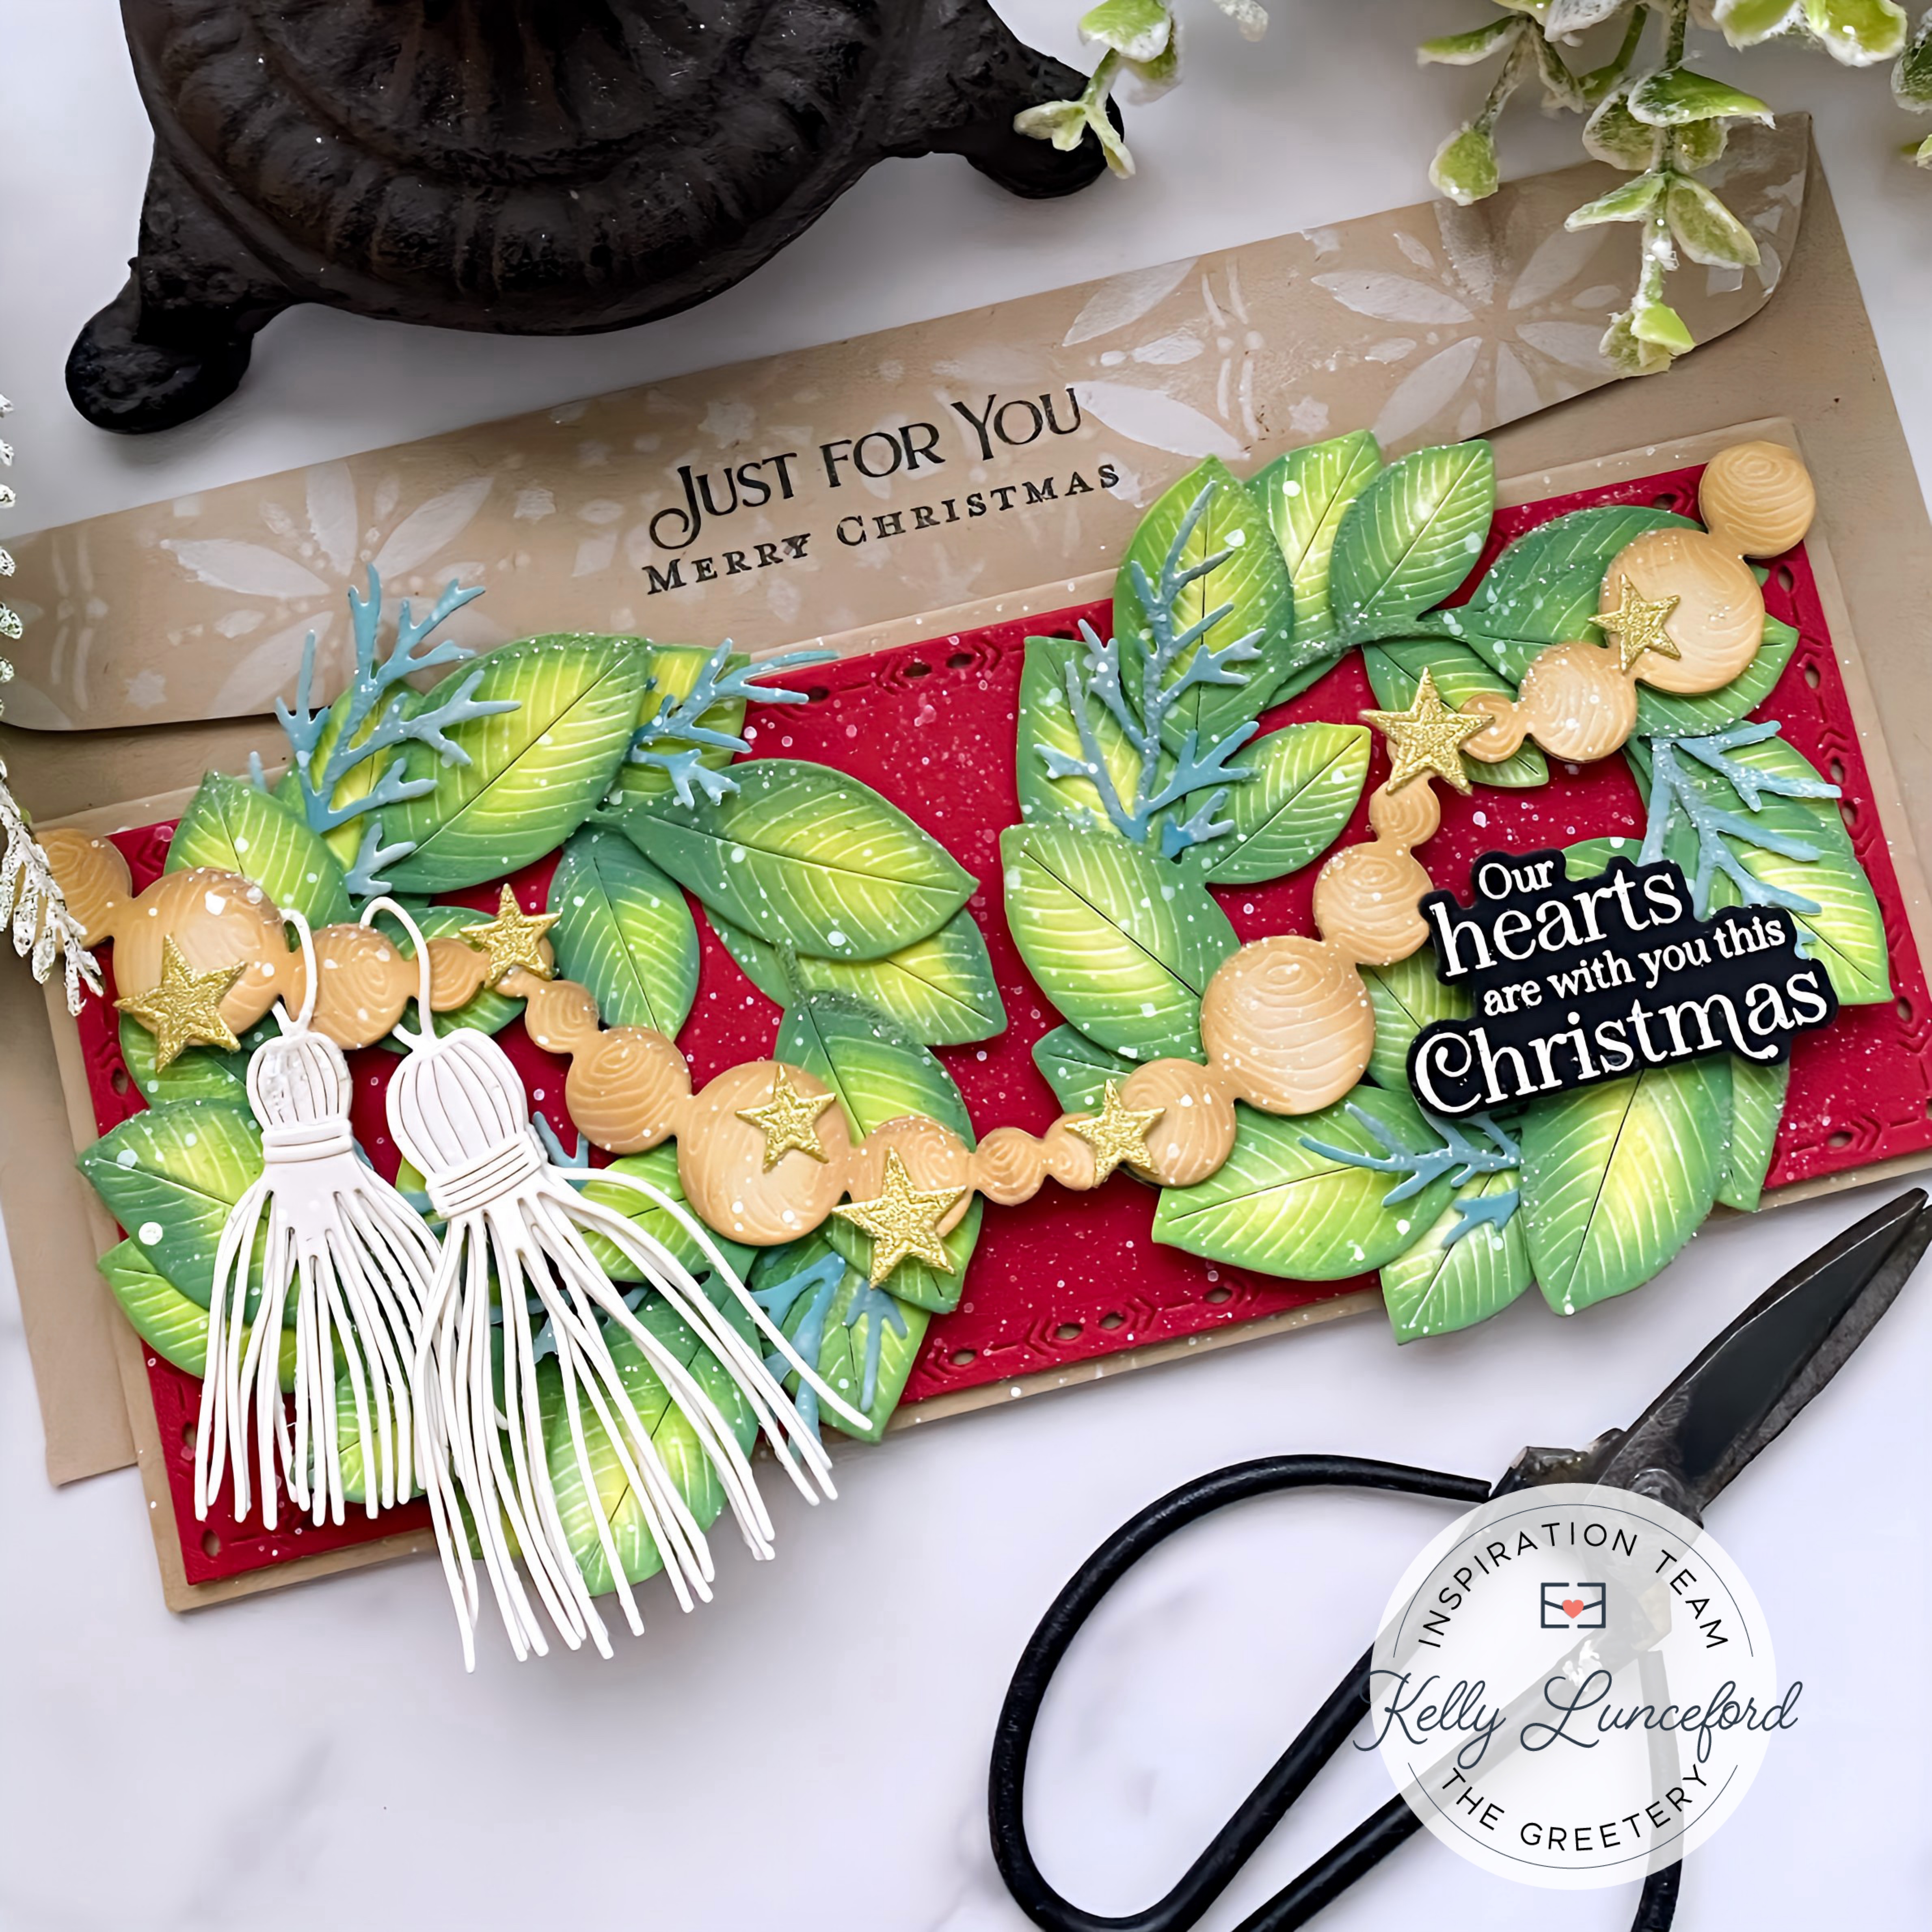
you today!To begin, I die cut 4 wreaths using the Magnolia Wreath die
from white cardstock. I used twisted
citron, mowed lawn, and rustic wilderness Distress Oxide inks and a finger
dauber to bring them to life. I adhered two wreaths together using
strategically places foam squares to give me two finished wreaths. I knew I would
want additional greenery for my design, so I also die cut some BotaniCuts Juniper pieces to tuck here and there. I
set them aside and got to work on the bead garland.
I used the Ribbon Maker: Wood Bead Garland die and die cut
the curvy design 4 times from Kraft cardstock. I glued two together for a nice,
sturdy piece and then added some brown ink around the edges for contrast and
depth. I glued them together after I had fussed and fidgeted with how I wanted
the garland to hang for this design. I ended up cutting off the pieces at the
top so it would hang just right; you can adjust things how you need if you’d
like to try this idea!Every Christmas, I add a beautiful icy garland over my
fireplace, but have fun adding all kinds of “extras” like snowflake ornaments,
icicle ornaments, etc. so of course I needed to give this garland some “extras”
as well! I added both sizes of tassels using the Tassel Large Die and the Tassel Small Die. I simply die cut them
from Rustic White cardstock and adhered them together. I couldn’t actually
thread them through the bead garland because of size, so I simply snipped a
strategic slit in the loop and added them that way, securing them with foam
squares. I also added a few gold glitter stars in two sizes; you will find these
darling stars in the Rustic Star Small die collection and Rustic Star Large die collection.I was having a hard time deciding on a sentiment, but I knew
it would need to be one with a coordinating die, so I chose the gorgeous Comfort and Joy stamp setwith its coordinating die. I heat embossed it in
white onto black cardstock and then die cut it. The black and white provided
the perfect contrast against the red and greenery.
For the background, I die cut the largest panel included in
the Nordic Slimline die collection out of Pure Poppy cardstock. I added that to
a slimline-sized Kraft card base using foam squares. Once that was done, it was
finally time to pull it all together….my favorite part! Once I had the wreaths,
garland, and tassels in place, I added some white paint splatter. The stars are
added using liquid glue and then everything got a generous sprinkling of
glitter for that holiday sparkle I love so much! I also gussied up a Kraft
slimline envelope using the Snowflake Prints Stencil and the Four Square Holiday Tags stamp set. I don’t often make slimline cards so this was a fun
change-of-pace for me! I hope you’ll try your own garland card! Thanks for flluttering by!


24 comments:
SO PRETTY, Kelly! I SO ENJOY how you put things together. I always see something, I haven't thought of! You're just SO CREATIVE! ;) MERRY CHRISTMAS TO YOU & YOURS!!!!
This type of clever blog work and coverage! Keep up the great works
The text was neat and readable. Great blog. Thanks for blogging.
Wonderful items from you, man. You’re making it entertaining blog. Thanks
Hello there, You have performed an excellent article.. Goodjob!
We truly dearly loved examining this web site. Thanks for this blog!
Hi everyone, This web site is piece of writing is actually good, keep up posting.
Simply desire to say this article is as great. Keep updated, write more
I checking continuously this weblog and I am impressed! Awesome!
It was definitely informative article you've done. This site is very useful. Thank you
Hi! I like to give you a huge thumbs up for the great info right here, Love it
You provide the correct information here I really bookmark it, You're awesome
You make so many great post here that I read this article twice. Keep us updated
Great work! This is the type of info that should be shared around the internet. Thanks =)
Wonderful website. Plenty of useful information here. And certainly, thank you for your effort!
Wonderful, what a webpage it is! This weblog presents valuable information to us, keep it up.
Thanks for your marvelous posting! I truly enjoyed reading it, you may be a great author.
I want to encourage you to definitely continue your great writing, have a nice day!
I’m not that much of a online reader to be honest but your sites really nice, keep it up!
The information provided is really very good and helpful for me. Keep sharing good information
Enjoyed reading the article above, the article is very interesting and effective.
I like viewing web sites which comprehend the price of delivering the excellent useful resource free of charge. I truly adored reading your posting. Thank you!
Thanks so very much for taking your time to create this very useful and informative site. I have learned a lot from your site.
Thanks so very much for taking your time to create this very useful and informative site. I have learned a lot from your site.
I am regular reader, how are you everybody? This paragraph posted at this site is in fact pleasant
Post a Comment