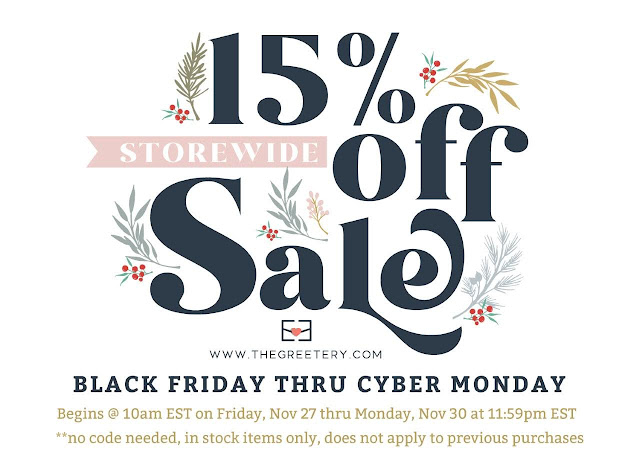
Hello and welcome! It's great to be back with day 2 of the Winter Wanderer release from The Greetery! Before I get started with ANYTHING, though, I have some SUPER exciting news...when the new release goes LIVE on Friday, at 10 AM ET, EVERYTHING storewide, including the new release, will be offered at a 15 % discount! Wahoo! The sale will run until 11:59 ET on Monday!
Don't forget to leave a comment on the designers' blogs for a chance to win one of the 2 $50 gift certificates being given away for this release! As always, you'll want to head to The Greetery Blog to get a good look at all of the products being showcased today! Also, one more thing...I'm sharing another card using the new Hoop Wreath and Catching Snowflake stamp/die set HERE if you are interested in seeing that.
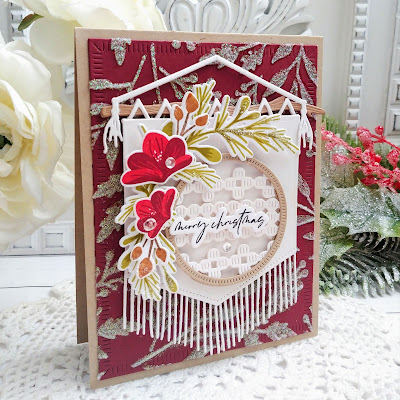
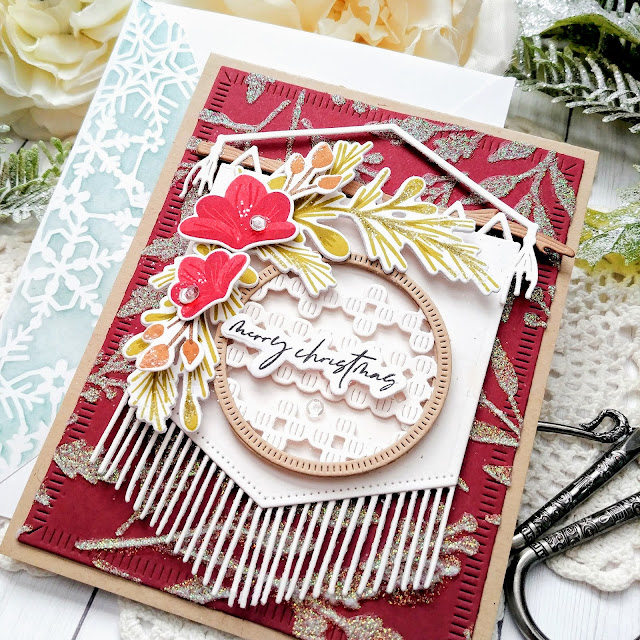
I have 3 projects to share with you today, and up first is a card using the new Boho Banners die collection paired with the amazing new Bigger Blooms stamp/die set! This card is really simple and straightforward, but I had a lot of fun putting the banner together and using these gorgeous new blooms!
It's a little bit hard to see in the photos, but I used the Berry Branch Stencil that was released last year to create a tone on tone background on the Scarlet panel! It's such a simple detail, but adds that "little something extra"! I used A LOT of Rustic White Cardstock for this release. I really like the look and feel it gives to the "fiber" elements that are part of this release, such as the Macrame dies (projects below) and the fringe and tassels on the Boho Banner. It has flecks of color throughout, just like natural macrame yarn/thread. I die cut the branch piece twice from Kraft cardstock and then glued them together using liquid glue. I wrapped the top triangle portion around the branch and secured it with liquid glue around the front and back of the main banner piece. Once that was done, I added the "tassel/string" piece using liquid glue at the knots of the tassel.
I stamped a bunch of the images from the Bigger Blooms stamp set and used them on two of my projects for today! I added them to the banner using foam squares and liquid glue and then added the sentiment, which is from the Hoop Wreath set, on top of the blooms!
I added a brad to the stenciled panel to create somewhere for the panel to "hang" and then adhered the entire banner. The focal panel is added to a top folding Kraft card base using foam squares. I had a lot of fun creating coordinating envelopes using the Flappable Stencil for a few of my cards for the release. My next card uses more of the Bigger Blooms paired with the new Simply Wonderful stamp/die set. I also used the new Macrame Openwork Base Die, Macrame Diamonds die, and the Macrame Borders & Tassels die. These all work together to create beautiful and realistic macrame pieces. I had so much fun putting this background together and then ended up covering a lot of it up! LOL!
The "wonderful" word is die cut twice, stamped once, and then glued together for stability. I knew it would be "floating" over the intricacies of the macrame pieces, so I wanted it to be sturdy.
As you can see, here is another one of the rustic backgrounds I was telling you about yesterday. I used the whitewash technique for this one for a more airy look. I stamped the "you" portion of the sentiment directly onto the panel using Black Soot Distress Oxide Ink (also used on the "wonderful") and then got to work adding the different pieces of macrame to create the background. I added a few of the Bigger Blooms here and there to accent the macrame. I originally had quite a few more on there and laughed when I realized you could hardly see the background. I did some editing, and while it still has a lot, it is much better! ha ha!
I stamped all of the flowers, leaves, and berries using the exact colors that Betsy used on the stamping guide. They looked so beautiful and my color combination brain was tired! ha ha! I love how they turned out! I added glitter and sequins to give them some added detail, sparkle, and shine!
Once again, I created another coordinating envelope using the stencils I talked about earlier. While this particular pattern is made to go with a different set, I think it coordinates nicely with the Bigger Blooms.
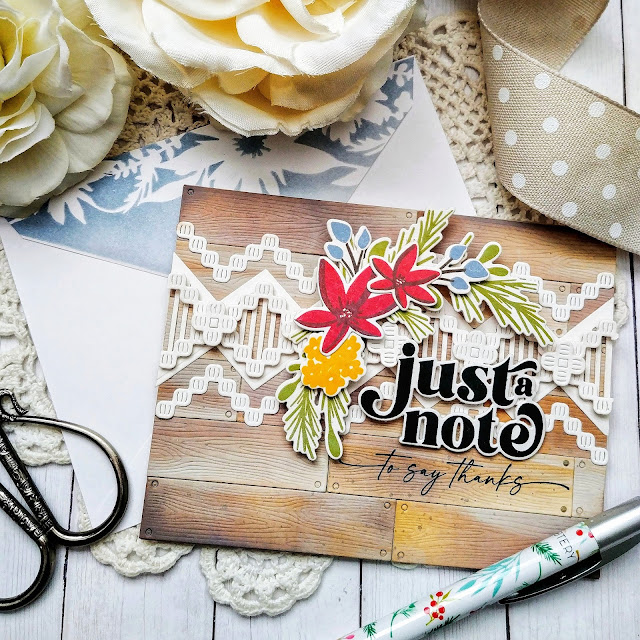
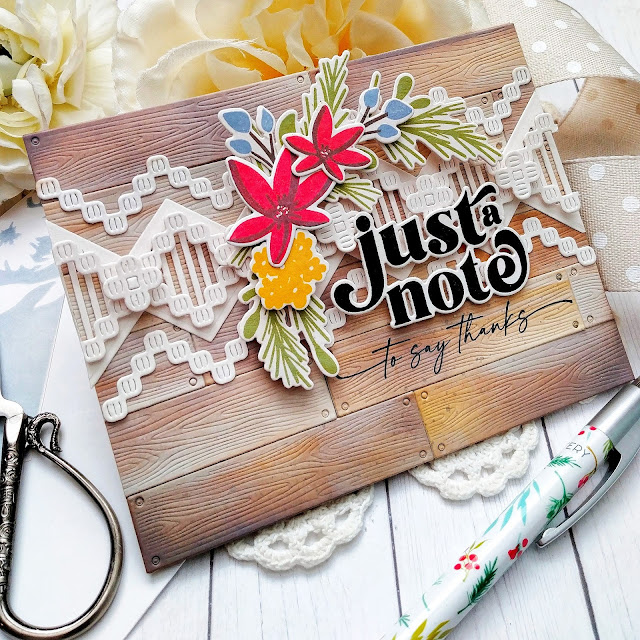
My third and final card for the day and the release uses another fun new sentiment set called Opposites Attract AND another rustic Shiplap background. ha ha! This card showcases the Macrame dies a little bit better since I didn't add so many design elements. They are so much fun to use and the pattern possibilities are endless! I chose to keep everything natural looking, but I'll bet the other designers have used color on theirs. I can't wait to see!
I die cut the "Just a Note" sentiment twice and then stamped it once and glued them together. the "to say thanks" sentiment is stamped directly onto the background, like I did on my last card.
I added the foliage and flowers from the Hoop and Wreath set that was showcased yesterday to accent the sentiment.
Well, friends....that's all for today! Make sure you head to the other designers' blogs to see their gorgeous creations and don't forget to leave a comment to be eligible for a chance to win one of the $50 dollar gift certificates to the shop. Also, don't forget that the pens will be in the shop on Friday as well as the amazing sale going on!
Thanks for fluttering by!


