It's always a fun day when I get to pull out some older (and neglected) stamps and dies to make some fun new designs! I'm still in need of birthday cards to give to the sweet kiddos from church! I'm not sure when we'll be able to get together again with the children's group! Boo! I have two boy birthdays coming up in the next few weeks, so I did some Instagram/Facebook perusing (not in a creepy way LOL!) to see what these two boys are currently interested in! One of the boys seemed to like Superheroes quite a bit and one just got a new pair of Vans for an early birthday gift! I'm pretty sure the Superhero loving boy also likes Vans, so I decided on using the retired Boy Basics: Skater Dude stamp set from Papertrey Ink.

To begin these two designs, I die cut two Weathervane panels measuring 4 by 5 1/4 inches. I used the fabulous English Bond Brick Wall stencil and some White Pearl deco foil Metallix gel . I always prep my stencils with Pixie Spray so that the stencil will stay in place while I apply the medium I am using. I like the wonky pattern of the brick on this particular panel the best, but the other one is okay, too! I wanted a partial and rough-edged look, so this one was perfect!

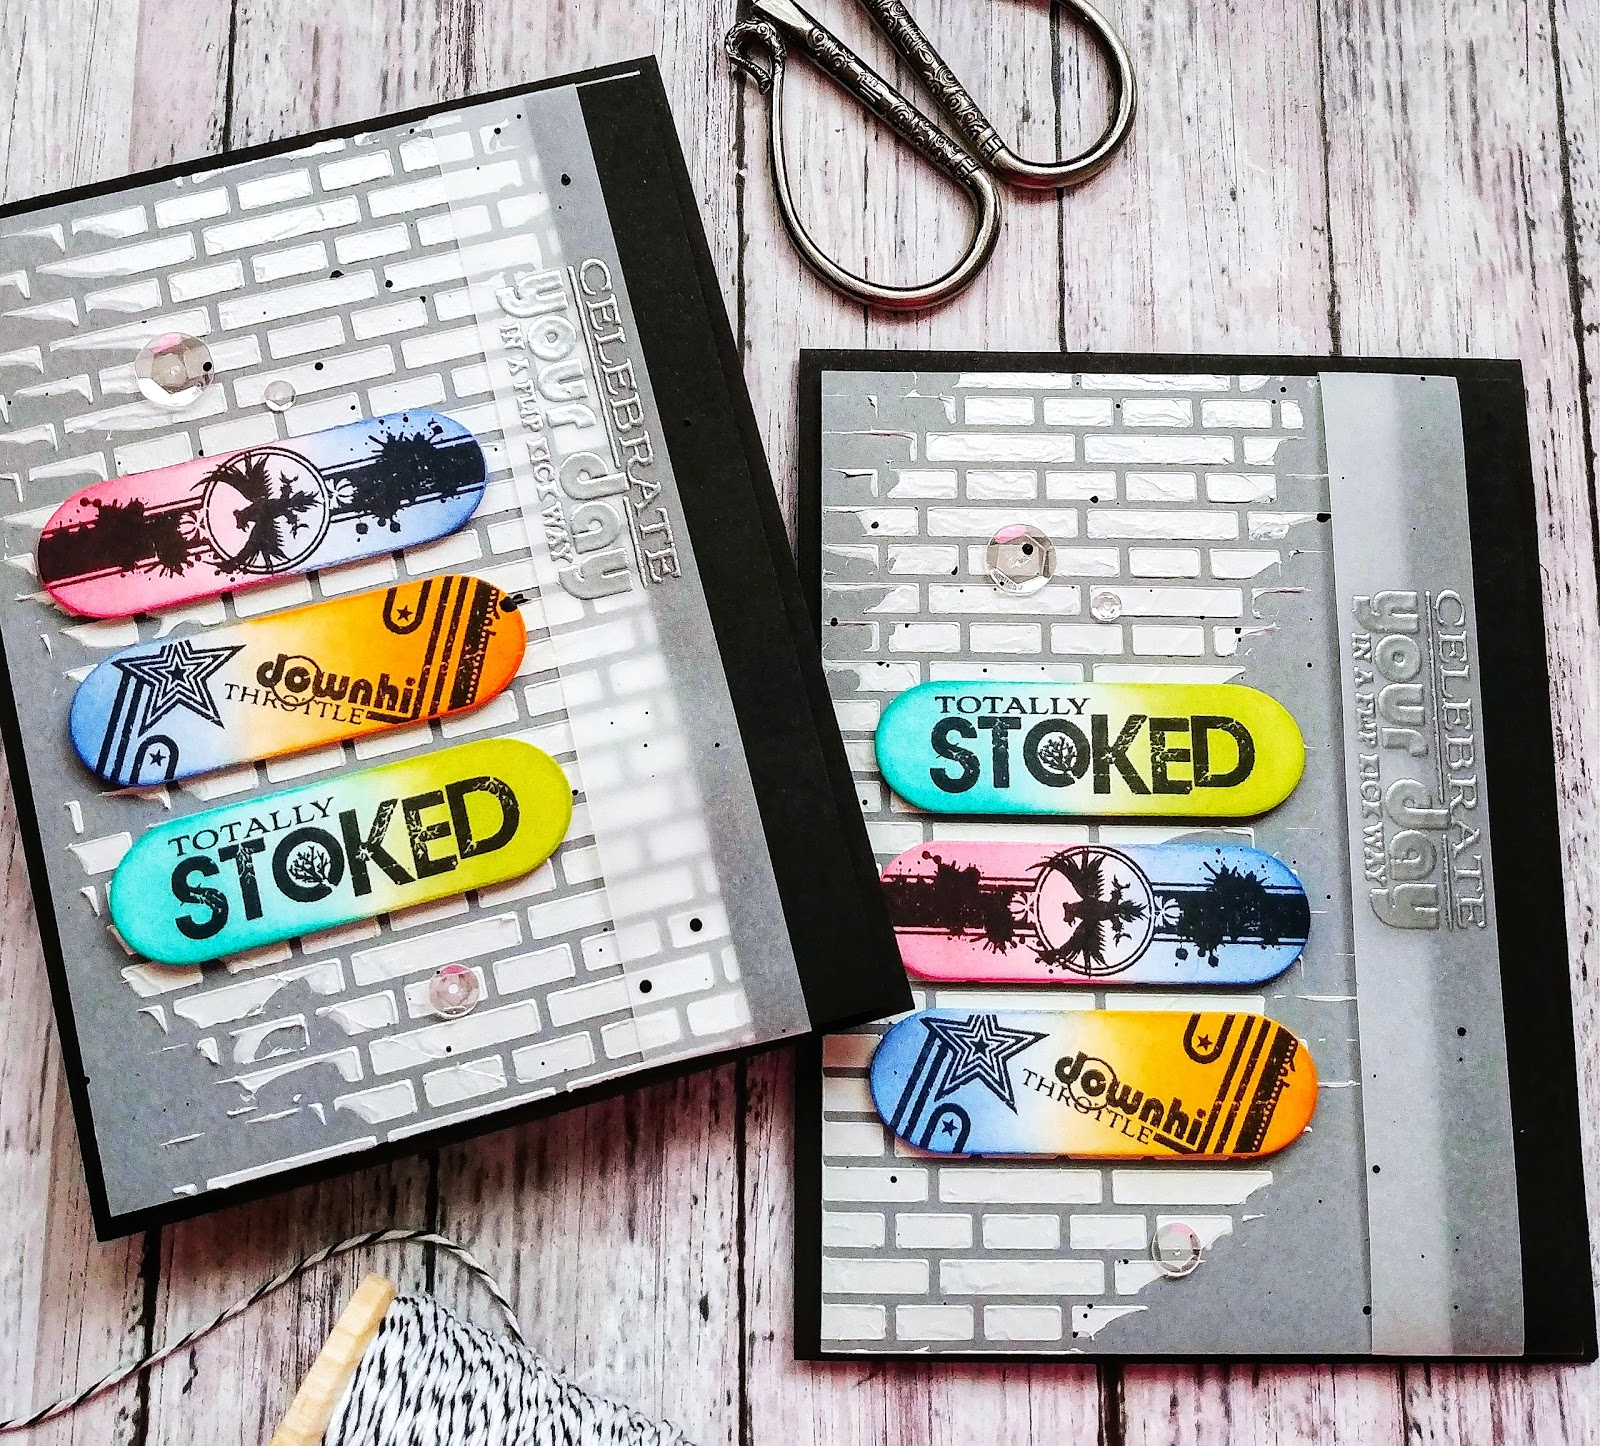
I set the two panels aside to dry and then die cut the skateboards using the Skater Dude die. I wanted 3 per card for a total of 6. I stamped each one using black ink and my mini MISTI and then added the different colors using Blender Brushes. This is the easiest way to get fun and interesting skateboard decks without any hassle!

I heat embossed the "celebrate your day in a flip kick way" sentiment with silver embossing powder onto strips of vellum. Once all of the card elements were ready, I got to work putting the cards together. I decided that each card needed a strip of black along the edge, but that was AFTER I adhered the brick panel. In hindsight, I would have just trimmed the grey panels slightly smaller and thenadhered them onto the black card base. Instead, I just added the black strip using ScorTape. I actually had experimented with adding a double row of machine stitching to mimic the look of the stitching on Vans sneakers, but in the end, I opted to leave them plain.

The vellum strip is wrapped around the panel and secured on the back with clear tape. Once that was done, I adhered them to a top folding black card base. I teetered with the decision to add sequins, but in the end decided that they looked okay, so each card has a trio of sparkling clear sequins in three different sizes. I also decided that I wanted to continue with some black paint splatter like one of the skateboard designs, so I covered up the sentiment and the three skateboards with Post-It notes and added some splatter.

2 comments:
They did turn out so cute! You totally rocked these cards!
Your cards are Amazing! I love everything about them- seriously a great design! I’m sure the boys will be totally surprised and you helped to make their birthday Xtra special. On a side note, our church is finally opening up this weekend albeit with safety measures. And if you hear that Florida’s Covid cases are rising it’s because they are doing drive-thru testing all over the state. Thx so much for sharing your cards Kelly! 😊❤️
Post a Comment