Monday, May 7, 2018

Merry Monday #289 (Deck the Halls!)

***If you're here for my Countdown to Confetti post, please scroll down!***
It's been a busy few weeks and I'm feeling it! I'm counting down the days until school is out for summer! I got some much needed time out in the yard on Saturday and it made me yearn for lazy days with nothing to do but whatever we want!  
Well, enough rambling....Debbie has asked us to add a star to our cards for this week's Merry Monday Christmas Challenge! Stars and Christmas go hand in hand, but I really don't have that many stars. I knew that the "Star Prints" stamp set from Papertrey Ink could work and the patterns actually match the ones from some of the stockings from the "Stocking Prints"set. Unfortunately, they have both been retired, but they sure came in handy for today's design!

To begin, I die cut two windows using the Window Works Die set on a piece of 4 1/8 by 5 3/8 inch Pure Poppy cardstock.  I chose two windows that would work nicely together AND that the stockings would fit inside of. I thought that they looked a little bit like ornaments hanging from a tree, so I added some silver metallic cord at the top of each window using some liquid glue.

I used the stocking pieces that have stars on them to fit into the theme. I used a combination of Pure Poppy Ink and Vintage Jadeite. I love how these look together for a vintage feel! I popped them up inside the windows using foam squares. The star is stamped in Pure Poppy as well as punched out using an old SU! star punch that fits perfectly.

I added some red Nuvo drops around the silver heat embossed sentiment, which is from the "Stocking Prints sentiment. I like how well the silver of the cord matches so perfectly with the silver sentiment. I also added a few Sparkling Clear sequins for some shine. It is always fun to see your cards in the gallery, so I hope you get a chance to play along! Thanks for fluttering by!

Countdown to Confetti Day 3 (Moon Men)


***I'm doing an Instagram giveaway for a chance to win this Moon Men set TODAY!! Head to Instagram after 8 am MT and find me @kellylunceford for all of the details***
Well friends, it's the 3rd and final day of the Countdown to Confetti! I hope you're excited about all of these new products as I am! Today we are showcasing the new set called "Moon  Men" and is probably one of my favorites from the release! You'll definitely want to head to each designer's blogs to see how they've used this new set! Also, there will be prizes up for grabs...a $25 gift certificate to one blog commenter and a $25 gift certificate to one Facebook commenter. The Blog link is listed below and this is the link to the Facebook page: Reverse Confetti Facebook page


I couldn't wait to get all of these images inky and color them! I also love making galaxy backgrounds, so this card was so much fun to make! I actually colored a whole bunch of images, so I have a lot left over for another fun project! The galaxy background is created with an assortment of Distress Oxide inks; Black Soot, Peacock Feathers, Twisted Citron, and Fossilized Amber. Once it was blended, I spritzed it with water and Shimmer Spray to get the oxidized look, which is PERFECT for galaxy backgrounds. I stamped the black starts that are included in the set using Black Soot at full strength for contrast.

Once the images were colored, I added some Wink of Stella over the top as well as some crystal glaze here and there for some shine. The cute little moon was dry embossed using the new Polka Panel and then die cut with a circle die to look like a moon. I love how versatile all of these new products are! I've tried to showcase quite a few "styles" with my projects to show that they can be used in a variety of ways!

The sentiment is heat embossed in white onto a piece of Midnight cardstock. This particular sentiment is one of my favorites! 

You can see some of the shine from this angle. I had a lot of fun working on this card! Please join us TOMORROW for the new release Blog Hop! I've been saving one of my favorite designs til last, so please stop by! Thanks for fluttering by!


Sunday, May 6, 2018

Countdown to Confetti Day 2 {My Tribe & Pattern Blocks}


Welcome to Day 2 of the Countdown to Confetti extravaganza! I mentioned yesterday that Reverse Confetti is celebrating it's FIFTH birthday!  We're going to be celebrating with style over the next few days and we can't wait to show you all of the fun new goodies! Today the team is showcasing TWO new stamp set, coordinating Confetti Cuts and some awesome stand alone dies. You'll definitely want to head to each designer's blogs to see how they've used these new products! Also, there will be prizes up for grabs...a $25 gift certificate to one blog commenter and a $25 gift certificate to one Facebook commenter. The Blog link is listed below and this is the link to the Facebook page: Reverse Confetti Facebook page


I'll be showing you two cards using the new "My Tribe" set and lots of fun new Confetti Cuts. You'll have to wait to see my design using the new "Pattern Blocks" on May 8th for the Blog Hop! I hope you'll join us!

I wanted my card to have an earthy feel and I really like how it turned out. It's always fun to see your vision come to life. To begin, I created an A2 top folding card base using the lovely Lead Cardstock. I really like this unique neutral color...it it so perfect for so many cards! I also cut a 5 1/4 inch by 4 piece out of the same cardstock and sewed two pieces of the same size vellum onto it using grey thread. Once it was secure, I tore the top layer. 

Yesterday I showcased the fabulous "Polka Panel", but today I used it as and dry embossed piece, which I LOVE. You'll be seeing this treatment again tomorrow, because I love it so much. I just ran it through my Cuttlebug using the tan embossing mat underneath so it would emboss, rather than cut. I did this embossing on a piece of Sand cardstock.

I knew that the previously released Tall Blooms would be the perfect companion to this fabulous sentiment from the "My Tribe" set. I have another card below using another one of the amazing sentiments! I have tons of ideas and not enough time! I may try and squeak one more card to add to the Blog Hop on May 8th!

The blooms are embossed in gold powder, cut using the coordinating Tall Blooms Confetti Cuts and then colored with Copic markers. The sentiment is embossed in gold onto a strip of Stormy Cardstock and I LOVE it!

The "Stitched Squares" confetti cuts makes the perfect frame to highlight the sentiment. I added a few gold nuvo drops for some subtle detail.

My next card used the new "Paper Bliss" pattern paper. I liked the tribal print of the blue and the bright and cheery green. I thought they complemented each other in an unexpected way!

The sentiment, which is also from the "My Tribe" set is heat embossed using gold powder onto a Rose "Stitched Square" panel for an unexpected color combo!

The sentiment piece is adhered to the new "Diamond Stripe Square" confetti cut for some added detail! Thanks for fluttering by!


Saturday, May 5, 2018

Countdown to Confetti: Day 1{Hey, Sugar & Birthday Wishes}


Hello, Friends! I feel like I've been a little MIA around here lately, but it's only because I've been working on lots of fun things, including today's Countdown to Confetti! If you haven't heard Reverse Confetti is turning FIVE! We're going to be celebrating with style over the next few days and we can't wait to show you all of the fun new goodies! Today the team is showcasing TWO new stamp set, coordinating Confetti Cuts and some awesome stand alone dies. You'll definitely want to head to each designer's blogs to see how they've used these new products! Also, there will be prizes up for grabs...a $25 gift certificate to one blog commenter and a $25 gift certificate to one Facebook commenter. The Blog link is listed below and this is the link to the Facebook page: Reverse Confetti Facebook page


I've been having SO much fun working on all of these samples! The set I used on these first projects is called "Hey, Sugar" and is just too cute! I can't wait to use it on all kinds of projects! 


My card uses the new POLKA PANEL confetti cuts, the previously released Dashed Lines Confetti Cuts, and the new "Hey, Sugar" set! I used an assortment of sugary sweet inks to blend onto the background as well as the Polka Panel. The popsicles are stamped and colored using Copic Markers. I also added some crystal glaze and chunky glitter over the top.


I couldn't resist making some popsicle shaped gift card holders as well. Teacher Appreciation Week starts on Monday and these will be headed out the door with my kiddos with a Baskin Robbins gift card tucked inside! 


They were so easy to make...I just made a small top-folding note card and attached the stick to the back using ScorTape for security. So easy, but so cute! I used the same design elements on these as the card.

For my next project, I used the new "Candles" confetti cuts and the new "Birthday Wishes" stamp set. They pair together beautifully! I loved making the pattern paper candles using the new 6 by 6 paper pad called "Paper Bliss".

The frames are from the new "stitched squares" confetti cuts and I know I will be reaching for these again and again! You will be seeing more of these this week so you can see how fun and versatile they are! Scroll down to see all of the products I used on today's projects and join me again tomorrow for Day 2 of the Countdown to Confetti! Thanks for fluttering by!


Tuesday, May 1, 2018

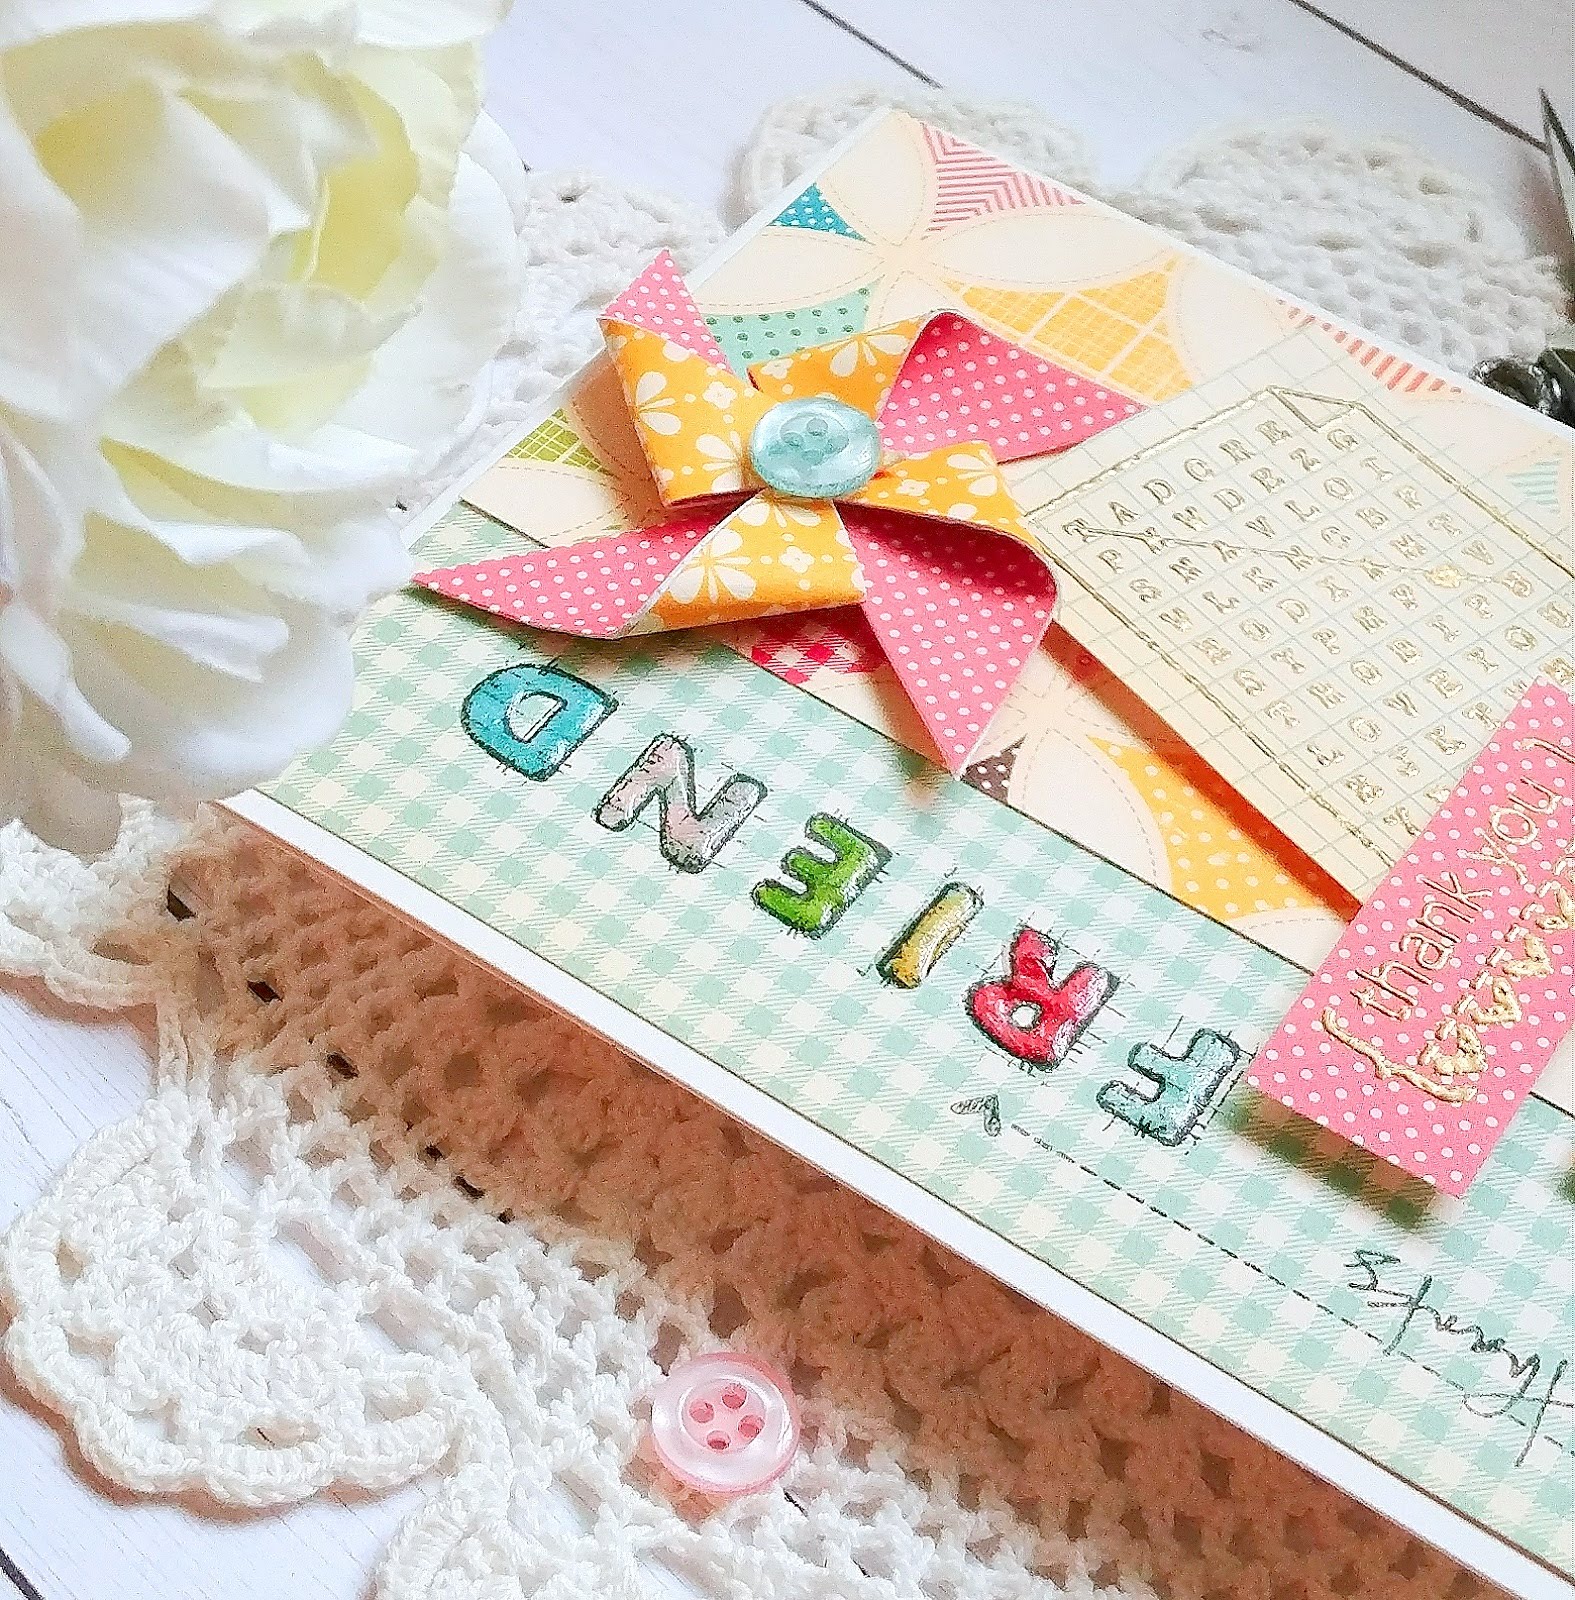
Tuesday Ideas {Thanks, Friend}


I'm over on the Precious Remembrance Shop Blog today sharing this fun and Spring-y/Summer-y thank you card! Today is grey and rainy so I thought I'd create a little bit of my own sunshine!
You can read about how I created this card over on the Precious Remembrance Shop Blog (link above) but I will share a few of the details.

I used the Thanks stamp set paired with the Sketchy Alphabet to add in some personal touches.
I just love how the crystal glaze gives the letters so much dimension and shine!


The finishing touches are a handmade pattern paper pinwheel and a few buttons for some added charm! Thanks for fluttering by!