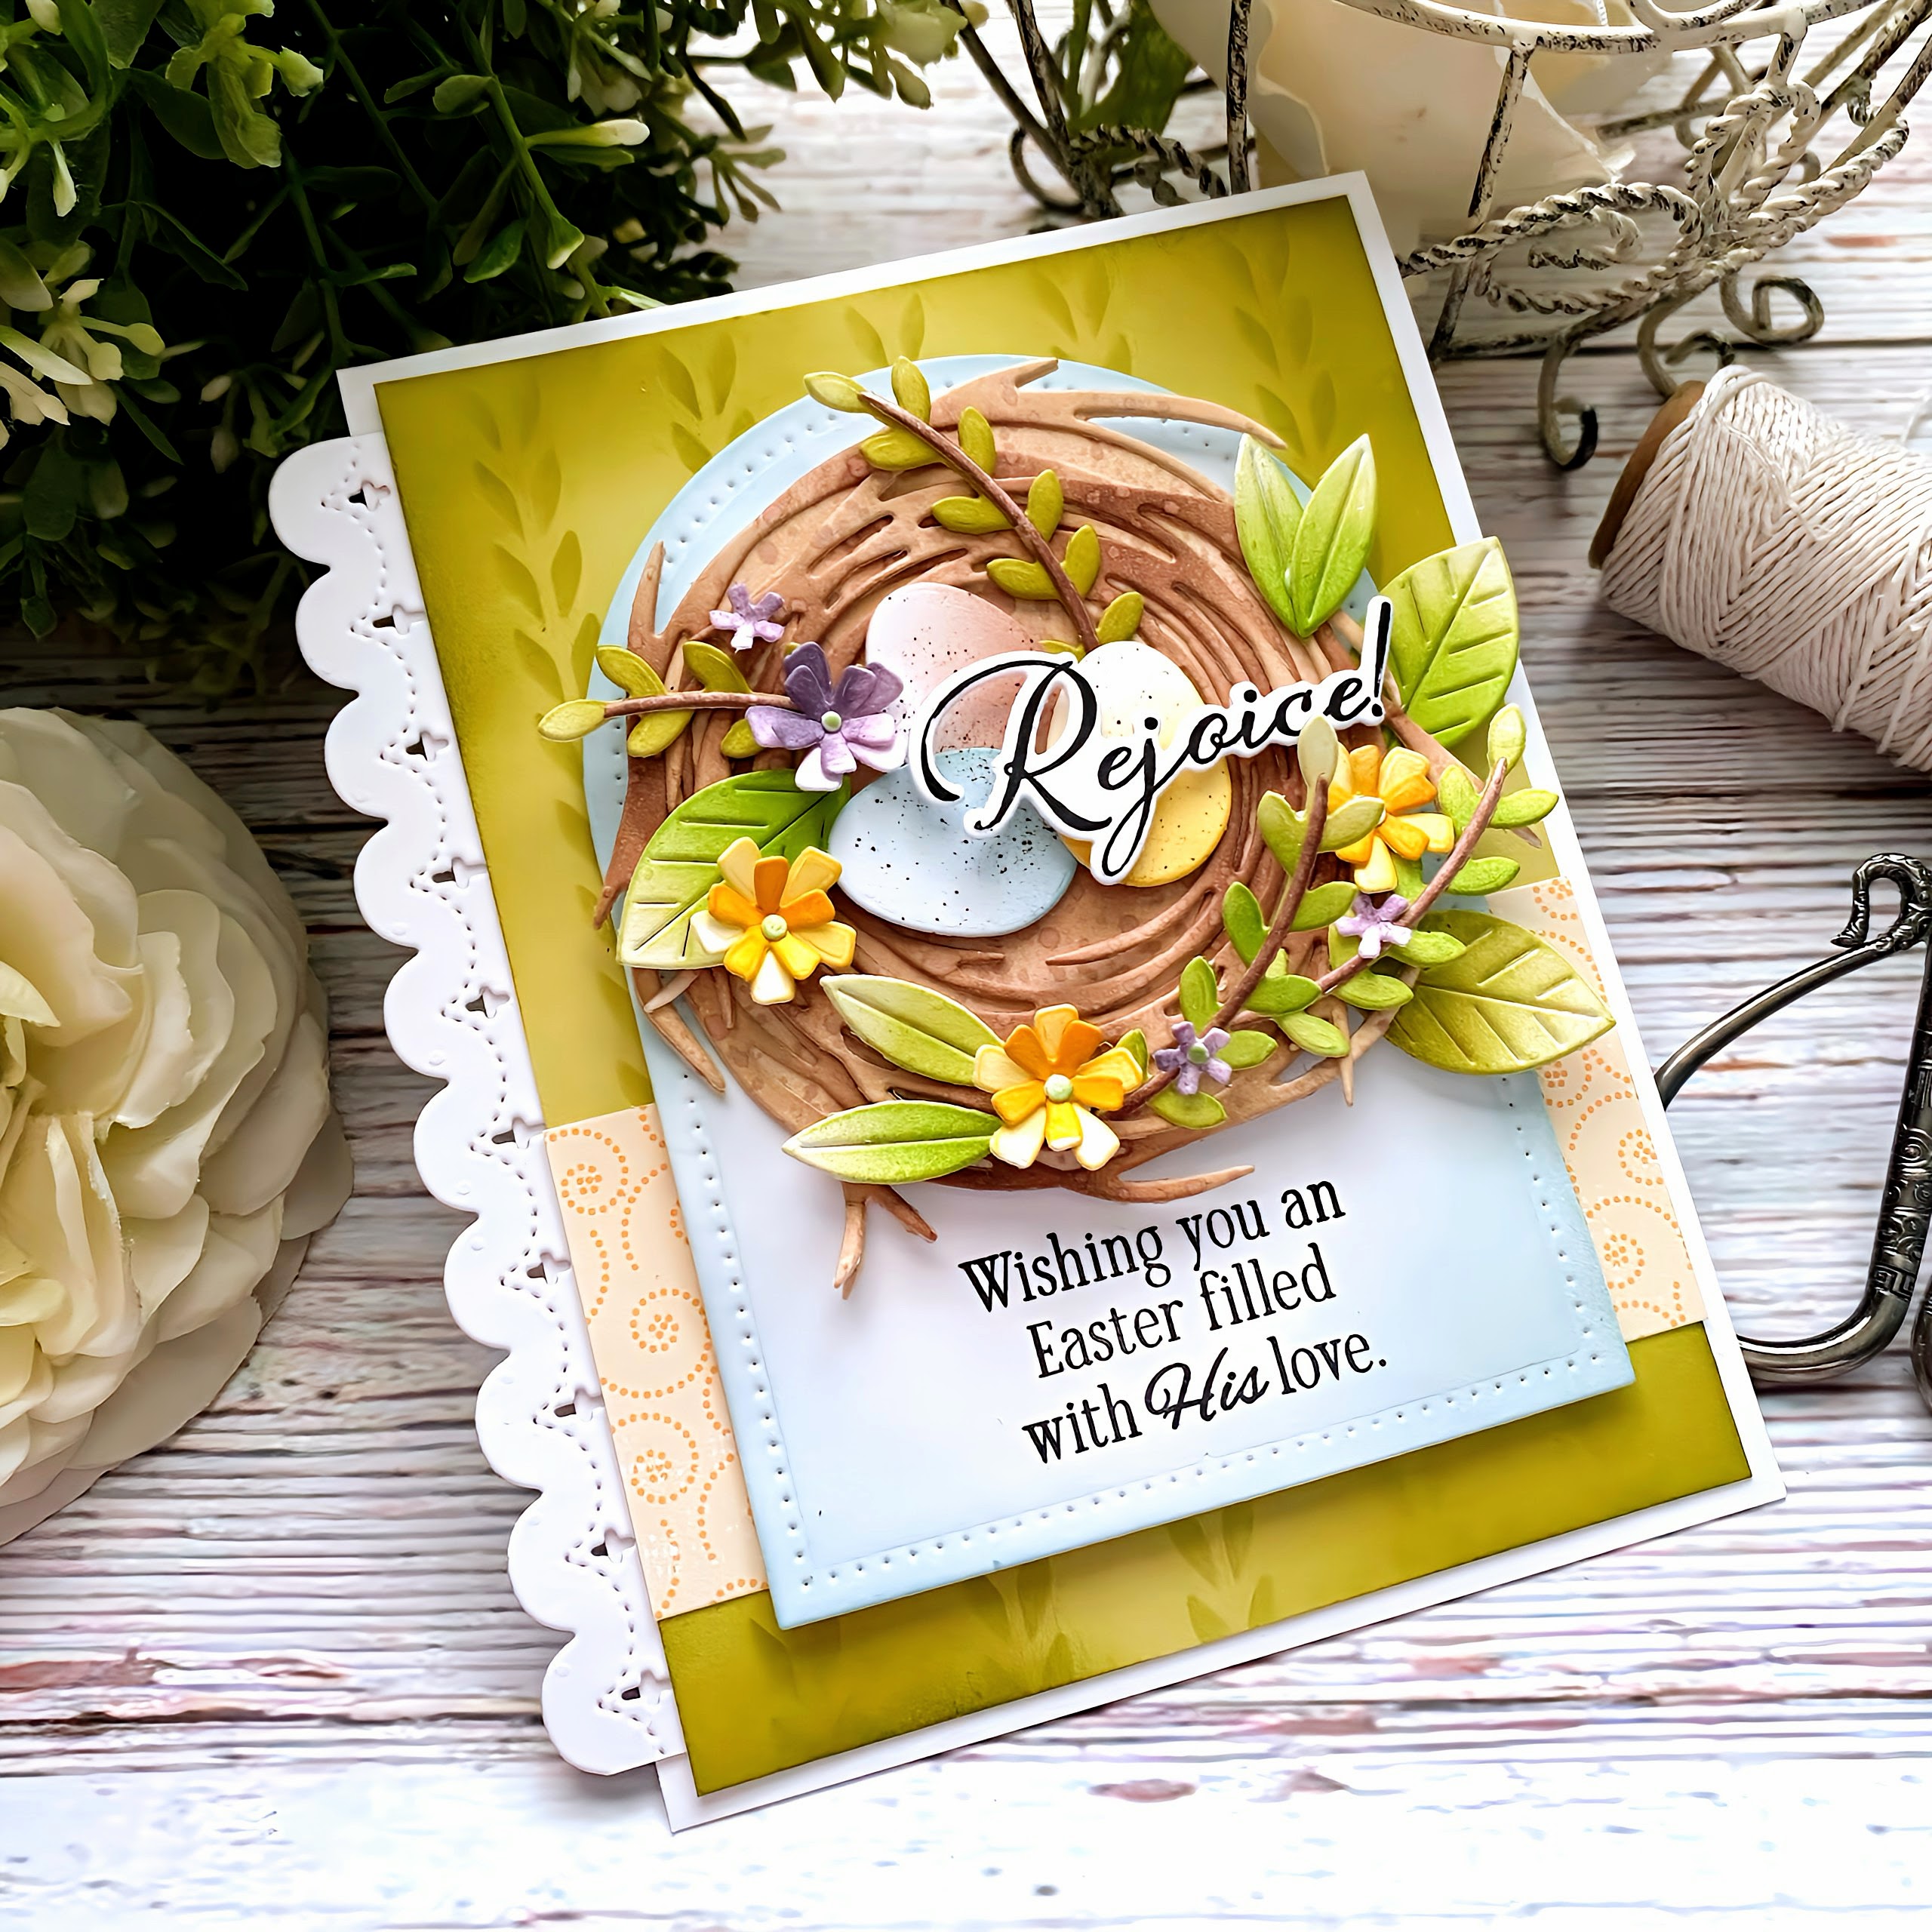
Hello and welcome, friends! I'm happy to be here today sharing an Easter card using some of my favorite springtime products! My project for today features the beautiful Into the Blooms: Spring Nest Die that was released last year and continues to be a favorite of mine. I use the flowers and foliage for all kinds of floral projects year-round!

To begin this card, I die cut the large pieces for the nest once, but all of the other pieces I cut four times so I would have a lot of options once I started "building" the nest! I die cut everything from white cardstock and then colored the pieces with PTI inks and blender brushes. I used liquid glue to assemble the flowers and the stems on the leaves. The nest was also put together with liquid glue. I have used foam squares in the past to give the next depth, but I didn't do it this time and I think it turned out fine.

The eggs are also colored with ink and then I used the old SU! color spritzing tool and a brown marker to add the splatter to the eggs, which I think adds realism to the eggs.

I used the largest and middle sized flowers to stack together to create a fuller looking bloom and added interest. I used a stylus and a foam mat to give the flowers the cupped shape and then carefully added the small centers using liquid glue. For the smallest flower centers, I colored them with a green marker for ease.

I cut a panel of Spring Moss cardstock measuring 4 by 5 1/4 inches and then used the Simple Stitch Crochet: Large stencil collection for the pattern. I only used one of the stencils to give the appearance of leaves rather than crochet. I used a light hand with Ripe Avocado ink and then added some additional ink around the edges for dimension. I also die cut one of the beautiful scalloped borders included in the On the Edges: Scallops Collection Die and secured it to the stenciled panel using 1/8 inch ScorTape.

I used the largest die included in the Love to Layer: Arches Die set, blended a hint of speckled egg distress oxide ink around the edges, and then stamped the sentiment from the Thoughts of Easter Sentiments Stamp Set in black at the bottom.

The Rejoice! sentiment is from the same set and I used the coordinating Thoughts of Easter Sentiments Die to cut it out. I used small pieces of foam squares to add it to the nest.

I used a piece of pattern paper from a retired collection called Pretty Pastels and adhered it near the bottom and then layered the arch over the top using foam squares.

I glued the entire background onto a top-folding A2 card base using liquid glue and then added the He is Risen sentiment to the inside (not shown) with a few additional eggs. I gave it a few spritzes of Shimmer Spray and called it done! Thanks for fluttering by!
2 comments:
Kelly, this is SO PRETTY! I LOVE ALL of the details! It's PERFECT, as I am hearing the birds chirping away here this morning! BEAUTIFULLY DONE! ;)
I read this post your post is so nice and very informative post thanks for sharing this post.
Post a Comment