Monday, March 17, 2025

Papertrey Ink March Release Countdown Day 4

Hello and welcome, friends! As I mentioned on day 2, today is tied with that day for my favorite new products! I'm ABSOLUTELY, TOTALLY, in LOVE with this cute little Lambie from the new Build-a-Lamb Die! It is THE cutest thing!!!!

To begin this card, I die cut all of the pieces for the lamb; please note: there are also pieces so you can embroider/stitch a lamb as well.....I CANNOT wait to sit down and work on one of those! eep! I cut everything from white cardstock and then added color to the cheeks, eyes, nose, ears, hooves, and outline.

I glued all of the pieces in place and used foam squares for certain pieces to give maximum dimension! I added some white gel pen dots to the centers of the eyes.

I cut quite a few flowers so I would have design options when it came time to build my card. I added small colored pearls to the centers of the flowers for added dimension and detail.

For the background, I used the largest die in the Love to Layer: Torn Edges Die and then added the plaid pattern using the Watercolor Plaid Stencil Collection and Sweet Blush ink. I also added a touch of Berry Sorbet ink splatter.

The greenery behind the lamb was created using a fun new stencil collection that will be showcased to its fullest on my next card, but I think it worked nicely for this card as well. I stenciled it and then cut it using the Love to Layer: Soft Ridges Die. I layered it on the background using foam squares and then added the lamb, flowers, and sentiment; this is from the new Many Blessings stamp set.

My final card for today, and for the release countdown, features the beautiful new Line it Up: Faith die and the new Flourished In Faith stencil collection. This is the same stencil collection that I used to add the greenery behind the lamb, but I don't think you can tell there is a cross behind it! (wink)

To begin this card, I cut a white A2 panel of white cardstock and used stencils 2 and 3, omitting the first step. I was absolutely delighted to discover that the cross from the previously released He is Risen Die is a PERFECT fit to coordinate with these stencils! yipee!

I cut the cross from Vintage Cream cardstock and then added a touch of Fine Linen ink around some of the 90 degree angles and edges to give a hint of depth. I really wanted to keep this card light and airy, with a feeling of joyful reverence!

I added more flowers from the Into the Blooms: Wreath Die, because like I said the other day, I just seem to find an excuse no matter what! ha ha!

The Line it Up: Faith die set comes with two different font choices for Faith, as well as hope, and love for variety! I die cut one of the faith options from gold cardstock and layered it over the cross and secured it on the ends using liquid glue.
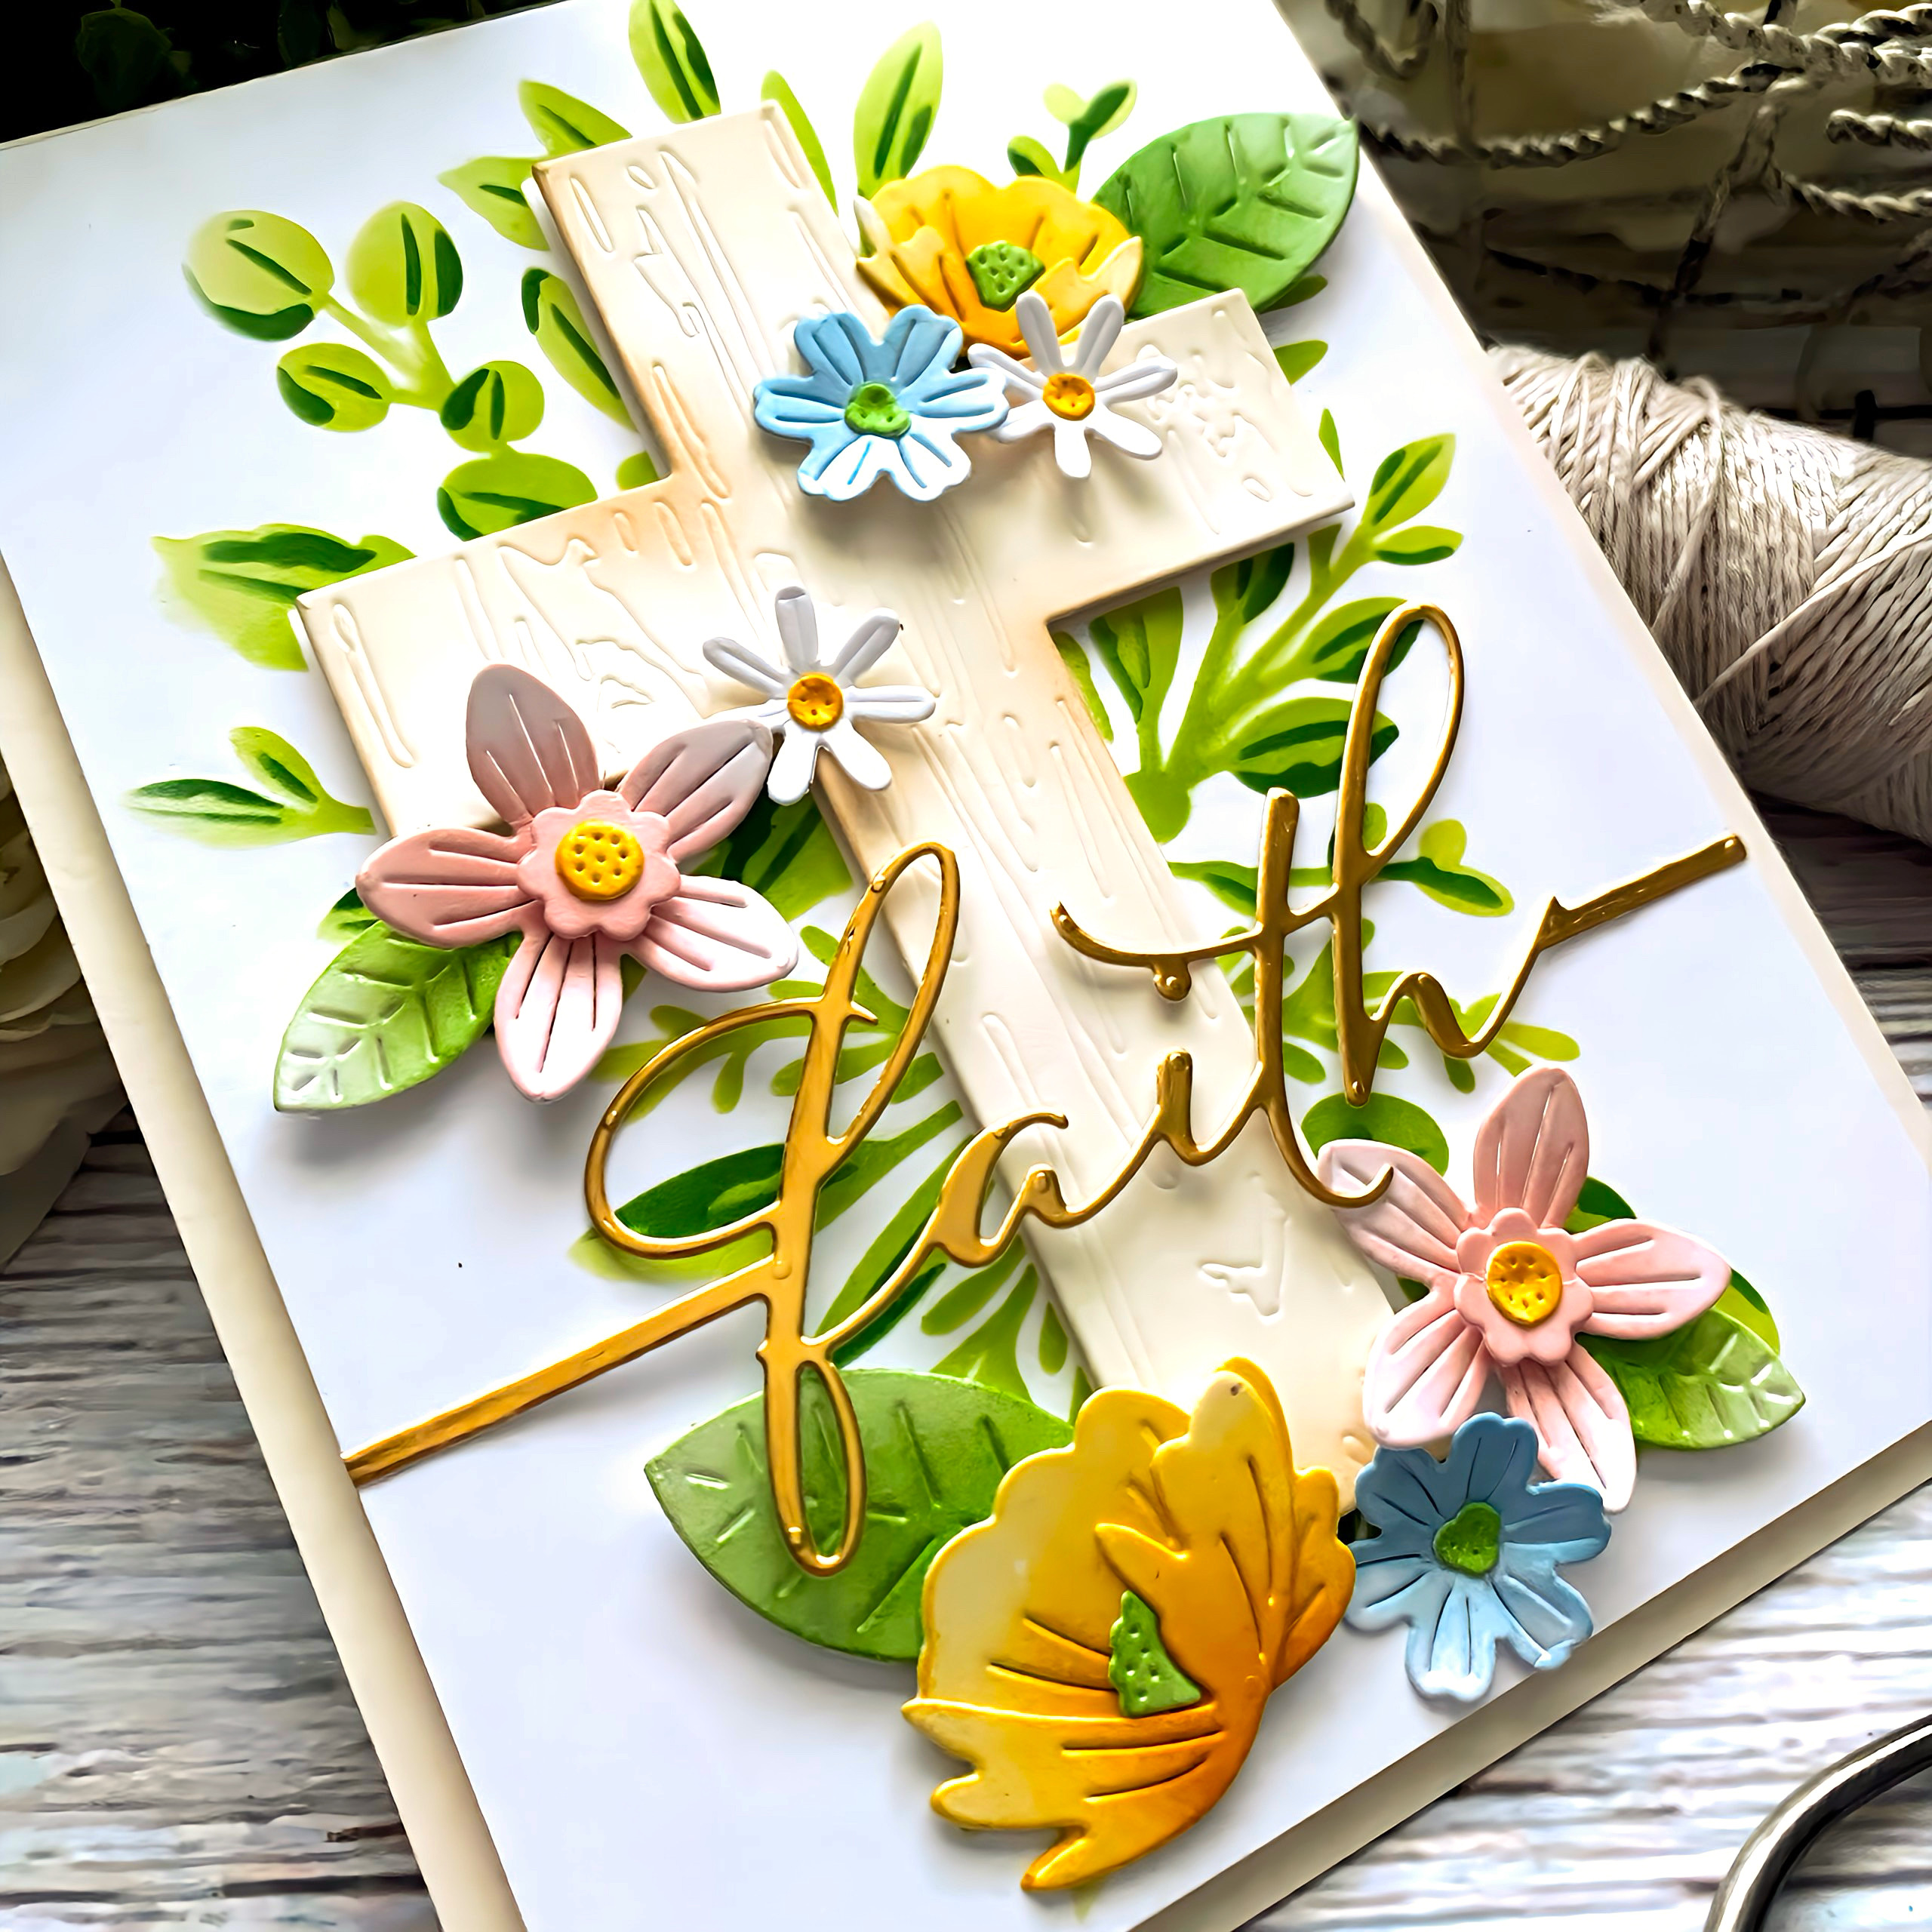
I attached the entire focal panel to a top-folding A2 card base using foam squares. I absolutely LOVE these new products and with this ease of this stencil set, you could easily mass-produce cards for your own ministry, whatever that looks like in your personal or religious service. I hope you've enjoyed today's post and remember that everything will be available for purchase tomorrow! Thanks for fluttering by!


Sunday, March 16, 2025

Papertrey Ink March Release Countdown Day 3

Hello, friends! Thank so much for all of your sweet comments on yesterday's post! I truly appreciate all of your kind and loving support! My first card for today features the new Easter in Frames stamp/die set. You might recall the Christmas in Frames Stamp Set that was released a few years ago and now we have the darling Easter version!

These unique dies allow you the opportunity to create a comic-book style card with each box telling a unique story.

My little bunny has caught spring-fever and is headed on an Easter egg hunt!

I had so much fun coloring all of the little eggs with alcohol markers and then added some fun detail with a white gel pen. Once they were glued to the card, I added Glossy Accents over the top.

This is usually exactly how our eggs turn out until the kids ask to start mixing colors and we end up with a bunch of unique and interesting colors which we call "dinosaur eggs"! ha ha!

As you can see, the sweet bunny ended the hunt with an egg and a carrot!

My next card features the new Reflections: John 3 stamp/die set. the pierced cross detail is the coordinating die and the scripture fits perfectly inside.

This card also features the new Risen Hot Foil Plate. I really like how the background turned out; I almost didn't want to cover it up. I'm definitely thinking another card is in order to show off more of the beautiful design!

This card features a Satin Pastel foil from Spellbinders and I really like the result on the Pale Peony cardstock. I did need to set my machine on the HOTTEST setting and the LONGEST amount of heat time to get a good result.

And of course, some flowers finish off this design! Thanks for fluttering by!


Saturday, March 15, 2025

Papertrey Ink March Release Countdown Day 2

I'm so excited to be back for day 2 of the Papertrey Ink March release countdown! I'm sharing two projects today using some of my favorite new products from the release, but day 4 comes in at a tie, probably, so stay-tuned for that! 

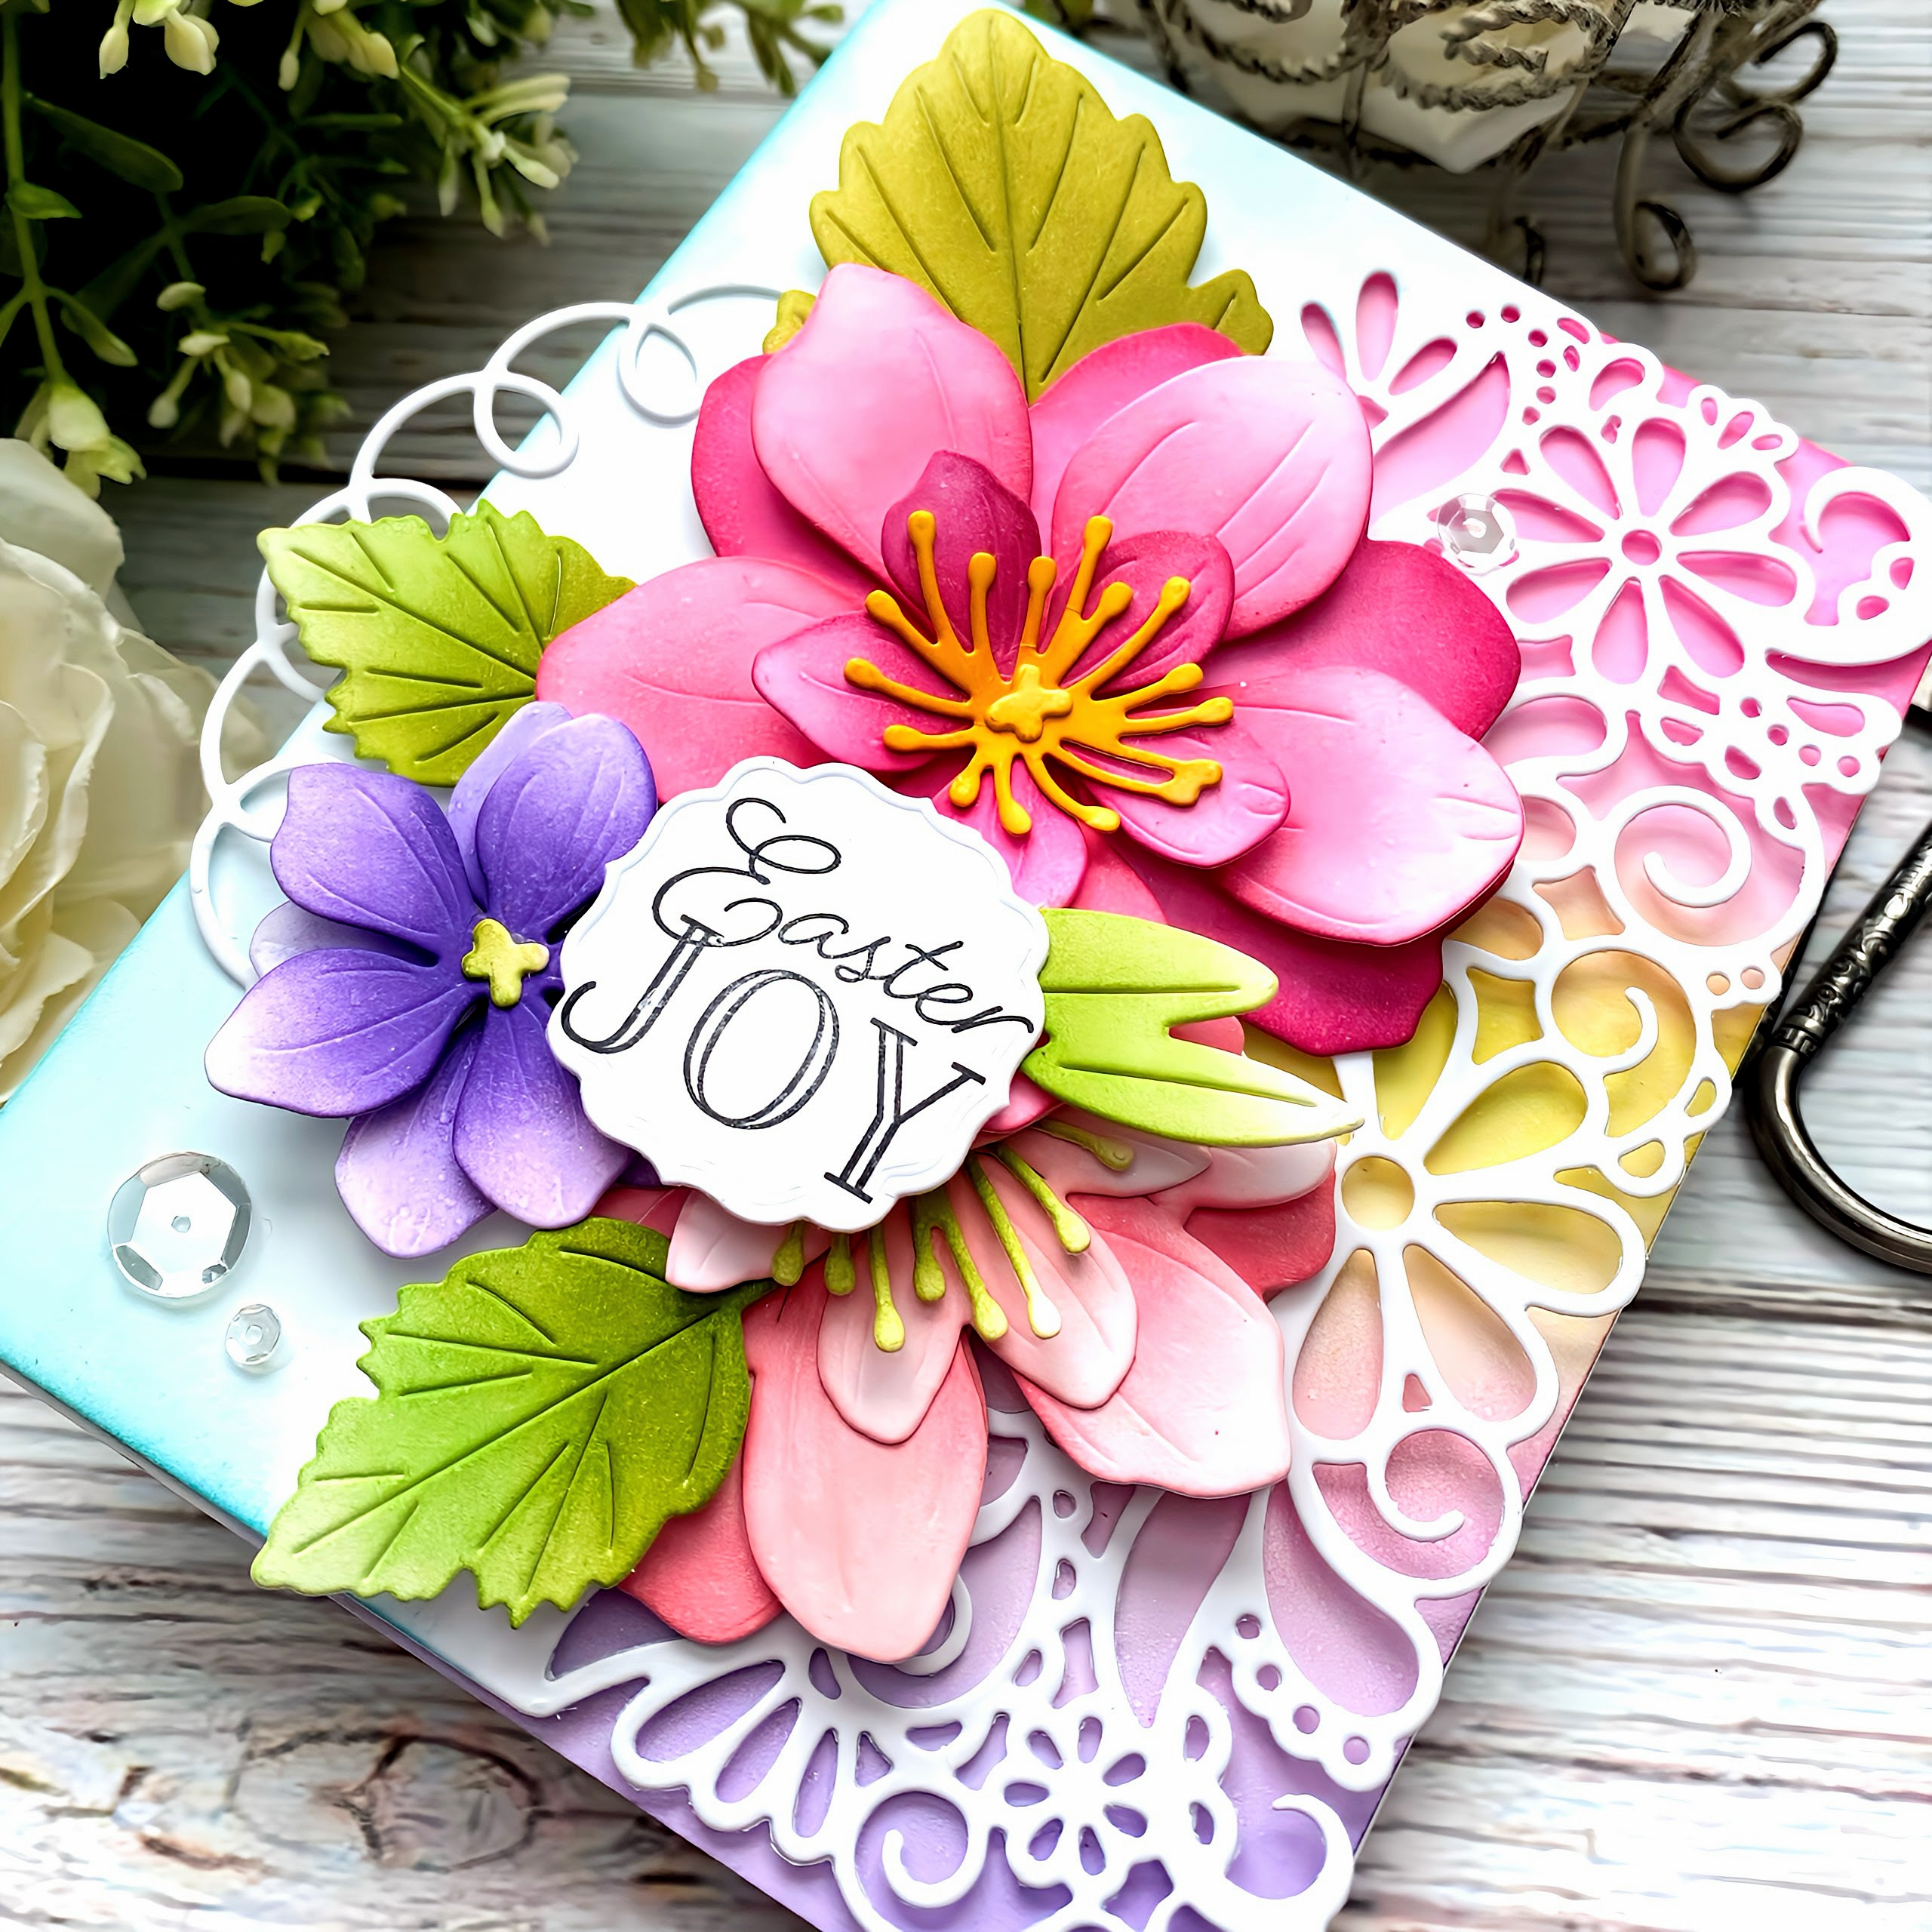
My first card for today features the lovely new Radiant Floral Dies paired with the new Perfectly Coiled Circle die.
To begin this card, I cut all of the pieces I would need for the trio of flowers and all of the leaves. I cut everything from white cardstock and then used PTI inks and a blender brush to give them their color.

I set them aside and got to work on the background. I used the Cover Plate: Fanciful Flowers Die for the top layer of the background, cut from white. I then cut an A2 top-folding card base out of white cardstock, added some ink colors that I used for the flowers. I also added some Aqua Mist and Hawaiian Shores ink around the left side of the Cover Plate piece.

I added the Cover Plate piece over the top of the blended background using foam squares, even tiny bits of strategically placed bits on the delicate narrow pieces of the floral design on the Cover Plate. I arranged the flowers and leaves using liquid glue and foam squares.

I ripped the coiled piece that was cut using the new Perfectly Coiled Circle Die in half and then tucked it behind the flowers and secured it with glue. I added the sentiment, which is from the Just Sentiments: Easter Mini Stamp Set, and die cut using the Just Tags Die. A few sequins and shimmer spray finish off this floral design!

Eep! I'm so excited for the new Egg Hunt dies that I used on this card. I used the small and medium size for this project, but there is also a jumbo-sized egg that nice and big!

This card also features the coordinating Egg Hunt stencils, which I used to add the polka-dots to the yellow egg and the stripes to the pink egg. You'll notice the pierced detail on the pink egg as well, this is an optional die included with the basic egg shapes. 

I took a few liberties with this card.....sneaking a peek of the new Many Blessings stamp set being showcased on day 4. shhhh......
I also pulled out a few of my favorites from past releases to pull this springtime scene to life!For the background, I used the June 2023 Surprise Box stencils. I trimmed the panel down to 4 by 5 1/4 inches and added it to a top-folding A2 card base using foam squares.


I cut the eggs, colored them, and added the stenciling and arranged them on the background. I'm obsessed with the bows so I added one of the bows from the Wrap-It Ribbons Die to the largest egg.

I think it's safe to say that I can find almost any reason to use the flowers from the Into the Blooms: Wreath Die and they were the perfect choice to really build this springtime scene! I added a leftover bunny from yesterday's Tiers of Cheer: Easter projects and a few sequins! That finishes up today's projects, but join me again tomorrow where I'll be sharing the new stamp in the Reflections series along with another fun Easter/spring set! Thanks for fluttering by!

Friday, March 14, 2025

The Greetert {Thanks SEW much}


Hello and welcome, friends! I'm popping in today sharing a pair of cards featuring the Handiwork Collection. This is one of my all-time favorite collections, but I haven’t created with it NEARLY enough! I absolutely love doing embroidery, so it’s always fun to play with stamps/dies that align with other hobbies and passions. 

I knew I wanted to make two cards; one with a round hoop and one with an oval. To begin, I die cut the hoops using the Hoopla Oval Die and the Hoopla Round Die. I cut the hoops from white and then colored them with sponge daubers and distress oxide ink. I also used the same dies to cut out the hardware for the hoops using both gold and silver cardstock for that realistic metal look. I glued the hardware to the hoops using liquid glue.

I used the Hoopla Round Inserts Die and the Hoopla Oval Inserts Die to cut out the portion to fill the hoops. I glued the hoops over the top and set them aside to dry while I got to work on all of the embroidered elements. I decided where I wanted the sentiment for the oval hoop, so I stamped that as well. Both cards feature sentiments from the Sew Vintage Stamp Set.

 I used the Embroidered Blooms Die and cut everything from white cardstock and then colored each piece using sponge daubers and distress oxide ink. I layered them over the top of the hoops/inserts with exact placement and then used Press n’ Seal wrap to lift everything up all together and then applied glue to the back. Once that was done, I simply placed it back where I laid it out originally, pressed it down until the glue set a bit, and then removed the press n’ seal wrap. This is one of my favorite techniques/tools to use for this type of a project!

I used the Notionable Die for the scissors and the thimbles. I cut them from gold cardstock and also from Kraft cardstock. I glued each gold piece to a Kraft piece to give it added stability. I find that metallic cardstock has a tendency of curling and it’s not as thick as regular cardstock so like to reinforce it. Once that was all done, I used a gold brad to secure the scissors together. I bought some of the cute Screw-top Mini Brads that are in the shop, but do you think I could find them? Nope! Argh! Once I find them, I will be putting them right next to the Notionable Die so that they are always together! Ha ha! Needless to say, that would have been MUCH cuter! ****edited to add****guess what I found? ha ha!

For the background, I used the Embroidered Background  on two A2 panels of Concord & 9th Nectar cardstock using Saltwater Taffy for the oval hooped card, and Tattered Rose for the round hooped card. I did trim down the panel for the round card to measure 4 by 5 ¼ inches. I stamped the other sentiment directly onto the nectar panel in black ink and then added the hoop using foam squares.

I thought I’d reinforce the “love” theme and add a few of the corners included in the Romantic Corners Die from the recent Bibliophile release. I attached both panels to top folding A2 Vintage Cream card bases. I added the scissors using foam squares, with the ability to move the scissors on the round hoop card; I just love how fun that is! I hope you’ll take some time to revisit one of your favorites, but perhaps neglected, collection and have some crafty fun! Thanks for fluttering by!Handiwork Collection

Papertrey Ink March Release Day 1

Hello and welcome, friends! It's day 1 of the Papertrey Ink March release countdown! It's been quite awhile since I've participated in the countdown, so it feels good to be back, especially since we're showcasing quite a few new Easter/spring stamp/die sets!

I have quite a few projects to share with you today; up first is a spring card featuring the new Tiers of Cheer: Easter stamp/die set. This is an add-on for the previously released Tiers of Cheer Stamp Set.

I die cut the tiered tray from Kraft cardstock using the Tiers of Cheer Die. I used Fresh Snow ink for a different look on the Kraft cardstock to give it a farmhouse feel. All of the other images are from the new Tiers of Cheer: Easter stamp set. Please note that the sign that says 'hello spring' is also from the original set, but the sentiment is included in the new set.

I made three cards using this set to share with you today, so it made sense to die cut quite a few of each piece and then stamp everything at once using different colors of ink to maximize my time (especially since I use a MISTI). The background was cut from Lemon Tart cardstock using the Cover Plate: Quilted Die. I added a scalloped border that was cut using the On the Edge Scallops Die.

The stamped images are layered onto the arch that was die cut using the Love to Layer: Arches Die. I did some stenciling at the top and bottom of the arch using the Elegant Notes Stationery Kit. I tucked a bit of Bitty Big: Limeade Ice pattern paper behind the arch for a bit of added detail and interest.

My next card is a little more CAS, but uses some of the same elements like the pattern paper and scalloped border.


I decided to go with the tiered tray with only 2 tiers to give me more space to add a sentiment and the scalloped border.

I love a watercolor look at Easter because it reminds me of coloring eggs with my family.

I've been loving this particular sentiment that was released last year and is included in the Thoughts of Easter Sentiment Stamp Set. I stamped it at the bottom and then layered the tray above it using foam squares.

You can't tell in the photo, but I'm back on a Shimmer Spray kick, so most of my cards today got a generous spritz, or two!

My third and final card using the Tiers of Cheer: Easter stamp set features one of my favorite sentiments included in the set.

There's a couple of things to note: you can add a few different patterns to both of the bunnies for versatility. 

This card features the Cover Plate: Lattice paired with the Border Bling: Skinny Embossed Frame. This is one of my favorite combinations and I've used it on some of my favorite cards in the past.

This card got a sprinkling of glitter as well!

The final card for today is CAS, which is rare for me, but I really wanted to focus on the sentiment. 

This set features a few outlined floral clusters that can be colored, or left with just the outline, like I did here.

Once again, I added some watercolor detail using the Watercolor Wonderful Stencil Collection

Shimmer spray and sequins finish off this simple design! Thanks for fluttering by!