Wednesday, June 7, 2023

The Greetery {Urban Jungle Collection} Day 1

Hello and welcome to day 1 of full reveals for the new Urban Jungle Collection from The Greetery! I'm so glad you've joined me; I know you're going to fall in love with the ENTIRE release, just like I have! This one, in my opinion, is especially "squeal-worthy"! You can read all about each of today's featured products on The Greetery Blog for the official "meet and greet"! Make sure to leave a comment here, and on each designers' blog, for a chance to win one of two $50 gift certificates.

My first project for today features the absolute cutest new Greenhouse die! I am absolutely in love with it; so much so that I decided to make a set of 4 cards to include in a notecard set to give as a gift! I purchased these jute drawstring bags on Amazon with the hope of putting the entire card set inside, but the dimensions didn't quite work! I decided to utilize them as a container to put the card, tucked inside the envelope, and include a seed packet! For those of you who visit regularly, you may have remembered that I included a seed packet inside each of my Easter cards that I sent this year. I have some left over, so I think they will be absolutely perfect for this project!

You can see each of the 4 designs here; each card features the new Green house die, the new Garden Tub Fillers die, and the adorable new  Little Labels stamp + cut combo. Each card also features a few of the cute flowers included in the Garden Bits.
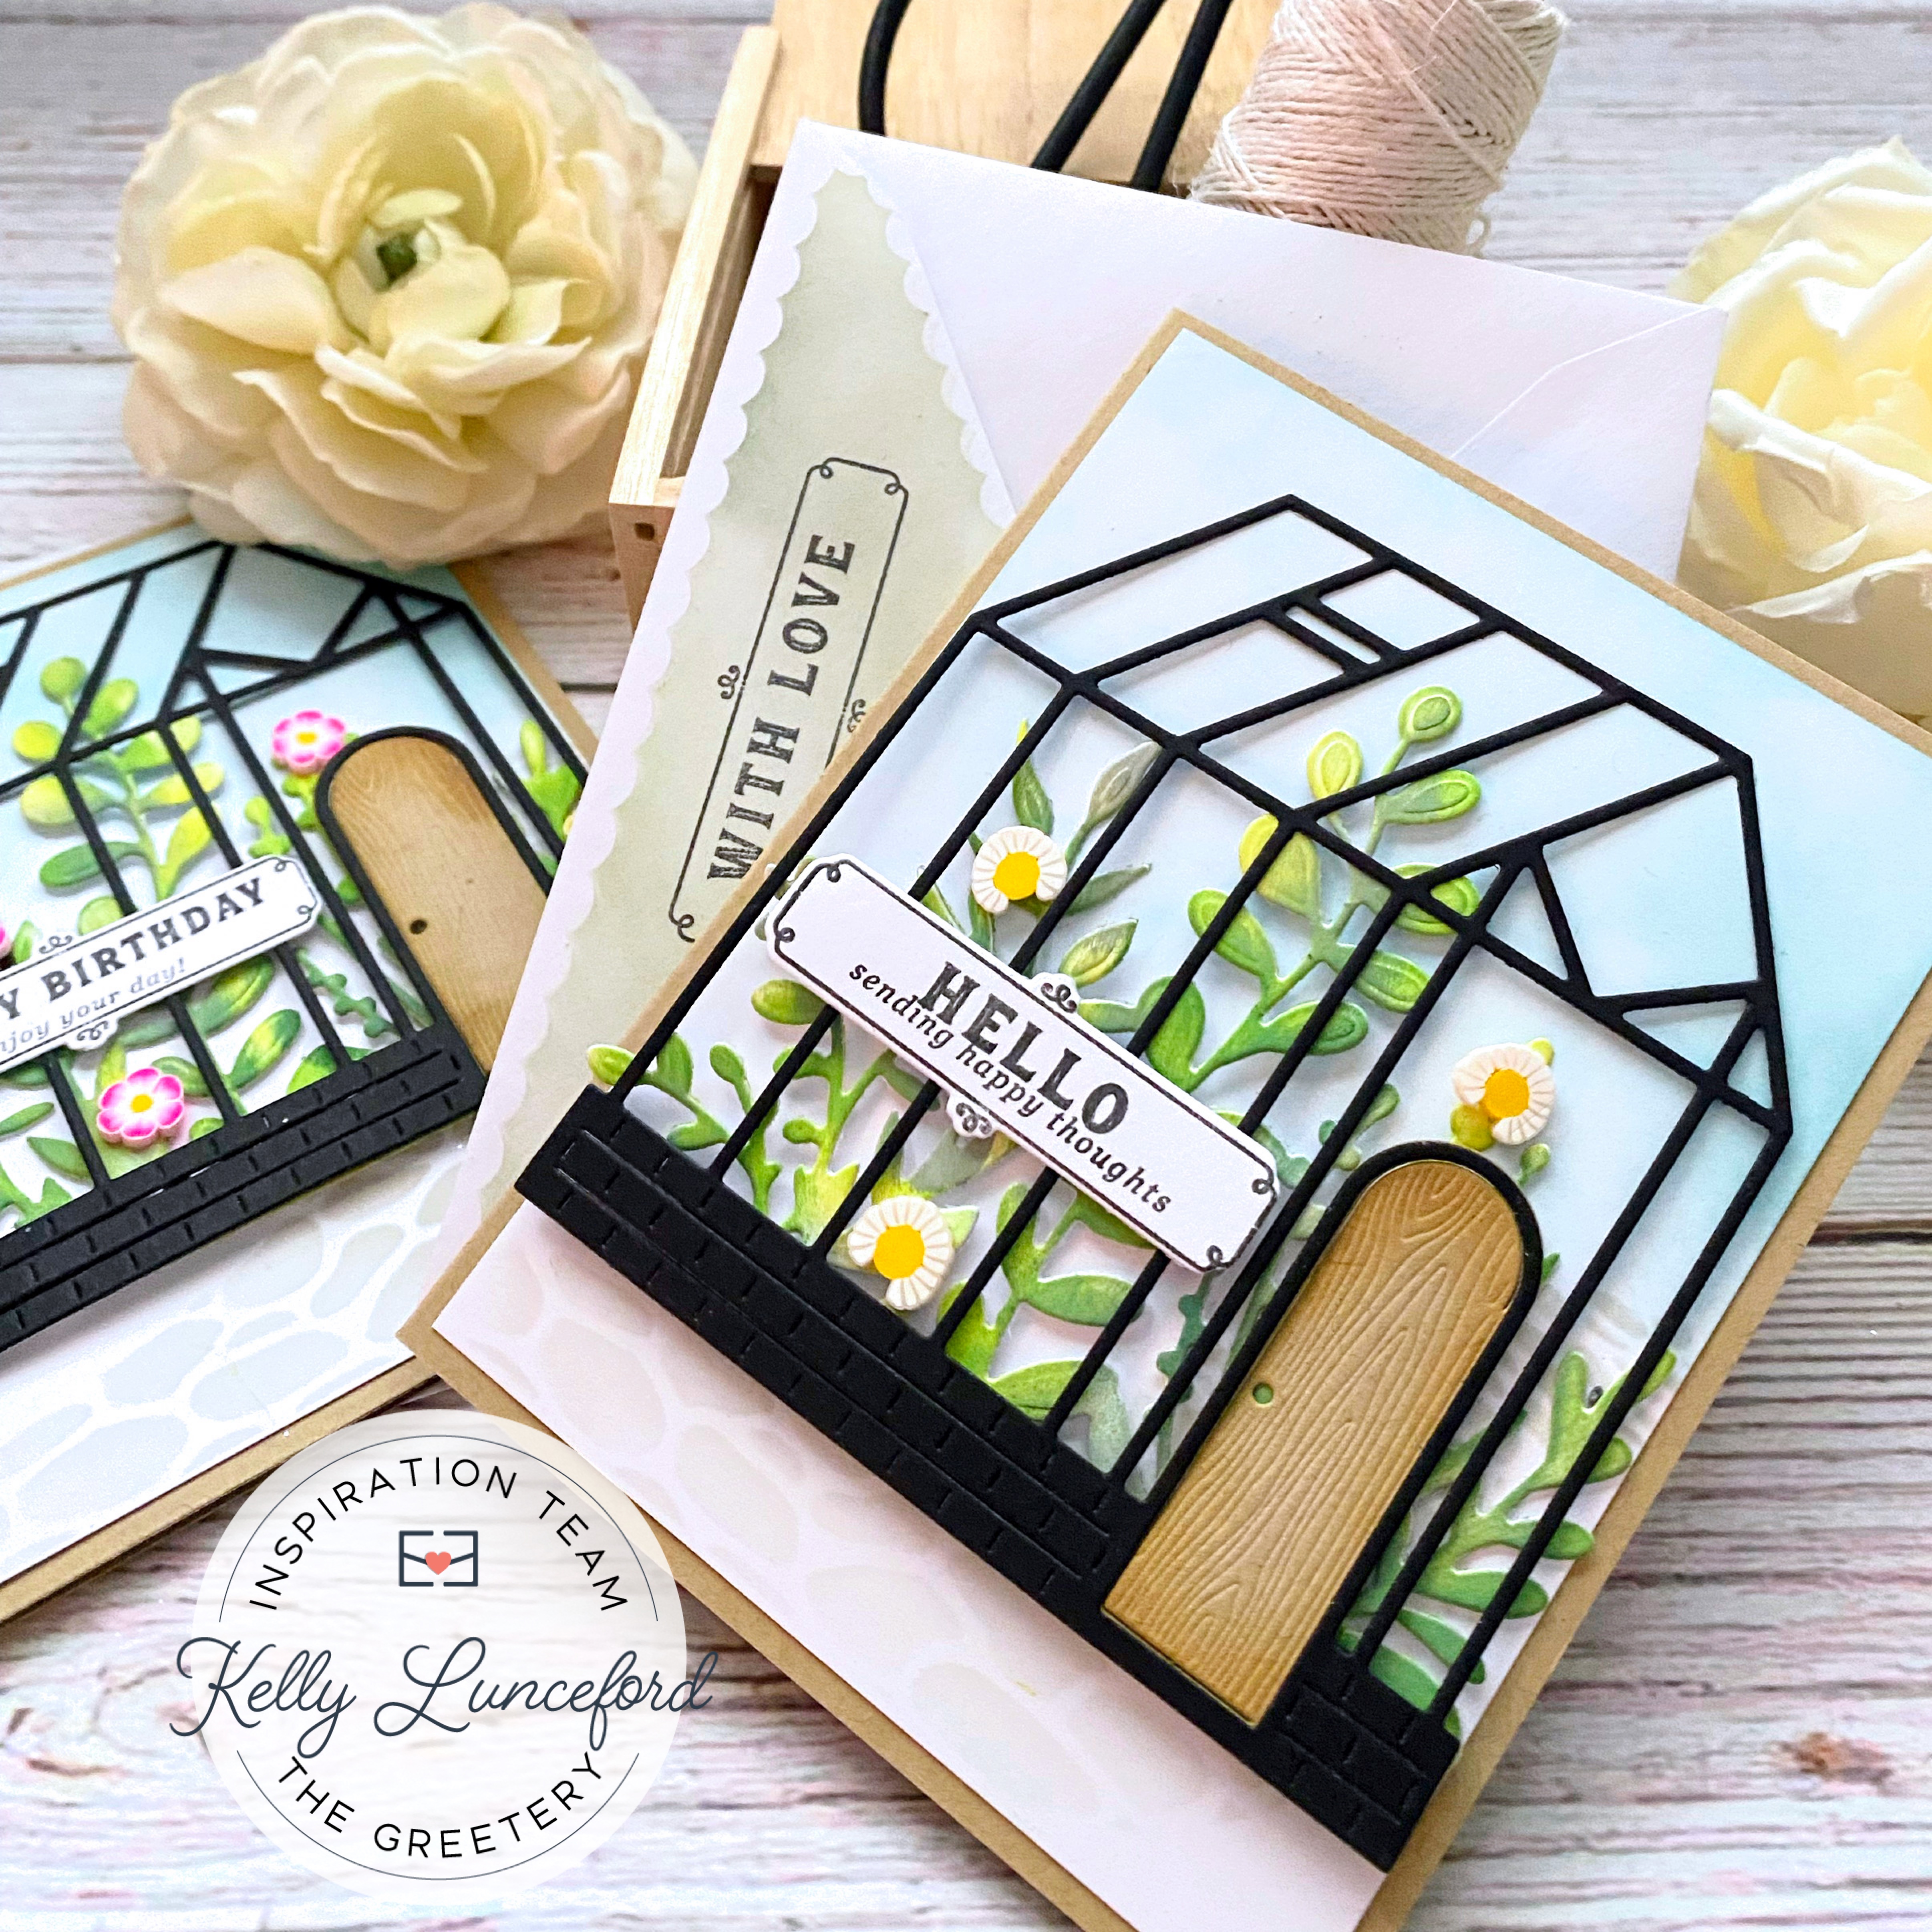
Each card also features the Pathway Stencil at the bottom to "ground" the greenhouse.

The Greenhouse is nice and big as you can see and fits perfectly on an A2 card. The door is included, but is a separate die so you can cut it from cardstock of your choice. It does have the option to have it "swing" open, but for this card set, I knew that wasn't practical, but it is super cute!

I created the tab using a few new goodies that I will talk about later; I made the tag when I thought the entire set would fit in one drawstring bag, but since that's not the case, I will use it someplace else! ha ha!
My second card features the absolute cutest Garden Tub die and the Garden Tub Fillers Die. (and I'm sneaking the new Woven Cane Background in today, but will showcased tomorrow). I have a friend in the neighborhood that has garden tubs lining her park strip and filled with plants and flowers; this will most definitely be her birthday card since her birthday is coming up this month!

I die cut the Garden Tub from metallic silver cardstock and also from white. I glued them together for a sturdy piece. I glued the handles on using liquid glue. I also heat embossed the sentiment using the new Little Labels stamp + cut combo!

You all know how obsessed I am with the BotaniCuts Wildflower dies since they seem to make an appearance for almost every release! The Garden Tub Filler diecut was just begging for some of these sweet wildflowers!

With the garden tub just teaming with wildflowers, it is just natural that a few Honey Bees would be there, too! ha ha! I die cut the Woven Cane Background and then added it over the top of an A2 card base with some ink around the edges. I added some glitter for some sparkle and shine! I had a leftover panel of the cane background that I used as a stencil for the envelope flap; just a fun touch with a stamped Little Labels sentiment.

My final project for today might be my favorite; it uses the AMAZING new Petal Pusher stencil, Background Die, and Blooms die. I had a little trial and error with this one, but that is usually how it goes with me and stencils/coordinating dies! ha ha!

I won't bore you with the embarrassing details of attempt number one, but rather give you helpful tips for success on your first try! ha ha! you can see in this photo that I used the extra pieces from the card to create the coordinating tag that I shared earlier.

To begin, you will want to die cut an A2 panel using the Petal Pusher Background and then begin your stenciling over the top. I also die cut two of each of the pieces included in the Petal Pusher Blooms die collection so I could have some fun layering.

Once all of the stenciling was done, I popped up all of the pieces that I wanted to flare up (the beauty of this collection) and then added the die cut pieces over the top. I used the same ink on the die cut pieces as I did for the stenciling. I'm always amazed by the results of a stenciled panel so oftentimes I just sit and stare at it before I do anything else.

I gave an audible squeal when I was finished with the stenciling and then of course the added blooms just really brought it to life! In the end, I just couldn't stand the thought of covering it up, so opted for a simple embossed sentiment.

I added glitter for some sparkle and shine! This was SUCH  fun card to make and I can't wait to make panel after panel!!! Don't forget to head to the other designers' blogs to leave comments and see their gorgeous creations! Join me again for day 2 of reveals! Thanks for fluttering by!
Kelly (you are here)


Monday, May 22, 2023

Papertrey Ink May Release Countdown Day 4

It's the 4th and final day of the Papertrey Ink countdown! I'm sharing more baby inspiration today and a card using a fun new set called Birdhouse Bliss!

This card features the new Iconic Baby stamp/die set. It is just like the other "iconic" sets where it comes with tiny images and an image or two to dress up envelopes.

The inspiration for this card was actually the envelope that I made for another card I'm sharing today. I snuck it in this photo and covered up the part that coordinates with the other card! ha ha!

I forgot how much I love this color combination: Spring Moss and Aqua Mist....the first two colors of ink and paper from PTI!

The sentiment is from the new Larger Than Life: Baby stamp set.

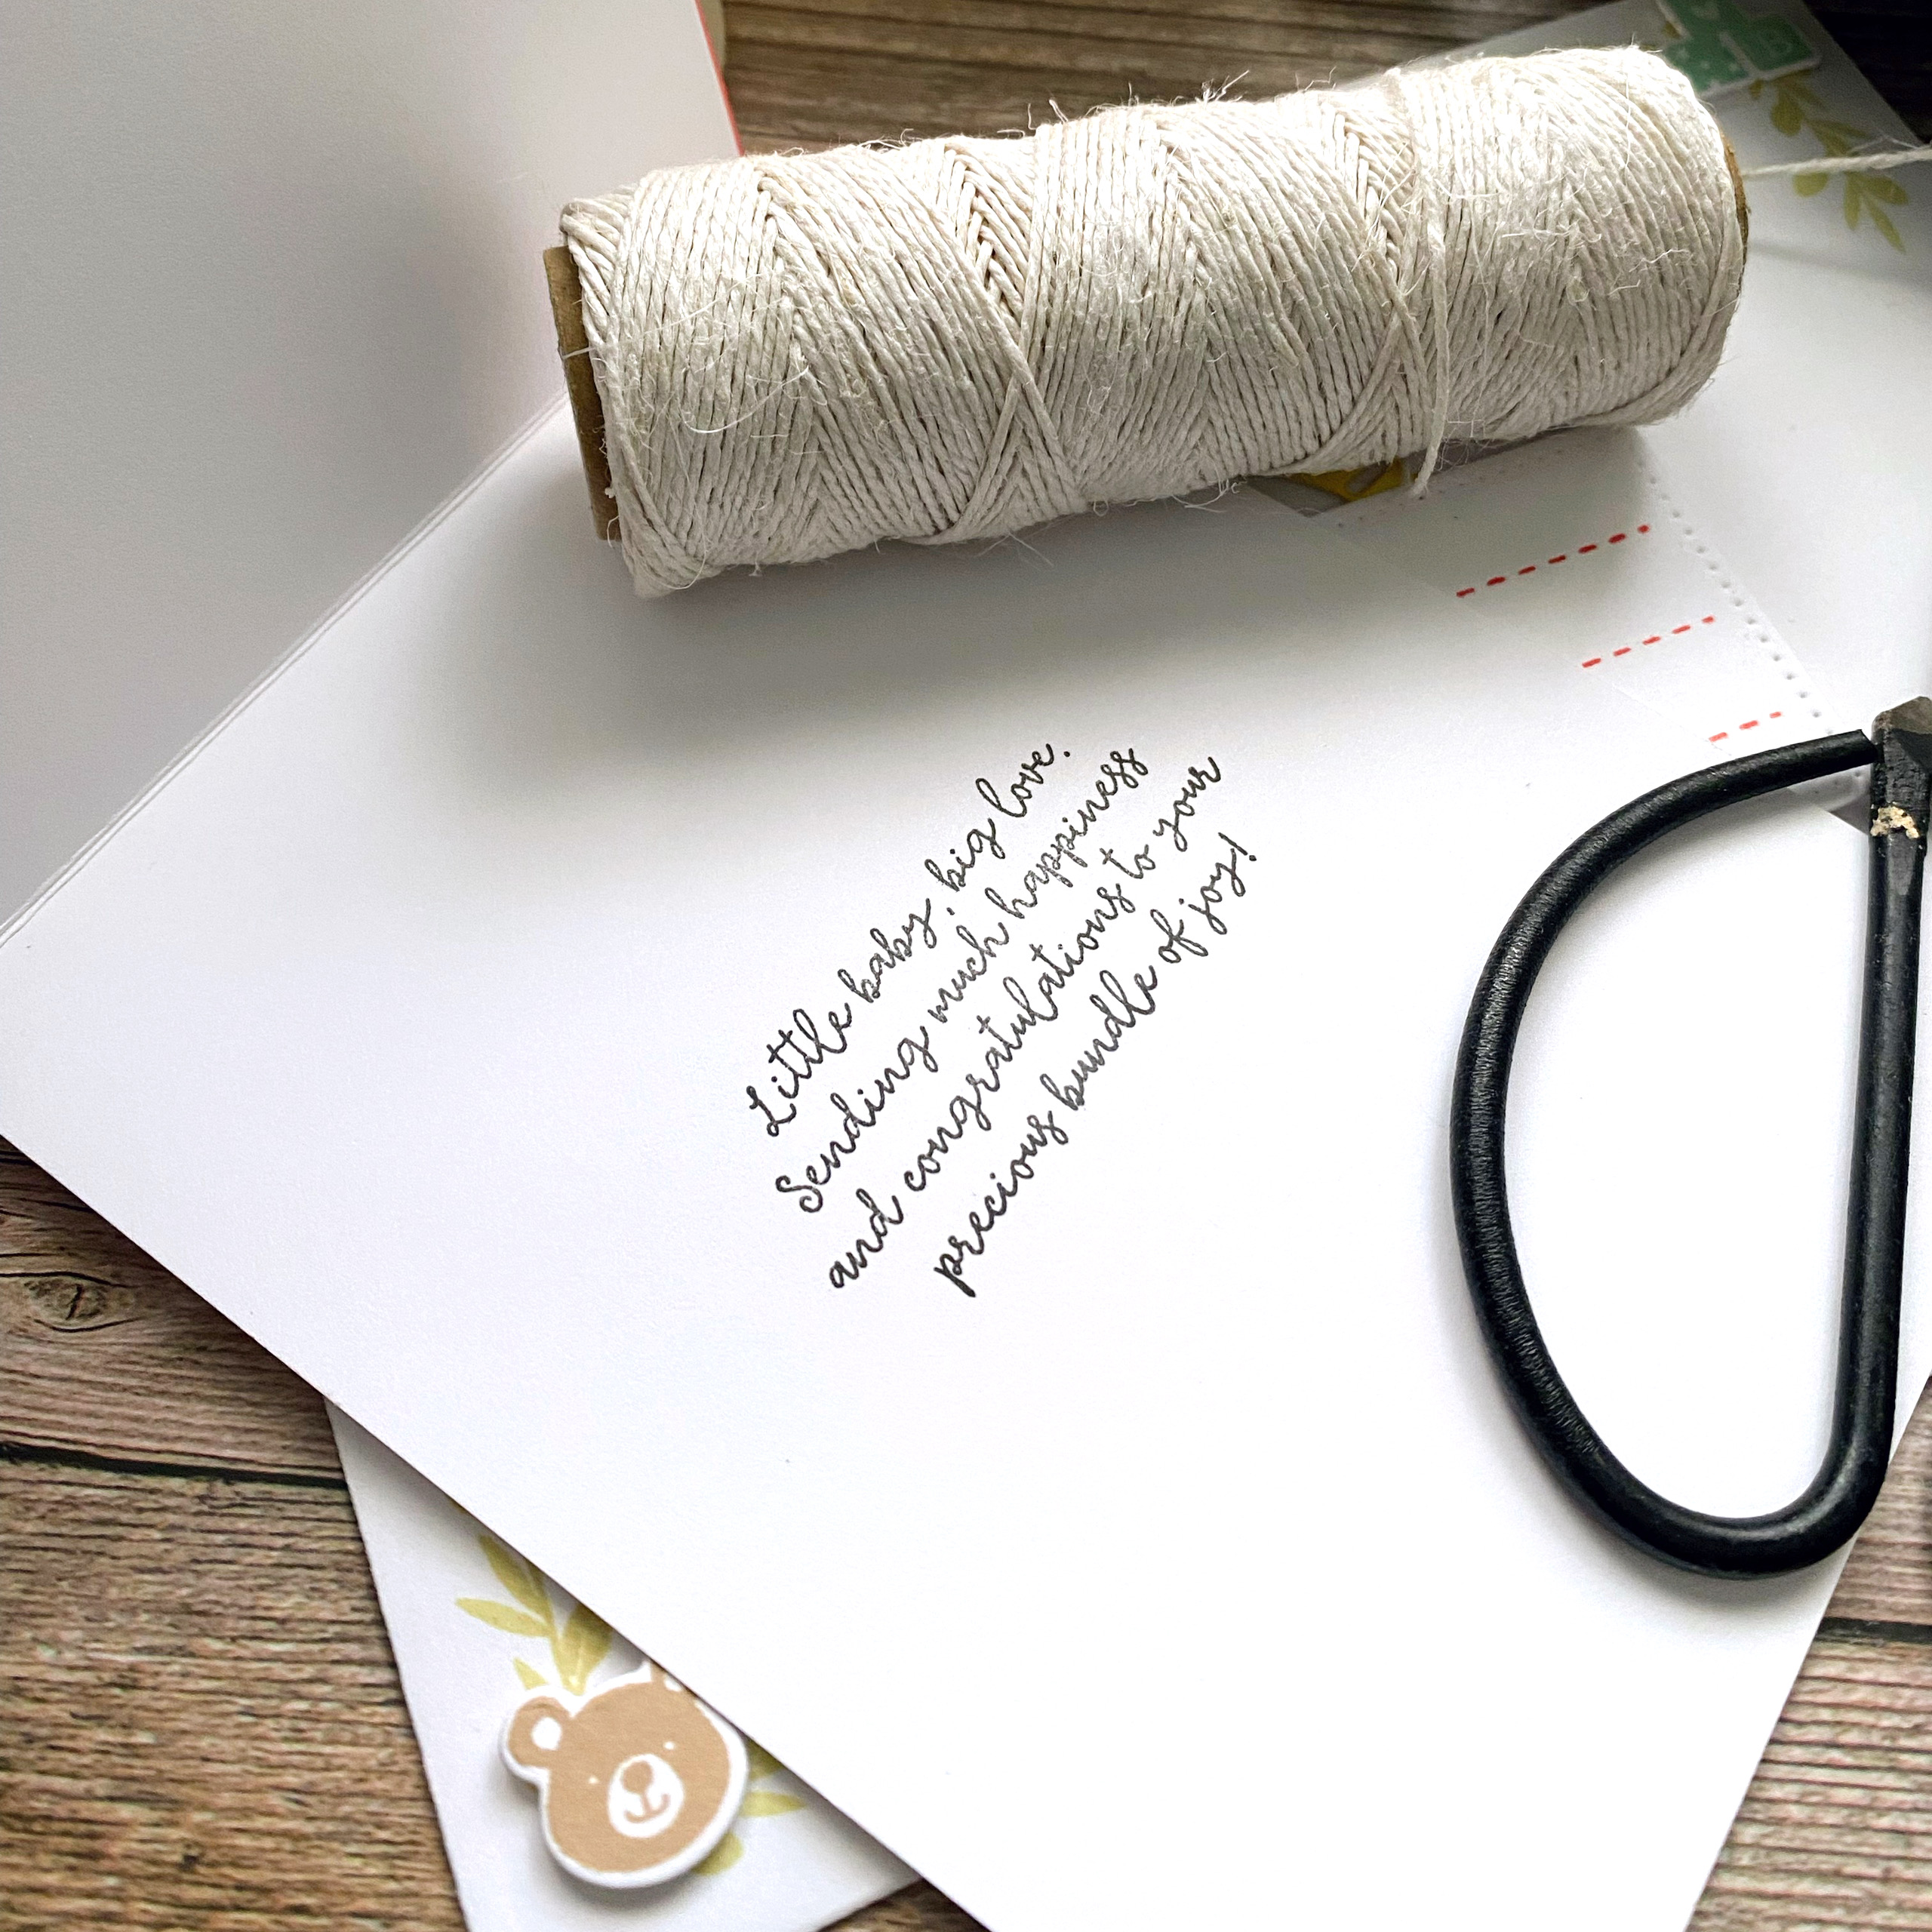
I gussied up the inside using the new Inside Greetings: Welcome stamp set and a few images from the Iconic Baby stamp set.

This baby card features the new From the Heart Hot Foil plate.

I also used the new Line it Up: Baby dies and a heat embossed sentiment from the Just Sentiments: Welcome.

I was itching to make a "bundle" of geraniums using the new Into the Blooms: Geraniums, so that is what I did for this card.

I added a few clusters of images from the Iconic Baby stamp set.
Another sentiment included in the Inside Greetings: Welcome for the inside!


My third baby card for today uses another one of the Line It Up: Baby sentiments. I used the Love to Layer: Hearts die as the focal point to reinforce the heart theme with the foiled background!


I added the cute little bear image to the "o" in welcome for some added whimsy!

You can see the shine of the foil better in this photo; I used tone on tone paper and foil for a classic look. I used medium heat for 20 seconds to foil the bacckground!

I'm absolutely smitten with the cute summer outfit image and the cute sandals.!


I had so much fun working on these baby cards! My stash is now fully stocked!

Here is a close-up of the inside; the last of the three sentiments included in the Inside Greetings: Welcome stamp set.


My final card for today and the release features the cutest new set called Birdhouse Bliss! I have used every single thank you card in my stash, so I decided to add a gratitude sentiment. I really wanted to make a welcome to the neighborhood card, but I needed a thank you card more! ha ha!

To begin this card, I die cut all of the pieces (twice) included in the Birdhouse Bliss set. I had so much fun inking them all up, but when it was all said and done, I didn't use very many! ha ha!

I cut a panel of Spring Moss cardstock and stamped the images in the corners using the new Corner Decor stamp set (I think I used that on every card but one) . I die cut a panel of Aqua Mist cardstock using the new Elegant Edges: Fresh Cut dies and then added a circle from the new Love to Layer: Charming Brackets. 

I stamped the sentiment in black and then had fun adding the birdhouses, bird, greenery, etc.
I layered it onto a white top-folding A2 cardbase using glue. The new release will be available for purchase tomorrow at 10 PM ET. Thanks for fluttering by!

Sunday, May 21, 2023

Papertrey Ink May Release Countdown Day 3

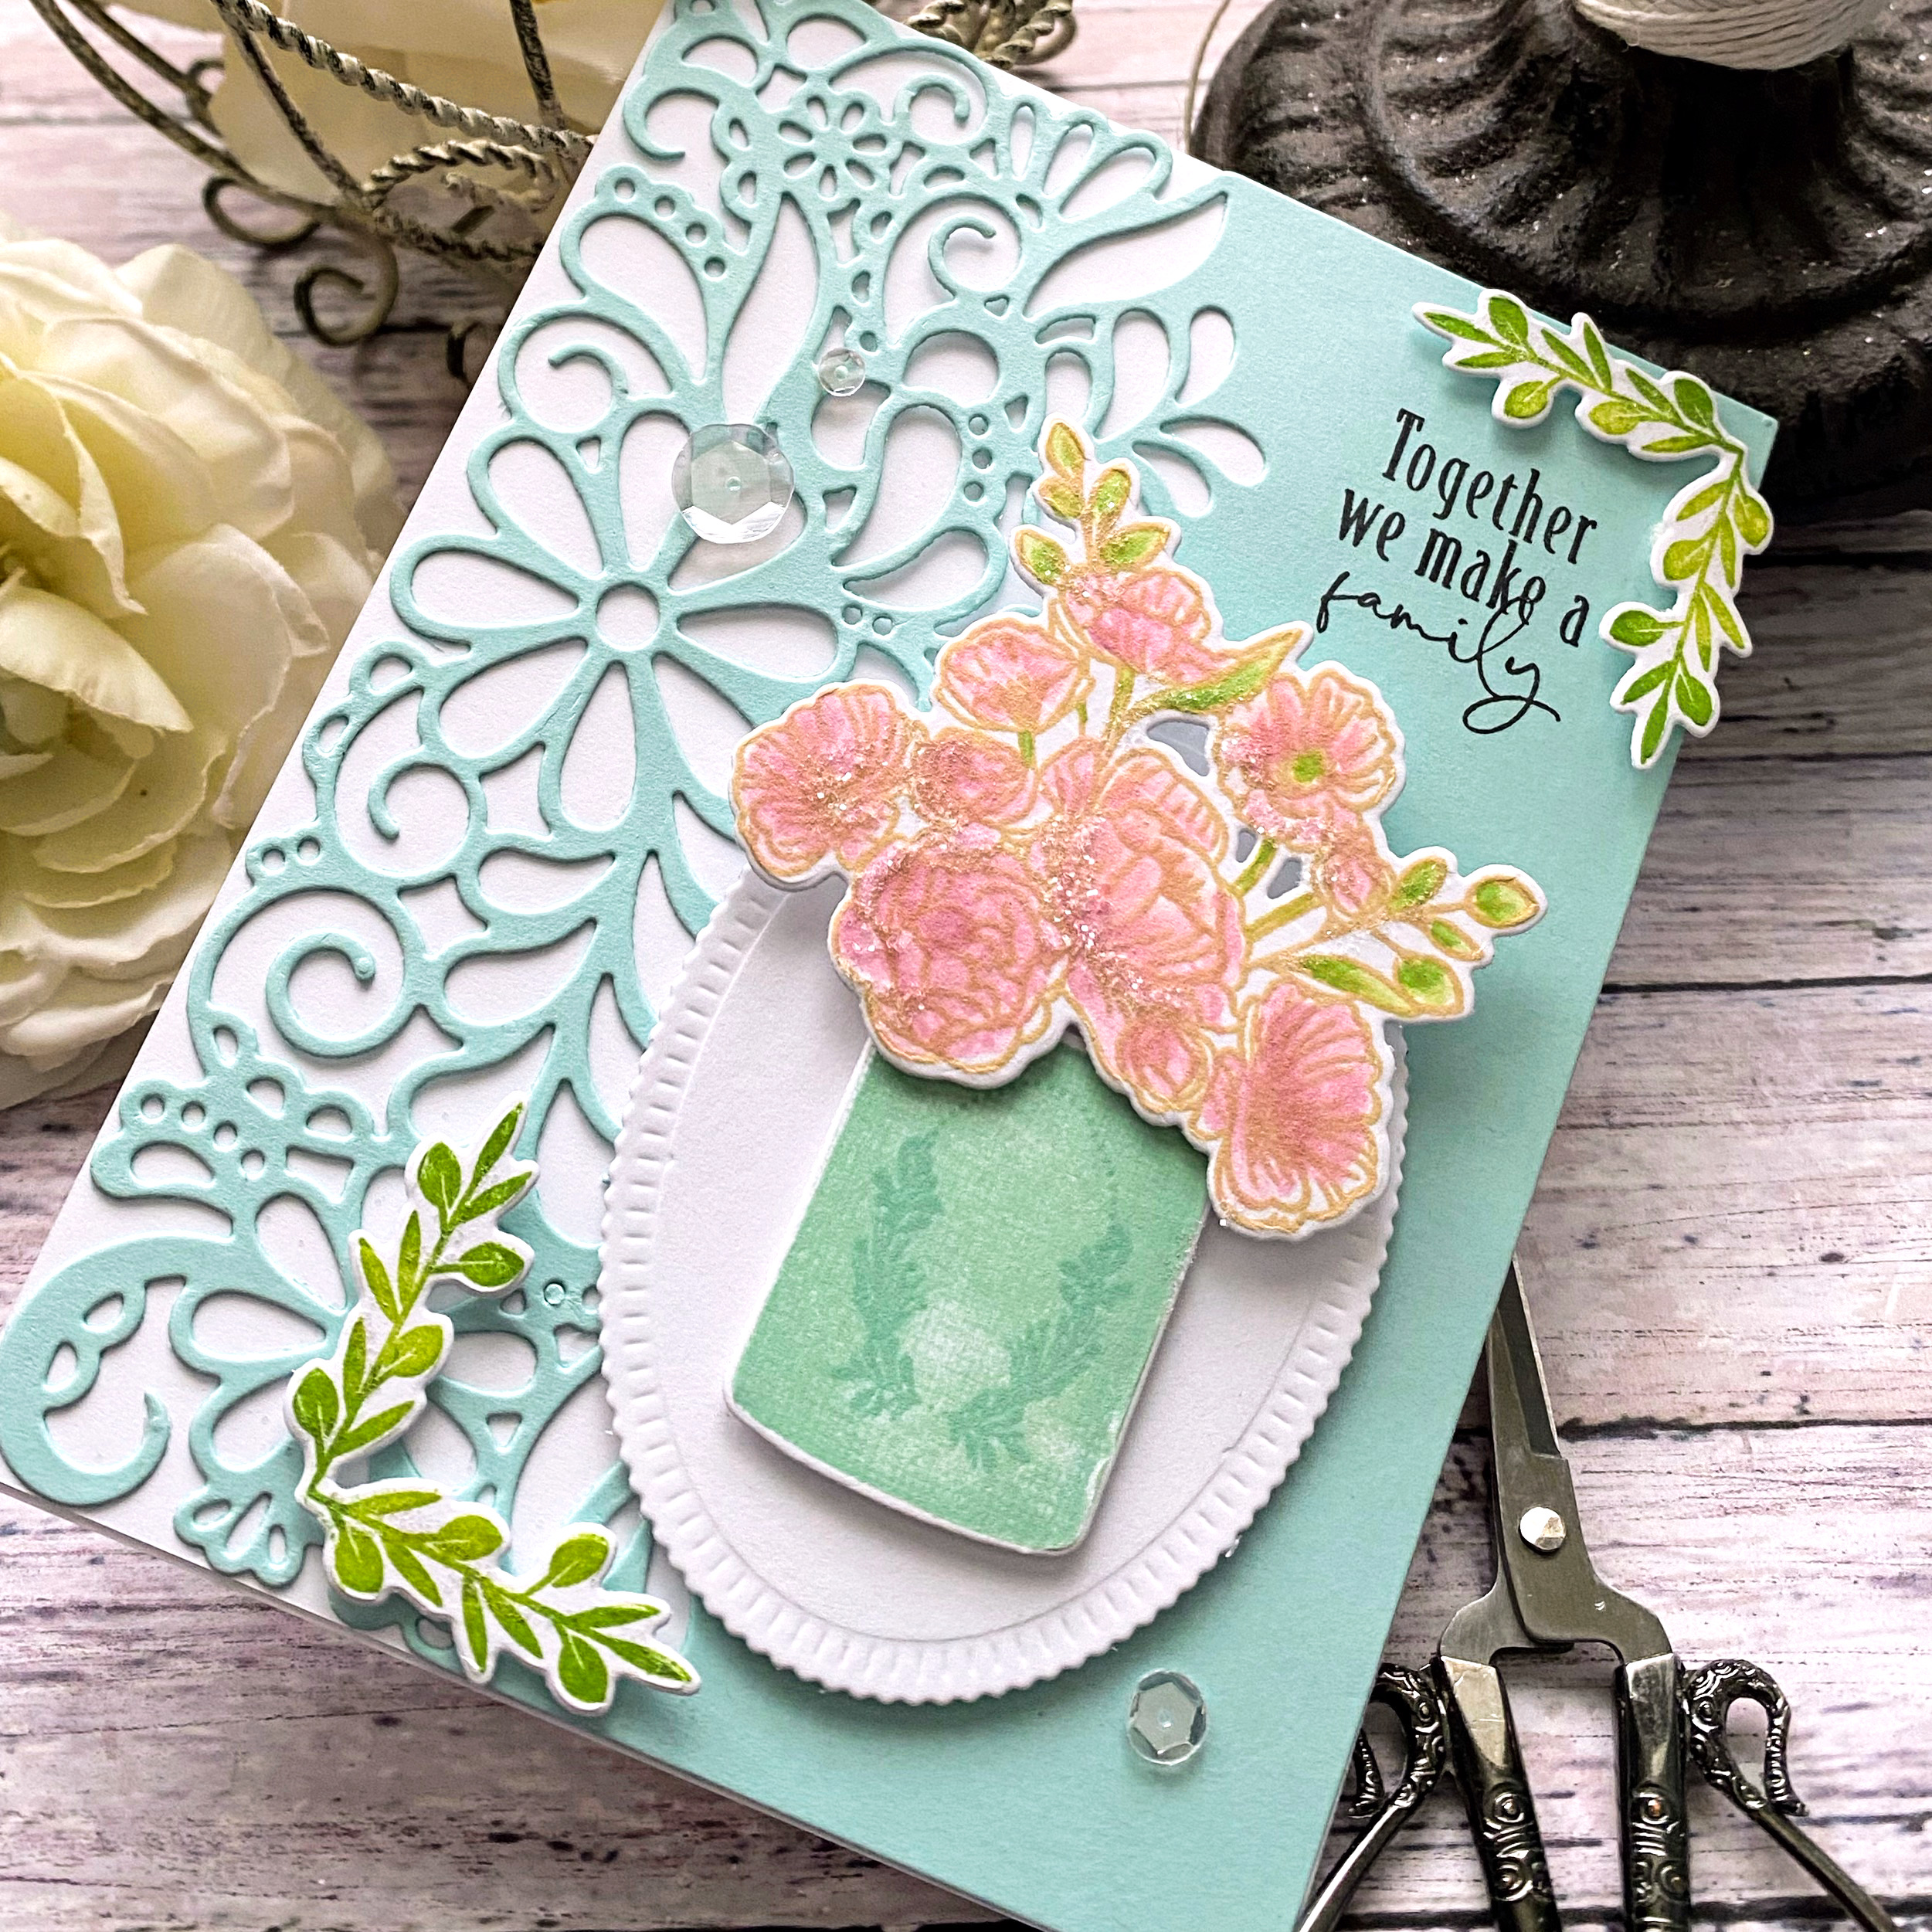
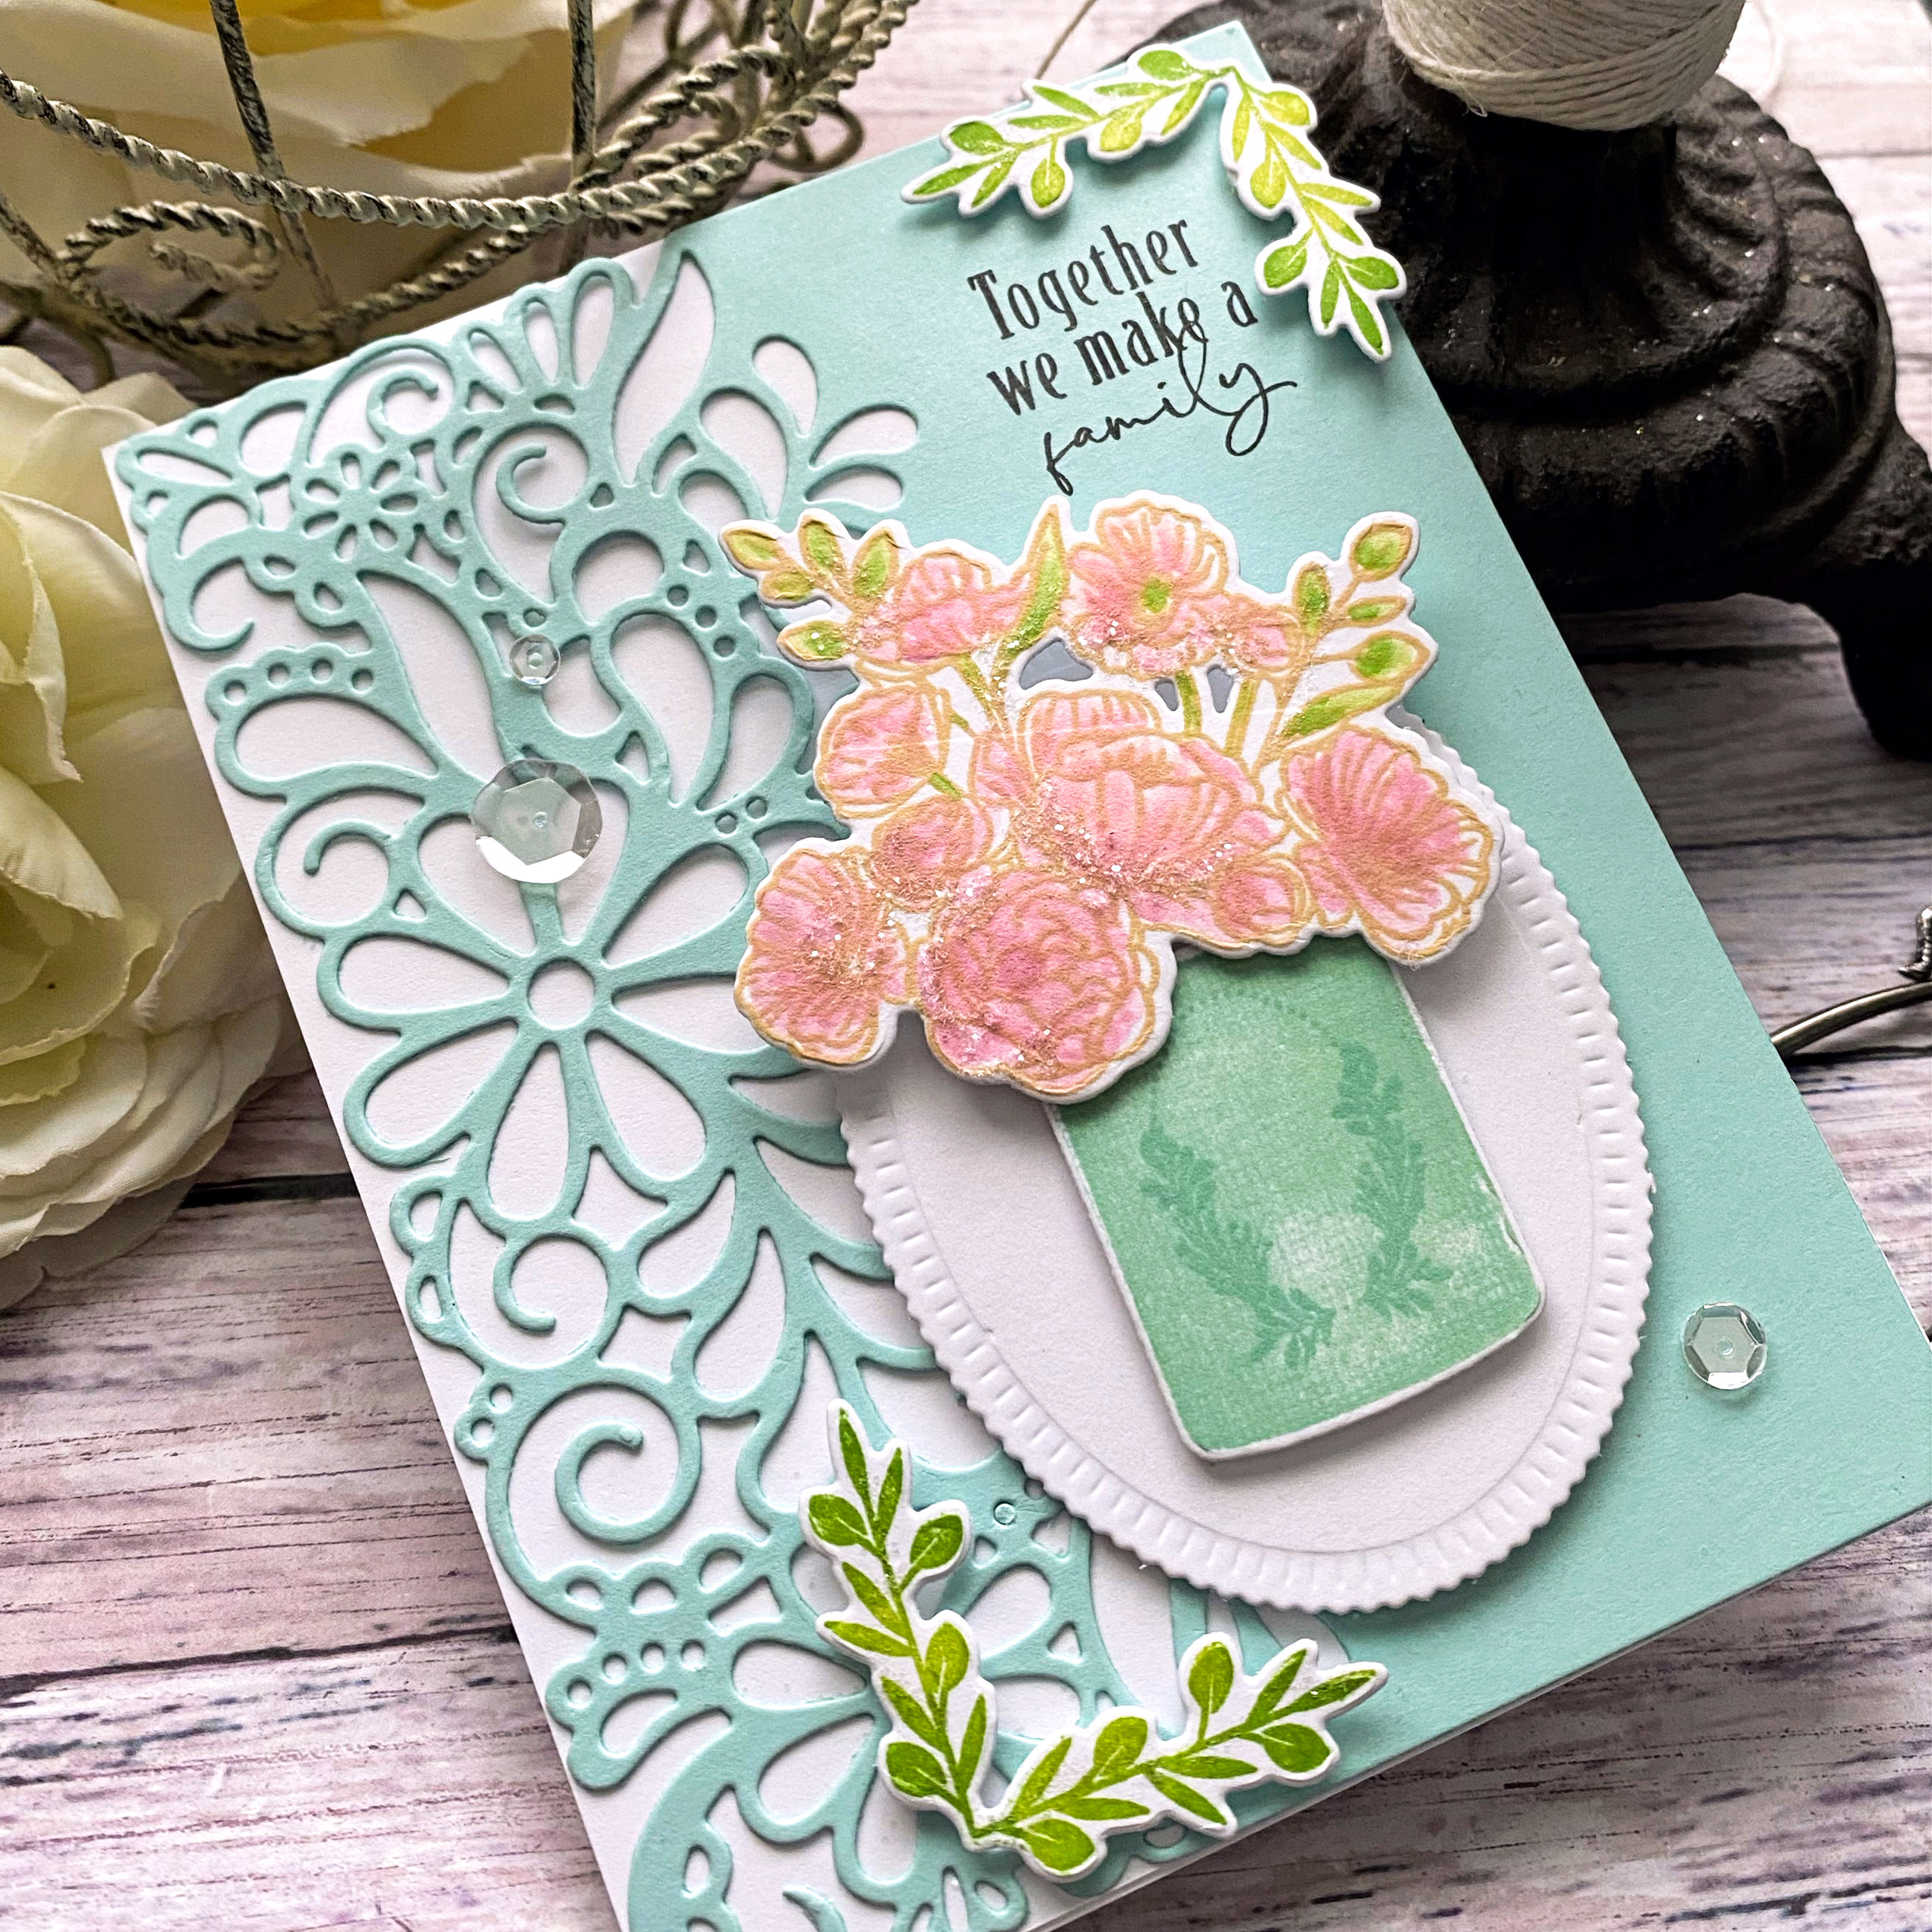
It's day THREE of the Papertrey Ink May release countdown! I have a baby card and then another card using the new Vase Collection 18 stamps/dies! My first card uses the new Baby Background stamp that I heat embossed in white onto Lilac Grace cardstock.

I paired it with the new Larger than Life: Baby stamp set and a few more Corner Decor images. I can't seem to quit with the flowers, either, so I added a few in two of the corners.

The new Vase Collection 18 stamp set is a line-art set so it's perfect for those of you who like to color. If not, it also comes with solid images to stamp them if you're so inclined.

I chose to use ink and a blender pen from SU! (not sure if they still carry them) to color the flowers and leaves.

I used more corners.....yes, I'm obsessed!
I used the previously released Fanciful Flowers for the background.

Join me again tomorrow for a BIG post with all of the day 4 goodies! Thanks for fluttering by!


Saturday, May 20, 2023

Papertrey Ink May Release Countdown Day 2

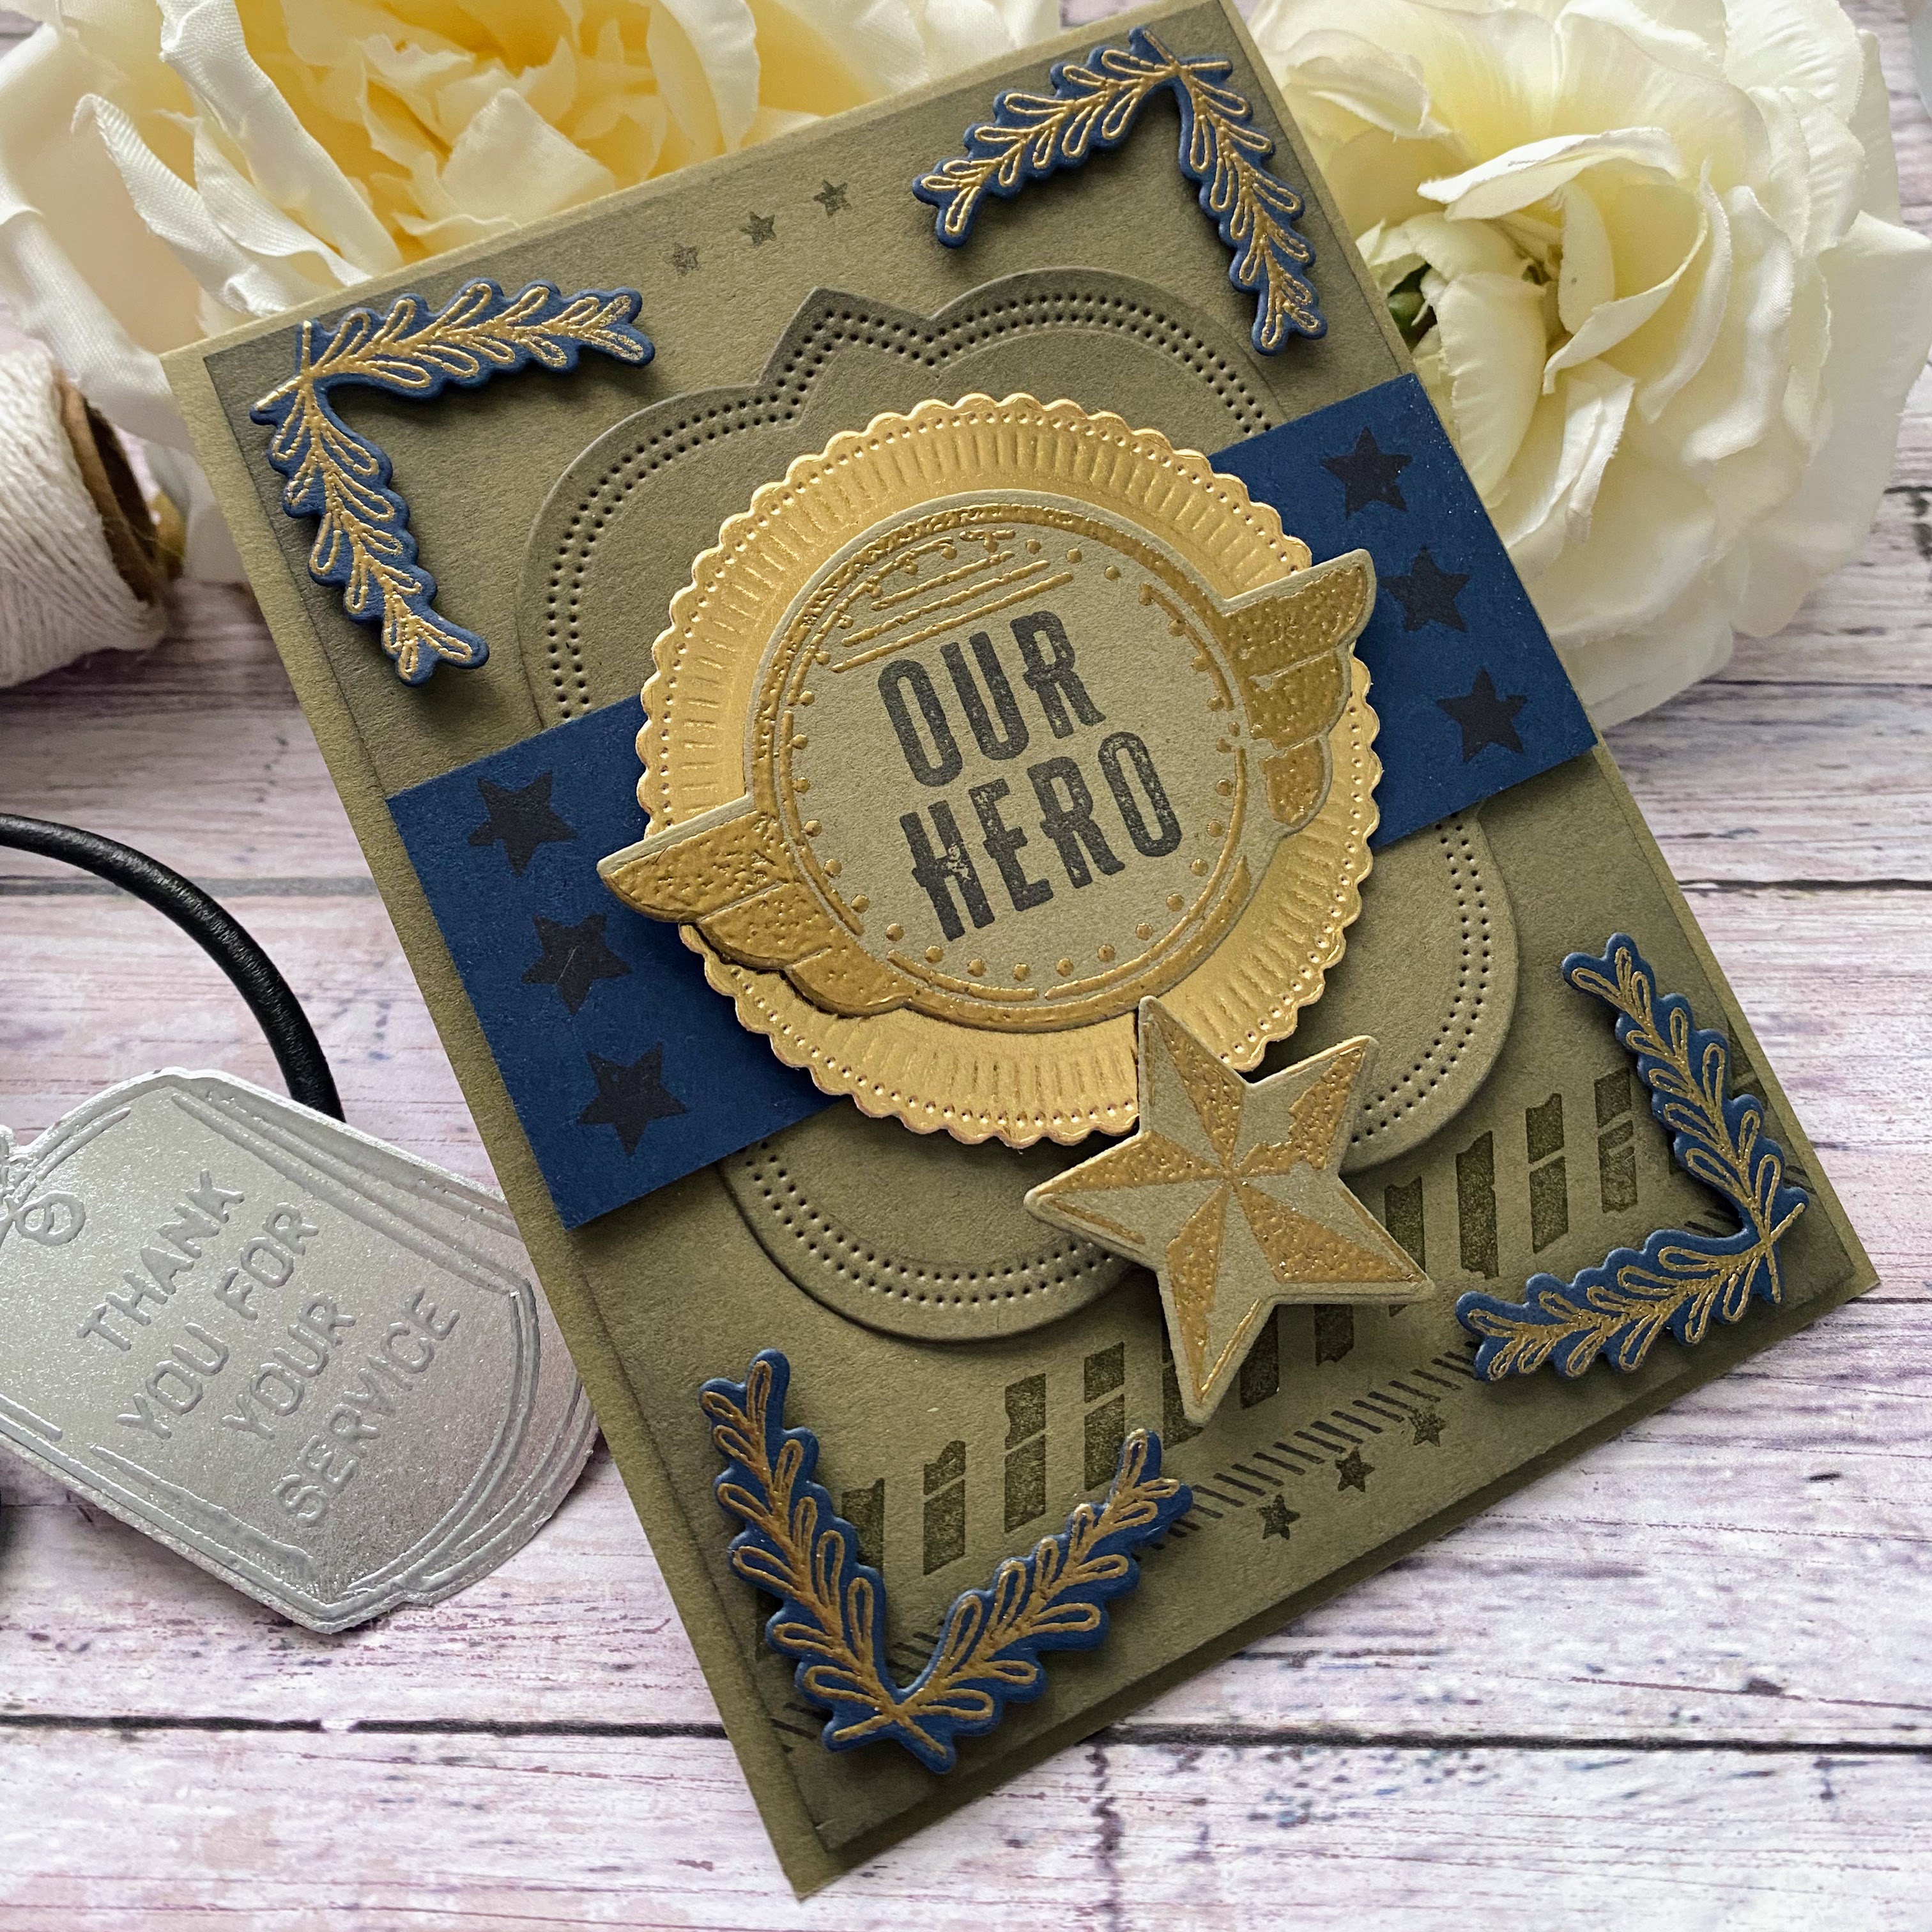
Welcome to day 2 of the Papertrey Ink May release countdown! Today's cards feature some really fun new products geared to the military! I really like the fun twist on patriotic this year because the new products mix and match so well with the previously released American themed products!

I have a funny (almost not funny, though) story to share with you about this card. I wanted some military inspiration so I headed to Pinterest and typed in Military aesthetic. Up popped a gorgeous uniform all decked out with sashes and pins, and beautiful belts with gold accents! Bingo....a wealth of inspiration and lots of design possibilities using the featured products for today!

I got to work embossing, and die cutting and stamping and I just couldn't resist showing it to my daughter who had entered the room! I told her my inspiration was a beautiful uniform and I quickly showed her! Her face crumpled up and said," Mom....what COUNTRY is that uniform from?"....I scrolled down a bit to read the description.....RUSSIA!!!! I just about died! LOL! I quickly searched for AMERICAN dress uniform and with a few touches of blue and heat embossing on blue, it took a more patriotic turn! ha ha!

Surprisingly, the American uniforms aren't much different and I really like how this turned out! I was especially excited to see how well the Corner Decor worked for this military inspired design!

The Our Heroes stamp set comes with some fun sentiments, different badges, stars, etc. I think it is going to be a great addition to my patriotic stamps/dies!


My second card for today uses the new Footlocker Die; I also paired it with some of the stamped images from Our Heroes and the previously released United States of America Die die.

This die collection comes with A LOT of pieces, so I took an organized approach and die cut all of the pieces for each individual element, glued it together and set it aside. I placed the dies back in their storage pocket as I used them to keep things tidy.

I love the cute boots; they remind me of some boots I had for my Ken doll growing up! ha ha! They're so cute in miniature form, don't you think?

I used silver specialty paper for the dog tags for realism. This was a fun card to put together! Thanks for fluttering by!