Sunday, October 16, 2022

Papertrey Ink October Release Countdown Day 1

Thanks for joining me today for day 1 of the Papertrey Ink October release countdown! I think you're really going to love this release! I've been having a lot of fun working on all kinds of Christmas cards and projects! My first card for today uses the fabulous new Rustic Wood Star die collection! I'm absolutely in love with this new die set because it's easy to use but yields amazing results; my kind of set! You'll be able to whip up Christmas cards in a jiff and be happy with the results!
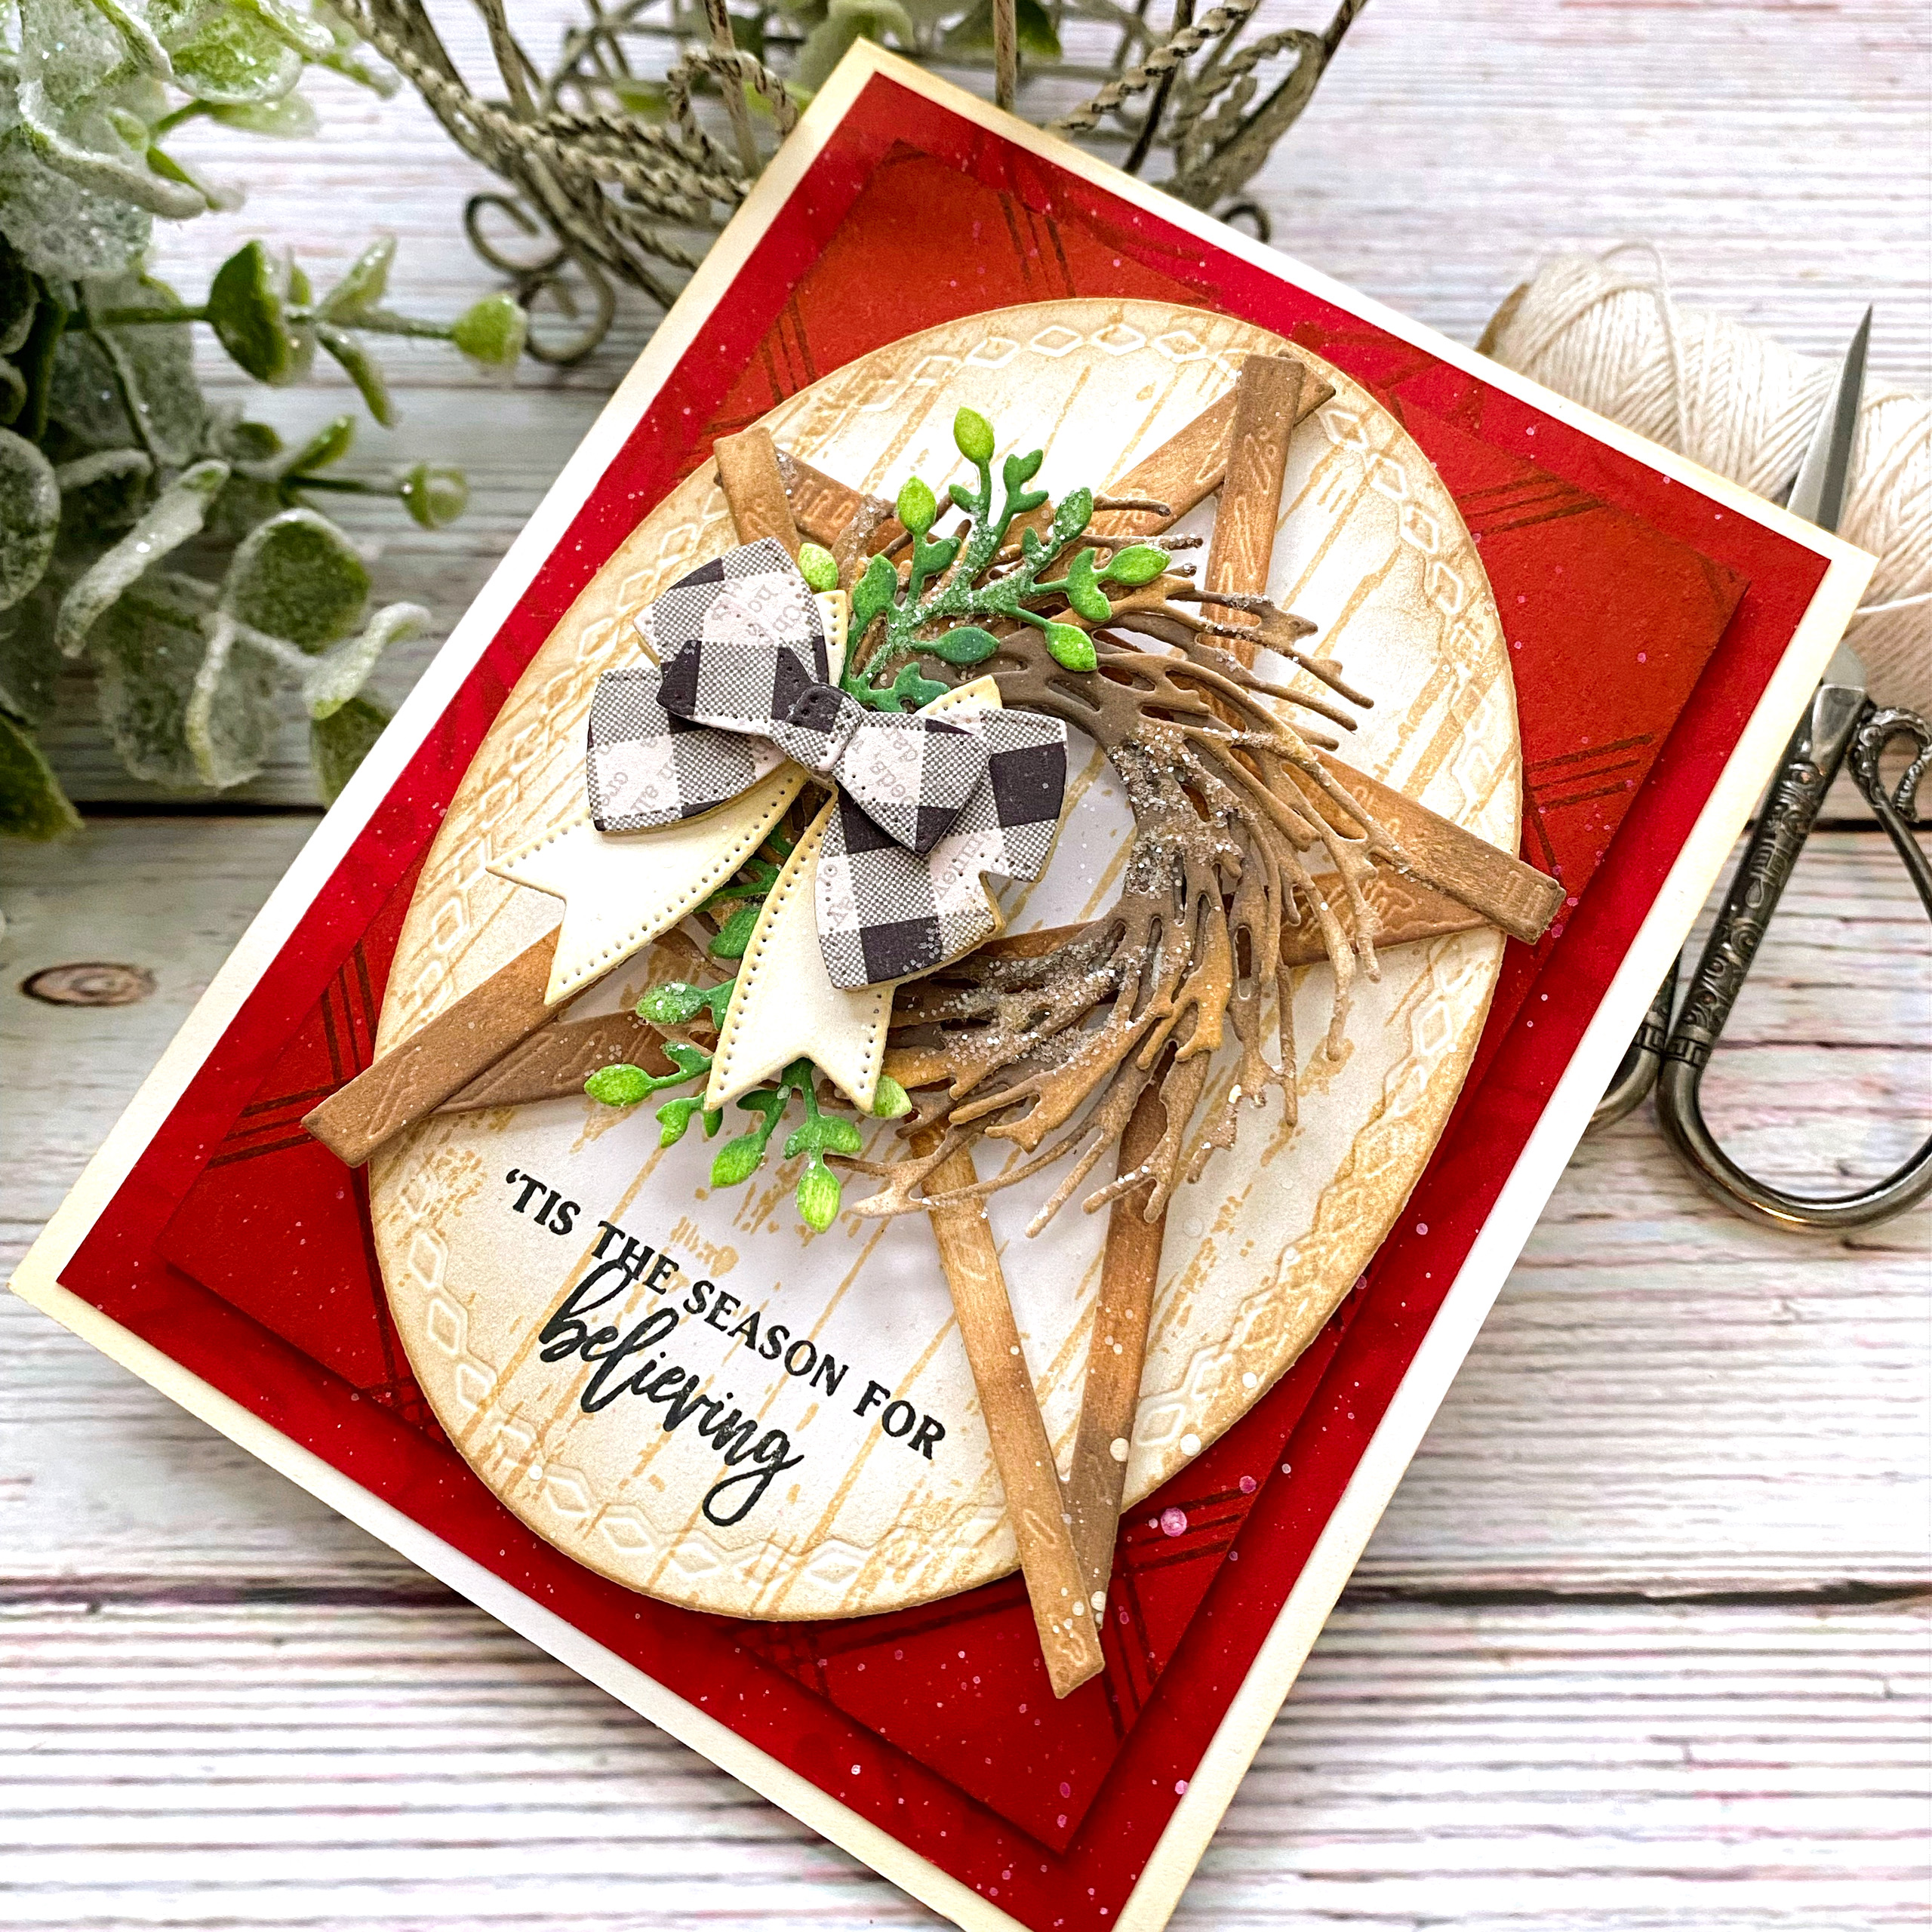
To begin, I die cut all of the Rustic Wood Star pieces from white cardstock and then colored them with Distress Oxide inks. The only exception to this is the top pieces of the bow, which I die cut from pattern paper. the bottom portion IS die cut from white with ink around the edges.

Once I had the star components all ready to go, I got to work on the background! I die cut an oval of white cardstock using the largest in the Love to Layer: Ovals die collection. I stamped it using the Weathered Wood Background stamp using Antique Linen Distress Oxide ink. I also added some ink around the edges of the oval.

I stamped the sentiment, which is from the new Just Sentiments: Believe stamp set, in black on the bottom of the oval. Once that was done, I was able to add the Rustic Wood Star pieces. 
I used the new Holiday Berries stencil set for the largest background; stenciling it in Scarlet Jewel ink onto Pure Poppy cardstock. I also stamped a panel using the Nifty Plaid Background stamp using Scarlet Jewel ink on Pure Poppy carstock.

I layered them all up on a top folding A2 white card base with additional Antique Linen ink around the corners of the base.

I added some white acrylic paint splatter over the top and some glitter to the wreath and greenery! To be honest, I just wanted to keep playing with these dies to create even more possibilities, but needed to move on! ha ha!

Once I finally did move on, I was equally smitten with the new Sweet Stockings stamp/die set; it has just the style that I absolutely adore! To begin, I stamped A BUNCH of stockings, and the rest of the cute things to tuck inside the stockings! My first card idea did NOT work out, and it required a lot of stockings, but I'm thrilled with this sweet trio that made it onto this card!

Isn't that gingerbread boy just the cutest? I'm in love! The stockings come with quite a few different design options so you can mix and match them as you'd like!

I used the Holiday Berries Stencil for this card as well; please note that I used the border stencil for the first card and this card uses the all-over pattern, but I believe they will be sold as a set you'll get both with your purchase.

As I was playing around with different design options for my first card, I ended up stamping this black and white plaid panel, which ended up looking perfect behind these cute stockings to make them pop.

This particular sentiment is also from the new Just Sentiments: Believe stamp set; I just love it!

The finishing touch is the big bow from the new Rustic Wood Star die set and some glitter (of course)! I hope you've enjoyed day 1 and don't forget to join me tomorrow for day 2 of the countdown! Thanks for fluttering by!


Tuesday, October 11, 2022

A Pair of Autumn cards

I created a couple of cards a few weeks ago for Papertrey Ink and posted them to Instagram, but also thought I should write up a blog post for those of you who like the "how-to" on how I put them together! I must have been on a yellow kick the week I made them!
To begin this card, I die cut all of the pieces for the pumpkins using the Into the Blooms: Pumpkins Die from white cardstock. I used Distress Oxide inks to color the pieces; I was going for a white pumpkin look!

I also had a Sunflower left over from my second card I'm sharing today, so I added that to my pair of pumpkins. I used the Nifty Plaid background stamp to add the plaid pattern to the black oval using Fresh Snow ink. This was the perfect anchor for the pumpkins, Sunflower, and leaves. I layered it onto a 4 by 5 1/4 inch piece of Lemon Tart cardstock layered on a top folding A2 card base. Once that was done, I added some black paint splatter over the top.

I used the fabulous Perfect Pairs: Commodities Stamp Set for the sentiment; one of my favorites for this time of year! I stamped the "blessed" portion in black and then heat embossed the "to have you in my life" portion using white powder on a black strip of cardstock. I added a few sequins to finish it off!

I had every intention of using that larger sunflower on this card, but scale-wise, I just couldn't make it work! In the end, I was glad I had it to use on my first card! To begin this card, I die cut the flowers, stems, and leaves and colored them exactly like I did for the first card (obviously)! ha ha! I also die cut the super cute Mini Picket Fence from white cardstock as well as the Grassy Edge . I hadn't planned where I was going to put the sentiment when I set out, so in hindsight, I would have made the grass border a little bit bigger! ha ha!

Thank heavens is was JUST the right size for one of my favorite sentiments; it's included in the Just Sentiments: Spooky Mini Stamp set. I'm pretty sure it was meant to be used with pumpkins, it works nicely for flower patches, too!

The background was created by stamping the Wood Plank background stamp using Soft Stone ink on Soft Stone cardstock for a subtle, tone-on-tone look! I added the flowers, the fence and the grass using foam squares. I layered it up onto a panel of Chicken Scratch Gingham pattern paper for a country feel!


The finishing touch is a tiny tag from the Tag It Minis die with a tiny stamp from the Just Sentiments: To & From Essentials stamp set. Both of these cards were such fun to create! Thanks for fluttering by!


Friday, October 7, 2022

The Greetery {A Song of Christmas Collection} Release Day

I'm back again with a little something extra on release day for the A Song of Christmas release from The Greetery! My mind is still reeling with ideas; one idea that I've been wanting to try is to have the doves "pulling" the ribbon sentiment! It seems like every vintage Disney movie has birds pulling ribbons or tying bows, and this is my nod to that! ha ha! 


I think I mentioned the other day that I had one Jumbo Curiosity Ornaments leftover; it was just sitting there begging to be used! To begin, I die cut the "Peace" word using the Written in Ribbons Holiday Die and then stamped it using the Written in Ribbons Holiday Stamp set and Aqua Mist ink. I have the original Aqua Mist ink as well as the newer formula, so they work perfectly together for the light and dark look of the ribbons.

I die cut the Mistletoe Arches and then used the coordinating stencils to add the color. I also inked up the little leaf bits so that I could add them here and there around the frame to give it some added detail and dimension. I layered the arch over an A2 panel of Pure Poppy cardstock using double-thick foam tape and then splattered some white acrylic paint to give it a snowy look. Once that was done, I arranged the "Let There Be" portion of the sentiment, which is heat embossed in white onto a strip of red cardstock and then layered the Peace word at an angle below.

I die cut the smallest doves and added their detail images using Salvaged Patina Distress Oxide ink. I added them to the beginning and end of the Peace word using mini foam squares. The ornament is added using additional foam squares. 

I added tiny dots to the centers of the berries on the arch (I noticed Betsy did this on her cards and it just really gives the arch that "finished" look) I think I'm going to go back and add dots to ALL of my cards using the arch! ha ha! I finished it off with some glitter and attached it to a top folding card base! Thanks for fluttering by!


Thursday, October 6, 2022

The Greetery A Song of Christmas Reveal Day 3 {We Wish You A Merry Christmas...Now Bring Us Some Figgy Pudding}

Well friends, it's day 3 of full reveals for the A Song of Christmas collection from The Greetery and boy, have we been "cooking up some Christmas cheer"! I'm so excited to share my projects with you today, but first, make sure to head to The Greetery Blog for the official "meet and greet" for each of the new products! Also, leave a comment here and on each designers' blog to be eligible for a chance to win one of 2 $50 gift certificates to the shop!

All of the new products will be available for purchase tomorrow, October 7th at 10 am ET in The Greetery Shop!


My first card for today uses some of the CUTEST new products that you're sure to fall in love with! I combined the new Christmas Pudding Die (the cute pudding on the right side of the card) and the adorable new Cooking Up Christmas stamp/stencil/die combo! This stamp set is just perfect for creating those cute "illustrated recipes" you've probably seen around! I'm showing a card made with that look in a minute!

I used a few of the cute images included in the Cooking Up Christmas set to accent the cute "figgy pudding" with the new Mistletoe Arches die/stencil that was showcased yesterday; I can't seem to stop using it! I layered it all up on a Pure Poppy card base stamped with the Windowpane Plaid background. Lots of glitter and a stamped sentiment from the Cooking Up Christmas stamp set finish off this fun design!

This card was created by using the Cooking Up Christmas stencils, which lay the card out for you like this, to create the cutest *almost*one layer card. Aren't the sayings around the design elements so cute? I had a few diecut/stenciled pieces leftover from my previous card so I popped them over the top with foam squares to give it a bit more dimension! You know me....cards without layers are HARD for me!

This photo also features the MOST adorable thing from the entire release: the Figgy Pudding Box and Bow Topper! Oh my....so cute and SO easy to put together with a few tips I will share with you!

To begin, you will need to cut 2 of the main box piece, two of the frosting top, two bows, and 6 of the cake detail pieces. The die collection comes with two of these, so you can get them all cut with three passes in your die cut machine. At first these little pieces were stumping me, but after fiddling, I figured it out! ha ha!

I die cut everything from white cardstock #1 it's easy to run it through your machine as quickly as possible without having to change out colors and dies. #2 coloring with Distress Oxide inks and finger daubers makes me feel like I'm an artist! ha ha!
Before I move on, I want to point out how nicely this cute pudding looks layered on the Cake Pops Stand. I also placed it on top of a red circle that was die cut using the Crimped Circles Die

I suggest assembling the icing portion with CLEAN hands; mine were still a bit inky and I got some ink on the inside of the top while I was gluing it together...woops! I used a bone folder to make all of the score lines nice and crisp before assembling so that it would go together easier.

You can glue two of the bow toppers together, put it in the hole at the top of the icing portion and then flare it out and secure it to the top with glue or tape. 


The die collection includes the cute holly that you can see right on top of the box lid, but Betsy is also offering the CUTEST Holly Topper Embellishments! They look just like fondant frosting decorations, don't you think? I also added a sweet tag saying "with Love" that is die cut using the and stamped using the cute sentiment from the Sketched Wildflower Bouquet Die Sketched Wildflower Bouquet stamp set. These boxes could hold about 6-8 Hershey Kisses candy, I'm guessing. Betsy might have more info on what it can hold on The Greetery blog.

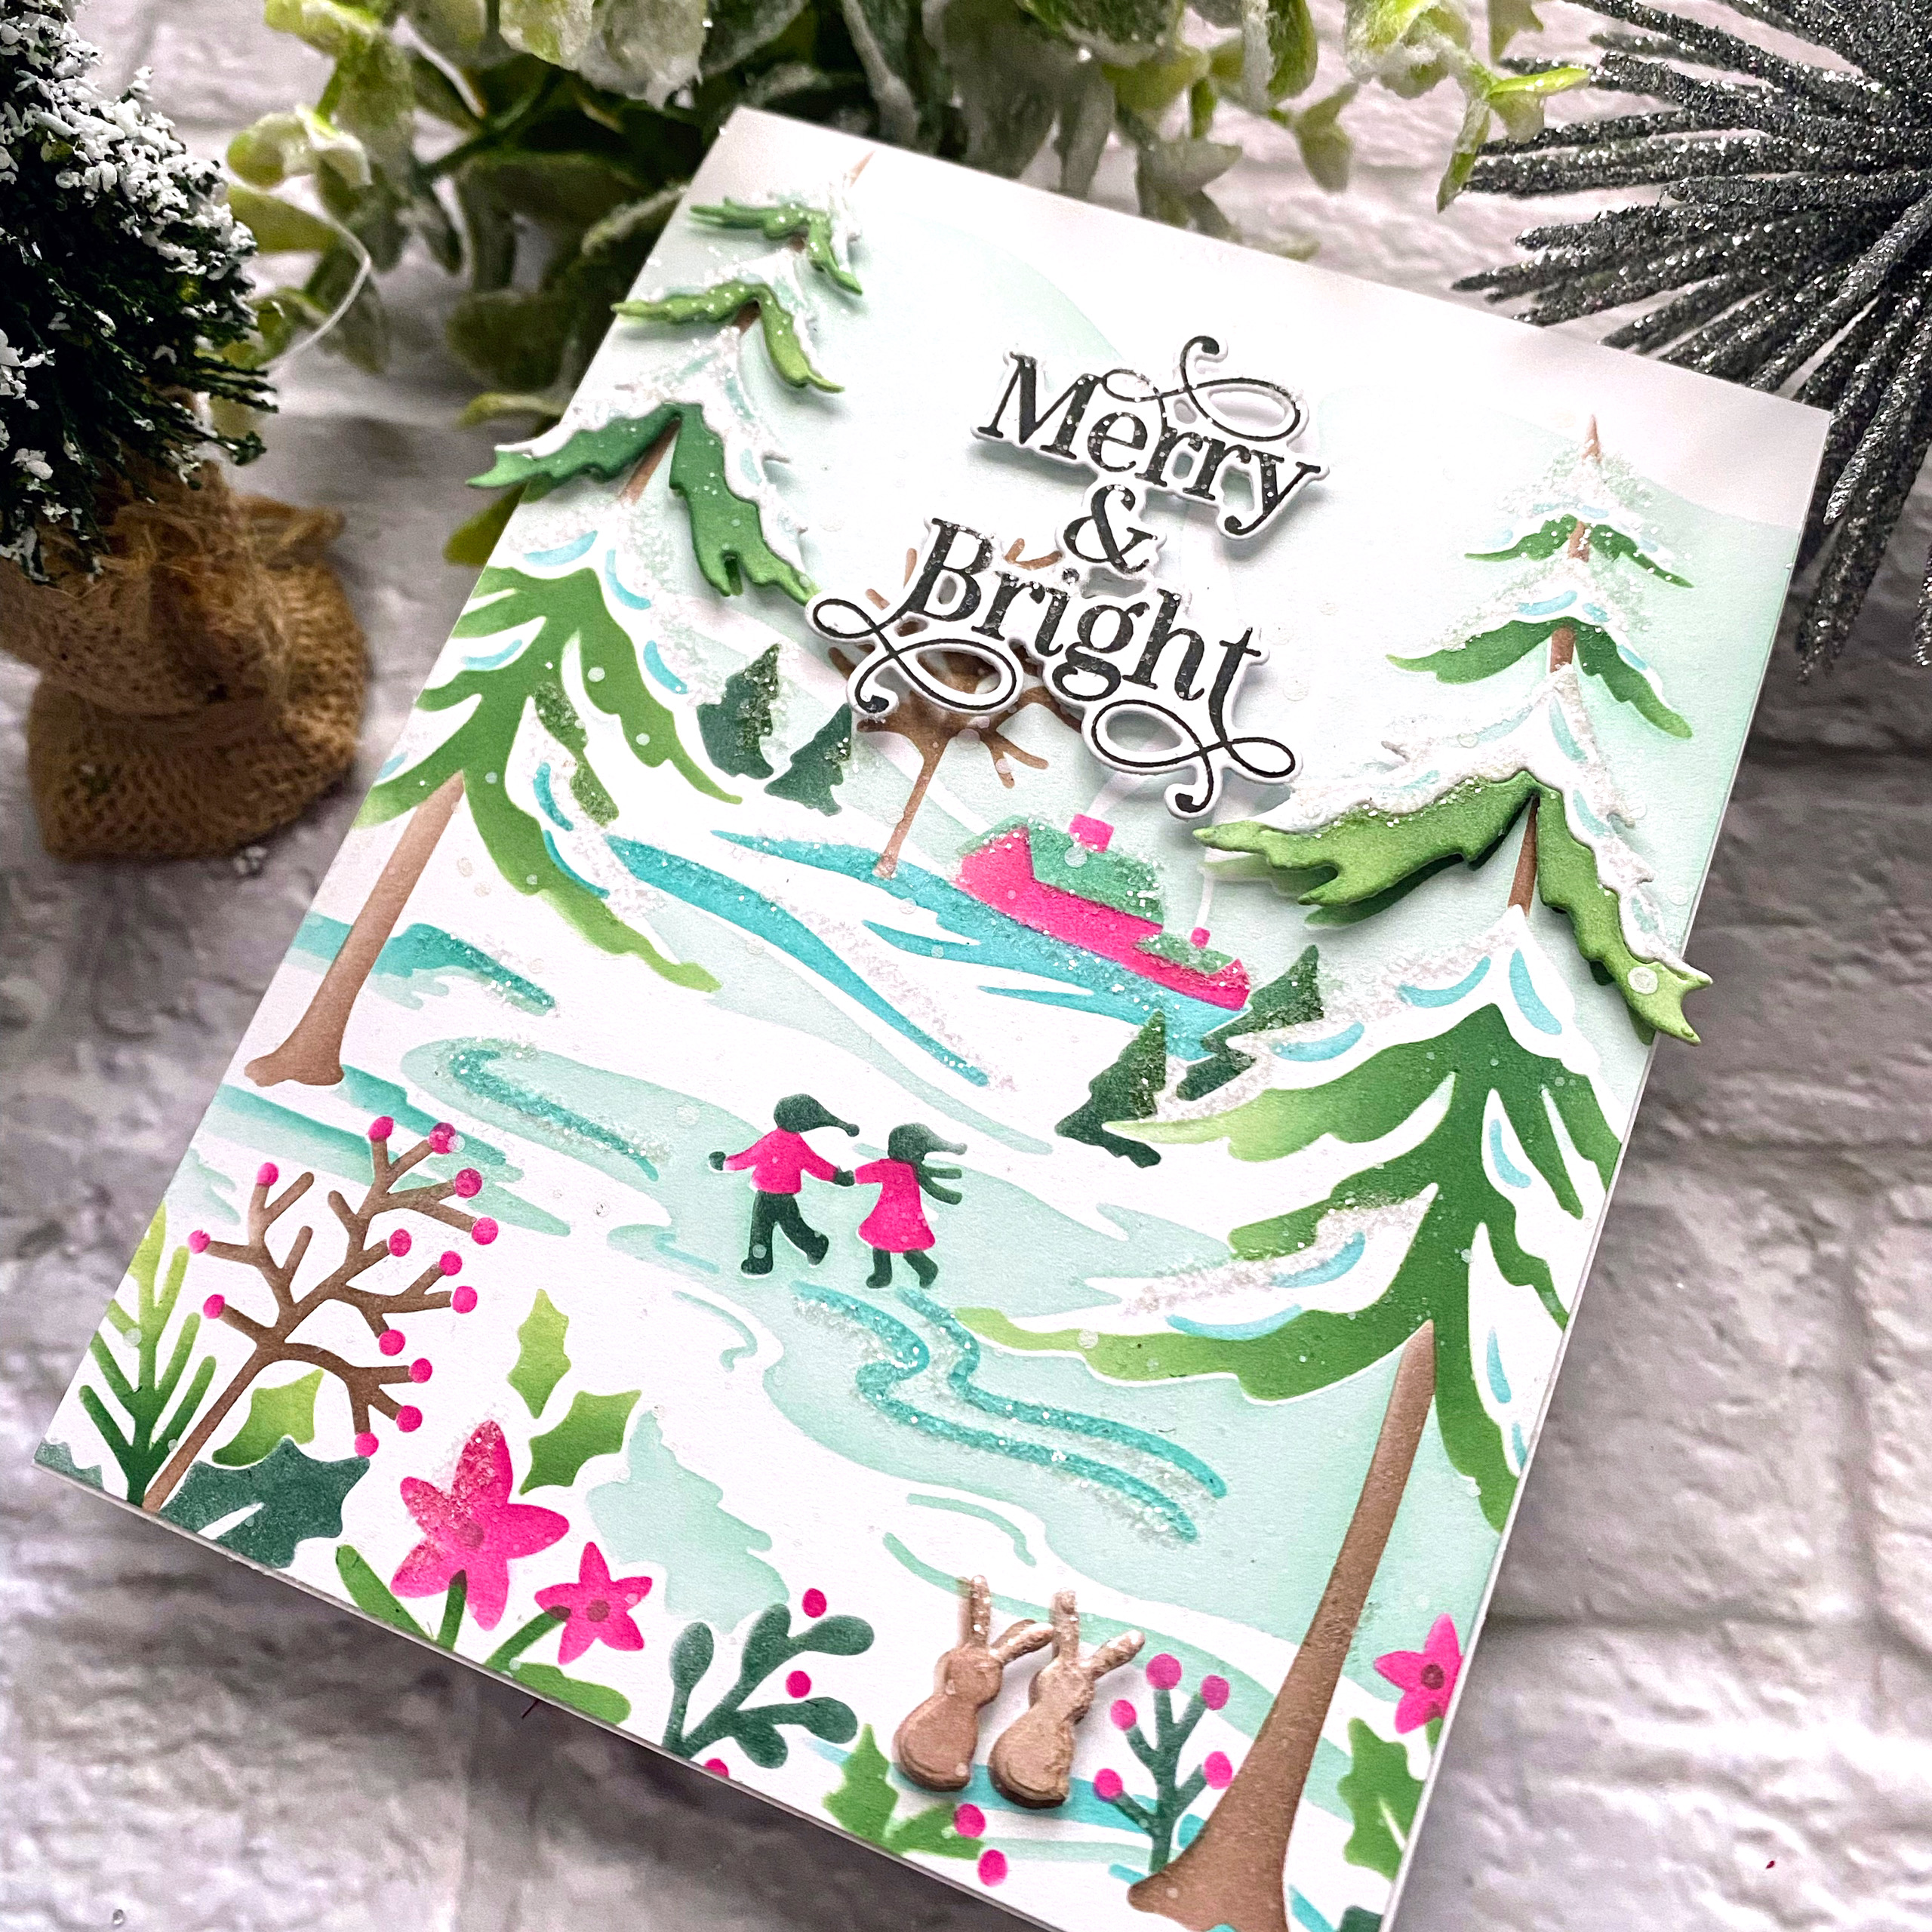
My last project for today uses the latest addition to the StencilScapes collection: Winter! I've also used the new Frosty Pines dies to give the trees a bit of dimension.

To begin, I simply cut an A2 sized panel and stenciled away; I picked colors on the cool spectrum for an icy look!

I chose the "Merry and Bright" sentiment from the new Arched Holiday sentiments that was showcased yesterday and popped it up with foam squares.


The Frosty Pines dies also include the two little bunnies in the lower right corner, so I inked those up and popped them up so they can admire the cute skating couple!

Well, this concludes today's post! I hope you've enjoyed the last three days of reveals! Thanks for fluttering by!


Wednesday, October 5, 2022

The Greetery A Song Of Christmas Reveal Day 2 {Deck the Halls!}

Welcome to day 2 of full reveals for the A Song of Christmas release from The Greetery! Wasn't yesterday such a treat? I enjoyed looking at each of the designers' beautiful creations! Today we'll begin with the new Mistletoe Arches die/stencil set, but first, make sure to head to The Greetery Blog for the official "meet and greet" for each of today's featured products! Also, leave a comment here and on each designers' blog for a chance to win one of two $50 gift certificates to the shop!

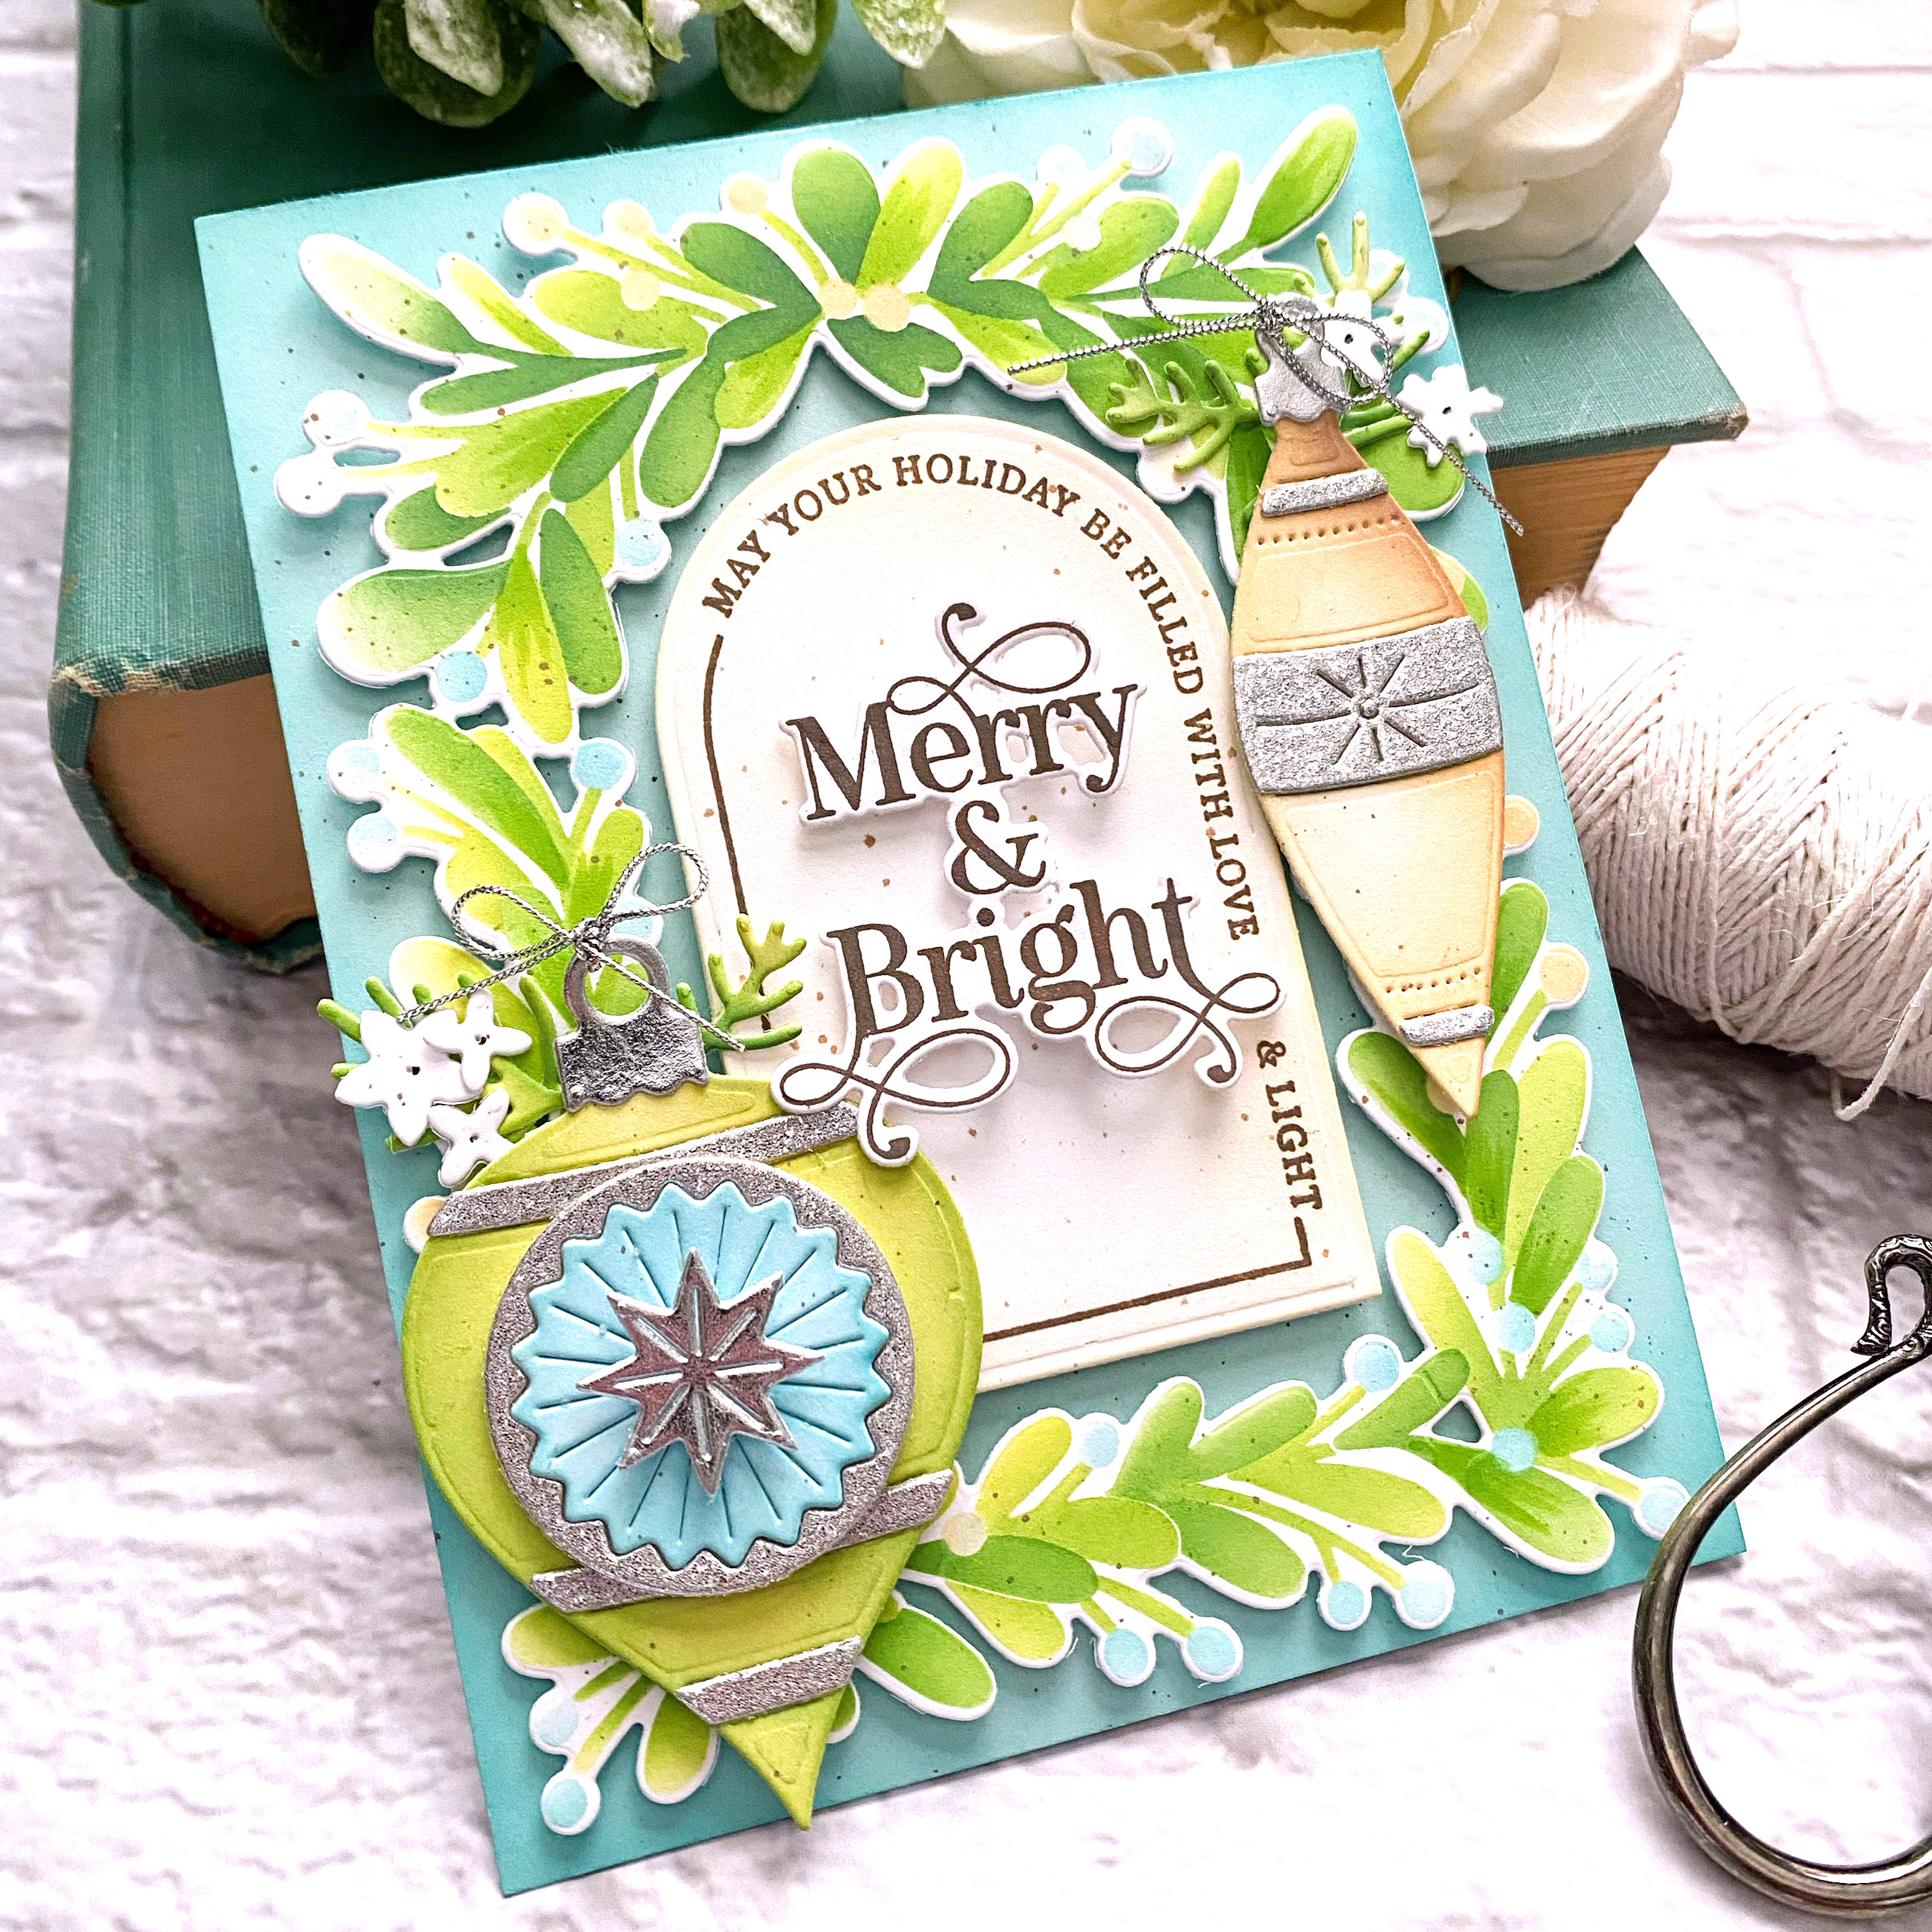
I decided to make two cards using the new Mistletoe Arches die/stencil set paired with the new Arched Holiday Stamp Set and coordinating die. I was thrilled when I saw that Betsy had come out with a holiday version of the arched set that was released back in July. I couldn't decided which one of the gorgeous sentiments to use, so I made two cards and even managed to use a third on my next project I'm sharing today.

I mentioned yesterday that I was going to showcase another dove from the Peaceful Dove stamp/die set and here she is in all her glory! She looks perfect paired with the Peace sentiment; this card all done in neutrals!

To begin both of these cards, I die cut the Mistletoe Arch from white cardstock and then used the stencil set to add the color. I used two colors of ink for both steps of the greenery; Twisted Citron and Mowed Lawn Distress Oxide ink for the first step and Mowed Lawn and Rustic Wilderness for the second step. I added some of the extra leaves and berries that are included in the die set to give it a bit of dimension. I also added some Nuvo Crystal Glaze to some of the berries for some shine and interest.

This one was colored with the same greens, but the berries are Festive Berries and Saltwater Taffy. You're finally seeing a bit of traditional Christmas from me! ha ha!  I die cut the arch using the previously released A2 Arches die and then used the new Arched Holiday Sentiments stamp set to stamp the "May your holiday be filled with Love & Light". I also die cut the "merry christmas"  portion of the sentiment and then stamped it using my mini MISTI.

You can add shading like I did here using the new A2 Arches stencils; this is especially useful if you're not making a layered card, but rather just stenciling the arch shape.  I tucked in some flowers and greenery that was showcased yesterday and is from the new Winter Medley Die. I also added some glitter here and there for some holiday sparkle!

As you can see, I'm loving the Mistletoe Arches and used it again for this card! This one features two of the new Jumbo Curiosity Ornament dies. There are three in the collection, and a beautiful bell that I didn't get a chance to use! I will remedy that soon! ha ha!

I had so much fun die cutting and coloring all the pieces for these two ornaments. I actually made a third ornament hoping to use it on this card, but design wise, I just couldn't make it work! 

I added some Winter Medley sprigs here and there (surprise)  and some silver cord to the holes at the top of the ornaments.

I opted to go with Ground Espresso Distress Oxide ink for the sentiments so that it wouldn't be too stark.

I had so much fun working on all of these cards for today! Thanks for fluttering by!