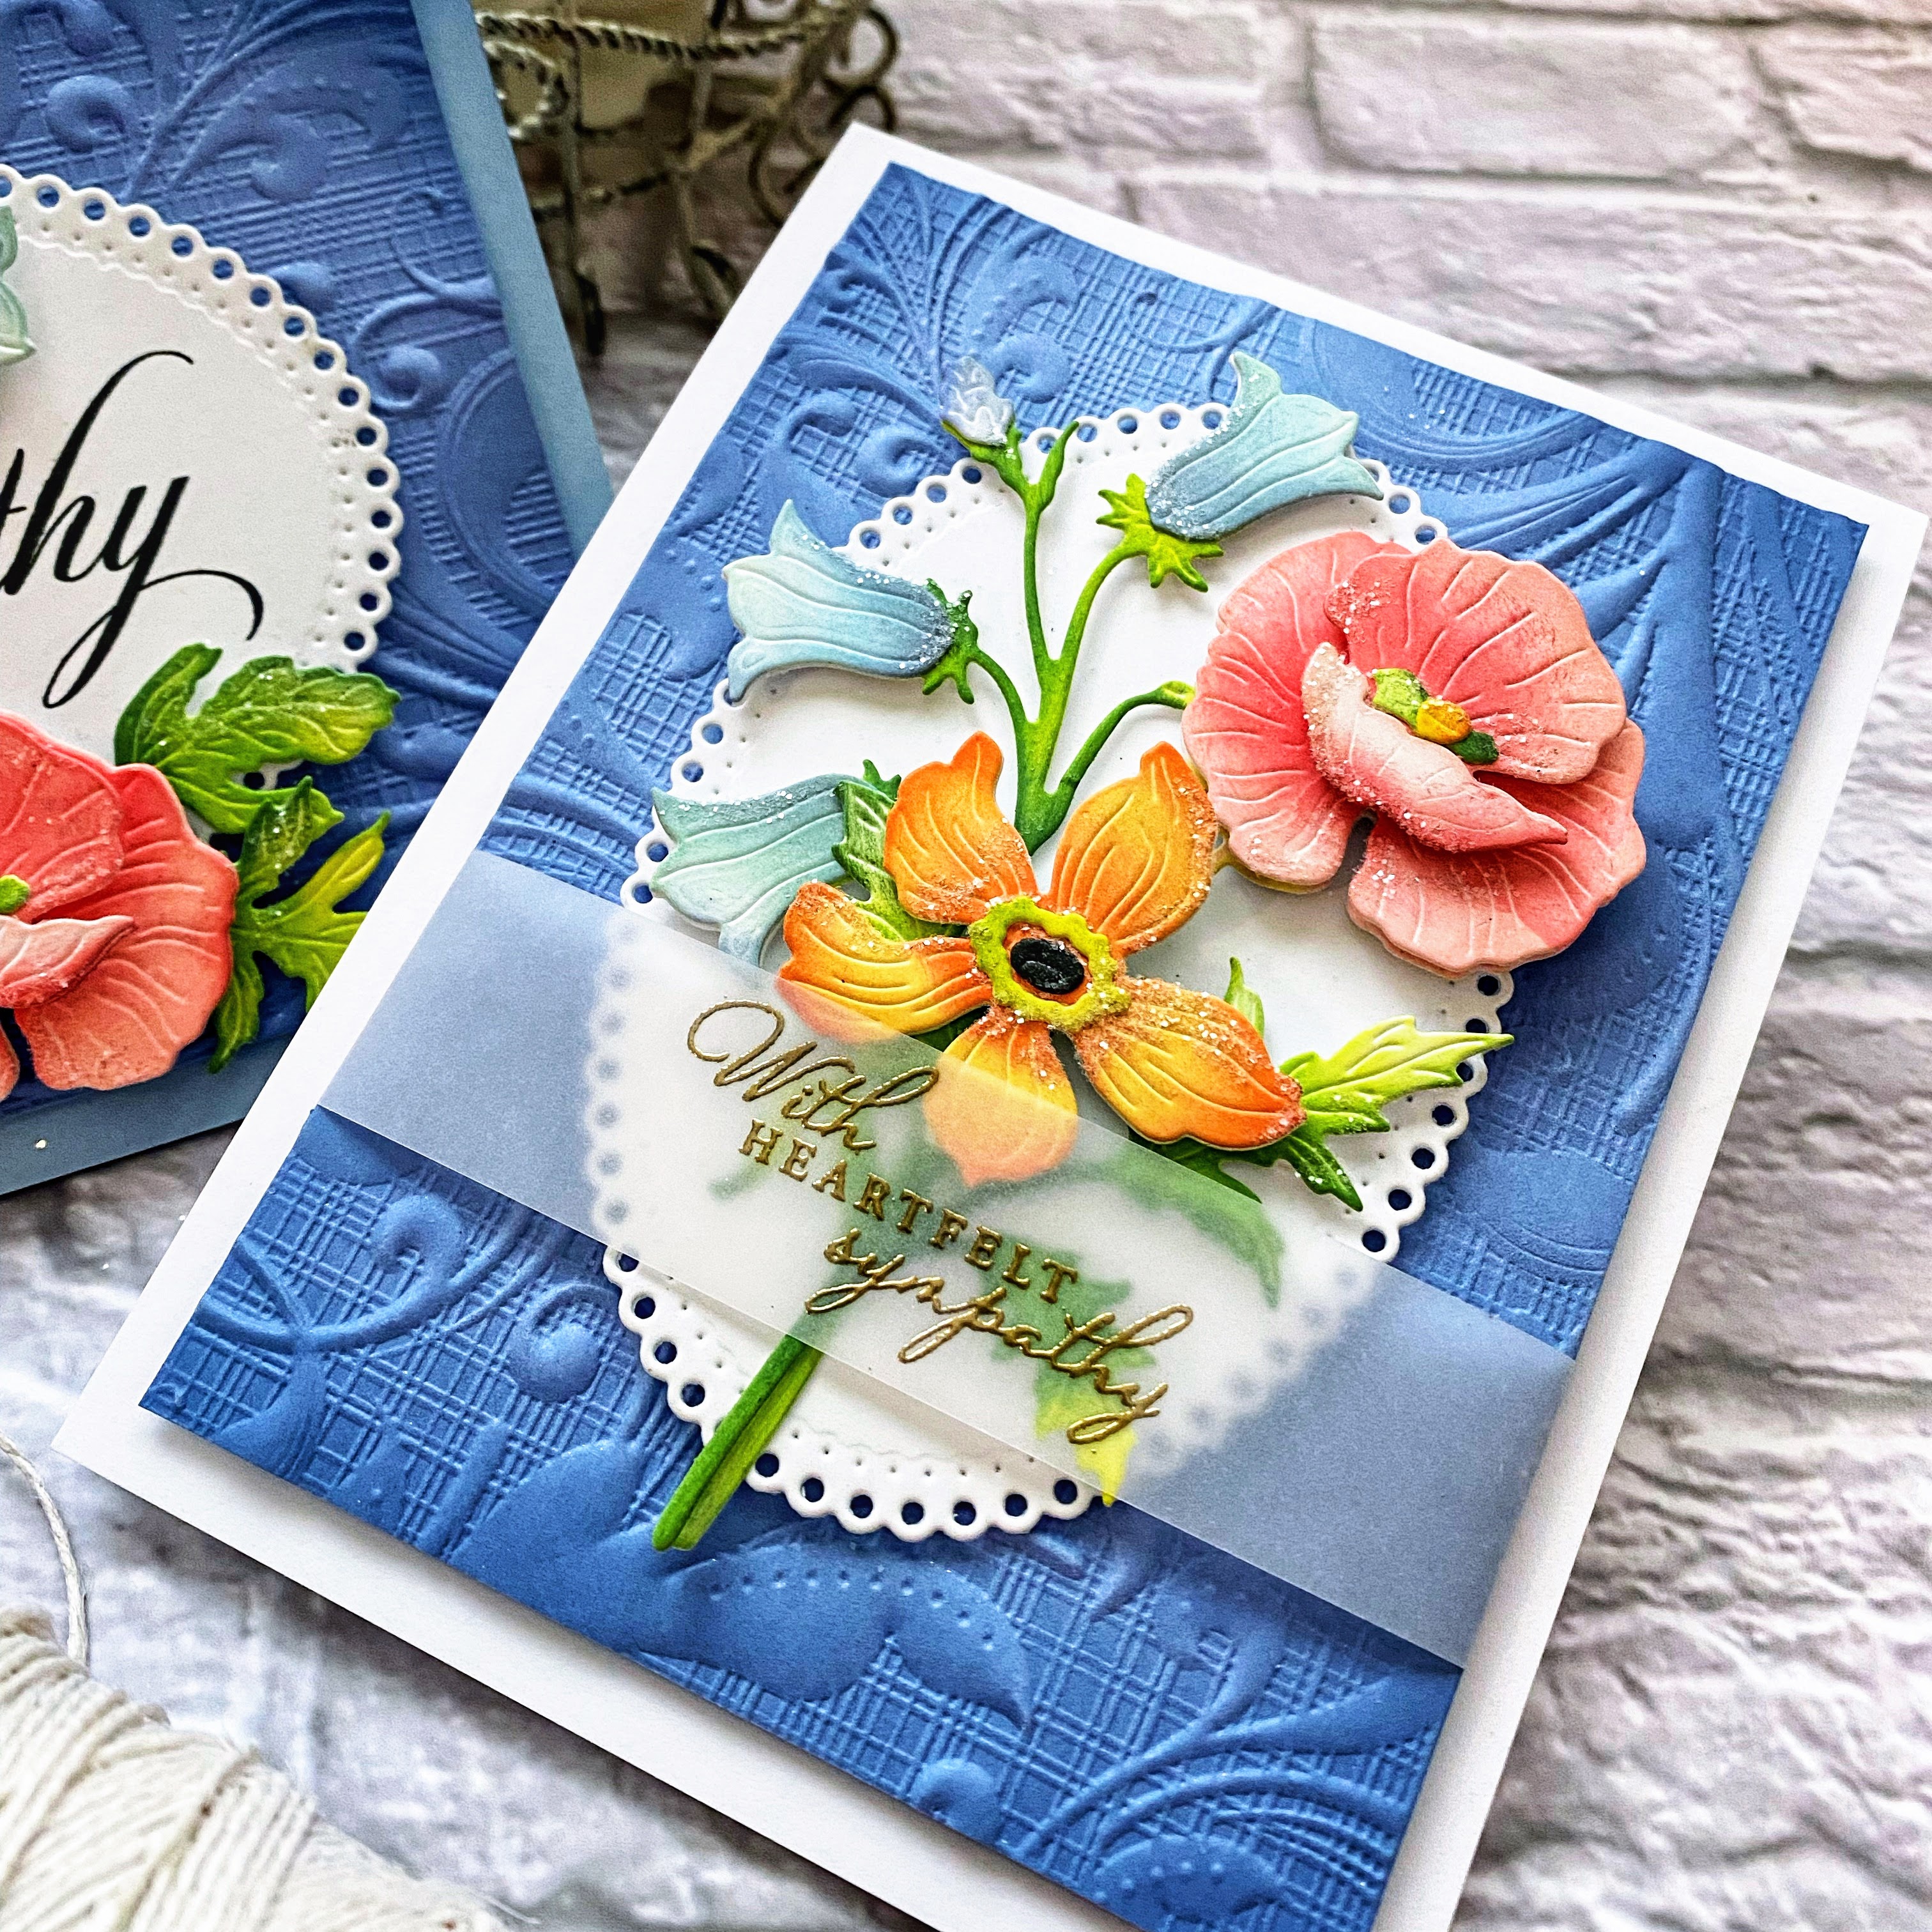
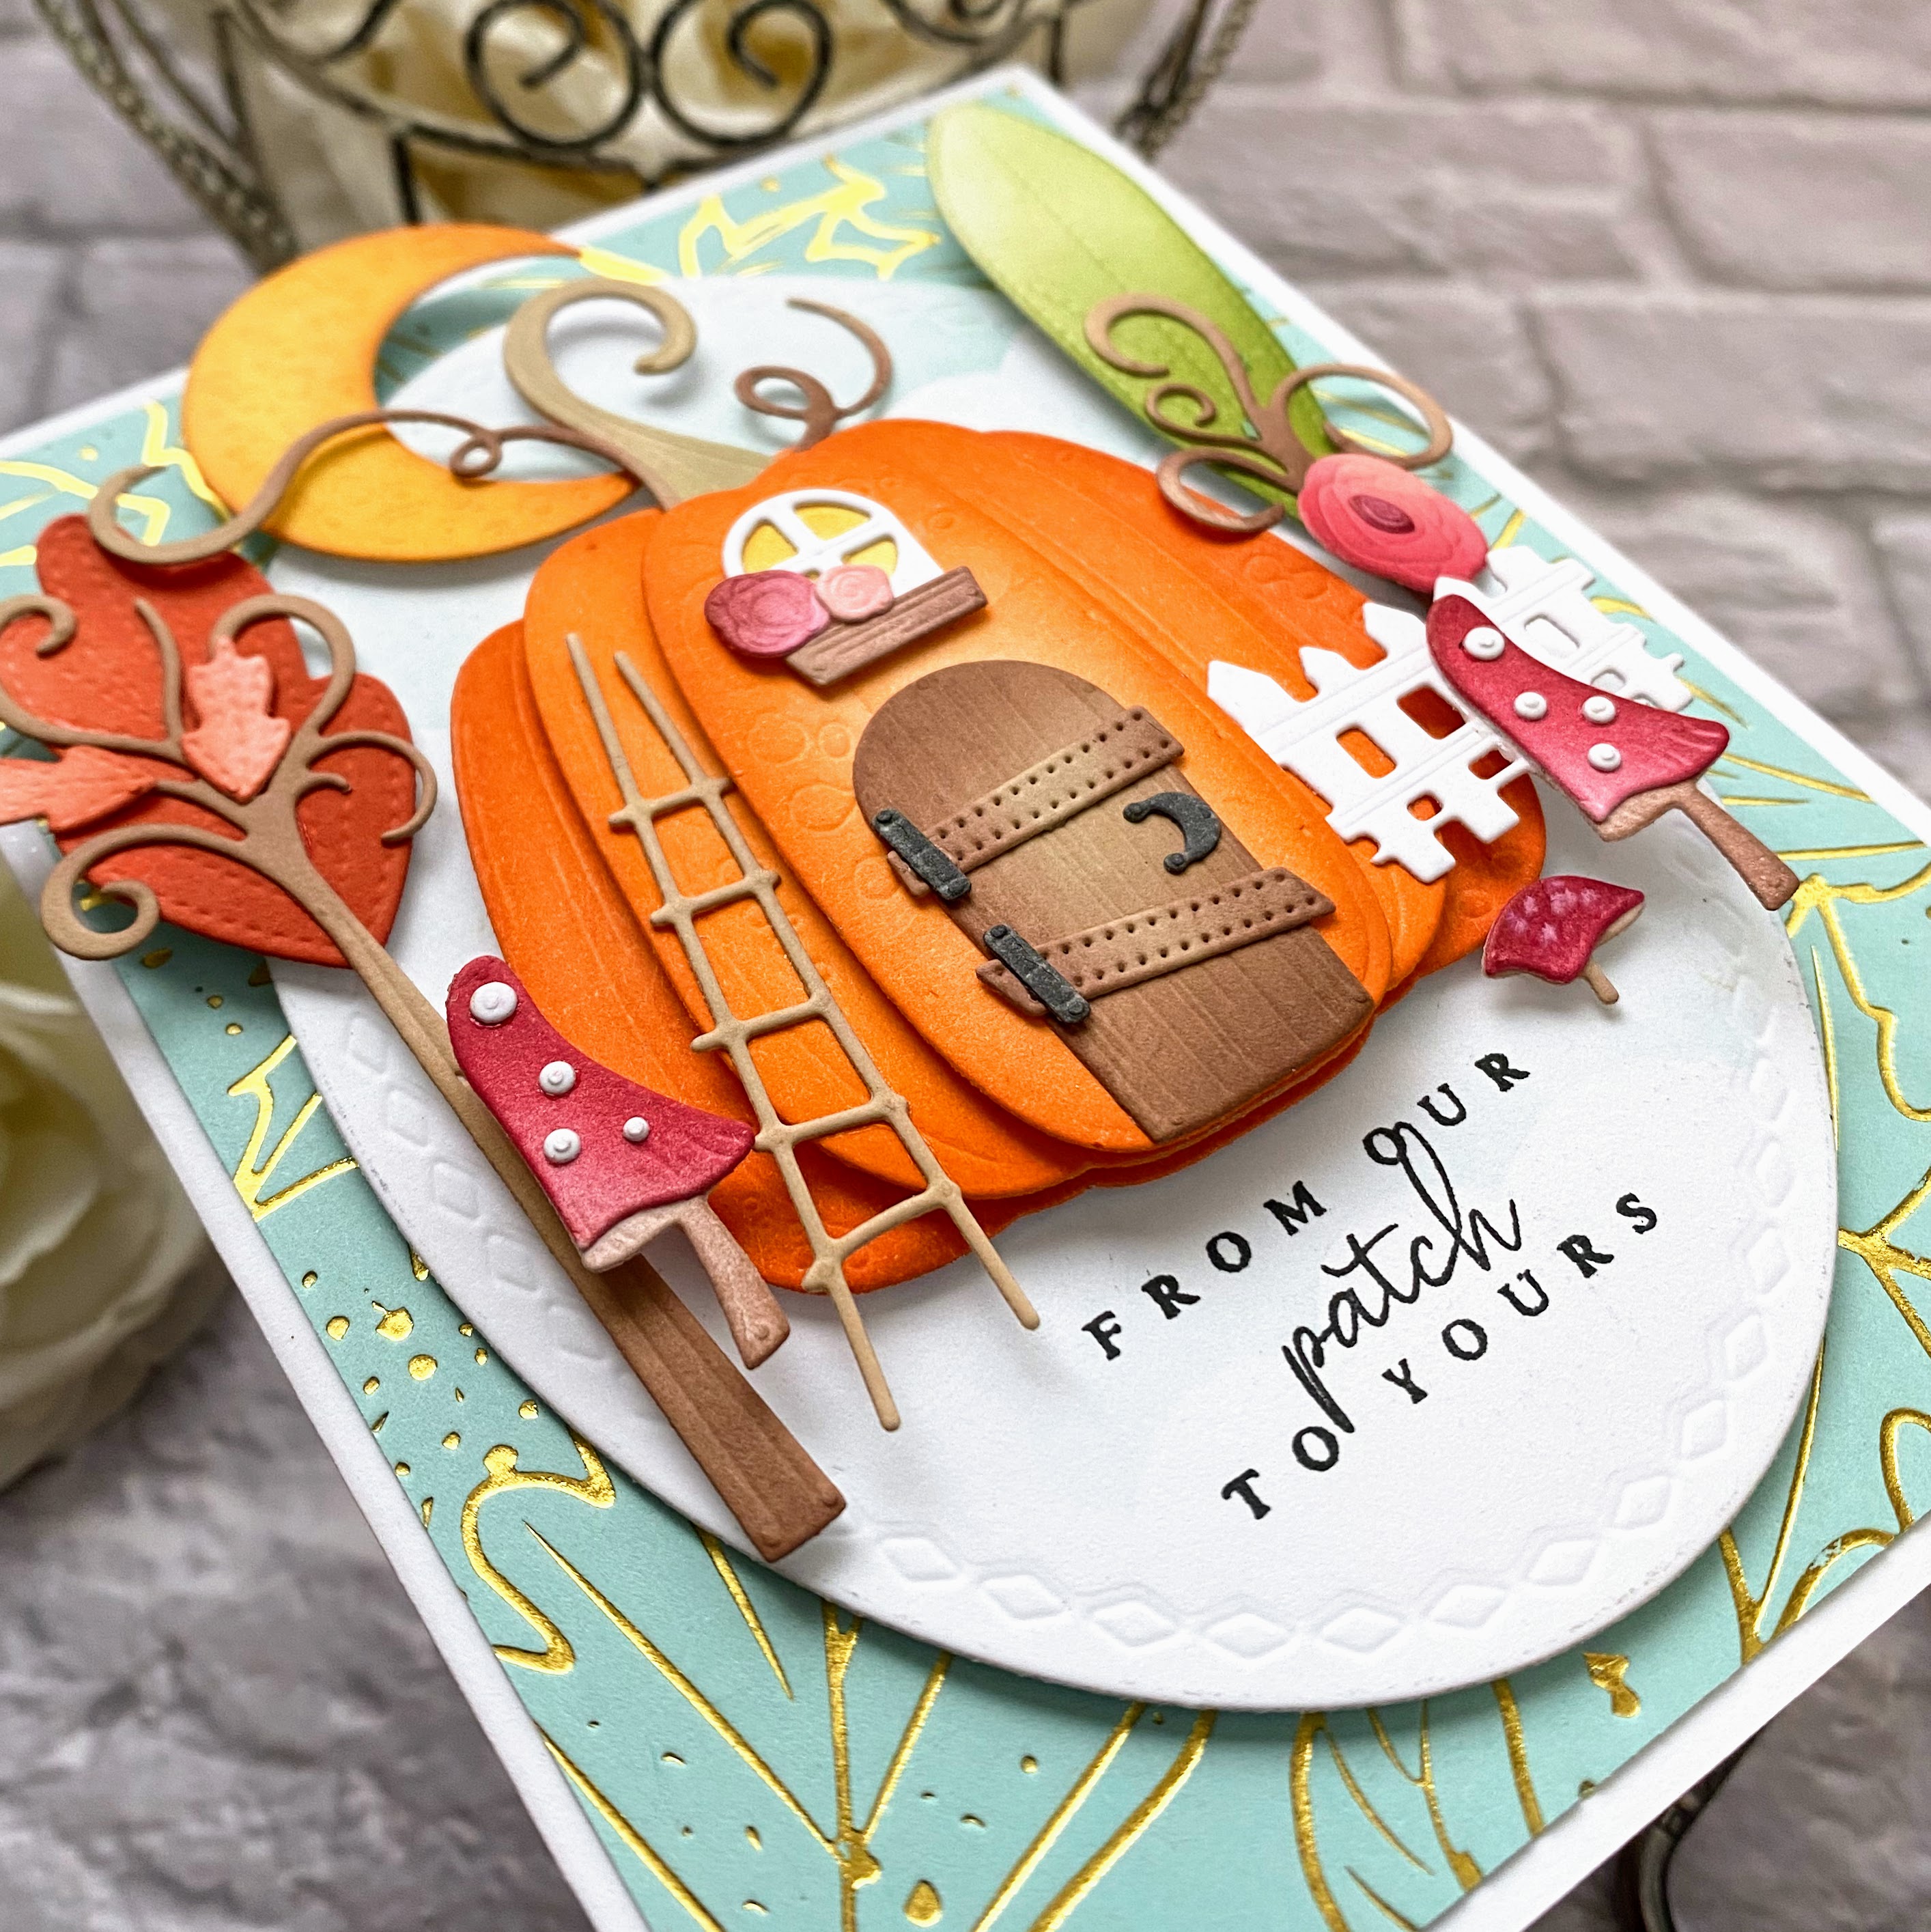
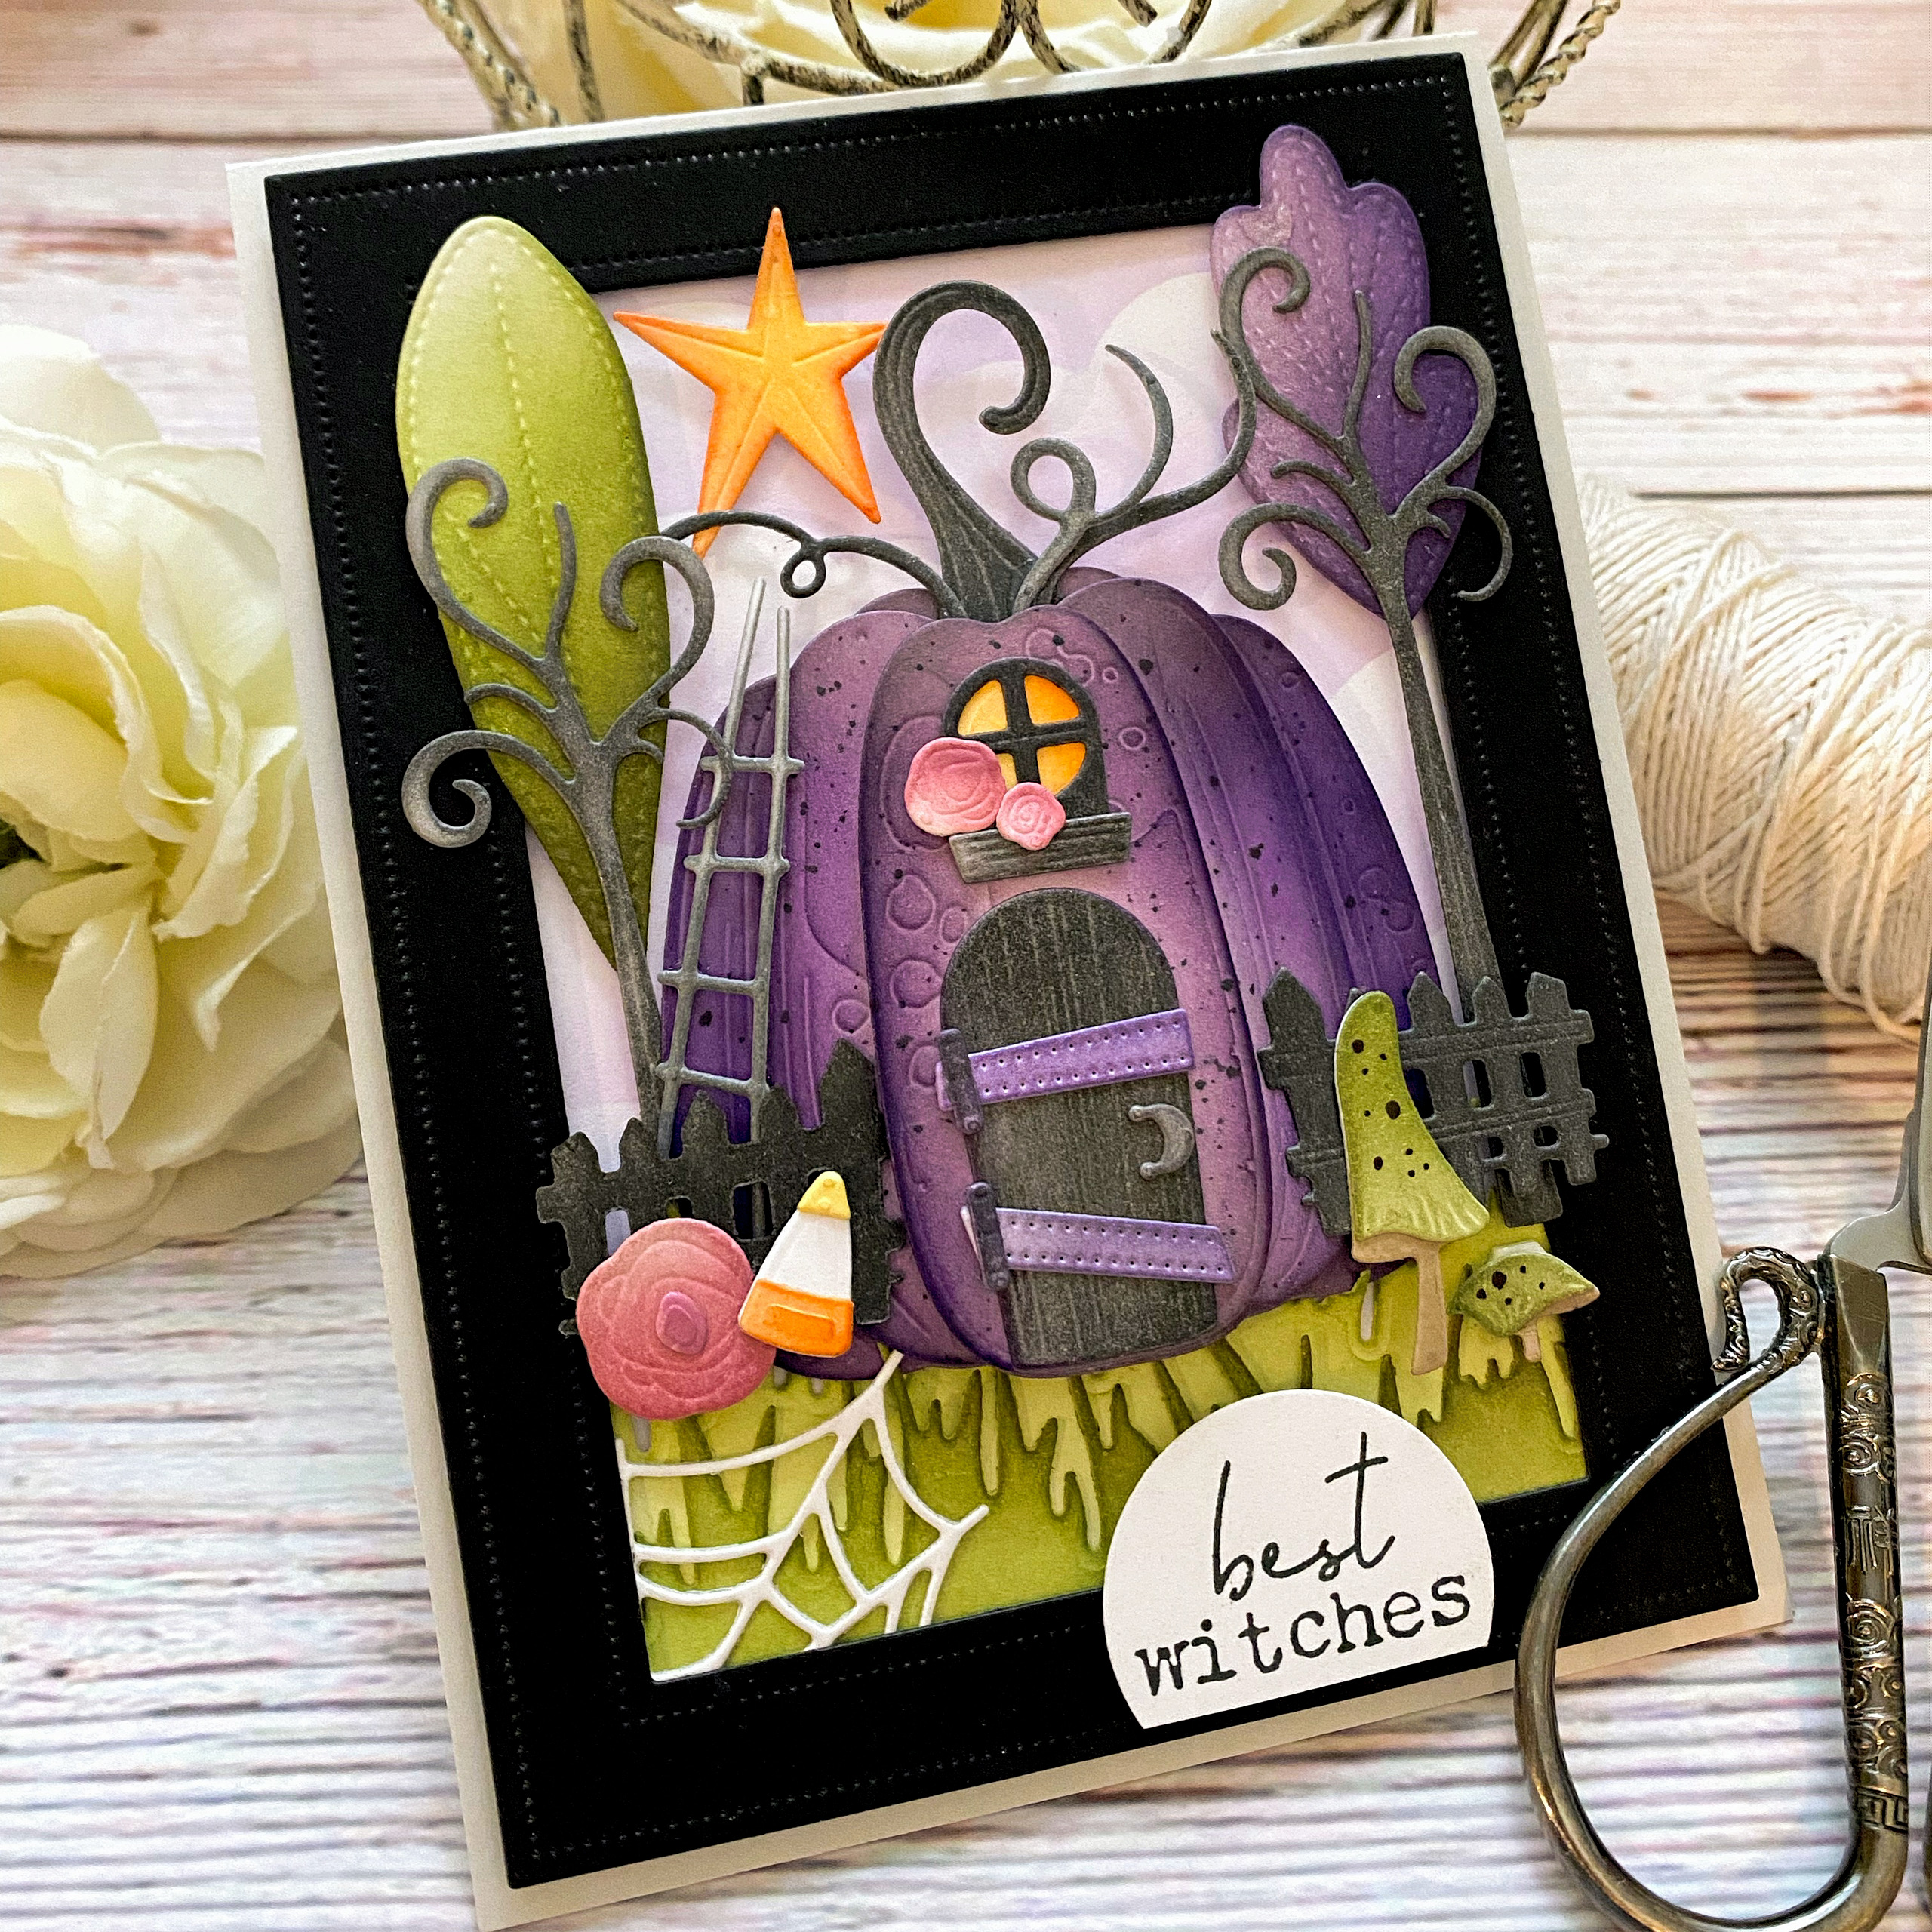
Hello and welcome to day 2 of the Calico Fields release from The Greetery! I'm so glad you liked the full reveals yesterday; isn't this such a lovely release? I was trying to keep autumn at arm's length, but I think I'm finally ready to embrace all the delights of the season! It's hard to resist when you're creating with such amazing and beautiful new products! I wouldn't mind being transported to this idyllic autumnal scene!
Don't forget to to head to The Greetery Blog for the official 'meet and greet'! Make sure to leave a comment here and on each designer's blogs for a chance to win one of two $50 gift certificates to The Greetery shop!

This card was created using the adorable new StencilScapes Autumn stencil collection paired with the new Thankful Heart stamp set and die. The stamp set includes the most beautiful new sentiments and all of the different scene building pieces to use in conjunction with the StencilScapes OR on their own; my next card features a few of them as accents!

I cut an A2 panel of Fresh Snow Linen Cardstock and then used the StencilScapes Autumn stencils to build the scene! I chose this particular paper to give the stenciled panel some texture and interest. With the quantity of stenciling that this card requires, I really wanted to give it a little something extra! I had someone ask me about the linen cardstock I used yesterday; it's the same type of cardstock, but I used the Vintage Cream Linen Cardstock instead!

Once I had the entire panel stenciled, I took a risk and die cut it using the new Patchwork die that was showcased yesterday! I had nothing to worry about because I absolutely LOVE the results! It gives the panel that homespun touch I was hoping for; full of texture and interest! Once I had that done, I die cut and stamped a few of the accent pieces from the Thankful Heart stamp/ die set so that I could pop them up for added dimension. The larger sentiment is also die cut and stamped and popped up, but the companion 'is a happy heart' sentiment is simply stamped directly onto the panel. A bit of glitter finishes up this simple, stenciled design!

This next scenic card is stepped up just a bit more by using die cuts and stencils to provide even more depth and dimension! This card features the new Rolling Hills die paired with the new Rolling Hills stencils. They pair perfectly to achieve the look of fields of anything you can imagine!

The houses and trees are die cut using the new Countryside die collection; I, unfortunately, received a defective die, so the DARLING windmill and picket fence couldn't be cut! I'm sure you'll see quite a few samples today featuring their pastoral charm!

Since my scene was a little 'lacking' (ha ha) I decided to use a half piece of the Leaves All Around on the bottom half of my pastures. It was the perfect place to nestle the two sentiments (also from the new Thankful Heart stamp/die set) and then I built the scene above the sentiments.

I die cut all of the houses and trees from white cardstock and then inked them up using sponge daubers and Distress Oxide inks. I also added a bit of color pencil detailing to give them a bit more realism.

As I mentioned earlier, I used a few of the images from the Thankful Heart stamp set to accent the sentiment for added harvest charm!

My third card for today and final project of full reveals features the amazing new Time for Gratitude! This stamp/die set pairs with the previously released Hourglass Frame Die and the Hourglass Insert Die.

This particular stamp/stencil/die set is SO easy to use! I felt a little embarrassed for myself as I tried to make things more complicated then they are! ha ha! To begin, I used the Time for Gratitude die and then stenciled the blue flowers. The stems and greenery are a separate stamp and they're easy to line up! From there, I simply stamped the sentiments in an ombre type fashion to give it some added interest. The tiny 'for' images is its own little stamp so you can change the color for added visual interest.

When I first got the Hourglass Insert die, I die cut a bunch of them with the dies still wired together! I knew I would have a hard time lining them back up once they were clipped, even though I know it can be done! ha ha! Anyway, this is just something that Laurie suggested to me to do, so I did! LOL! I die cut the larger of the two insert dies and blended some warm ink around the edge and then added the white outline die using liquid glue.

I simply added the stamped portion using foam squares for dimension and added the Hourglass frame around the edge! I was so smitten with the background I created for my Warm and Wonderful card yesterday so I decided to try it again with the hourglass! I kept this one a little bit lighter to keep the card bright and cheery! Oh, before I forget....you're probably wondering why the set is called Time for Gratitude when my card says Kindness! Well, that's because Betsy is a genius and made the two words interchangeable; the kindness or gratitude fit perfectly in that bottom spot!

There are a few little accent flowers that you can stamp, but I liked my card clean, which is surprising for me; I usually can't wait to tuck things here and there! ha ha! Well, this concludes my projects for day 2 and the collection will be live tomorrow in the shop at 10 am ET! Thanks for fluttering by!