Monday, July 18, 2022

Papertrey Ink July Release Countdown Day 2

Welcome to day 2 of the Papertrey Ink July release countdown! I'm sharing two cards, so my post is a little bit shorter than yesterday! ha ha! Up first is a card using the new Elegant Edges: Wispy Tree die; TBH....my card is giving me Teletubbie vibes, but I didn't realize it until I was editing photos! LOL! Or maybe a Hobbit hole? Maybe Teletubbies live in Hobbit Holes? LOL!

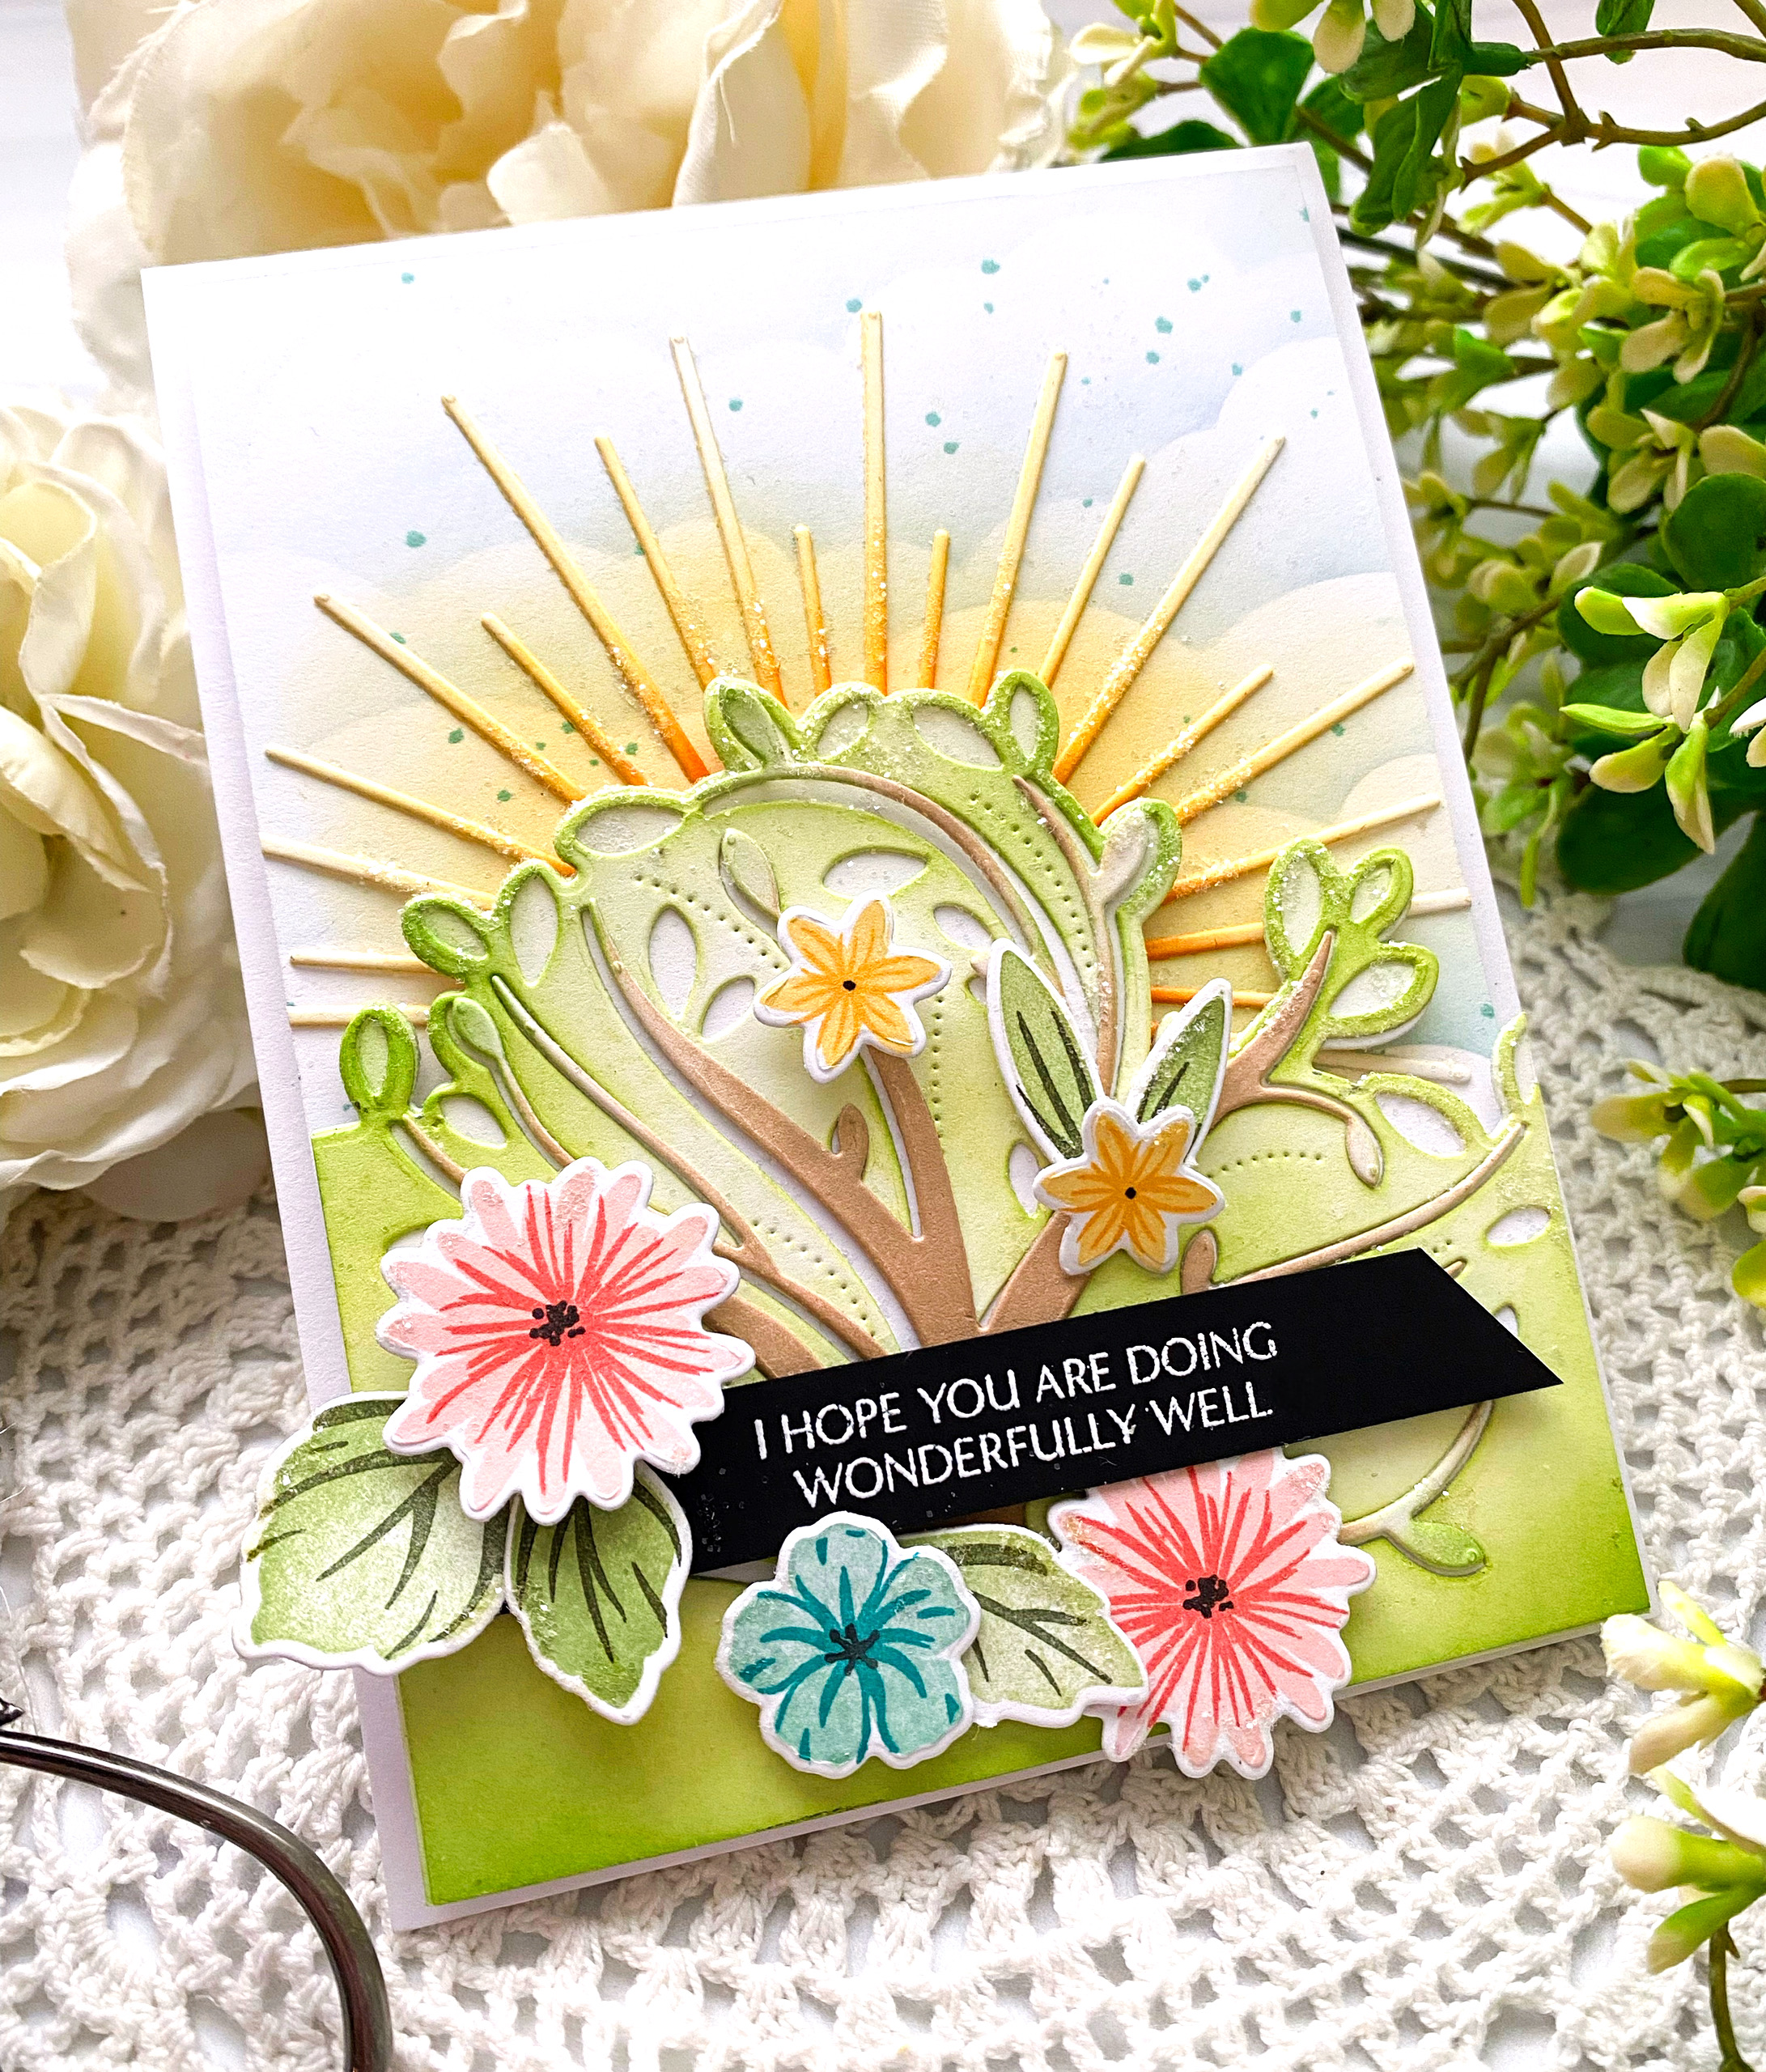
The Elegant Edges: Wispy Tree die is quite versatile; just like the others in the series. You can die cut the the tree from a solid piece, you can die cut the tree from a solid piece and then use the additional edge die, like I did on this card, OR you can just use the pieces that fall from the die. I actually chose to do some inlaid diecutting by adding in the largest portion of the tree once it was die cut. I added some ink and then glued it back into the negative space.

I thought it would be super cute to have the sun peeking up from the back of the tree so I die cut the On The Border: Sunburst Border Die and tucked it behind the tree panel. I used a cloud stencil for the background with some ink splatter and then layered everything up onto that. The sentiment is from the new Just Sentiments: You're on my Mind and is heat embossed in white. I added a few flowers and leaves from Posies and Sprigs stamp set for some added color and charm.

My  next card uses the new Cover Plate: Wispy Tree die; this will be such a fun one for autumn and Halloween cards! I've paired it with the new Eucalyptus Elegance stamp set; this one will be so fun to tuck in flower arrangements (I'm thinking Effortless Beauties)

My daughter said there is just too much green on this card, but that's the vibe I was going for; natural, green, earthy, simple.

This is another sentiment from the Just Sentiments: You're on my Mind and is stamped in black onto a strip of Weathervane cardstock.

I mentioned yesterday that I began this release with 4 sheets of white cardstock so I chose to use Rustic White cardstock for all of the die cutting and the background is watercolor paper with some ink blending and water spritzing. Join me tomorrow for day 3 of the release; it will be very colorful! Thanks for fluttering by!


Sunday, July 17, 2022

Papertrey Ink July Release Countdown Day 1

Hello and welcome to day 1 of the Papertrey Ink July release countdown!  I have a lot to share to today and I hope you're as excited about it all as I am! Up first is the latest addition to the Into the Bloom series; Orchids! The die set comes with everything you need to make both styles of stems and leaves as I've shown here, AND the cute pots! 

This card also features the new Love to Layer: Oval dies, which you will be seeing A LOT of today! ha ha! They are just too fun and such a nice change from all of the circles I normally use! There are three sizes with three different decorative edges to really add detail and interest to your cards!

The background for this card uses the new Weathered Tiles Stencils blended with Fresh Snow ink onto a panel of Smokey Shadow cardstock. This is the medium oval that I'm sharing on this card, but before my post is done, I will show you the smallest and largest of the ovals as well!

I'm giving you a sneak peek of one of the sentiments from the new Just Sentiments: You're On My Mind stamp set that will be showcased tomorrow. I love how this cute sentiment fits right between the two orchid stems.

I die cut all of the pieces for the orchids out of white cardstock and then colored them with blending brushes and ink. I also die cut the pots from gold specialty cardstock and glued the white pot with the gold pot together for a sturdy piece.

I added some of the Terra Texture to the tops of the pots and the bottom of the leaves to mimic the spanish moss that you sometimes see in orchid arrangements. I added glitter for some sparkle and shine.

If you read my blog post the other day then you most likely read about me lamenting the fall preview at Bath and Body Works yet here I am with a fall preview of my own! LOL! It was an assignment that I couldn't get out of! ha ha! That being said, I'm really loving the new Sprigs and Sprays: Fall stamp set that I've used on this card.

Don't they look so cute tucked inside the truck from the Patriot Die collection? I absolutely love how it turned out!

This card also features the Weathered Tiles stencils, but this time I used yellow ink on Fresh Snow Linen cardstock. I only had 4 pieces of white cardstock going into this release, so I had to get creative and use some of my lesser used papers. I actually love the way it looks with the stencils. It's funny because I was reaching for the linen cardstock so often, but it was out of stock, so I quit, but now that it's back in stock, I'm feeling "linen-y"!

This card also features the largest of the Love to Layer Oval dies and is just perfect for a card like this! I love that it allows me enough room for the focal point, sentiment, and a bit of extra foliage to frame the side.

I chose a sentiment that worked nicely between the two tires; it is from the Just Sentiments: Appreciation stamped in black.

I layered the entire focal panel onto a Saffron Spice card base; I really love pulling out some of my neglected cardstock as the seasons change! That being said, I was actually thinking it would be fun to come up with a color combo, just like this one, but make a card for each season and see how it worked out! (I can actually see this one working for each season!) I started thinking about it after I made a card that I will be sharing on the last day! The colors scream fall to me, but realized that they could be fabulous winter or summer colors as well! Anyway, I'm rambling!

This card also features the new Sprigs and Sprays: Fall stamp set AND the amazing new Vase Collection 11 stamp/die set. It's such fabulous pot that will be perfect for so many of our beloved flowers!

I've fallen head-over-heels in love with this color combo, too; Saffron Spice, Aqua Mist, and shades of green!

This card features the adorable new Mini Picket Fence dies as well; these will be used A LOT, I can tell!

I used both the small and medium ovals from the new Love to Layer: Ovals die set; you can see the beautiful edge detail.

I love the cute little pumpkin that is included in the Sprigs and Sprays: Fall stamp set; it tucks in to the pot so nicely!

I wanted to play around with the Orchids AND the new Vase Collection 11 stamp set. 

I also wanted to play around with the Weathered Tile stencils and Terracotta Tile ink and cardstock for a real mexican tile look.

It was a little tough to edit the pictures to get the brightness I wanted because I feel like I lost a bit of the terracotta goodness; if you have the cardstock, then you know what I mean!

This concludes all of my projects for day 1; join me again tomorrow for day 2! Thanks for fluttering by!

 

Friday, July 15, 2022

Reverse Confetti Summer Release Blog Hop

Hello and welcome to the Reverse Confetti summer release blog hop! I have two cards to share with you today using a few of the darling new products! My first card uses the amazing new Flower Builder Confetti Cuts! If you know me, then you know how much I love flower dies! These are so much fun to use and I love all of the different options you have with just a handful of dies!


I decided to cut enough pieces so I could create the large, full bloom, a half-bloom, and then the smallest half bloom for variation. I used Distress Oxide inks to color all of the flowers, leaves, and centers. I also took some design liberties and created a few smaller flowers using the centers of the flowers for something different.


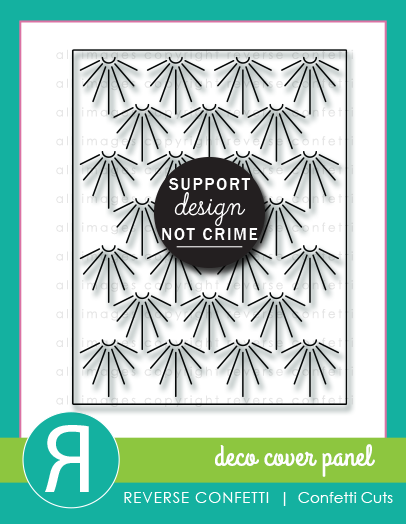
I die cut the background using the new Deco Cover Panel and then layered up all of the leaves and flowers using foam squares and liquid glue for dimension. I used one of the sentiments from the new Sunny Flower stamp set and anchored it in the middle of the blooms.


Once I had everything arranged on the background how I liked, I added quite a generous sprinkling of glitter to add some sparkle and shine!

The centers of the small flowers have cupped sequins in the centers for additional detail and sparkle. I layered the entire focal panel onto a top-folding A2 card base using the same blue cardstock.

My second card uses the new Sunny Flower stamp set. I wanted something soft and light so I inked the flowers up using blue and pink ink. The flowers are stamped in yellow for something unexpected and different.


I stamped the "friend" portion of the sentiment onto a panel of soft stone cardstock using black ink. I stamped the "thanks" portion onto a strip of white cardstock and I added it over the top of the other sentiment using foam squares.

I covered up the sentiment with a bit of post-it note and then added some black ink splatter.

I added a trio of sequins and some glitter to finish it off! Thanks for fluttering by!


Rachel Alvarado

Andrea Shell

Susan Wymer

Sandhya Iyer

Jenny Colacicco

Lien Leysen

Heather Ruwe

Lisa Henke

Angela Simpson

Cheiron Brandon

Tricia Barber

Amy Kolling

Becky Roberts

Dana Kirby

Joy Baldwin

Amy Rohl

Jeanne Jachna

Kelly Lunceford

April Antonio

Audrey Tokach

Michelle Short

Amy Tsuruta

Colleen Beamish


Thursday, July 14, 2022

A Happy Hello To You

I went to Bath and Body Works the other day only to discover the autumn preview products were out; believe me...I was NOT ready to see/smell that! I'm still in summer mode and want to be for weeks to come! I had to put my blinders on and focus on the task at hand (which included summer scents)! ha ha! I'm popping in today for some summer inspiration using some of my favorite products, but paired in some unexpected ways! I was completely inspired by an illustration of a sea life/shell wreath that led to the creation of this card!

I stamped the Wood Plank Background Stamp Set using Dark Chocolate ink onto a panel of Aqua Mist cardstock. I added additional ink around the edges using a blender brush for a weathered look. I die cut two each of all of the Summer Shells Die so I would have options when it was time to put everything together. In the end, I didn't use too many, but that just means more for another project, right?

I used Distress Oxide ink and colored pencils to add the color and additional details to the shells. I also die cut one of the leaves from the Into the Blooms: Dahlia die; it's one that reminds me of an aquatic plant. I used 3 different ink colors to color the two leaf clusters. 

I keep finding excuses to use the flowers from the Sweet Celebration Die; these are lightly colored with cupped sequins in the middle. I forgot to mention that all of the flowers, sentiment panel, and leaves are die cut using Rustic Cream cardstock. The shells are die cut from white because I wanted the cute star ones to be stark white with colored pencil details.

I die cut the sentiment piece using the It's A Sign: Hanging Frames Stitched Layers Die and then stamped the greeting using the  Just Sentiments: Happy Hello Mini Stamp Set in black ink. I also die cut a vellum circle using the Love to Layer: Scalloped Circles die. Once that was done, I got to work assembling the card! I added things here and there until I was happy with the placement. I also added some glitter and a few dew drops to mimic water droplets! I layered the weathered background panel onto a top folding A2 card base using foam squares. I really like how the crisp white on the edges makes it all pop! Thanks for fluttering by!
P.S. When do you begin looking forward to autumn?


Monday, July 11, 2022

When We Have Each Other, We Have Everything


I hope you all had a fabulous weekend! I'm popping in quickly today to share the card I made for my Papertrey Ink Flash Sale this week! It's been a while since I've used many of the products for today's card so this was a fun one to put together! I love all things lemon, so it is always so fun to use lemons in my crafting as well! Just a note: I'm not sure when the newsletter will arrive in your inbox, but the sale will start then! 

I was going for an Italian vibe, so I started by stenciling two different panels using the Woodblock Prints Stencil Collection to create the look of tile. The largest background panel measures 4 by 5 1/4 inches and uses the largest pattern in the stencil collection. I used Blueberry Sky and Enchanted Evening inks for the stenciling. The smaller stenciled panel uses Spring Rain ink and the smallest pattern in the collection. I added some ink blending aroudn the edges of both panels using the residual ink on my dark blue blender brush.

I die cut the frame using the Framing Florals Die and then stamped it using the Framing Florals Stamp Set and Enchanted Evening ink. I set the stenciled panels and frame aside while I got to work on the lemons, leaves, and blossoms.
I die cut all of the leaves, blossoms, and lemons from white cardstock using the Tag Creations: Lemon Die and then colored them using a blender brush with Lemon Tart and Summer Sunrise Ink for the lemons; stamped with both inks as well. The leaves are blended with Green Parakeet and New Leaf inks; stamped with New Leaf. The blossoms have a touch of residual yellow ink around the edges and Summer Sunrise centers. The sentiment, which is from the Just Sentiments: Quotes Mini stamp set, is stamped on the bottom of the frame using black ink.


To create the curvature of the blossoms, I simply use the end of my stylus to press the centers of the flowers into my foam mat. It automatically curves them to give them a little more realism. I layered everything up using foam squares and liquid glue. I added some ink splatter to the blossoms and lemons using a color spritzing tool and a mustard colored marker. Of course, the lemons and leaves needed a sprinkling of glitter for some sparkle! The entire stenciled background panel is layered onto an A2 size piece of Bitty Big: Blueberry Sky pattern paper glued to a top-folding A2 card base. Thanks for fluttering by!