Saturday, March 14, 2020

Spellbinders March Stamp of the Month

Hello and welcome! Today I'm sharing a set of 6 rainbow cards using the Spellbinders March Stamp of the Month! As we all know, the world has been turned upside down, especially in the U.S. these last few days. I know other parts of the world have already had things go crazy! Anyway, with this in mind, I sat down and made this card set to send out to those who might need a little bit of cheer and love!

That's what I love about this craft; it can bless people's lives no matter what, when, etc! We will not be able to go to church for who knows how long, and I have the responsibility of loving and caring for the children in our fold. I decided that since I won't be able to see them for a few weeks, I'd use all of these fun sentiments from this month's stamp of the month to create some colorful cards that let them know I'm thinking of them and missing them!

My cards look eerily similar to the cards on the Spellbinders website {ack} this was totally not intentional! I do love that it shows how easy it is to create a card with impact with just sentiments!

When I mass produce cards, I like to do everything assembly line style! First I cut and scored all of the white cardbases and stamped the heart that is included in the set on the back. I also chose 6 different rainbow pattern papers and cut them to 4 by 5 1/4 inches and adhered them to the card bases using Tombow adhesive.

I cut strips of coordinating colors of cardstock so that I could stamp the different sentiments. I only used black ink so it was all very easy!

Two cards say "Love is all you need" , two say "Oh, hey Hello" and two say "Miss seeing you" which are perfect for all of these sweet kiddos!

The strips are adhered to white panels that have been stenciled with a cloud image for some added whimsy. They were also spritzed with Shimmer Spray for added detail!

Without knowing how long we will be in social isolation, I will send a few out here soon, but keep the others on hand for future weeks! I hope that you all are safe and taking care of yourselves during this time of uncertainty. If you need help, please let me know and I have friends all over the world and a church that is able and willing to help those in need. Please don't hesitate to reach out if you need help. We are all in this together! All my love and hugs! Thanks for fluttering by!

Ink to Paper March Release Countdown day 4


Well friends, today is the 4th and final day of the Ink to Paper March release countdown! I hope you've enjoyed the past few days! Everything will be available for purchase beginning on March 15th at 10 PM EST! What's on your wish list? I love the new Love to Layer Notched dies that I've been using the last few days, but they are being featured by the team today! I've shown them on each of my projects today in different ways as well!

I've mixed a bit of old and new for this gift card holder that is perfect for Teacher Appreciation Week! I used the new Love to Layer Notched dies to create the label to add to the Go-To Gift Card Holder: Pencil Die. This is one of those gift card holders that is so easy and fun to put together; nothing tedious or tricky, just fun! 

The "For my teacher" and apple image are from the new Beautiful Bouquet: Teacher stamp set and is just perfect to address and accent all of your teacher projects! I also used the To Die For Sentiments: Cursive Thanks to accent the project. I added some Crystal Glaze over the top of the double layered word to give it a professional look.

The eraser portion of the pencil slides out to reveal the gift card. I chose to create an enclosure using some additional sentiments from the new stamp set.

A few flowers from the Beautiful Bouquet stamp set finish off this gift card holder.

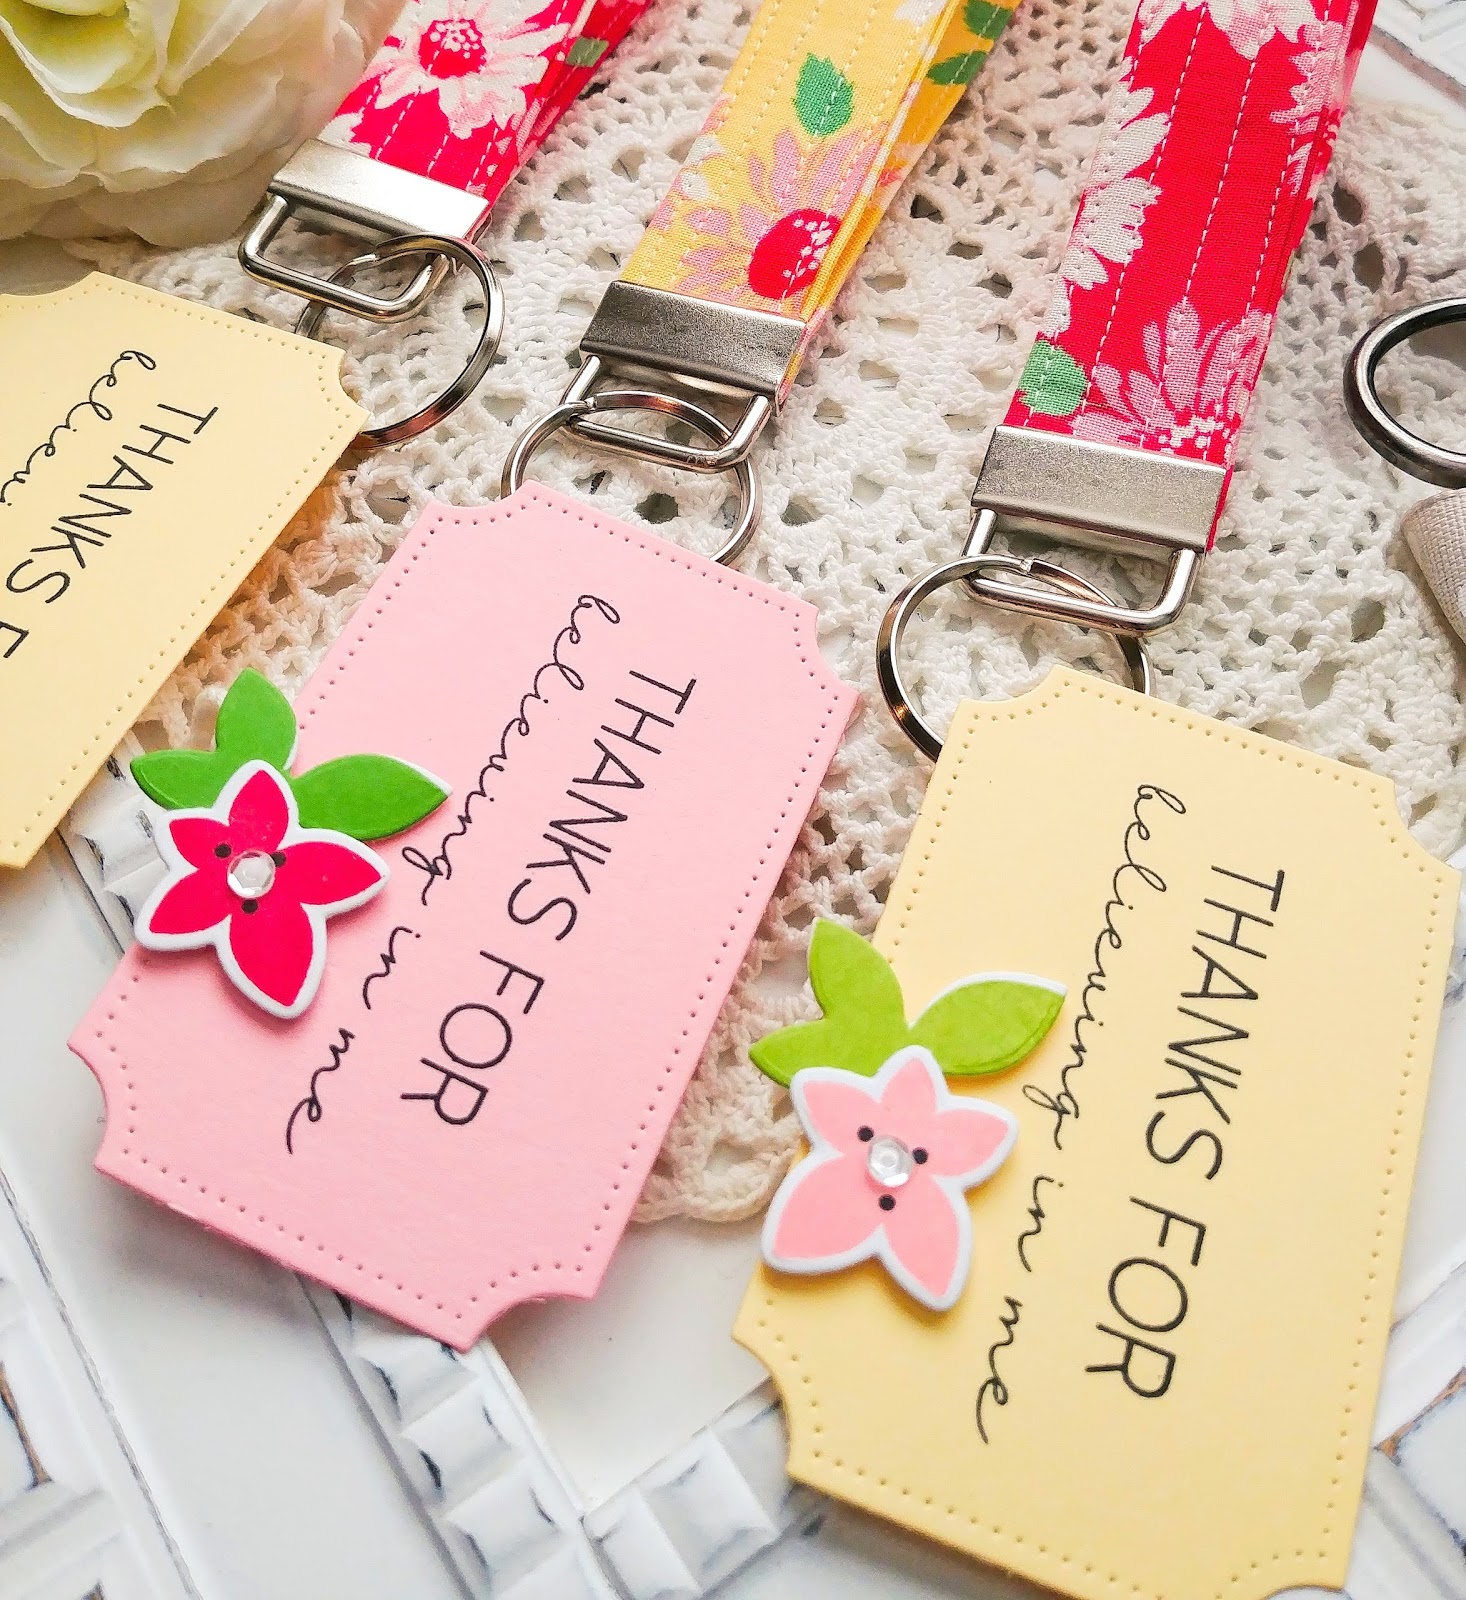
It's no secret that I love making handmade gifts to give to friends, family, and teachers. A few years ago I made fabric lanyards for every teacher as part of a gift from the PTA. I decided to make some key wristlets to give out to my boys' teachers this year. 


The Love to Layer Notched die was the perfect choice for the tags I made to attach to the fobs!

I used the "Thanks for believing in me" sentiment for these tags and a few more flowers that I had left over!

I buy my hardware on Amazon; this is 1 inch hardware. 

If you look closely to the yellow one in the middle, you will see the little "P.S. I love you" tag that I attached to the back of each wristlet. I have been hoarding these for years and love to add them to projects here and there.

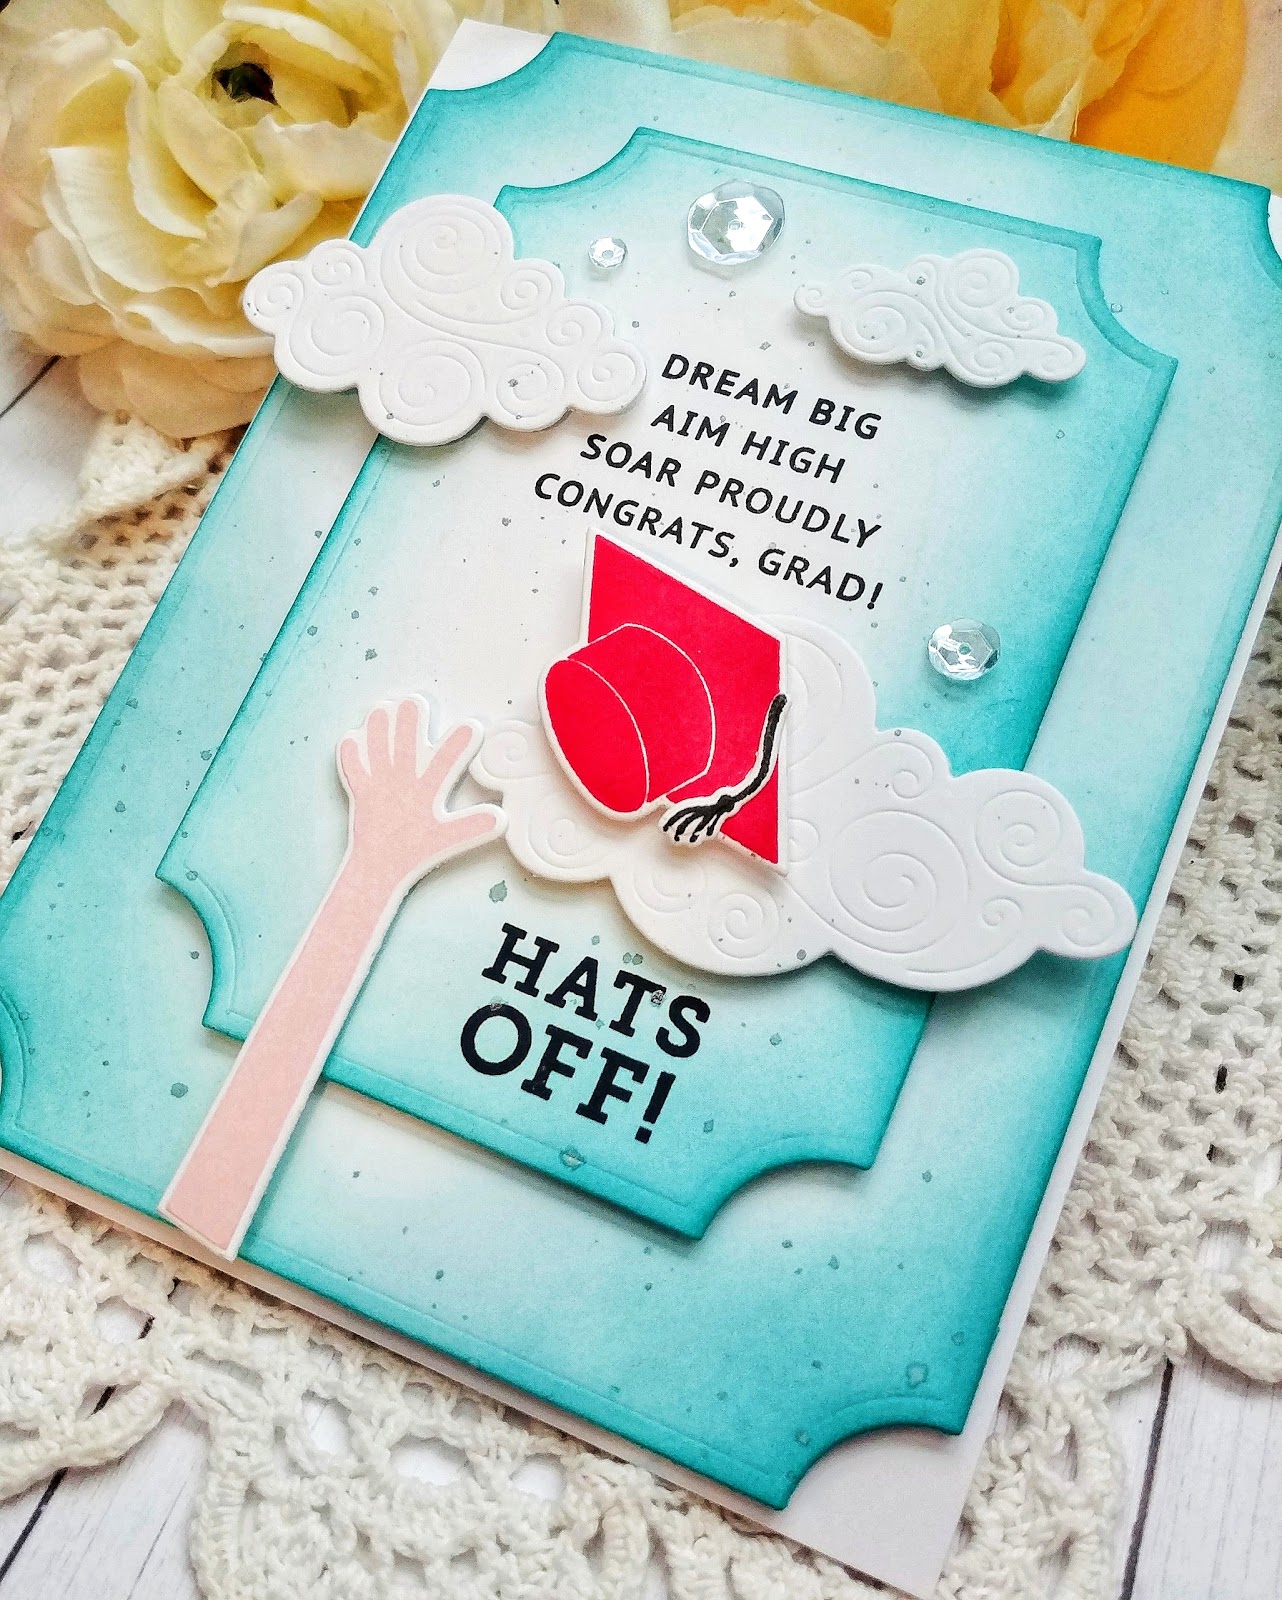
My 3rd and final project of the release uses the new Hats Off stamp set and dies,  as well as the new Inside Greetings: Graduation! I love how nicely they pair together to create some fun graduation projects!

I also paired them with the previously released Swirling Clouds die to really give it that "aim high, soar proudly" feel! LOL!

Ink blending and ink splatter really help give the design a sky inspired feeling as well!

I used another one of the inside greetings and some of the other elements that are included in the Hats Off set.

I hope you've enjoyed the last day of the countdown! Thanks for fluttering by!


Friday, March 13, 2020

Ink to Paper March Release Countdown Day 3

Thanks for joining me for day 3 of the Ink to Paper March release countdown! First up is a fun new addition to the "Go to Gift Card Holder" family. This new one is called Flower Pot and is perfect for the upcoming months.

I used the new Beautiful Bouquet Background die for the flowers to add to the top of the pot. I used the coordinating Beautiful Blooms stamp set to stamp all of the flowers and leaves.

The blooms are attached to the top portion as you can see here. This slides over the top to secure the gift card holder and is the lip of the pot.

I used the die from the Big Apple die for the notches to hold the gift card. I created a faux gift card so that I could add some of the fun sentiments from the Beautiful Blooms: Mother stamp set.

This is a fun and springy card for my kids to give to their grandma on mother's day. This one features the new A Mother's Love stamp set as well as the new Charming Tags; you will definitely want to get these!

This wreath has a stamped base, but I ended up by covering it all up with the foliage and flowers! LOL!

The "Happy Mother's Day" sentiment in the middle is included in the wreath set, but I used the new Hers stamp set for grandma and the "to my" portion is from the Just Sentiments: Mother's Day.

I used Copic markers to color the tulip sprigs, but the others are die cut and colored or die  cut and stamped.

I added some machine stitching to the top of the polka dot panel for some homespun charm.

The die cut bow at the top of the tag is from the previously released Modern Gift die collection.

Thanks for fluttering by!

Thursday, March 12, 2020

Ink to Paper March Release Countdown Day 2

Welcome to day 2 of the Ink to Paper March release countdown! I've got a few projects to share with you today that are perfect for the upcoming spring months! First up is this trio of gift pockets using the fun new stamp and die set called Garden of Blessings. I've been having so much fun creating this gift pockets for so many holidays!

The double-sided Bitty Big Patterned Paper is the perfect thing to use for these pockets because you get the fun contrast between the two patterns on one pocket. I also used the new Love to Layer Notched die collection for the sentiment labels on each pocket. The sentiments at the top are from the new Hers stamp set and I know this will be a go-to set for all of my feminine cards!

This is one of those "must use buttons" projects; they fit just perfectly into the centers of these fun and whimsical flowers!
Between today and the end of the release, I am 100 percent done with my Mother's Day cards/projects! LOL! This card uses the new Just Sentiments: Mother's Day paired with the new Beautiful Bouquet Outline die. I did some dry embossing to create the background for this card.

I used the new Love to Layer Notched dies to create a frame for this card and I love how it turned out. The flowers and leaves are scattered here and there for a fun look.

I added an additional sentiment that is heat embossed in gold onto a strip of vellum.

I had so much fun creating these fun projects to share with you today! Join me again tomorrow for day 3 of the countdown! Thanks for fluttering by!


Wednesday, March 11, 2020

Ink to Paper March Release Countdown Day 1

Hello and welcome to day 1 of the Ink to Paper March release countdown! Today the team will be showcasing a fun new stamp/die called Beautiful Bouquet and a fun new sentiment and tag die that complement everything as well. I have two projects to share with you so make sure to scroll to the bottom to see both cards.

I've also used a beautiful new die collection (which will be showcased on its own day coming up) called Love to Layer Notched die collection. I know this will be one of those "can't put down" die sets! I used it for both the main focal panel as well as the sentiment panel.

This new bouquet set is put together like a puzzle; each piece has its own special place, so to speak. It really takes the guess work out of the actual composition of the bouquet if that is something that you struggle with.


I added some green Nuvo drops in the centers of a few flowers and added some sequins here and there for added detail and shine.


My second card uses the stamped stems from the Beautiful Bouquet stamp set paired with a few of the blooms included in the set.

The "special delivery" sentiment is from the Beautiful Bouquet Sentiments stamp set which is a companion set that works perfectly with these images. I heat embossed it in gold onto a piece of vellum and then die cut it using the new Beautiful Bouquet Tag die.

I die cut it again out of Pale Peony cardstock and then layered the two using some Jute Button Twine to secure them together with a bow.

I added some sparkling clear sequins here and there for added detail.

I added some black paint splatter using a fine tip paint brush to get smaller spots.

Both of these cards were a joy to make on this overcast day. Thanks for fluttering by!