Thursday, February 13, 2020

The Greetery Lily and Palm Release

Welcome friends! It is always a good day when The Greetery is involved, am I right? I know you will all fall in love with this mini release called "Lily and Palm"! It is perfect for all of your Spring/Easter needs, but the florals and select sentiments will transcend beyond! I can't wait to use these new Lily BotaniCuts for some tropical designs! Before I dive into the details of the 3 projects I'm sharing, let's get down to business! There will be a giveaway of TWO $25 dollar gift certificates to The Greetery store; simply leave a comment here and on each of the designers' blogs for a chance to win one of them! Also, the release will be available for purchase on Friday, February 14th at 10 am EST and the winners will be revealed that same morning at 7 am EST.

My first card for today uses the AMAZING new BotaniCuts Lily die and the companion BotaniCuts Palm die. While these can both be uses separately, they look so beautiful paired together, don't you think? I kept all of my dies intact; meaning I didn't clip any of them apart. I plan on die cutting them out of white cardstock only, so this way they are easy to run through in one easy pass!

I die cut quite a few so I would have lots of options during the design process; I ended up using each an every one! They are so much fun and SO easy to use! Betsy always includes a guide, and this set is exceptionally easy! 

I used ink and my blender brushes to add ink to all of the pieces, including the leaves, buds, and the palm fronds. I googled images of lilies so that I could create something relatively realistic! ha ha! Once the pieces were blended to my liking, I used a Color Spritzing tool and my old SU! markers to give them the added color flecks like lilies have. 

I also paired them with the letters that are included in the new Easter Jubilee Creative Kit, which I will be showcasing a little further down! I had some extra letters die cut from that project, so I added some ink blending to those to give them a soft contrast.

Everything is layered up onto the beautiful panels that are die cut using the Nordic Frames dies. I also added some Nuvo drops to the flowers to give them a dewy look!

My second card uses some of the lilies that I made up in yellow! I love how soft and buttery they look! I used them to highlight the beautiful new Caring Cross stamp and stencil set, paired with the Caring Cross die! I chose to only use the die rather than the stencil, but you'll probably see some other samples from the other designers using the stencil.

The two sentiments are stamped directly onto the panel using black ink. The sentiments that are included in this set are both Easter related, but offer some of sympathy and prayer as well!


I used my mini MISTI to do the stamping on the cross since I wanted it lined up properly and knew it would need extra impressions because I stamped on Kraft cardstock.


I added some soft ink blending around the white panel to match the lilies. I added a few sparkling clear sequins here and there for some shine.

This is such an easy set to use and I can't wait to try using it with the stencil!


My third and final card of the day uses more lilies, of course! LOL! I honestly didn't plan on using them on EVERY card, it just turned out that way! I actually made this card before I created the lilies; had it photographed and everything and then decided to add the lilies. I'll share a photo at the bottom showing it without the lilies if you're more inclined to that.


The Easter Jubilee Creative Kit is an stamp/stencil combo that makes for a really fun design process! I really like the effect that it gives with the two techniques used together!

The letters are die cut twice; once from gold specialty paper that looks almost like gold leaf and once from white cardstock and are glued together with liquid glue. They nest perfectly into the stenciled portion that I did in purple ink.

The detail that is in these letters is incredible. The gold paper doesn't allow it to fully show, but I really like the result. My first card shows all of the beautiful detail, though! I also heat embossed one of the accent sentiments that is included in the stamp set. The die collection also comes with this sweet banner that fits each sentiment perfectly.
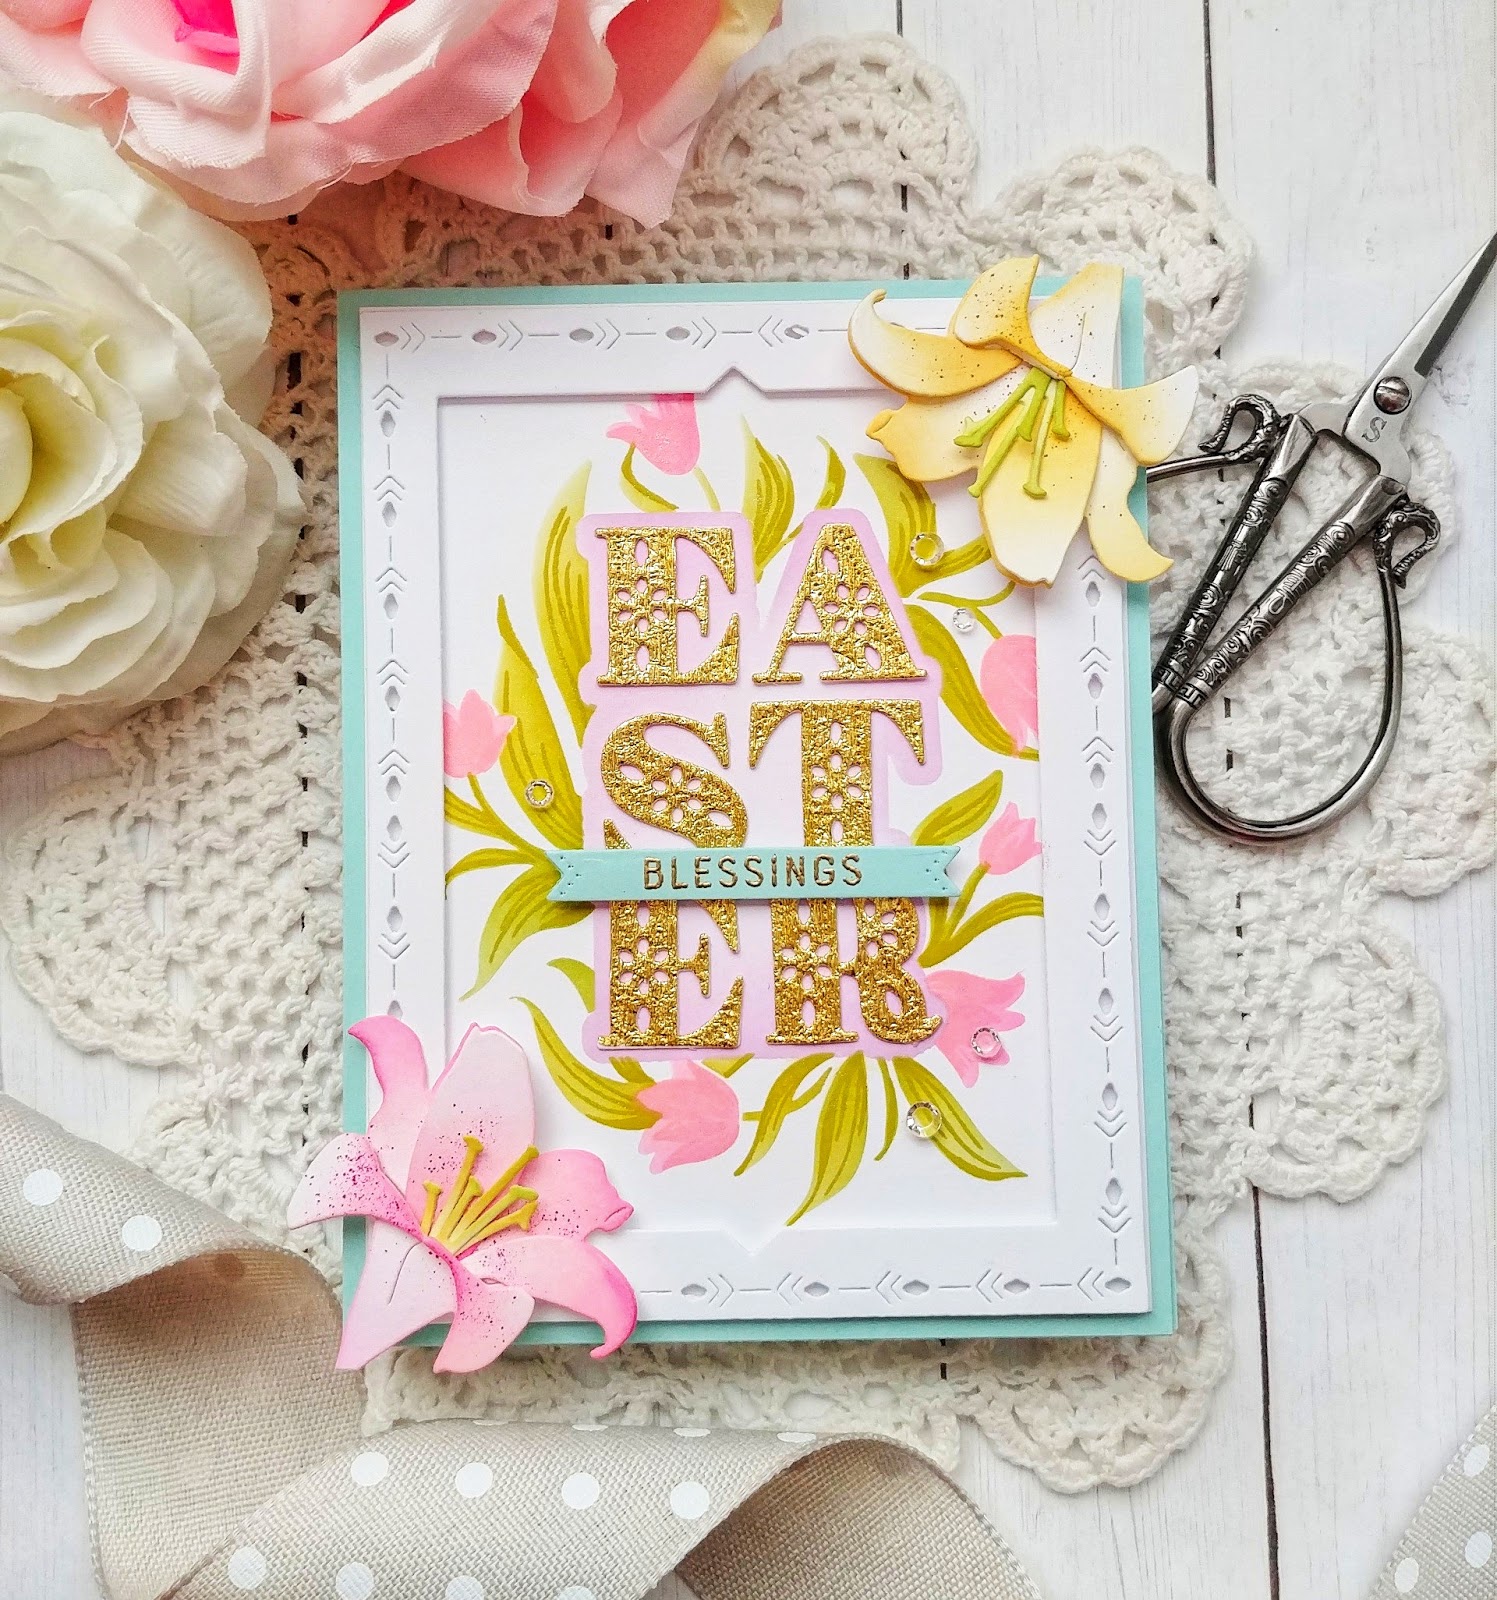
I used the Nordic Frames again, but this time to create more of an actual frame. I popped it up with foam squares for dimension.

Once it was all done, I decided to see if I liked the lilies in the opposite corners. I kept going either way, but in the end, the lilies won! LOL!
Here is a picture of the lily-less card. It looks like I had better light for photographing, too! LOL! Thanks so much fun joining me today and don't forget to leave a comment for your chance to win! Thanks for fluttering by!

Ink to Paper February Release Day 3

YOU are one of my favorite peeps! Welcome to day 3 of the Ink to Paper February release countdown! I'm sharing 2 Easter cards with you today using some fun and beautiful new stamps and dies! First up is this fun card using the sweet new set called Love My Peeps! This is so much fun and I haven't even scratched the surface of its possibilities! Never enough hours in the day, am I right? Don't fret because I know I will be pulling it out again soon!

The team is also showcasing a fun new border set called Border Bling: Skinny Stitched Frame Dies. When I saw that these two products were being showcased together, I knew where I would draw my inspiration! I had pinned THIS cute home decor piece and it was absolutely perfect for today's design! I feel like I totally cheated, though, because it is so literal, but it all just worked out so well! LOL!

To begin, I stamped the Rustic Brick Background onto a panel of Soft Stone cardstock using Soft Stone ink for a tone on tone look. I stamped the  "you're one of my favorite PEEPS" sentiment in white onto a black piece of cardstock and added the Kraft die cut frame over the top to mimic the look of the chalkboard in the inspiration photo.

I had some stamped leaves that were leftovers from another day and they worked perfectly to add around the frame. The Peeps are stamped in Lovely Lady, Mint Julep, and Spring Rain ink and then die cut with the coordinating Love My Peeps die collection. The bows are also from the die collection and they look so cute added to the ear and neck of the two bunnies.

There are quite a few different options on how to stamp your peeps; small, large like this, or one with lines to make it look 3D. I can't wait to give that one a try! I added a few sparkling clear sequins for some added detail and shine.

Switching gears here from a secular view on Easter to a religious view! I kept this card simple in design to let the beautiful floral cross stand out with the amazing sentiments. 

For this card, I die cut the white cross twice and glued it together to create a weightier piece. I stamped the flowers and foliage and then added the "Alleluia" sentiment in black. All of the sentiments in this set fit perfectly in this portion of the image. 

The floral cross is added to the straight cross die cut using foam squares. I wanted just a hint of Kraft to show behind the floral cross. I also stamped another sentiment at the bottom of the top folding A2 card base using black ink and my mini MISTI for alignment.
Here's a little peek at the inside of the card. It uses the new To Die For Sentiments: Happy Easter with few of the blooms left over from a previous design! Join me again for the 4th and final day of the February release countdown! I have LOTS to share! Thanks for fluttering by!


Wednesday, February 12, 2020

Ink to Paper February Release Countdown Day 2

Welcome to day 2 of the Ink to Paper February release countdown! Thanks so much for all of your sweet comments on yesterday's post! I'm sharing two cards today using a beautiful new floral set called Bold Blooms and a new Border Bling; this one is called Embossed Frame.

I went for a CAS look for my first card; it's not a style I design with often, but sometimes I just feel the need! To begin this design, I stamped the "you're so kind" and "thank you" sentiments on a panel of Fresh Snow Linen Cardstock. I love the texture that it adds to this simple design!

Once that was done, I added the stems and flowers using my mini MISTI to line everything up. As you can see, I used two different colors of ink on the larger flowers to give them some added depth, which I feel is important to create visual depth on a single panel like this.

I used the new Border Bling: Embossed Frame to dry emboss the border. Once that was done, I added some black paint splatter using a fine tip paintbrush for smaller flecks. 

The finishing touch is a few sparkling clear sequins and the entire panel is added to a cardbase using foam squares. This would be a perfect design to mass produce to create a note card set for a gift!

My second card for today uses the same Bold Blossoms stamp set, but this time, I die cut all of the flowers and leaves for a bigger impact. I've paired it with the new To Die For Sentiments: Risen! This is such a lovely die that makes a perfect focal point for your Easter designs!  I also couldn't resist using another sentiment from the Just Sentiments: Easter embossed in gold!
I asked my husband if he would do a huge favor for me; like, "impossible task" favor! LOL! I told him to go to Hobby Lobby to get some gold paper. Well...it turns out it was impossible to get the paper I asked for, but what he brought home is far better! I am in LOVE with this beautiful gold paper that looks like gold leaf!  I die cut it twice; once from the gold paper and once from white cardstock and glued them together with liquid glue. 
This particular paper is very delicate so it is important to glue it down securely. It cuts amazingly well, which is always a plus!


I layered the sentiment onto a panel of Aqua Mist cardstock that was die cut using the beautiful Nesting Basics: Pierced Rectangles. I just love the hint of detail it adds to any card! I used foam squares to add the die cut sentiment to give it extra dimension. I added the die cut flowers and leaves here and there to frame the sentiment. 

I wrapped the heat embossed sentiment around the panel and secured it with a tape runner. I added a few sparkling clear sequins here and there to finish off this Easter design! Thanks for fluttering by!

Tuesday, February 11, 2020

Ink to Paper February Release Countdown Day 1

Welcome, friends! I'm glad you've joined me for Day 1 of the Ink to Paper February release countdown! Everything is coming up flowers and blossoms today, and I have A LOT to share so make sure to scroll all the way to the bottom of today's post! I've created some of my first Easter cards of the year with a few of my favorite color combinations and some festive spring cards as well!

Today the team is featuring a new stamp and die set called "Blossoming Branches" and will be available on February 15th at 10 pm EST! I've paired three of my cards with the new "Border Bling: Skinny Vees die set". This first card uses the smaller of the two borders and the "hello" die that is included in the collection!

The "hello" word is die cut 3 times and adhered together using liquid glue. The top layer has  ombre ink blending using Raspberry Fizz ink going from the bottom up, leaving the top white. The triple stacked word adds extra dimension for greater impact. 

The sentiment, which is included in the new Blossoming Branches stamp set, is heat embossed onto a strip of vellum and wrapped around the entire focal image. I created three cards using the 3 different sentiments included in the set.

I'm still crushing on the previously released Border Bling: Tin Stitch Die and used it in combination with the new Border Bling: Skinny Vees die. I added some Fresh Snow Ink around the edges to give it some soft contrast. 

I die cut the branches and flowers and then used my mini MISTI to do all of the stamping. My next two cards use a single color for the blossoms, but for this one, I decided to create a whimsical branch with my favorite spring pastels!

I arranged them onto the card front using foam squares for added dimension, placing the blooms and leaves in an organic way to make it feel more realistic, despite the kaleidoscope of colors! LOL!

I added some Wink of Stella to the hello word and then layered the entire focal panel to a top folding A2 card base using foam squares. A few sparkling clear sequins finish off this design!

This next design uses the blossoms in a more traditional way, using Cherry blossoms as my inspiration! As I searched for images of real blossoms, I noticed that the leaves on these particular trees have not emerged when the blossoms are present. 

This card uses the 2nd sentiment in the Blossoming Branches stamp set and for this card, I used both the "hello" word die and the embossed sentiment.

This card uses both sizes of the new Border Bling: Skinny Vees. You can see the detail on the larger frame in this photo a little bit better. I also added some Hawaiian Shores ink around the edges of the larger border to give it some added depth.

Before I added the white frame, the branches, and the rest of the design elements, I added some Hawaiian Shores ink splatter to give the card some additional detail and interest.

The blossoms for this card are stamped in Sweet Blush, Pale Peony, and Autumn Rose inks to give them that traditional Cherry blossom feel.

I couldn't resist adding some sequins to this design as well. This was such a fun card to create and I can't wait to send these out in the months to come!

I decided to use some previously released products to bring this design to life! The sentiment was the inspiration for me to use the newly released On the Border: From the Heart Frame die. I dry embossed it rather than die cut it to give it some amazing texture. I read a tip from Kristina Werner to spritz the paper slightly with water before dry embossing as it reduces the cracking of the paper; let me tell you...it WORKS!!

I added one of the new Border Bling: Skinny Vees borders to the outside edge using Lemon Tart cardstock. This set the stage to add in the additional design details. The sentiment fit perfectly into the Banner Builder: Basics die; I just bent it slightly on the acrylic block to give it the necessary curve.
I die cut the banner twice and layered it with foam squares to give it extra dimension. These blossoms are stamped in Pale Peony and Raspberry Fizz inks with black centers. The leaves are stamped using Green Parakeet and New Leaf inks.

I added some Harvest Gold ink blending around the edges to add to the soft feel I was going for and add some extra dimension to the dry embossed panel. 

I arranged the flowers and leaves here and there in a realistic looking arrangement.


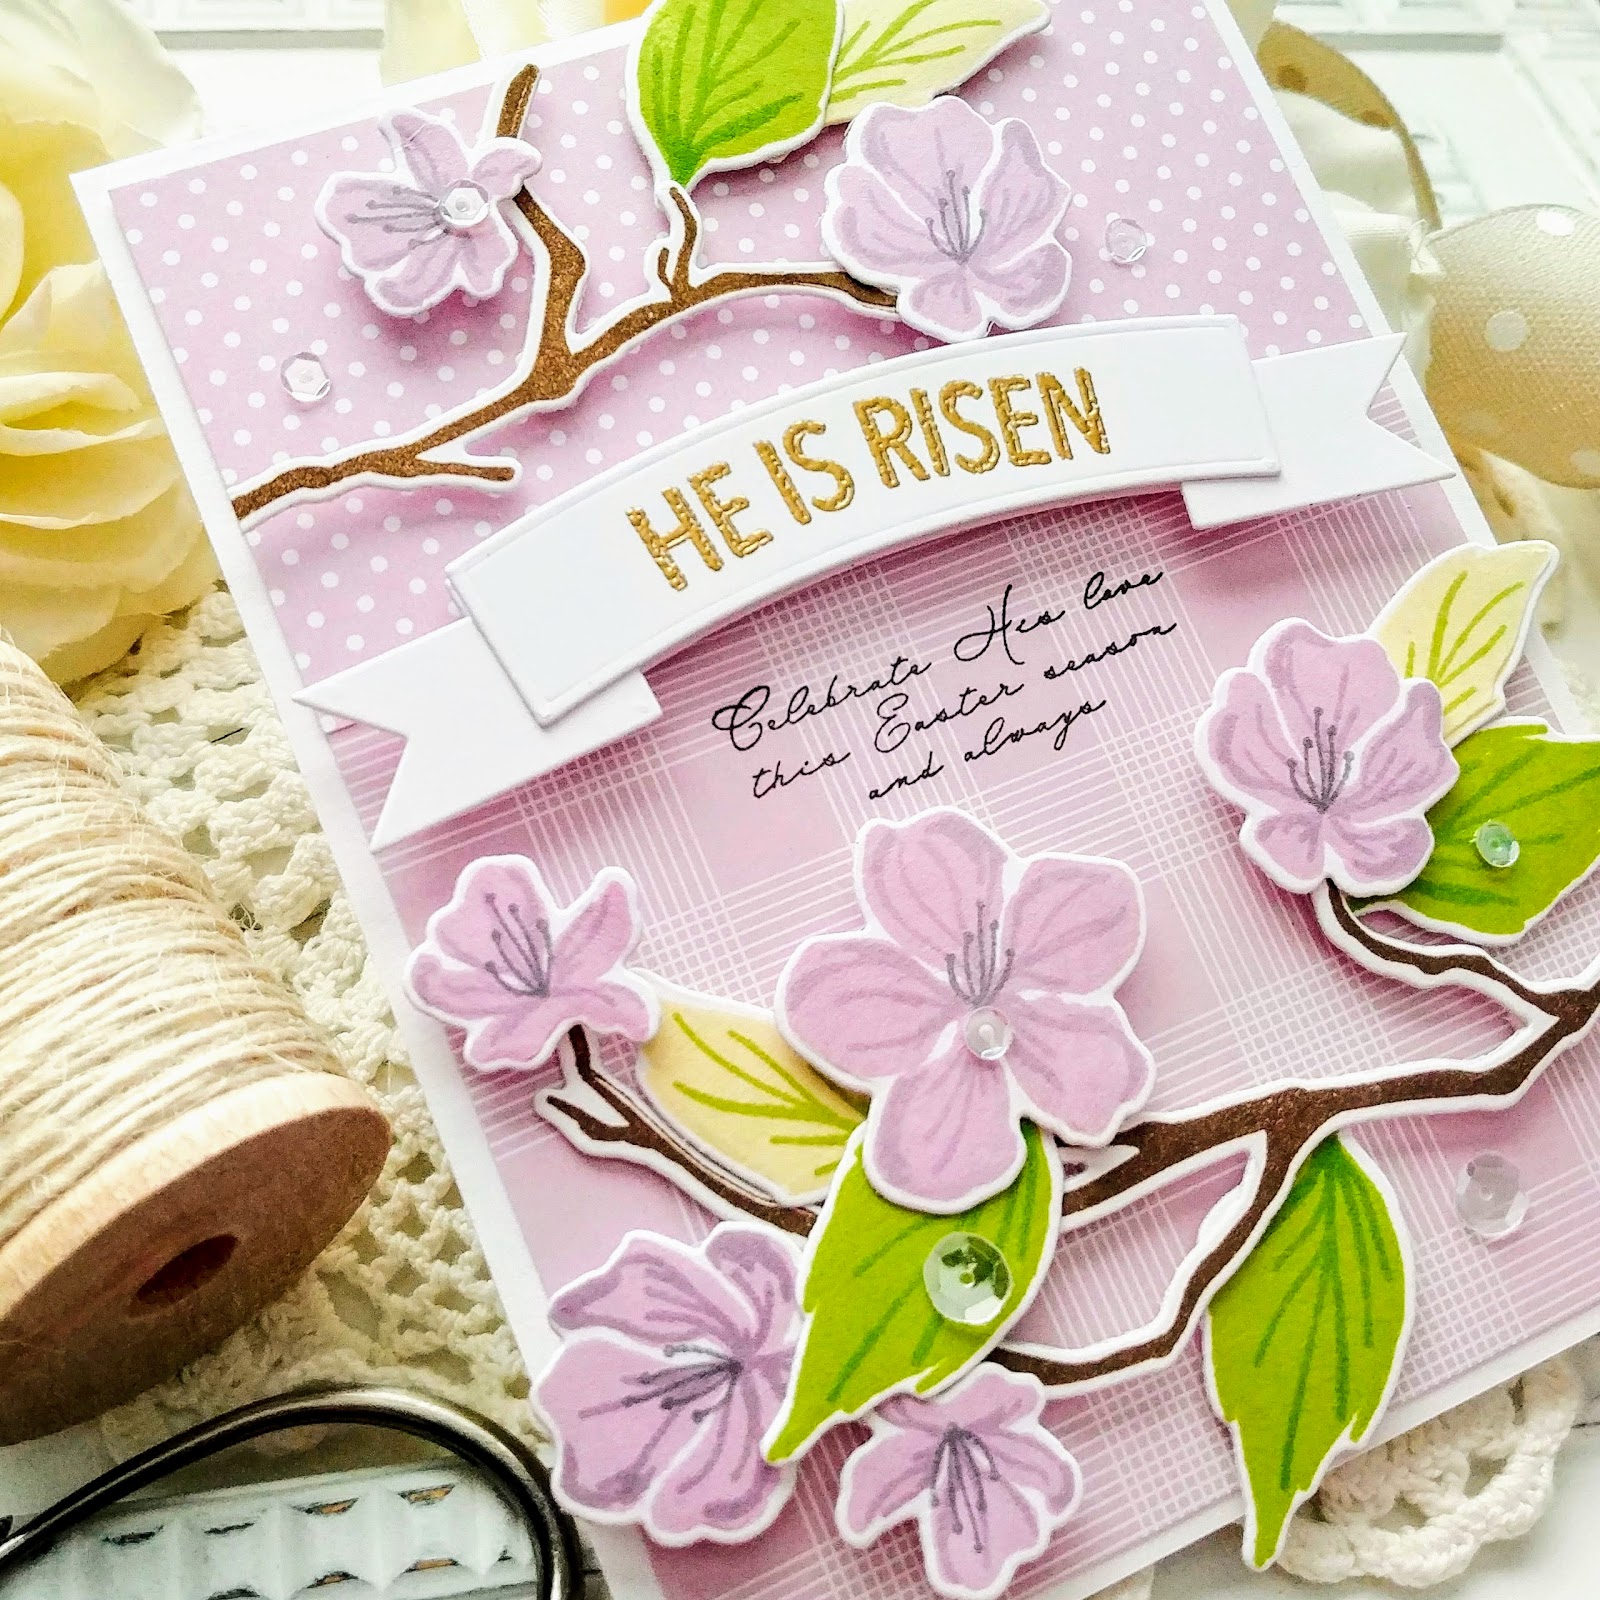
My 4th and final card of the day uses the Blossoming Branches once again, but this time it is paired with the new Just Sentiments: Easter! This is such a beautiful sentiment set that will elevate your Easter designs! For this card, I chose to use two of the sentiments together as they work so nicely with each other!

The "He is Risen" sentiment is heat embossed in gold onto a smaller version of the Banner Builder: Basics die. I also bent the stamp slightly to give it the arced look to fit the banner. The scripted sentiment is stamped in black directly below the raised banner.

These blossoms are stamped in Lilac Grace, Winter Wisteria, and Smokey Shadow inks. I love this cool color palette, with the warmth of the leaves and gold embossing!

This card uses both the larger and smaller branches that are included in the stamp set. For these leaves, I stamped the larger leaves in Green Parakeet and New Leaf inks and the smaller leaves are stamped in Spring Moss and Simply Chartreuse ink.

I chose to use two of the pattern papers included in the Lilace Grace Bitty Big pattern paper collection. I chose to use the larger plaid paired with the smaller dots for added detail and interest. This concludes the reveals for Day 1, but don't forget to join me for Day 2 tomorrow! Thanks for fluttering by!