Welcome to day 2 of full reveals for the Garden Variety collection from The Greetery! Thank you for all of your sweet comments on yesterday's post! A few of you were interested in the details on the notecard box that I shared yesterday so I'll share the easy instructions and measurements at the bottom of this post. As usual, you'll want to visit The Greetery Blog for the official "meet and greet" detailing all of the products featured in today's post. The 3rd anniversary festivities will continue with a new prize being offered to three lucky winners. Leave a comment on my blog and the other designers' blogs to be eligible for a chance to win!

I'm absolutely smitten with the new Garden Gear: Gloves suite of products! I die cut the two gloves, the elastic detail at the wrist, as well as the little "tabs" on either side of the gloves. I used the Garden Gear: Gloves stencils to add the cute pattern. I'm thrilled with how realistic looking they turned out! This card also features the new "Plucked" dies; who knew weed dies could be so stinkin' cute?!

The background was created using the beautiful new Seed Catalog Background stamp. It's a little bit hard to see the gorgeous details on this card, but the last card I'm sharing today really showcases its beauty! I thought the Pretty Pot would be a fun addition; It was so fun "planting" the weeds (they're herbs for this card) and tossing out a few dandelions! ha ha! I gave the gloves the "worn-in" look by adding some brown ink around the edges; I also gave the end of the weeds, the edge of the pot, and the gloves some glitter dirt! You can find the fabulous glitter HERE. It looks SO realistic! I used Distress Oxide inks for ALL of my stenciling, stamping, and blending. I had such a fun time coloring the pot, the weeds/herbs, and the gloves!
I curled the edges of the focal panel using my fingernail; it's a detail I haven't added in what feels like forever! ha ha! I felt it just worked with my "dirty" card!
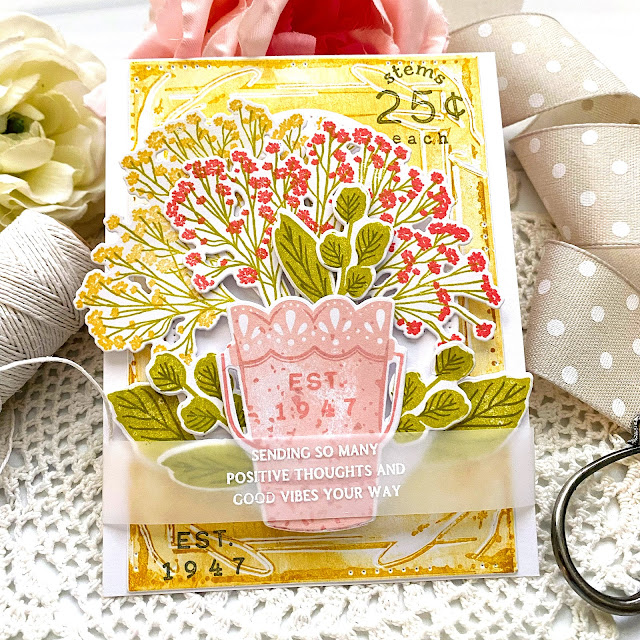
My next card features the new BotaniCuts Lavender paired with the fabulous new It's a Wrap: Posy Pocket Die. There is a mini version that I didn't get a chance to use, but it's just like this one only smaller. My bouquet also features some of the previously released Wildflower Mix flowers that I can't seem to get enough of!
It's been a while since I made a shiplap background, so I created one and added it over the top of another panel stamped with the Seed Catalog Background stamp. Once again, it's covered up, but I promise you'll get to see it on my next card! ha ha!
One of the things that is so fabulous about the It's a Wrap: Posy Pocket die is that it includes three pieces to construct the wrap; two pieces for the bow (I opted to tie it with a twine bow). Because the pieces are separate, it allows you to stamp or stencil a pattern onto the pieces and they will all be "shown" when it is assembled. You won't fold anything over that has previously been stamped/stenciled, if that makes sense!
Ta-da! As promised, here is a sample of the beautiful Seed Catalog Background stamp! At times I would fret that the card was too simple, but I truly love that Speckled Egg background! This card features the AMAZING Garden Gear: Tools Die and coordinating stamps/stencils! I mentioned on day 1 that this release is squeal-worthy, and these tools are one of the main reasons! They look SO realistic and I LOVE all of the options to make them so pretty!
I die cut both the trowel/shovel and hand rake using Soft Stone cardstock and then stenciled/stamped them using Distress Oxide ink. The handles and the little hanging pieces on the handles are die cut from white. I used additional ink to make them look realistic!
There are two different patterns to choose from for both the shovel and hand rake. The shovel uses a combination of both stamps and stencils, while the rake uses stamps only!
I had a few wildflower clusters left over from my previous card so I tucked them behind the tools here and there for some added garden goodness!
In the end, this card turned out to be a little more simple than I usually make, but it also turned out to be one of my favorites! This would make such a fabulous addition to a garden themed notecard set (I mentioned yesterday that I'm obsessed). Everything will be available for purchase TOMORROW at 10 am ET. Thanks for fluttering by!
Kelly Lunceford (you are here)
Card box instructions: you will need two pieces of 8 1/2 x 11 cardstock. Cut 1 inch off the bottom of one of the sheets to create an 8 1/2 x 10 panel. Score all four sides at 2 inches. Snip a slit on each of the four corners so you can fold it up into a box. The lid is created by cutting the other piece of card stock measuring 7 1/8 x 8 5/8. Score each of those sides at one and a quarter. Cut a slit at each corner to fold up into a box. Hopefully that makes sense. It’s very easy and it holds quite a few cards.


.jpg)


