Saturday, June 24, 2023

Papertrey Ink June Release Countdown Day 2

Welcome to day 2 of the Papertrey Ink June release countdown! Thank you for your sweet comments on yesterday's post! Today the team is featuring the new Into the Blooms: Iris die collection; I'm in love!

I was in need of two sympathy cards this week, so I chose to make two identical cards to send to the grieving families; I think the irises are a perfect choice for a sympathy card, but I can't wait to use them again in a more cheerful way!

I colored the flower portions using Amethyst Allure and Royal Velvet ink. I colored the yellow portions with a yellow marker to make things easier. The greenery is colored using Green Parakeet and New Leaf ink.

Since I already had the Woodblock Prints Stencil Collection out from my travel card yesterday, I thought I'd use one of the other designs for the background on these two mini-slimline cards.

I didn't add any stenciling in the middle so it almost gives the illusion that the irises are glowing. I added some black ink splatter for dimension, glitter and sequins (which I don't usually use on sympathy cards) and the sentiment is from the Feathered Friends Mini 4 stamp set.

My second for today uses the new Larger than Life: Hello stamp/die set; simple and easy to use!

I started off stenciling an A2 panel of white cardstock using the Wild Blooms Stencil Collection using some bright, summery colors. I also used the Cover Plate: Quilted die to add the texture over the top.

I die cut the Larger than Life: Hello twice from black cardstock and then glued them together. The remainder of the sentiment is stamped in black onto a strip of white cardstock and adhered using foam squares. I gave the entire panel a spritz of shimmer spray and mounted it onto a top-folding A2 Hawaiian Shores card base. A few sequins finish it off! Thanks for fluttering by!


Friday, June 23, 2023

Papertrey Ink June Release Countdown Day 1

Hello and welcome to day 1 of the June release countdown from Papertrey Ink! This is such a fun release just jam-packed with all things summer and travel; you're going to fall in love! My first card is actually a card and gift card holder all in one! I used the adorable new Go-T0 Gift Card Holder: Beach Bag and all of the adorable accessories for this card!

As much as I love all things bright and tropical for summer, I just couldn't resist doing something a little more sophisticated for this project. I chose Kraft, black, white, and aqua for my color scheme to keep things consistent!

I also used the new Just Sentiments: Days of Summer sentiment set to accent this card; I absolutely love using flip-flops in my summer crafting and so I was thrilled to use this cute sentiment!

You can see how the bag opens up so you can slide a gift card into the die cut slots; I chose Baskin Robins because it's the perfect summer treat!

My next card features the adorable new Tuck It: Travel stamp/die set. I am absolutely smitten with all of the cute images included in this set; I mean, come on, a tiny Big Ben and Eiffel Tower? Absolutely adorable!!!!

I actually stamped two of everything so you might see these cute images on another card before the countdown is over! ha ha!

I chose to use ALL of the images and tucked them into the previously released slot that was die cut using the Tuck It Sentiment dies.

I had so much fun putting this card together....now...who is going on an adventure???? ha ha!
Thanks for fluttering by!

Friday, June 9, 2023

The Greetery {Urban Jungle Collection} Release Day

It's release day!!! Yay! The Urban Jungle Collection from The Greetery will be available for purchase at 10 am ET TODAY!!! You can find the entire new release HERE!! I made a bonus card for you today; I wanted to try my hand at turning the Greenhouse into a cute little shed. 


To begin, I die cut the Greenhouse from white cardstock and set it aside. I also die cut the door from Kraft cardstock and then added some brown ink around the edges for depth. I also used the Shiplap Builder Die for the walls of the shed. In hindsight, I would have lined them up differently, but for a trial run, I think it turned out pretty good. In the future, I would line the planks up with the side of the greenhouse to the left to give it more realism. 

I also used the Pathway Stencil again at the bottom, but this time I used texture paste mixed with Weathered Wood Distress Oxide ink to give the stones dimension. I wanted to add the moss around the stones for some realistic details. 

I used the Garden Tub Filler die to accent the pots from the Modern Planter die set. Once again, I die cut a few flowers to accent the greenery.

The sentiment is from the new Little Labels stamp + cut combo and I just love it! This was a fun card to make and I'm just loving this new release! Thanks for fluttering by!

Thursday, June 8, 2023

The Greetery {Urban Jungle Collection} Day 2


Welcome back for day 2 of full reveals for the Urban Jungle Collection from The Greetery! Thank you for all of your sweet comments on yesterday's post! I have three projects to share with you today using even more fabulous new products; make sure to head to The Greetery Blog for the official "meet and greet" for all of today's featured products! Also, make sure to leave a comment here, and on each designers' blog, for a chance to win one of two $50 gift certificates to the shop!

My first card for today uses the ADORABLE new Modern Planters die set paired with the new Plant It: Spider and Plant It: Silver Dollar Succulent dies, the new Woven Cane Background, and last, but not least, the Way to Grow stamp set.

I die cut everything but the background and sentiment from white cardstock and then added Distress Oxide ink to color them. The Modern Planter dies are so easy to assemble, but make the plant stand and pots look so real!

There is a slit in the top of each pot so you can easily add the plants. If you want to use the pots without the stand, the die collection also comes with the coordinating saucer so they can sit on the "ground".

I die cut the Woven Cane background from Weathervane cardstock and then glued it to he top of an A2 Weathervane card base. I die cut some arches using the previously released A2 Arches Die to create a "window" to ground the plants. I heat embossed the sentiment and added it over the top using foam squares.
My second card for today reminds me a little bit of the Tiki Room at Disneyland, minus the birds)! ha ha! I'm absolutely in love with the new Wicker Stencil and think it really adds to the charm of the new Large Leaves; I used all three varieties: Monstera, Fern, and Palm dies.

I used another one of the punn-y sentiments included in the Way to Grow stamp set, heat embossed in white onto a black strip of cardstock.

I had fun pulling out the Jumbo Curiosity: Moth die to create another naturesque element for my card.

My third and final card for today uses the beautiful new BotaniCuts: Hibiscus dies paired with a few of the Large Leaves and the new Wicker Stencil. I loved how it came out in three shades of blue!

This card was all cut from white cardstock with the exception of the sentiment. The Hibiscus flowers are probably one of the easiest to assemble out of all of the BotaniCuts (in my opinion). I had fun inking them up and gluing them together!

The sentiment, which is from the New Day Sentiments stamp set is heat embossed in white onto black cardstock and then die cut using the coordinating New Day Sentiments dies.

I added an arch to frame the flowers and then layered everything up onto the stenciled background. I added some black paint splatter, but I covered up the main floral cluster using a post-it note.

I had SUCH a great time creating all of these projects for this release and I hope you love these new products as much as I do! It's been fun making paper flowers, pots, and plants because that's what I've been doing in real life in my yard....planting, potting, and more planting! ha ha! My yard takes quite a bit of work to get it whipped into shape for the summer, but it is totally worth it because I enjoy spending time outside! 
The new release will be available for purchase tomorrow morning at 10 am ET. Don't forget to leave a comment on the other designers' blogs for a chance to win one of the gift certificates! Thanks for fluttering by!
Kelly (you are here)

Wednesday, June 7, 2023

The Greetery {Urban Jungle Collection} Day 1

Hello and welcome to day 1 of full reveals for the new Urban Jungle Collection from The Greetery! I'm so glad you've joined me; I know you're going to fall in love with the ENTIRE release, just like I have! This one, in my opinion, is especially "squeal-worthy"! You can read all about each of today's featured products on The Greetery Blog for the official "meet and greet"! Make sure to leave a comment here, and on each designers' blog, for a chance to win one of two $50 gift certificates.

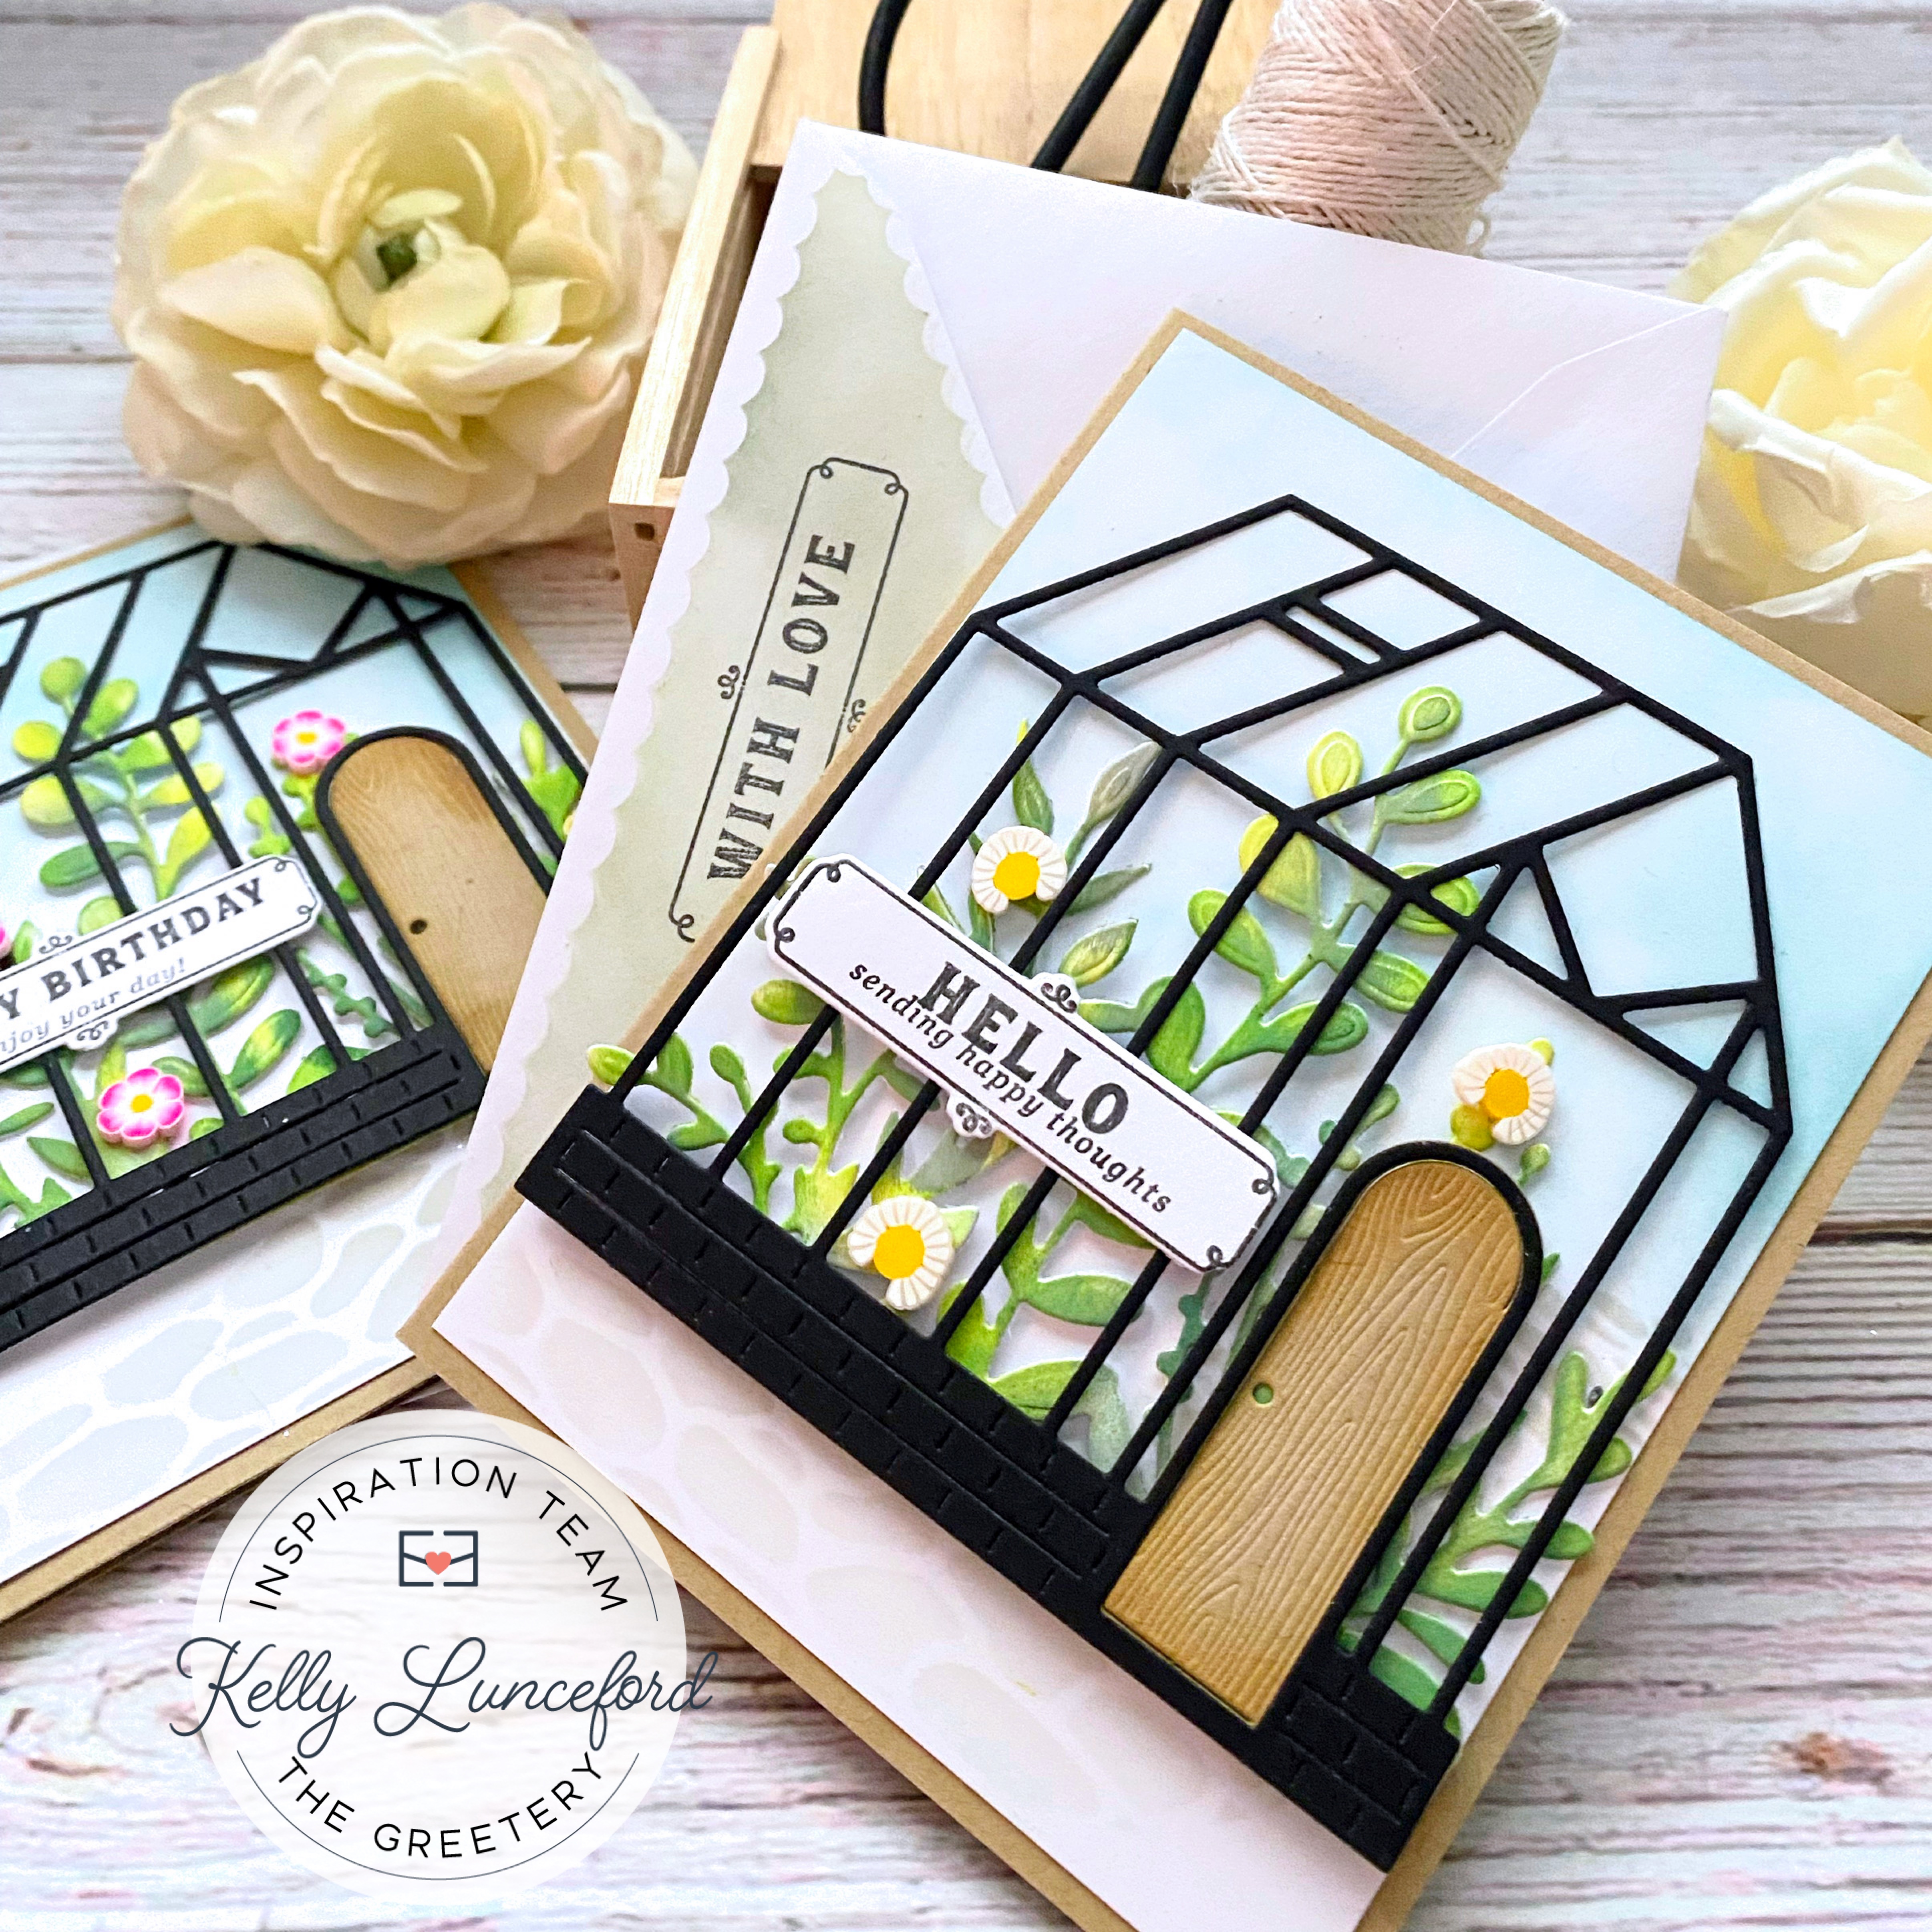
My first project for today features the absolute cutest new Greenhouse die! I am absolutely in love with it; so much so that I decided to make a set of 4 cards to include in a notecard set to give as a gift! I purchased these jute drawstring bags on Amazon with the hope of putting the entire card set inside, but the dimensions didn't quite work! I decided to utilize them as a container to put the card, tucked inside the envelope, and include a seed packet! For those of you who visit regularly, you may have remembered that I included a seed packet inside each of my Easter cards that I sent this year. I have some left over, so I think they will be absolutely perfect for this project!

You can see each of the 4 designs here; each card features the new Green house die, the new Garden Tub Fillers die, and the adorable new  Little Labels stamp + cut combo. Each card also features a few of the cute flowers included in the Garden Bits.

Each card also features the Pathway Stencil at the bottom to "ground" the greenhouse.

The Greenhouse is nice and big as you can see and fits perfectly on an A2 card. The door is included, but is a separate die so you can cut it from cardstock of your choice. It does have the option to have it "swing" open, but for this card set, I knew that wasn't practical, but it is super cute!

I created the tab using a few new goodies that I will talk about later; I made the tag when I thought the entire set would fit in one drawstring bag, but since that's not the case, I will use it someplace else! ha ha!
My second card features the absolute cutest Garden Tub die and the Garden Tub Fillers Die. (and I'm sneaking the new Woven Cane Background in today, but will showcased tomorrow). I have a friend in the neighborhood that has garden tubs lining her park strip and filled with plants and flowers; this will most definitely be her birthday card since her birthday is coming up this month!

I die cut the Garden Tub from metallic silver cardstock and also from white. I glued them together for a sturdy piece. I glued the handles on using liquid glue. I also heat embossed the sentiment using the new Little Labels stamp + cut combo!

You all know how obsessed I am with the BotaniCuts Wildflower dies since they seem to make an appearance for almost every release! The Garden Tub Filler diecut was just begging for some of these sweet wildflowers!

With the garden tub just teaming with wildflowers, it is just natural that a few Honey Bees would be there, too! ha ha! I die cut the Woven Cane Background and then added it over the top of an A2 card base with some ink around the edges. I added some glitter for some sparkle and shine! I had a leftover panel of the cane background that I used as a stencil for the envelope flap; just a fun touch with a stamped Little Labels sentiment.

My final project for today might be my favorite; it uses the AMAZING new Petal Pusher stencil, Background Die, and Blooms die. I had a little trial and error with this one, but that is usually how it goes with me and stencils/coordinating dies! ha ha!

I won't bore you with the embarrassing details of attempt number one, but rather give you helpful tips for success on your first try! ha ha! you can see in this photo that I used the extra pieces from the card to create the coordinating tag that I shared earlier.

To begin, you will want to die cut an A2 panel using the Petal Pusher Background and then begin your stenciling over the top. I also die cut two of each of the pieces included in the Petal Pusher Blooms die collection so I could have some fun layering.

Once all of the stenciling was done, I popped up all of the pieces that I wanted to flare up (the beauty of this collection) and then added the die cut pieces over the top. I used the same ink on the die cut pieces as I did for the stenciling. I'm always amazed by the results of a stenciled panel so oftentimes I just sit and stare at it before I do anything else.

I gave an audible squeal when I was finished with the stenciling and then of course the added blooms just really brought it to life! In the end, I just couldn't stand the thought of covering it up, so opted for a simple embossed sentiment.

I added glitter for some sparkle and shine! This was SUCH  fun card to make and I can't wait to make panel after panel!!! Don't forget to head to the other designers' blogs to leave comments and see their gorgeous creations! Join me again for day 2 of reveals! Thanks for fluttering by!
Kelly (you are here)