In my last post, I mentioned that I needed some thank you cards for the ladies that helped with Teacher Appreciation Week. I needed one to be EXTRA special for an extra special person who is AMAZING! She worked on the tedious task of asking businesses to donate all of the free goodies to our teachers and she ROCKED! She did such a good job! It something that I did last year and really disliked almost every minute of it, so for her to do it, meant a lot to me! Since our theme was Superheroes I thought I'd make her a Superhero card.
I ordered this stamp set from My Favorite Things during Teacher Appreciation Week. Unfortunately, it didn't arrive in time so it has just been sitting. I was excited to get it inky today and work on some coloring. I chose some traditional super hero colors and used my Copic markers to get her all pretty! I really like all of the sentiments and versatility that this set offers. I am excited to try some other fun things soon.
Once she was all colored and in her die cut mask, I got to work on the rest of the card. OH....before I forget...I don't actually have the die for this particular stamp set, but I used the mask die cut from the boy version and the mask fits her nicely. I used a few strips of the PTI comic book pattern paper. The top portion was stamped using the city skyline image that comes with the set. I added a little bit of yellow copic marker to mimic the look of the city aglow.
I heat embossed the white sentiment using detail white embossing powder onto black cardstock. The "you're" portion was just stamped onto white paper using black ink. I like the graphic, comic book quality that it has. Perfect for today's design.
I really wanted to use the Superhero emblem image but it wasn't going to work for the front. I simply stamped it, trimmed it and added it to the inside with a fitting sentiment. I also added a tiny silver star sequin for added detail.
You can see her all ready for some serious super hero action here. I also added a few star sequins to the skyline as well as the focal image.
I had originally started with a watercolored background,but set it aside and didn't use it. When I was cleaning up, the blue watercolor portion was just sitting there and I thought it might look good as stars. I added them later. What do you think? With the stars or without? I kind of like the effect they give the card. Thanks for fluttering by!
One of the main reasons why I wanted "Graceful Greetings" was so I could create fast, simple, yet elegant cards. I needed 8 Thank You cards for all of the ladies who helped me during Teacher Appreciation Week and I was tempted to just go and buy some. Does that seem like something I would do? I mean, really....what was I thinking?!? Fortunately, my PTI order arrived just in time to save me from my temporary lapse in sanity!
I quickly scored and cut all of the card bases and set those aside. I knew I wanted to used these scrumptious papers from Heidi Swapp's "Sugar Chic" line. I cut 4 each of 2 designs. Once I had the paper strips applied to the bases, I got busy stamping. I chose all of my colors based on the colors from the floral piece.
They all worked up so quickly and I was done before I knew it. I knew I wanted a strip of gold glitter on the pattern paper and that is really what took up the majority of the time, but all of that shine is DEFINITELY worth it!
I added 3 gold sequins to each of the cards. I wanted the cards to have a "boutique chic" feel and I think all of the tiny details deliver.
Here they are; all ready to be mailed. I also love that they are nice and flat and won't require any extra postage, but I didn't have to sacrifice style. Now I want to make an all occasion card set with each of the sentiments that are included in the collection. Wouldn't that make a lovely gift? I think so. I would love to receive something like that. Thanks for fluttering by!
My daughter asked me why I keep making cards if I don't have anyone to give them to. I laughed and told her that every card I have made for the last year or more has had a recipient. It just seems like lately I have been needing quite a few. This particular card is a thank you for my sister. She gave me the cutest Mother's Day card and this was inspired by it. It was done in navy, pink and gold and was absolutely adorable. I wanted to thank her for the Mother's Day gift as well as all of the Easter goodies she gave my family.

I used the new "Bitty Bouquets" set from PTI for the focal image as well as the coordinating dies. The "thanks" die cut is one I picked up at Hobby Lobby. The "for making me smile" portion is from an old SU! set and worked out perfectly for this design. The images were stamped in navy and pink passion and then a few of the flower centers have a tiny dot of gold stickles. The "Thanks" die cut was cut out of an adhesive foam sheet. I sprinkled gold glitter over the top for some high shine. The rest of the sentiment was heat embossed with gold embossing powder.
A few gold sprinkles finish it off! Sweet and Simple! Thanks for fluttering by!
I was so excited when the doorbell rang and it was the postman with a package for ME! I wasn't even expecting it since I hadn't gotten a shipping notice yet! What a fun surprise! I have been dying to play around with "Graceful Greetings" since it came out. I needed a few cards for the ladies that I go visiting teaching to, so I got to work!
The first thing I did, was emboss "hello" using a very old, but much loved embossing powder from SU! called "Vintage Verdigris". For those of you who have been around for a while know that it is one of my all time favorites and I was super irritated when it was retired back in my SU! days. I resurrected it for today's project and can forsee it being used for lots more things! It has lots of different specks in it for a beautiful effect. It looks like copper after it has aged.
Once I had it embossed, I added the flowers and leaves. This was my first time getting it inky and I can see where I need to improve with the placement, but I had fun anyway. I also did a little swiss dot dry embossing for some fun!
The two arrows were diecut using Spellbinders dies. I also used a bit of ribbon twine and a mini clothes pin for some added dimension. Thanks for fluttering by!
P.S. I had some other fun goodies delivered as well, so stay tuned for some projects using those!
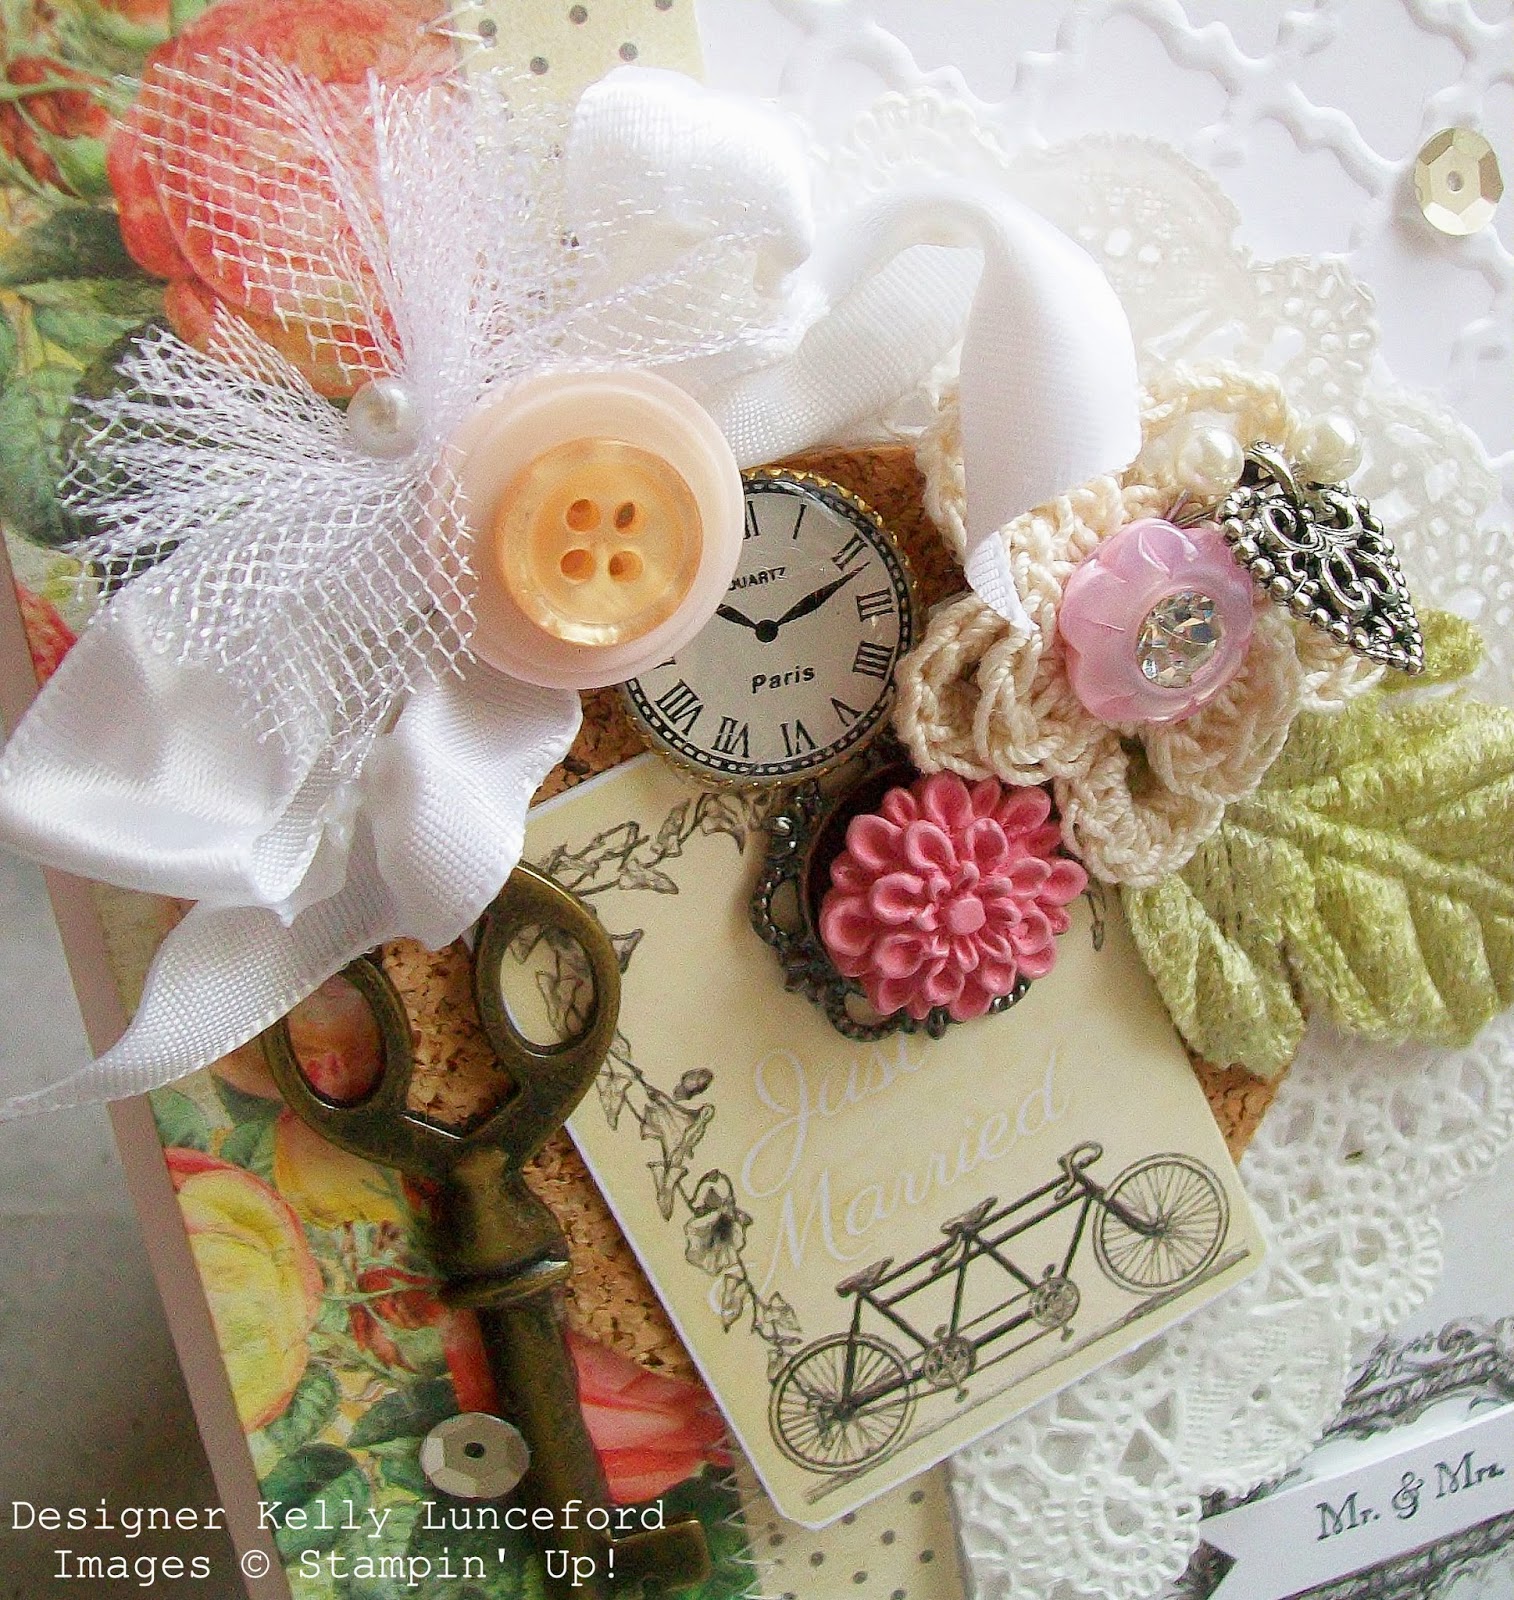
I'm back today with a wedding design to share with you. In my last post I mentioned that I didn't have a single graduation stamp set and the same is true for weddings. What is wrong with me? I decided to make a mixed media piece for the Bride and Groom. It takes me back to a time when I used to make scrappy cards WAY more than stampy cards. The only stamping on this card is the tiny Mr. and Mrs. image in the lower corner. It is from an old sentiment set from SU! I was sure happy to find it!
I chose my papers from a 6 by 6 pad that I bought to make this card. I knew it would be perfect since it is called "something blue" and is a wedding collection. So...the papers and the little tags that are included were my starting points.

It is hard to see in the photos, but the little tag with the bicycle says "Just Married" and I knew it wold be perfect. I decided to make a "bulletin board" of sorts and die cut a circle piece of cork board to add my bobbles and trinkets. I pulled out my glass jar filled with little treasures perfect for a card like this. The first piece was the tiny crocheted flower that I had left over from this project back in 2009. That is an awful long time to wait to be used, don't you think? I'm glad it made its way onto this special wedding card. I threaded a metal heart onto a pin and pushed it into the hot glue that I used to adhere it all together. I also used a clock and leaf that I am pretty sure I got here many years ago. Tiny clocks are so much fun to use, especially on wedding designs.

The ribbon is a white satin from Offray that I simply tied in a bow and then "melted" it using my heat tool. It gives it just the right amount of vintage quality for today's design without being overly "shabby". I also accordion folded a strip of tulle and secured it to the bow with a pin for just a touch of sheer lightness and mimics the feel of a bridal veil.
The two pattern papers were stitched together using a zig-zag stitch for some extra detail. The Mr. and Mrs. stamped strip was adhered to another little tag that is included in the paper pad. I folded a doily in half to reinforce the circle pattern and add some softness. The main white base of the card was dry embossed using an embossing folder from Hobby Lobby.
The key is one that I have had for years and I can't remember the manufacturer, unfortunately. Keys used to be my "go to" design element on so many projects. I was thrilled to use it. I had a lot of fun making this card and it really was a blast from the past as I remembered how much fun I used to have putting together little collage projects. Thanks for fluttering by!
It seems like everyone I know is headed to a graduation or has already gone! It's crazy! I realized that the season of graduations is really just beginning in my extended family. Out of the 20 grand kids on my husband's side only 2 have graduated and there should be one almost every year for a LONG time. I just got an announcement in the mail yesterday for my awesome nephew's graduation. I don't have a SINGLE graduation stamp set or anything remotely related except for this little sentiment from PTI's " Mega Mixed Messages. What's a girl to do? Well, I had to just get creative, that's all! Oh...and maybe go shopping?!?!

I die cut the numbers out of black cardstock and set those aside. I had decided that some confetti would be fitting for a graduation card so I decided to create a shaker card. I diecut the window using a square nestability for precision and ease. I adhered the acetate window as well and got to work deciding on the "filling". I chose a combination of sequins; gold, silver, stars and then some seed beeds for some extra texture. I did stamp "congrats to the grad" a few times on the card base which you can see in the window. The other's are covered up with sequins, but it also gave it some added depth. Once that was done, I simply attached it to the card base using foam tape.
Once that was done, I was able to start placing the other elements that I was using on the card. I stamped this "best day ever" sentiment from one of the big ticket stamp sets. It thought it was fitting. I also made a little graduation cap from a black square and some hand clipped fringe to act as a tassle.
I was having a hard time finding balance, but adding the gold glitter strip to the top and a few gold sequins at the bottom did the trick. It probably is a bit more than an 18 year old boy needs, but what the hay...he's got a card maker for an aunt! It's playful and fun and that's probably all that matters...oh...and a big wad of cash inside! LOL! Thanks for fluttering by!
P.S. I have a wedding to go to so stay tuned for a wedding card as well!
Wednesday was Rowan's last day of preschool and I wanted to take a little something for his two teachers. I already sent a nice gift during Teacher Appreciation Week so I kept this one simple, yet fun! If you are still needing some last minute ideas before the kids get out of school, this is a fun one!
I have been wanting to do a minty teacher gift for a while so I jumped at the chance when I found this yummy Mint Julep lotion at Bath and Body Works. It smells delicious and the bottle is so pretty! I love the color combo and knew it would be a perfect starting point for a gift tag.
The color combo actually reminds me of some of the Christmas gift tags we had when I was a kid. We had an assortment of tags that were left over from the late sixties or early seventies I'm guessing and were decorated with all kinds of bright, grinchy greens and shocking pinks with a fair helping of glitter. I loved those tags! I guarantee that there are probably still a few kicking around in the Christmas wrapping paper stash!
I didn't have a specific image or stamp set in mind when I first got started. As I was rummaging around trying to find the wood grain background, my eyes landed on this set. The biggest leaf looks just like a sprig of mint, don't you think? It is Lovely Layers from PTI.
I stamped the tag base using white ink and PTI's "Background Basics: Wood grain" stamp set. I also used "Polka Dot Basics" for the vellum strip. I inked it up using Versamark ink, poured Heat and Stick powder over the top and heated it until glossy. I immediately poured the glitter over the top and then heat set it. The final step was to use a dusting brush and brush off all of the excess glitter. I used a fine glitter so I used my embossing buddy to reduce static on the vellum before I got started. I love how it turned out. I used the same technique and supplies on the pink portion of the focal image.
I quickly made a computer generated sentiment to fit the theme and piled it all in a cello bag. It's tied up with a satin ribbon and ready to go. I can't believe how fast the year has gone!
T
hese are the supplies I used, minus the few I talked about in the post. Thanks for fluttering by!