
Welcome to day 2 of the Papertrey Ink April release countdown! As promised, I'm sharing more graduation inspiration along with some floral inspiration to last all season long! My first card for today features the absolutely AMAZING and wonderful Framed in Success stamp set/die set. I can already tell this is going to be my go-to set for years to come!

To begin this card, I used the Exquisite Leaf Frame Hot Foil Plate using Champagne foil on a 4 by 5 1/4 inch piece of Vintage Cream cardstock. I have found that if I turn the plate sideways on the heating platform of my foil machine I get the best results. I used the highest heat setting and then heat it for 47 or so seconds. I used a corner rounder punch on each of the four corners and then set it aside.

I die cut one of the many frame options included in the Framed in Success Die set twice from Ocean Tides cardstock and glued them together for a sturdy piece. I also die cut the numbers from "gilver" glitter cardstock. Since I used the champagne foil, I thought this would be a good choice for the numbers. I also die cut them again from Ocean Tides cardstock and then glued them together. I used the Glad Press n' Seal technique to get them spaced and glued down nicely.

I added the frame to the center of the foiled panel using foam squares. I stamped the sentiment, which is from the new Framed in Success Sentiments Stamp Set, on the smallest circle included with the Love to Layer: Scalloped Circles Die using black ink. I popped it up in the center of the frame.

I added the hat to the top and the diploma off to the side using foam squares. The "class of" portion of the sentiment is heat embossed in gold on a strip of black cardstock. The entire panel was added to a top-folding A2 card base using liquid glue.

Switching gears for card number 2! This card features the new Into the Blooms: Anemone die set paired with the new This is Big Sentiments: Love stamp set.
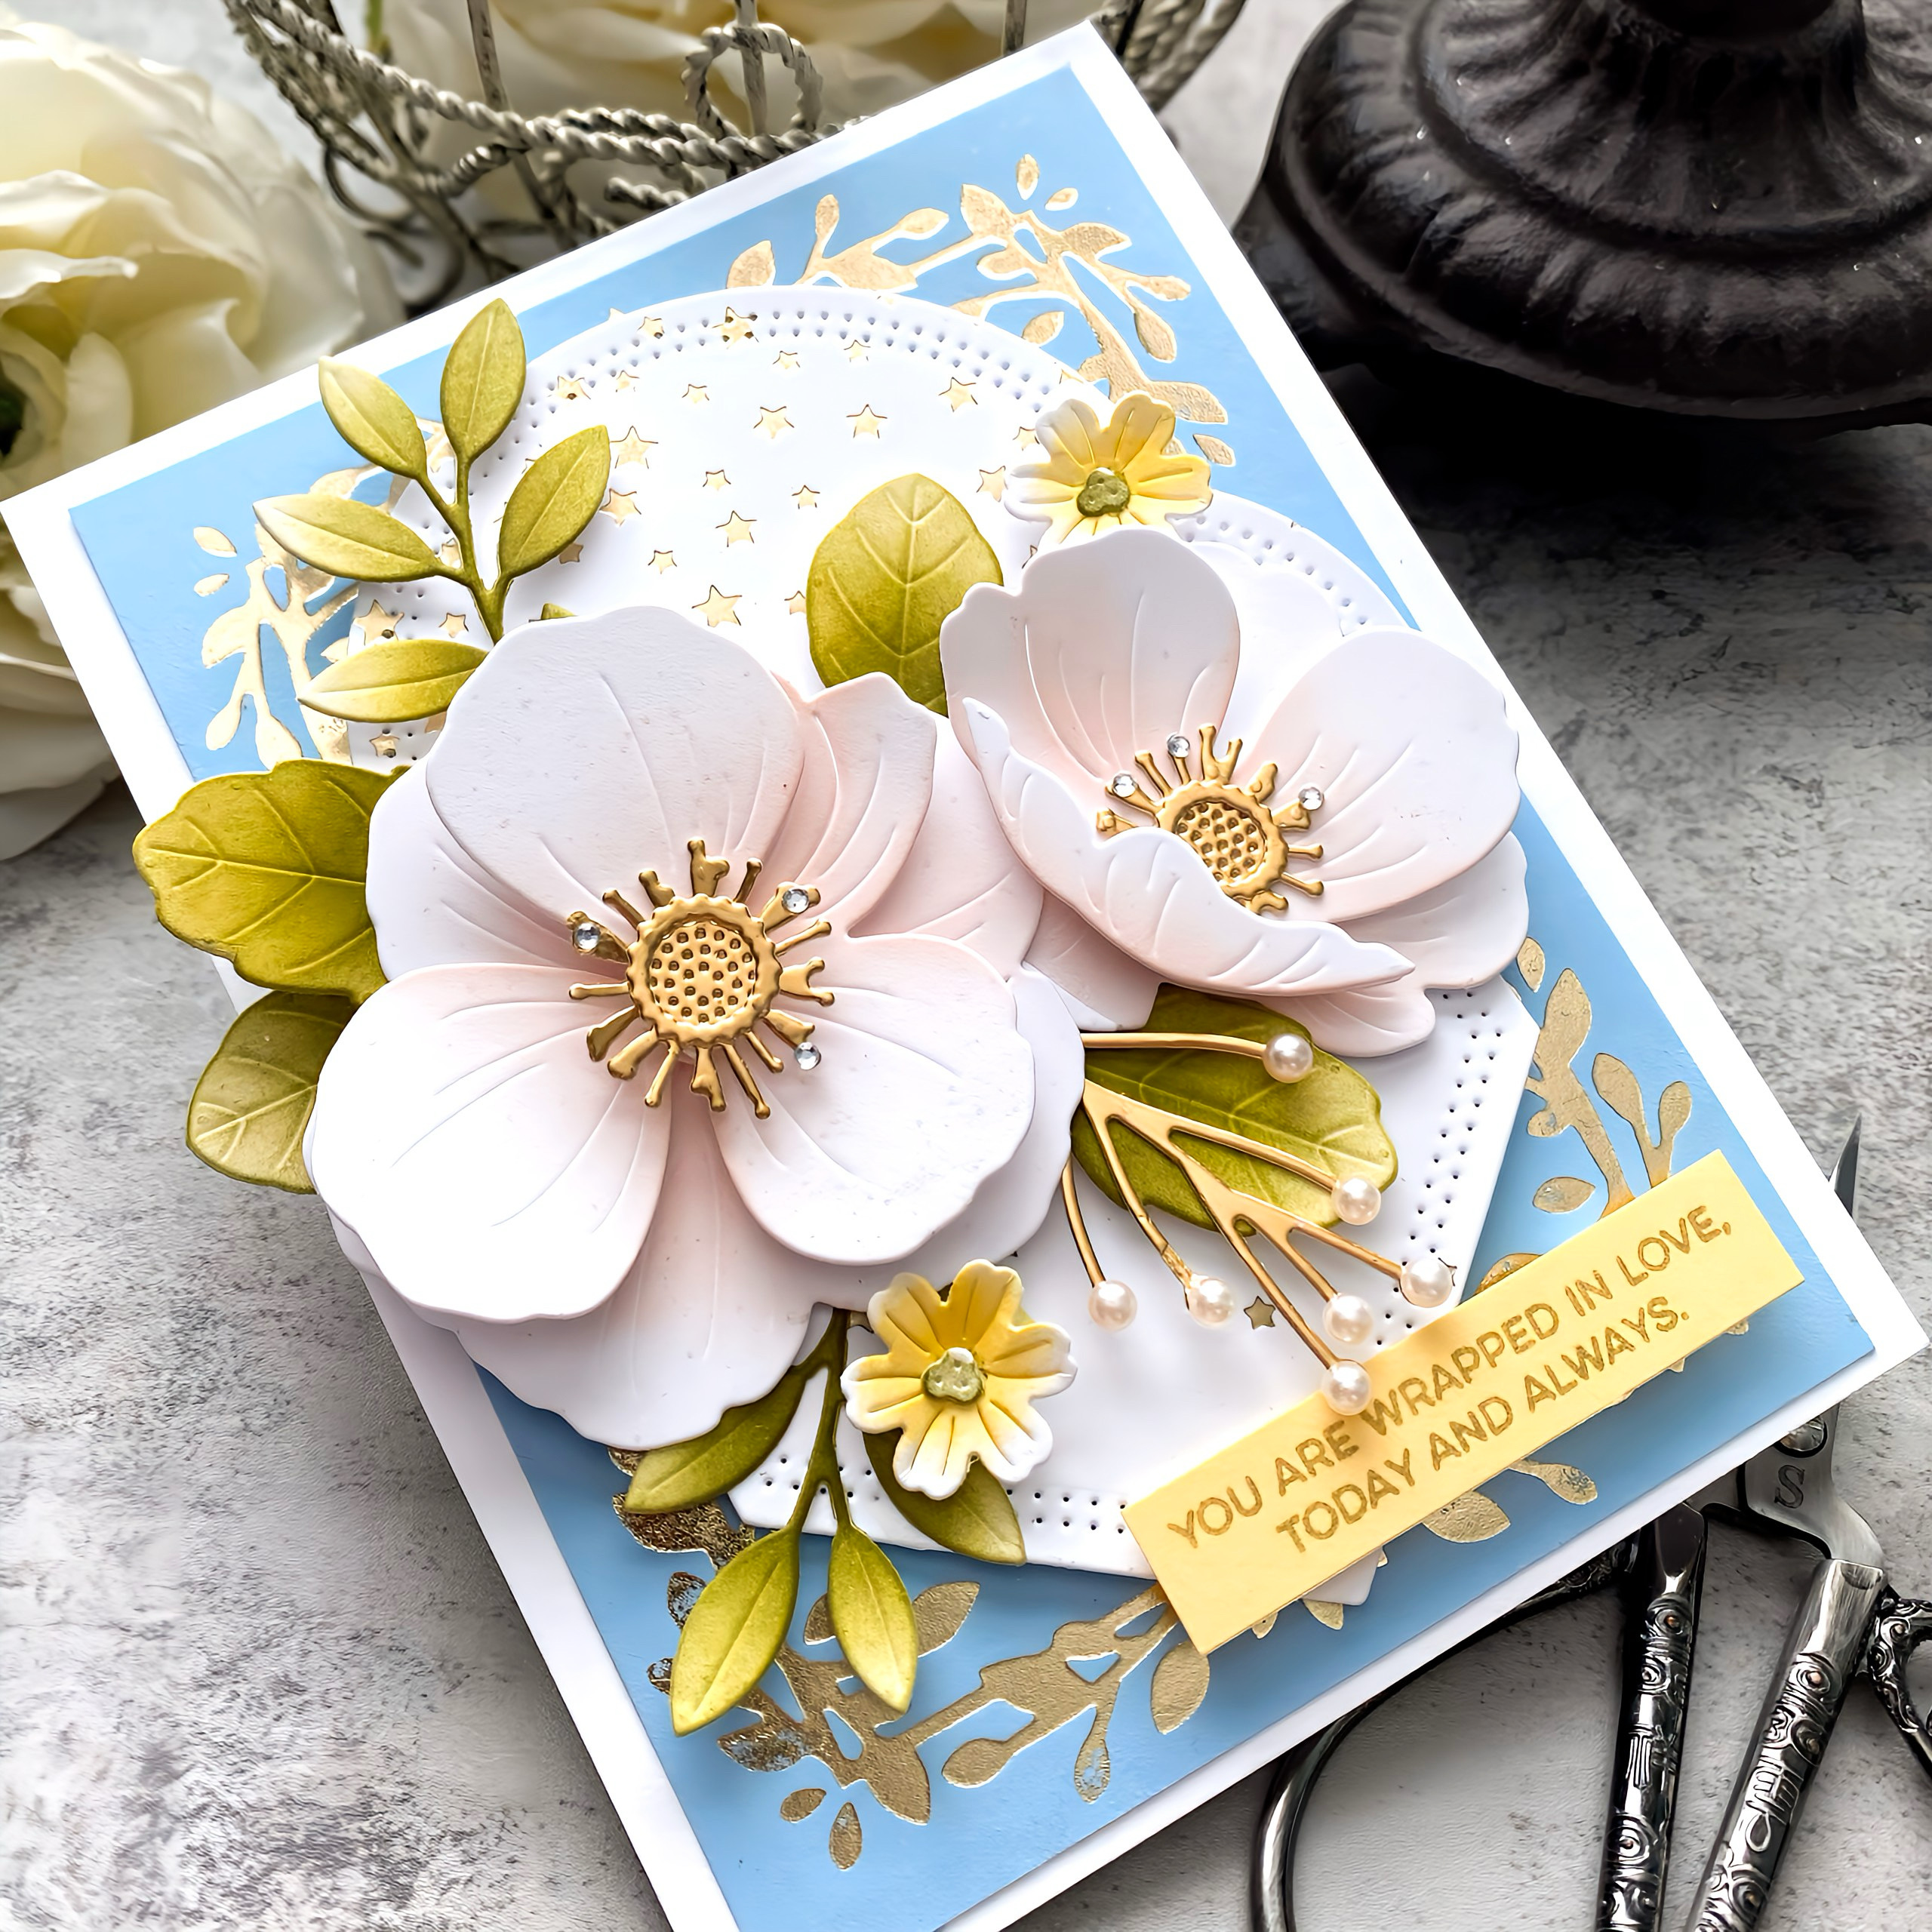
I die cut the Anemone pieces from white cardstock and then the centers are die cut from gold. This is actually the second card I made using the Anemone set, but I ended up liking it better than the first, so I'll be sharing that one next.

These flowers are incredibly easy to put together, which for me, means you will be seeing them often! ha ha!

I had already created the die cut piece that the flowers are anchored to because I was planning on using it for one of yesterday's cards, but I didn't. It was sitting there with the flowers and I thought it looked so pretty together. I also had these leaves on my desk and I really liked how they look with the flowers (as I mentioned earlier, this wasn't my first Anemone card and I used all gold leaves for that one)

The background was created using the Exquisite Leaf Frame Hot Foil Plate on a panel of Spring Rain cardstock. I trimmed it down and then added the focal panel that was created using the new Cascading Stars Hot Foil Plate and then cut using the Love to Layer: To a Point Die.


I had a few flowers ready to go that were supposed to be used on a different project, so I added them as well.

The sentiment is from the new This is Big Sentiments: Love Stamp Set and I stamped it with gold pigment ink on a strip of Lemon Tart cardtsock.

I added the entire focal panel to the background panel using foam squares.
I glued it to a top-folding A2 card base using liquid glue.
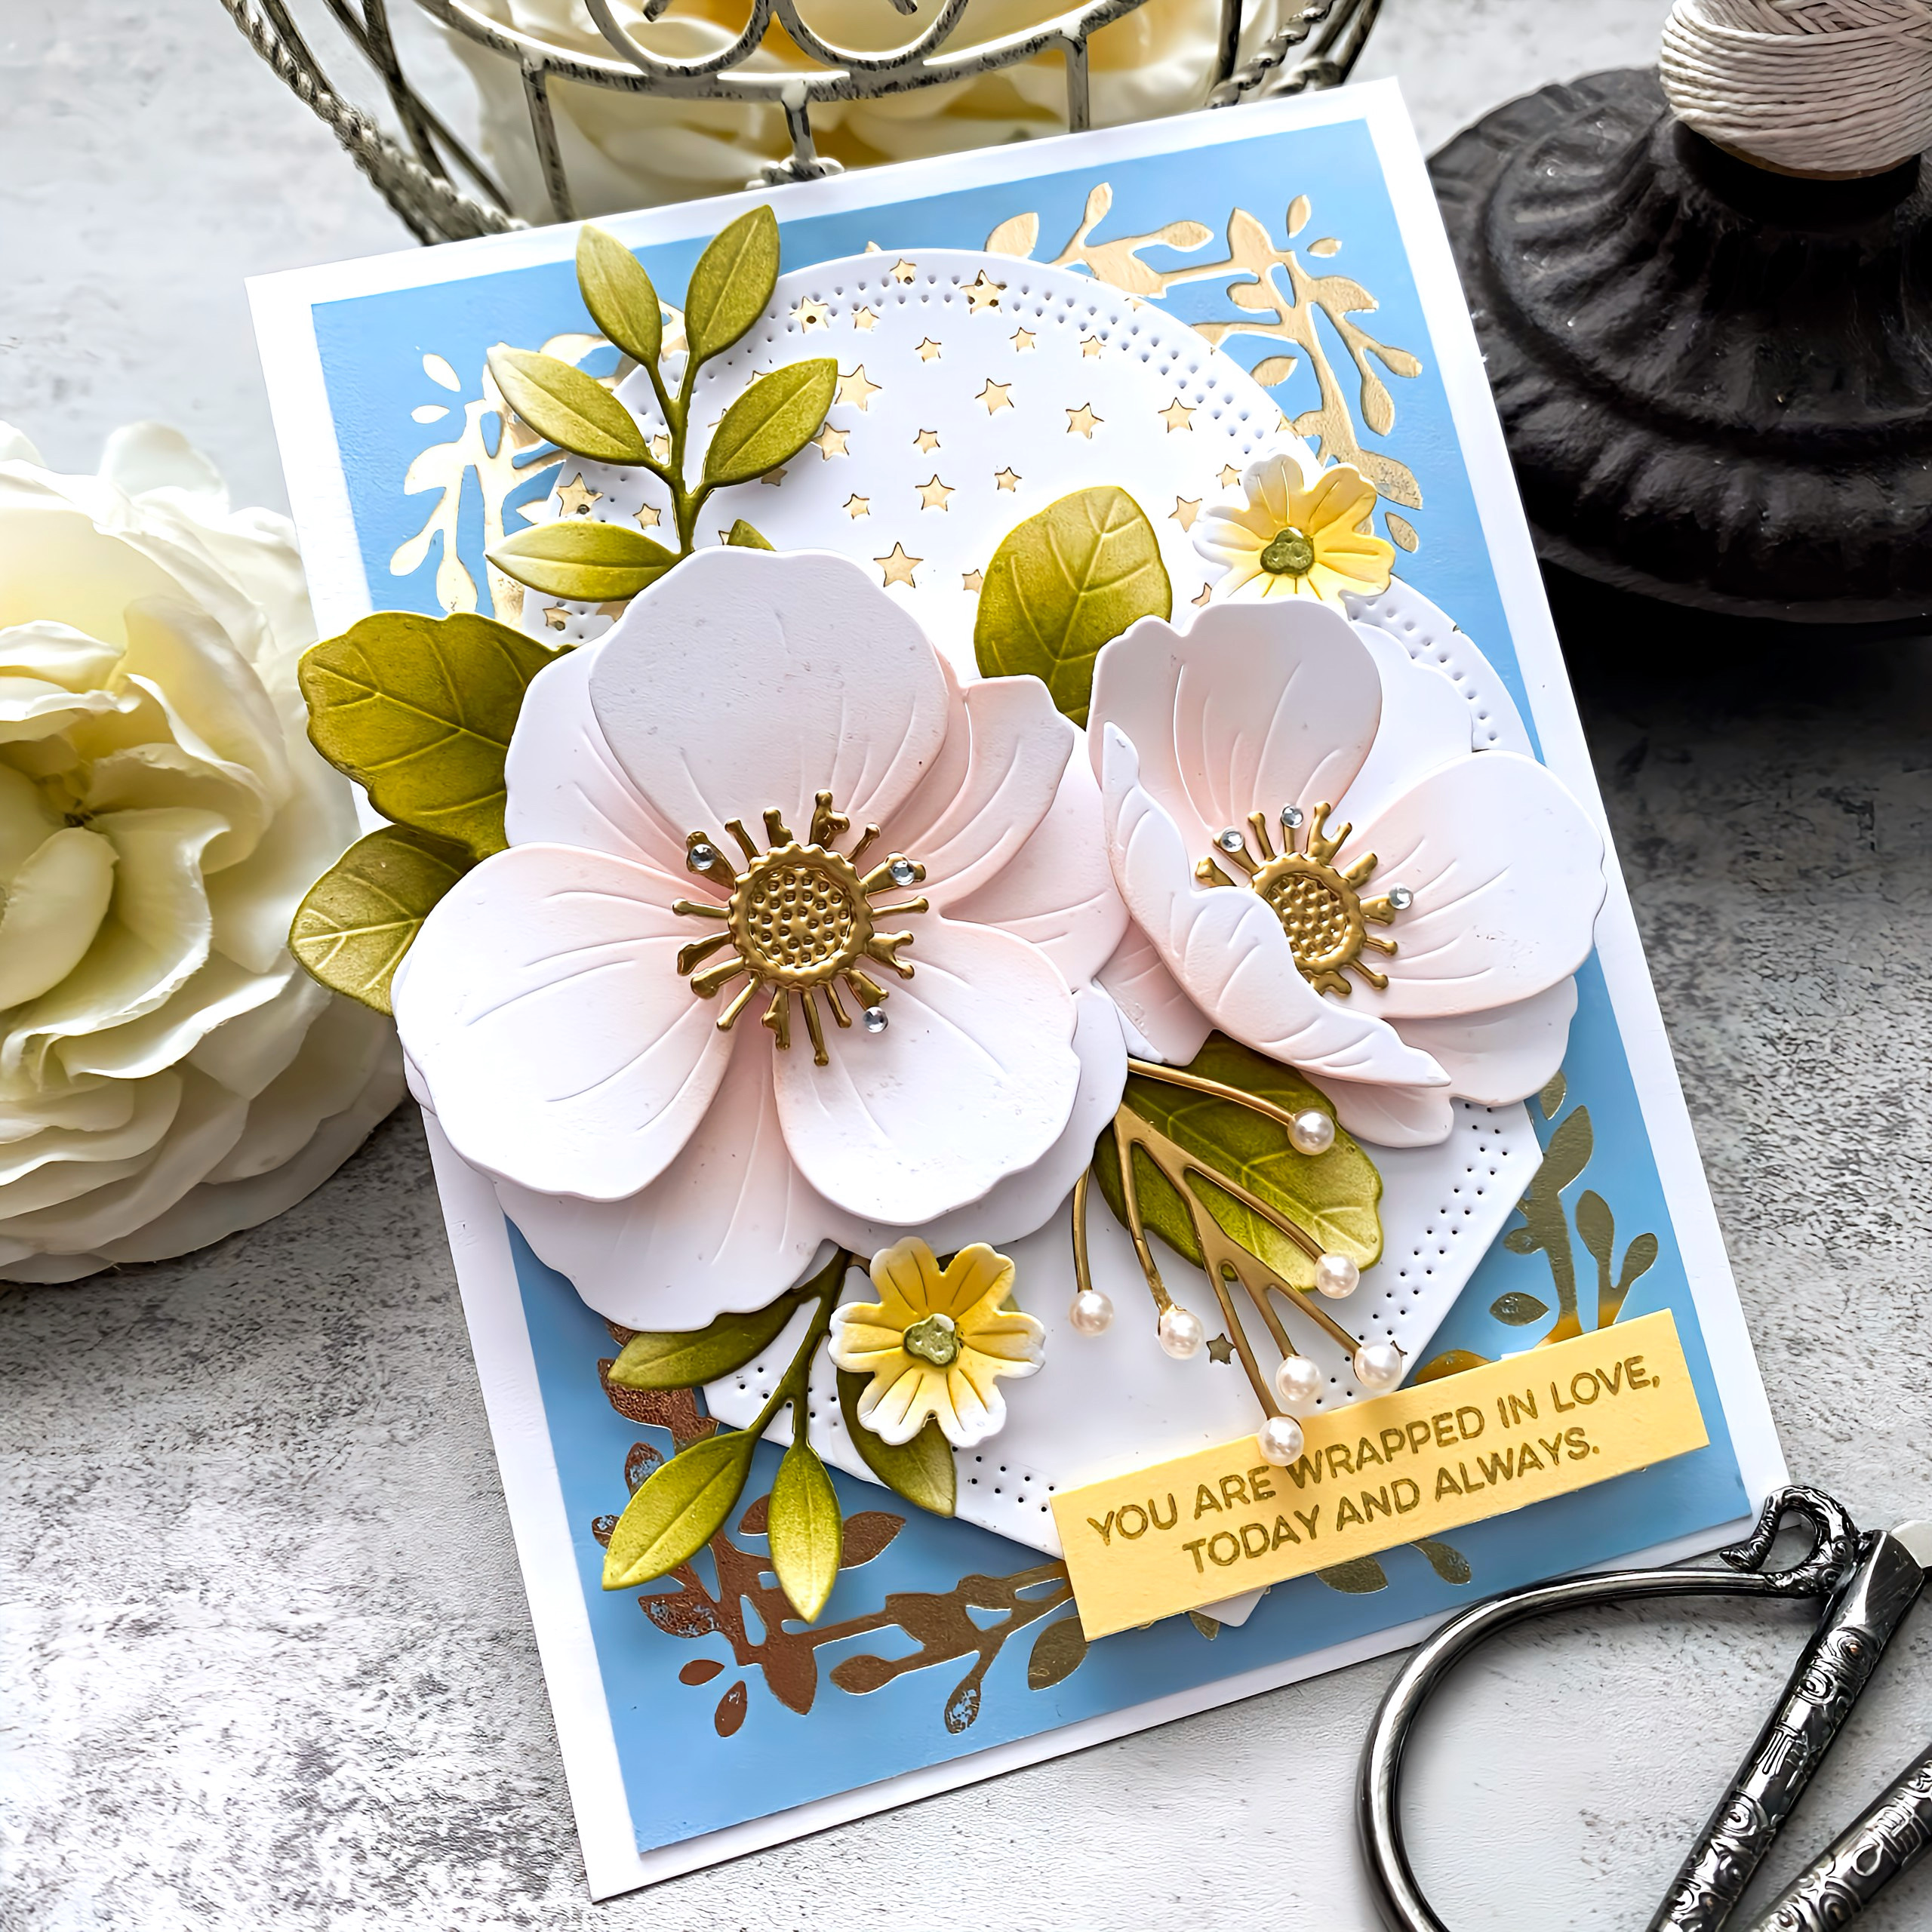
 This is the original card I made, and while I still like it, I just really like the addition of the green leaves and colorful background. This one was made with a wedding/bride in mind so I definitely think it fits the bill!
Anemones are a very unique and particular flower and I didn't want you to see a lot of the "same" from all of us designers, so I decided to switch gears and do something a little bit different from what an Anemone really looks like.

I die cut all of the petal pieces from white cardstock and added just a hint of color using tattered rose distress oxide ink with a finger sponge dauber. I cut the rest of the pieces from gold cardstock. I added the smallest size included with the PTI Gems: Clear to the floral centers. I also added some pearls to the berry sprig piece on the top/right.

I die cut the "LOVE" sentiment piece using the This is Big Sentiments: Love die and then stamped it with Versamark using the coordinating stamp set. I added some gold embossing powder and then heat set it using reverse grip tweezers so I wouldn't burn my fingers.

The sentiment panel was die cut using the new Love to Layer: To a Point Die. I stamped the "is all you need" portion of the sentiment using gold pigment ink and then added the die cut LOVE above it. I forgot to mention that I cut another LOVE so I could glue it together.

I cut a panel of pattern paper from a pad called Blanc Boutique from The Paper Studio measuring 4 by 5 1/4 inches and rounded the corners with a corner rounder punch.

I arranged the flowers and leaves until I was happy with the arrangement. I added a trio of sparkling clear sequins around the sentiment, gave it a spritz of shimmer spray and then added it to a top-folding A2 card base.
Join me again tomorrow for the 3rd day of the release; a little more graduation along with the new Reflections, but then on day 4 we'll switch gears with some really cute new Mother's Day products! Thanks for fluttering by!
10 comments:
HOW WONDERFULLY ELEGANT, Kelly! ;)
Becky Green
Oh my gosh, Kelly, your cards are awesome! Can't say what my favorite is because I LOVE them all!!
Love the graduation card and the flowers are gorgeous!
It’s really a great and useful piece of information.
I am glad that you shared this useful information with us.
Nice post. I learn something totally new and challenging on blogs I stumbleupon everyday.
Hi there, You have done an excellent job.
I will certainly digg it and personally suggest to my friends
This is really helpful post and very informative there is no doubt about it.
Thanks for sharing with us this important Content.
Post a Comment