
Did you think I dropped off the face of the earth? ha ha! It sure feels that way, I bet! I'm here, don't worry, but things have sure been hectic around here! My three youngest boys started their football season two weeks ago and my car decided it would be super fun to die! Ugh! Anyway, we've somehow made it through and my car should be fixed by Monday (fingers crossed) I also hosted the ladies church group at my home on Wednesday so I was a busy little bee getting ready for that. whew! Anyway, I'm thrilled to be here today for day one of the August Papertrey Ink release countdown!
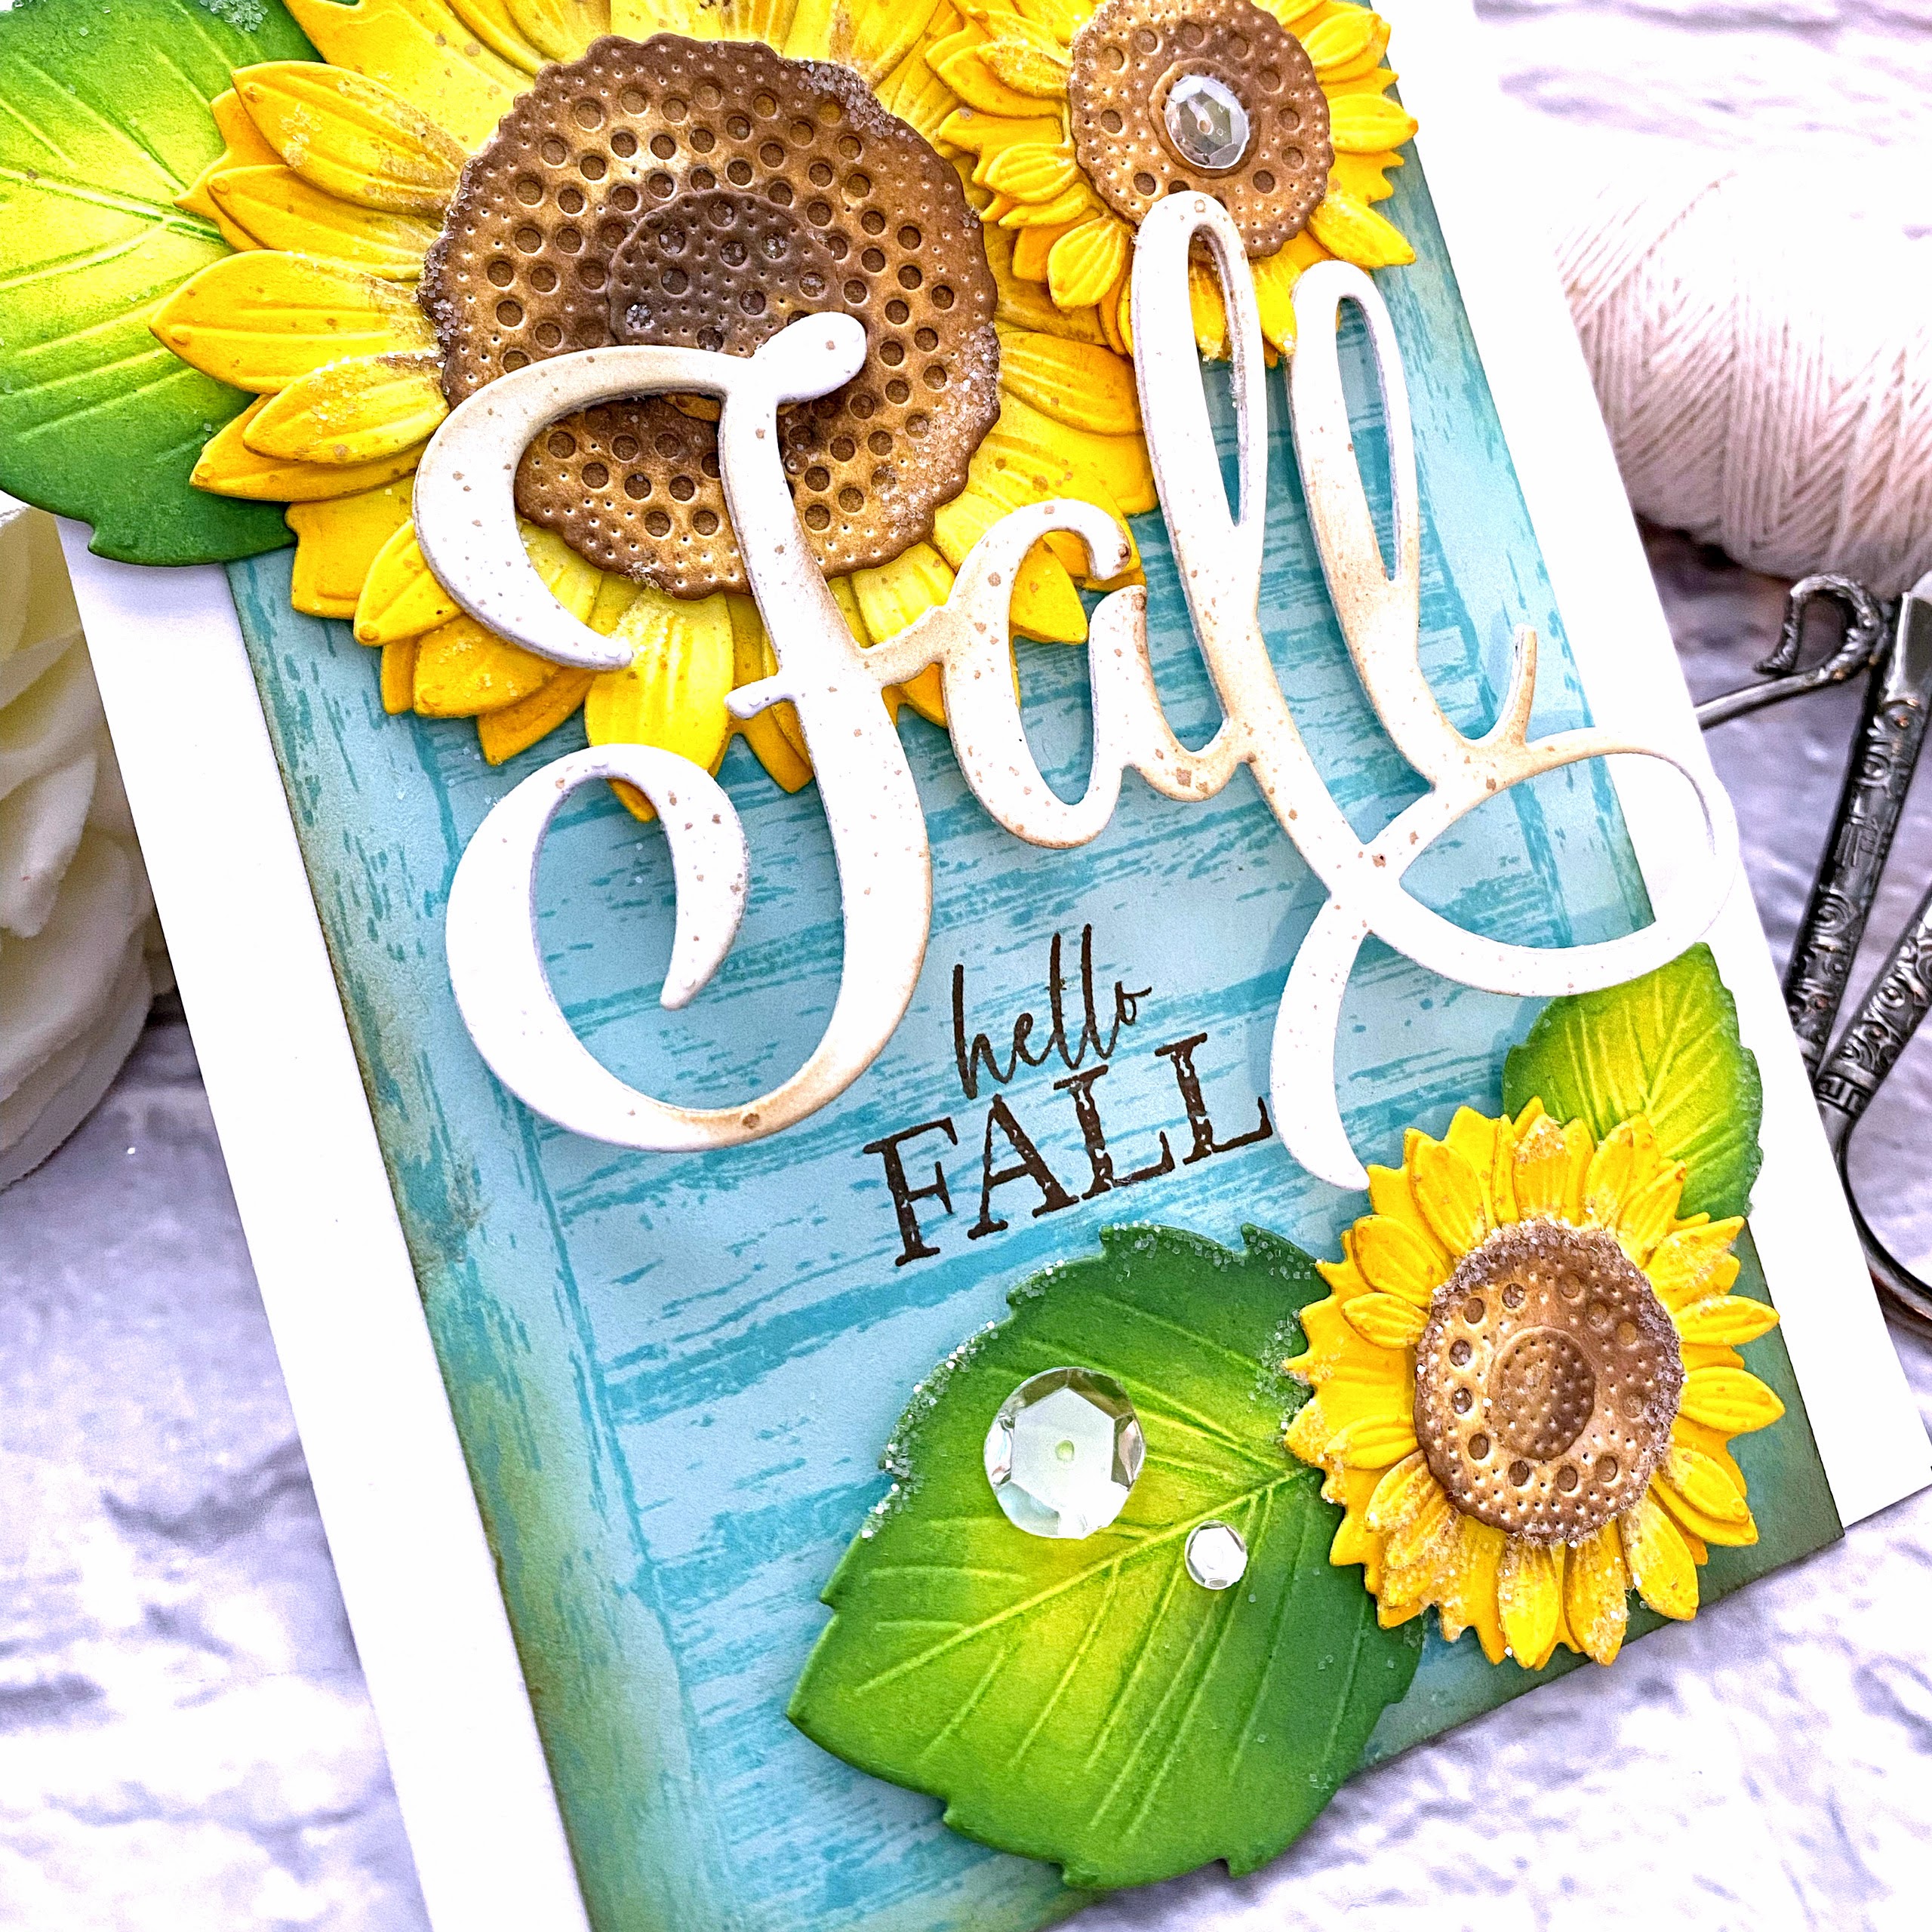
My first card uses the fabulous new Into the Blooms: Sunflower dies and the new Larger Thank Life: Fall die! I absolutely adore both of these products and love how nicely they work together!

I die cut all of the pieces I would need to create 4 sunflowers out of white cardstock. I used an assortment of Distress Oxide inks to bring them to life! I opted to use liquid glue to put them together; I have a tendency of making rather thick cards and I'm trying to get better, without skimping on dimension. The fun thing about these sunflowers is that you can "fluff" the petals up to create realistic looking blooms! I had so much fun fluffing while I was making them, but do you think I remembered to "fluff" them for the picture?

I stamped the Wood Plank Background Stamp onto a panel of Aqua Mist cardstock using Vintage Patina Distress Oxide ink. I also used a bit of brown ink to age the edges a bit as well. I stamped the "hello fall" sentiment, which is from the Just Sentiments: Happy Fall mini stamp set, using brown ink onto the wood background.

From there, I arranged the sunflowers and leaves using foam squares and liquid glue. The Larger than Life: Fall word was die cut three times from white cardstock and glued together and then grunged up a bit using brown ink and splatter. I simply glued the top fo the F, A, and the Ls to the flowers using liquid glue. I added some glitter and sequins for some sparkle and shine. The entire focal panel is glued onto a top folding A2 card base!

This is one of those "squeal-worthy" new products that you're sure to fall in love with, just like I have! My kiddos are heading back to school soon and this Go-To Gift Card Holder: Backpack and the coordinating Go-To Gift Card Holder: Backpack Accessories stamp set are just the cutest thing ever!

I chose to use double sided pattern paper for my cute and feminine backpack; it's actually the perfect thing because of the coordinating patterns and scale! I ended up pulling in a few different prints from the same paper pack: Recollections Floral Fantasy purchased at Michaels!

I didn't have a gift card to tuck inside and with my car being in the shop, I couldn't run to the store to get one, so I had to do without. The gift card tucks down inside the main, big flap where the cup, ruler, and notepad are sticking out from. I adhered everything in such a way that the gift card will still be able to slide in easily!

I was planning on giving this to one of my boys' teachers, but my cute friend text me later in the day that I made this to tell me that she just accepted a 6th grade teaching position and is starting on the 22nd! Wow! I thought just how perfect this will be for her and I can give her a gift card to get her classroom set up!
Join me again tomorrow for day 2 of the countdown where things will take a spooky turn! ha ha! Thanks for fluttering by!
3 comments:
Your cards are so delightful! Love sunflowers of any kind, and that sweet, little backpack? C'mon, now!!! Nothing could be cuter!
BEAUTIFUL WORK, Kelly! I think the Book Bag is just ADORABLE!!! ;)
Just gorgeous, Kelly! Love the sunflowers.
Post a Comment