Showing posts with label welcome cards. Show all posts

Tuesday, January 24, 2023

Papertrey Ink January Release Countdown Day 3


Welcome to day 3 of the Papertrey Ink January release countdown! I'm sharing a few projects today using some fun new products! My first card features the new Larger than Life: Home dies and the new Into the Blooms: Cherry Blossom dies!

I die cut all of the pieces for the flowers from white cardstock and then colored them using Distress Oxide inks. I used liquid glue to assemble them together.


I also die cut the HOME from white cardstock and then used finger daubers to color the roof portion and the heart in the middle of the O.


The stamped sentiment at the bottom is from the new Larger Than Life: Home sentiments.

The Into the Blooms: Cherry Blossoms have leaves, a branch, and buds included in the die collection!

My next project is a simple birthday invitation that would be really easy to mass produce.

I know I will be using this die collection for many more things, not just invitations!

I also used the new party time stamp set for the wording on the invitation.

Using pattern paper makes easy work of creating these invitations! thanks for fluttering by!


Wednesday, April 13, 2022

Pinkfresh Studio {Built on Dreams}

Hello friends! I'm popping in today to share 4 cards I made using the Built on Dreams suite of products! When I made THESE cards, I joked that I needed someone to move into the neighborhood before spring is over so that the springtime design would still be relevant. Well, that happened so here I am creating a few new designs to add to my stash! I actually made 2 "welcome" cards and then two "thank you" designs so I could use both of the bold sentiments included in the Built on Dreams stamp set.

I had so much fun stenciling each  panel using the Built on Dreams layering stencils. I used the same technique for these cards as I did on THESE; I simply switched up the last cluster of flowers to make each card unique, yet cohesive. My two favorites ended up being the blue one in the right corner and the purple one in the left corner.

I decided to make shaped cards because who doesn't love a cute little house shaped card, right? They're a sweet little size to tuck in with a welcome basket or housewarming gift! If you're not digging the shaped card idea, you can simply add the house shape to a standard A2 card base as well. Once I had the stenciling finished, I used the Built on Dreams die to cut each house.

To create the shaped card, I cut and scored 4 regular A2 cards and then placed the die over the top leaving the left edge of the die hanging off the fold line. Easy peasy! Just run it through your diecutting machine and you've got your shaped card base. I used liquid glue to adhere the stenciled/die cut houses.

Each card features the bold sentiment either reading "thank you" or "home" and then I heat embossed the smaller sentiment in white onto a strip of black cardstock. I also spritzed each card with Shimmer Spray. I normally do this AFTER I take photos, but I was too excited to see the sparkle! ha ha! The tiny flecks you can see on the black portions are the sparkles. They don't turn out looking that great in photos, so that's why I usually wait until after I photograph my projects!
I also added some Essentials: Jewels Mix (which are in stock-yay!) to each of the cards in assorted colors.
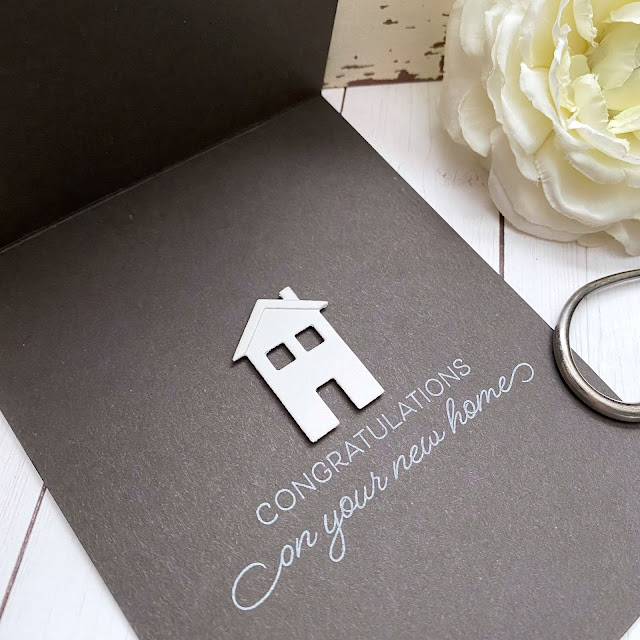
The stamp set also features this large sentiment that is perfect to add to the inside of the "Welcome to the Neighborhood" cards! 

Since I'm on an envelop kick, I decided to create some envelopes to coordinate with each card. I used a piece of typing paper to tuck underneath the flap of each of the envelopes and then stamped them using the Diamond Tiles background stamp. I think it really adds to the overall presentation of the card! Thanks for fluttering by!


Saturday, January 29, 2022

Wintertime Welcome

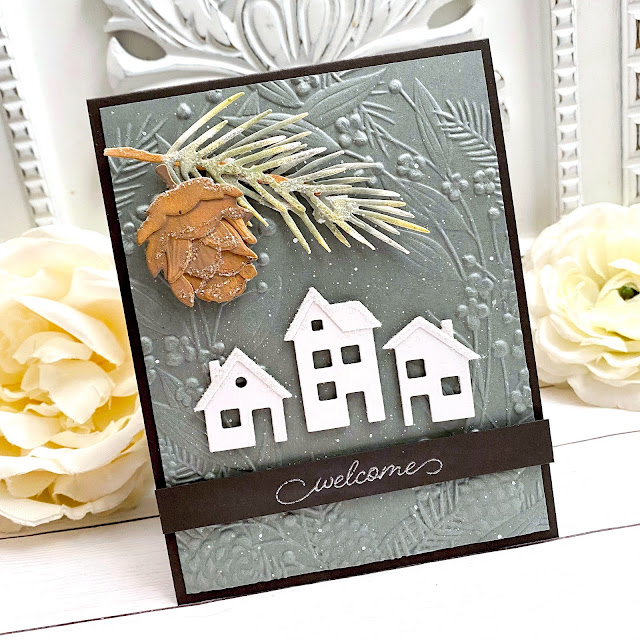
The cutest new couple moved into the neighborhood along with their super-precious twin baby girls! I couldn't wait to deliver a "welcome to the neighborhood" gift basket and card! I don't know if I've mentioned it or not, but I have a tendency of buying all of the stamps/dies/stencils/etc. that I fall in love with and they get sent to a specific "new product" basket that I have next to my desk. Unfortunately, this basket is bursting at the seams since I rarely get a chance to do "just for fun" creating! I decided to put a dent in the basket with today's card. I don't want to put the items away in their designated bins until I've actually USED them, otherwise they will be forgotten. Once I've created, photographed, and posted the project, the chances of me forgetting about a product are greatly reduced! Does this sound familiar to anyone? ha ha!

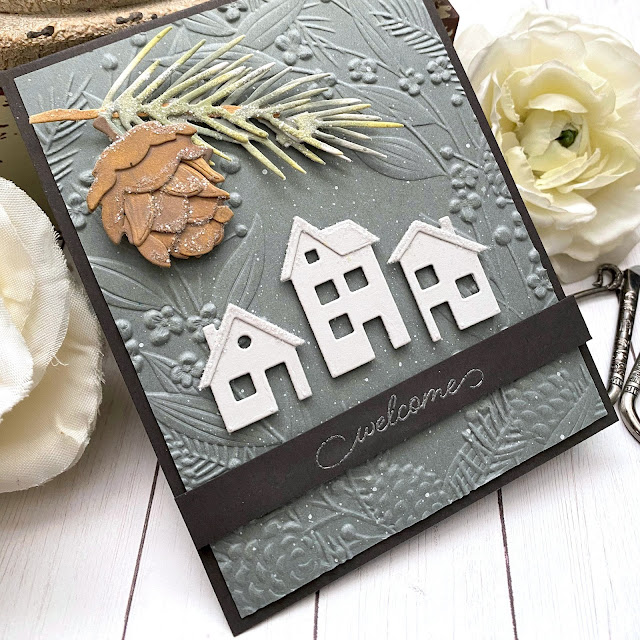
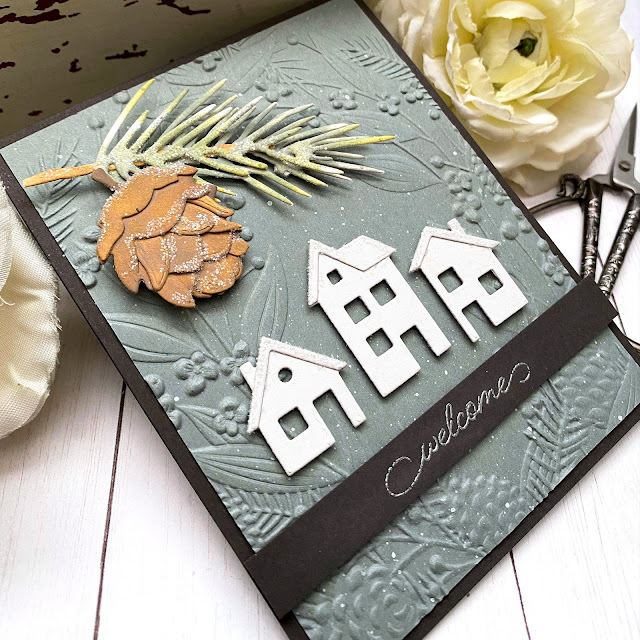
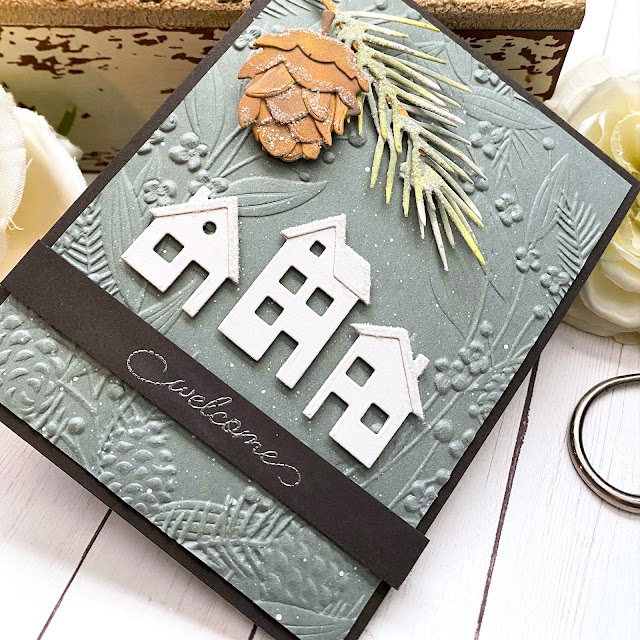
To begin, I used a beautiful embossing folder from Simon Says Stamp, which appears to be discontinued or out of stock. It was part of their holiday release; I snagged two others in addition to this one, so hopefully I'll get a chance to use those as well! ha ha! I used Stormy Sea cardstock which looks absolutely beautiful with this deep embossing! I added some white paint splatter for a snowy look.

I die cut the houses from Soft Stone cardstock using the My Neighborhood Dienamics. I glued the corresponding roofs to each house using liquid glue and then added them to the embossed panel using foam squares. I probably should have waited until I added the sentiment strip, because after I edited these photos, I noticed they were wonky! oh well! ha ha! I gave the rooftops some glittery snow for some added detail and sparkle.

Speaking of the sentiment, I heat embossed the "welcome" sentiment from the Right at Home  stamp set onto a strip of Smokey Shadow cardstock using silver powder. I adhered it to the embossed panel using foam squares.  I almost left the card just like that; clean and simple, but then I remembered that I had an extra pine bough and pinecone left over from THIS card, so I added it to the top!

I'm really glad I remembered it because it enhanced the images from the embossed background so nicely!

Since I had so many die cut houses left over, I decided to gussy up the inside by adding another sentiment and a cute little house! Thanks for fluttering by!