Showing posts with label western cards. Show all posts

Saturday, May 24, 2025

Papertrey Ink May Release Countdown Day 2

Welcome back for day 2 of the Papertrey Ink May release countdown! As promised, I'm back with some additional western inspiration! This card features the adorable new In Stitches: Cowboy Boots Die and the new This is Big Sentiments: You're the Best.

Would you believe it if I told you that this entire card is made from white cardstock? The only exception is the base which is cut from Vintage Cream cardstock.

The boots are cut from white and t hen colored using assorted distress oxide inks. The flowers are from the new Into the Blooms: Wild Wood Die and are also colored with distress oxide inks.

I die cut the sentiment using the This is Big Sentiments: You're the Best and then stamped it using the coordinating stamp set.

There are a few different style options for the boots with included dies which make these boots so much fun.

I went with a traditional cowboy boot. The background was created using the Wood Plank Background Stamp and Bundled Sage distress oxide ink with some added brown around the edges. I layered everything up using foam squares and liquid glue.

Switching gears here for something cool and refreshing; how about some lavender lemonade? I had so much fun creating this card using the precious new Main Squeeze Stamp/Die set.

To begin this card, I die cut all of the pieces using the Main Squeeze Die and then got to work stamping everything. I had a fear as I was beginning that all of the Design Team cards might end up looking the same so I quickly changed gears and created some lavender lemonade, rather than just regular lemonade.

In order to pull of the lavender feeling, I chose to use some additional die cut pieces from the Into the Blooms: Wild Wood Die; you've probably already guessed it's a favorite!!! ha ha!

For the background, I used the Watercolor Wonderful Stencil Collection on a panel of white cardstock. I also die cut the background frame portion from white using the Reflections: John 1 Die and then layered it over the top of the stenciled panel using foam squares.

From there I was able to build the scene using all of the stamped pieces.

I heat embossed the "You're simply the zest!" sentiment using white detail powder on a strip of Lilac Grace cardstock. I gave the two corners a little bit of extra detail by adding some foliage from the Corner Decor Stamp Set and a few blooms from the Wild Wood dies. I gave the entire thing a generous spritz of shimmer spray and attached it to a top-folding A2 white card base.
My final card for today features the new In Stitches: Onesie Die! This collection includes so many options to create all kinds of different styles of baby onesies.

I know I mentioned yesterday I was in need of baby boy cards, but I just couldn't resist making a baby girl onesie, so I'll just add this one to the stash! ha ha!

I die cut the basic onesie piece from Sweet Blush cardstock as well as the skirt/tutu portion. I added some Pale Peony ink around the edges to give it some dimension.

The collar and bow are die cut from white cardstock and attached using liquid glue and foam squares. I had some leftover flowers from my Cowboy Reverie cards that I shared yesterday. I thought the blue flowers looked so cute with the onesie, I decided to stamp a few more to add to the design.

The background was created by cutting an A2 panel of white cardstock using the Cover Plate: Quilted Die. I also created a frame using the Border Bling: Skinny Embossed Frame and glued it over the top of the background panel.

I used the Corner Decor Stamp Set to create the two embellishments for the two corners and then had fun adding the Wild Petals florals here and there. I attached the onesie to the background panel using foam squares. The sentiment, which is from the Just Sentiments: Welcome Mini Stamp Set, is heat embossed in white on a strip of Sweet Blush cardstock. I added the notched ends with a pair of sharp scissors and added it to the card using foam squares. The entire panel is added to a top-folding A2 card base using liquid glue. I hope you enjoyed today's post; join me again tomorrow for day 3 of the countdown! Thanks for fluttering by!


Friday, May 23, 2025

Papertrey Ink May Release Countdown Day 1

Hello and welcome to day 1 of the Papertrey Ink May release countdown! I have quite a few projects to share with you today using some of my favorite new products! Up first is a summery card using the new Into the Blooms: Wild Wood die collection.

For this card, I die cut the wood slice pieces from Vintage Cream cardstock and everything else from white cardstock.

I chose to use Vintage Cream for the wood slices so I could use a light hand with the ink and allow some of the light color to show through without it being stark white.


The sentiment is from the previously released Blooming Beauties Stamp Set and is cut using the Just Tags Die.

For the background, I used two of the stencils from the Elegant Notes Stationery Kit with Aqua Mist ink. I also added some Hawaiian Shores ink splatter for added detail.

I added the wood slices using foam squares as well as the sentiment. Once that was done, I had fun arranging the flowers and leaves.

One of my favorite pieces in the set is the cute little bee! Of course I just HAD to add two because they're just too cute!
Speaking of too cute, I'm also in love with the new Baby Steps Die Collection and coordinating Baby Steps Stencil Collection.

I went for a gender-neutral color combo with this card; mostly because I'm completely out of baby boy cards, but I could always add some flowers if I ended up using it for a girl. 

I die cut all of the pieces for the shoes from white cardstock with the exception of the grommets to lace the shoes and the itty-bitty "metal" pieces at the bottom of each of the shoe laces. Those are cut from Antique Gold cardstock and attached using liquid glue.

A few tips to note: I used my quilling tool to "round" the laces before I attached them to the grommets. You could use a pencil or paintbrush as well, but I just happen to like the with of the quilling tool for projects like this. Once they each had a bit of curvature to them, I added a drop of glue to each of the ends and then used crafting tweezers to gently place the end into the grommet area. The other side goes in just the same way, but there is a bit of an arc as you guid it in.

The background was created by using the Border Bling: Tin Stitch Die and then I rounded the corners using a corner rounder punch. I also stamped a panel using the Nifty Plaid Stamp Set with Classic Kraft ink.  

I stamped the sentiment, which is from the Baby Elephant Stamp Set, onto an oval cut from Kraft cardstock using the Love to Layer: Ovals Die collection. I attached it to the plaid panel using foam squares.

The foliage is from the Into the Blooms: Wild Wood Die Collection and I tucked it here and there around the oval piece. The pacifier is also included in the Baby Steps Die Collection.

My last two projects of the day feature the Cowboy Reverie Stamp Set paired with the new Cover Plate: Banana Die. I also snuck in some florals that are being showcased tomorrow called Wild Petals; I just love how well they accent this Cowboy Reverie Stamp Set.

The Cowboy Reverie Stamp Set includes a boot, horseshoe, rope/lasso, jar, crate, hat and foliage.

I mentioned a few weeks ago that our Teacher Appreciation theme was Wild West and oh, how I wish I had all of these amazing new products; stay tuned tomorrow for even more western inspiration!

I used distress oxide inks for the boot because I love the velvety texture they give which makes the boot look more realistic.

There are three sentiments included in the set as well; I chose the cute "Howdy Friend" for this card.

This card is a little bit more masculine, but could definitely work for a female as well.

One of my sweet friends is a cowgirl, so I'm planning on gifting her all of the western style cards I make for the release!

The background for this card was cut using the Cover Plate: Bandana Die from Americana cardstock.

I really love the size of the images included in this set; not to hard to stamp with my aging eyes! ha ha!

I added a few more Wild Petals florals to this card as well.

Well, this concludes today's post, but join me again tomorrow for day 2 of the release; a little more baby, a little more cowboy/cowgirl and some other fun surprises! Thanks for fluttering by!


Monday, May 5, 2025

Teacher Appreciation Week {You Are So Special To Me}

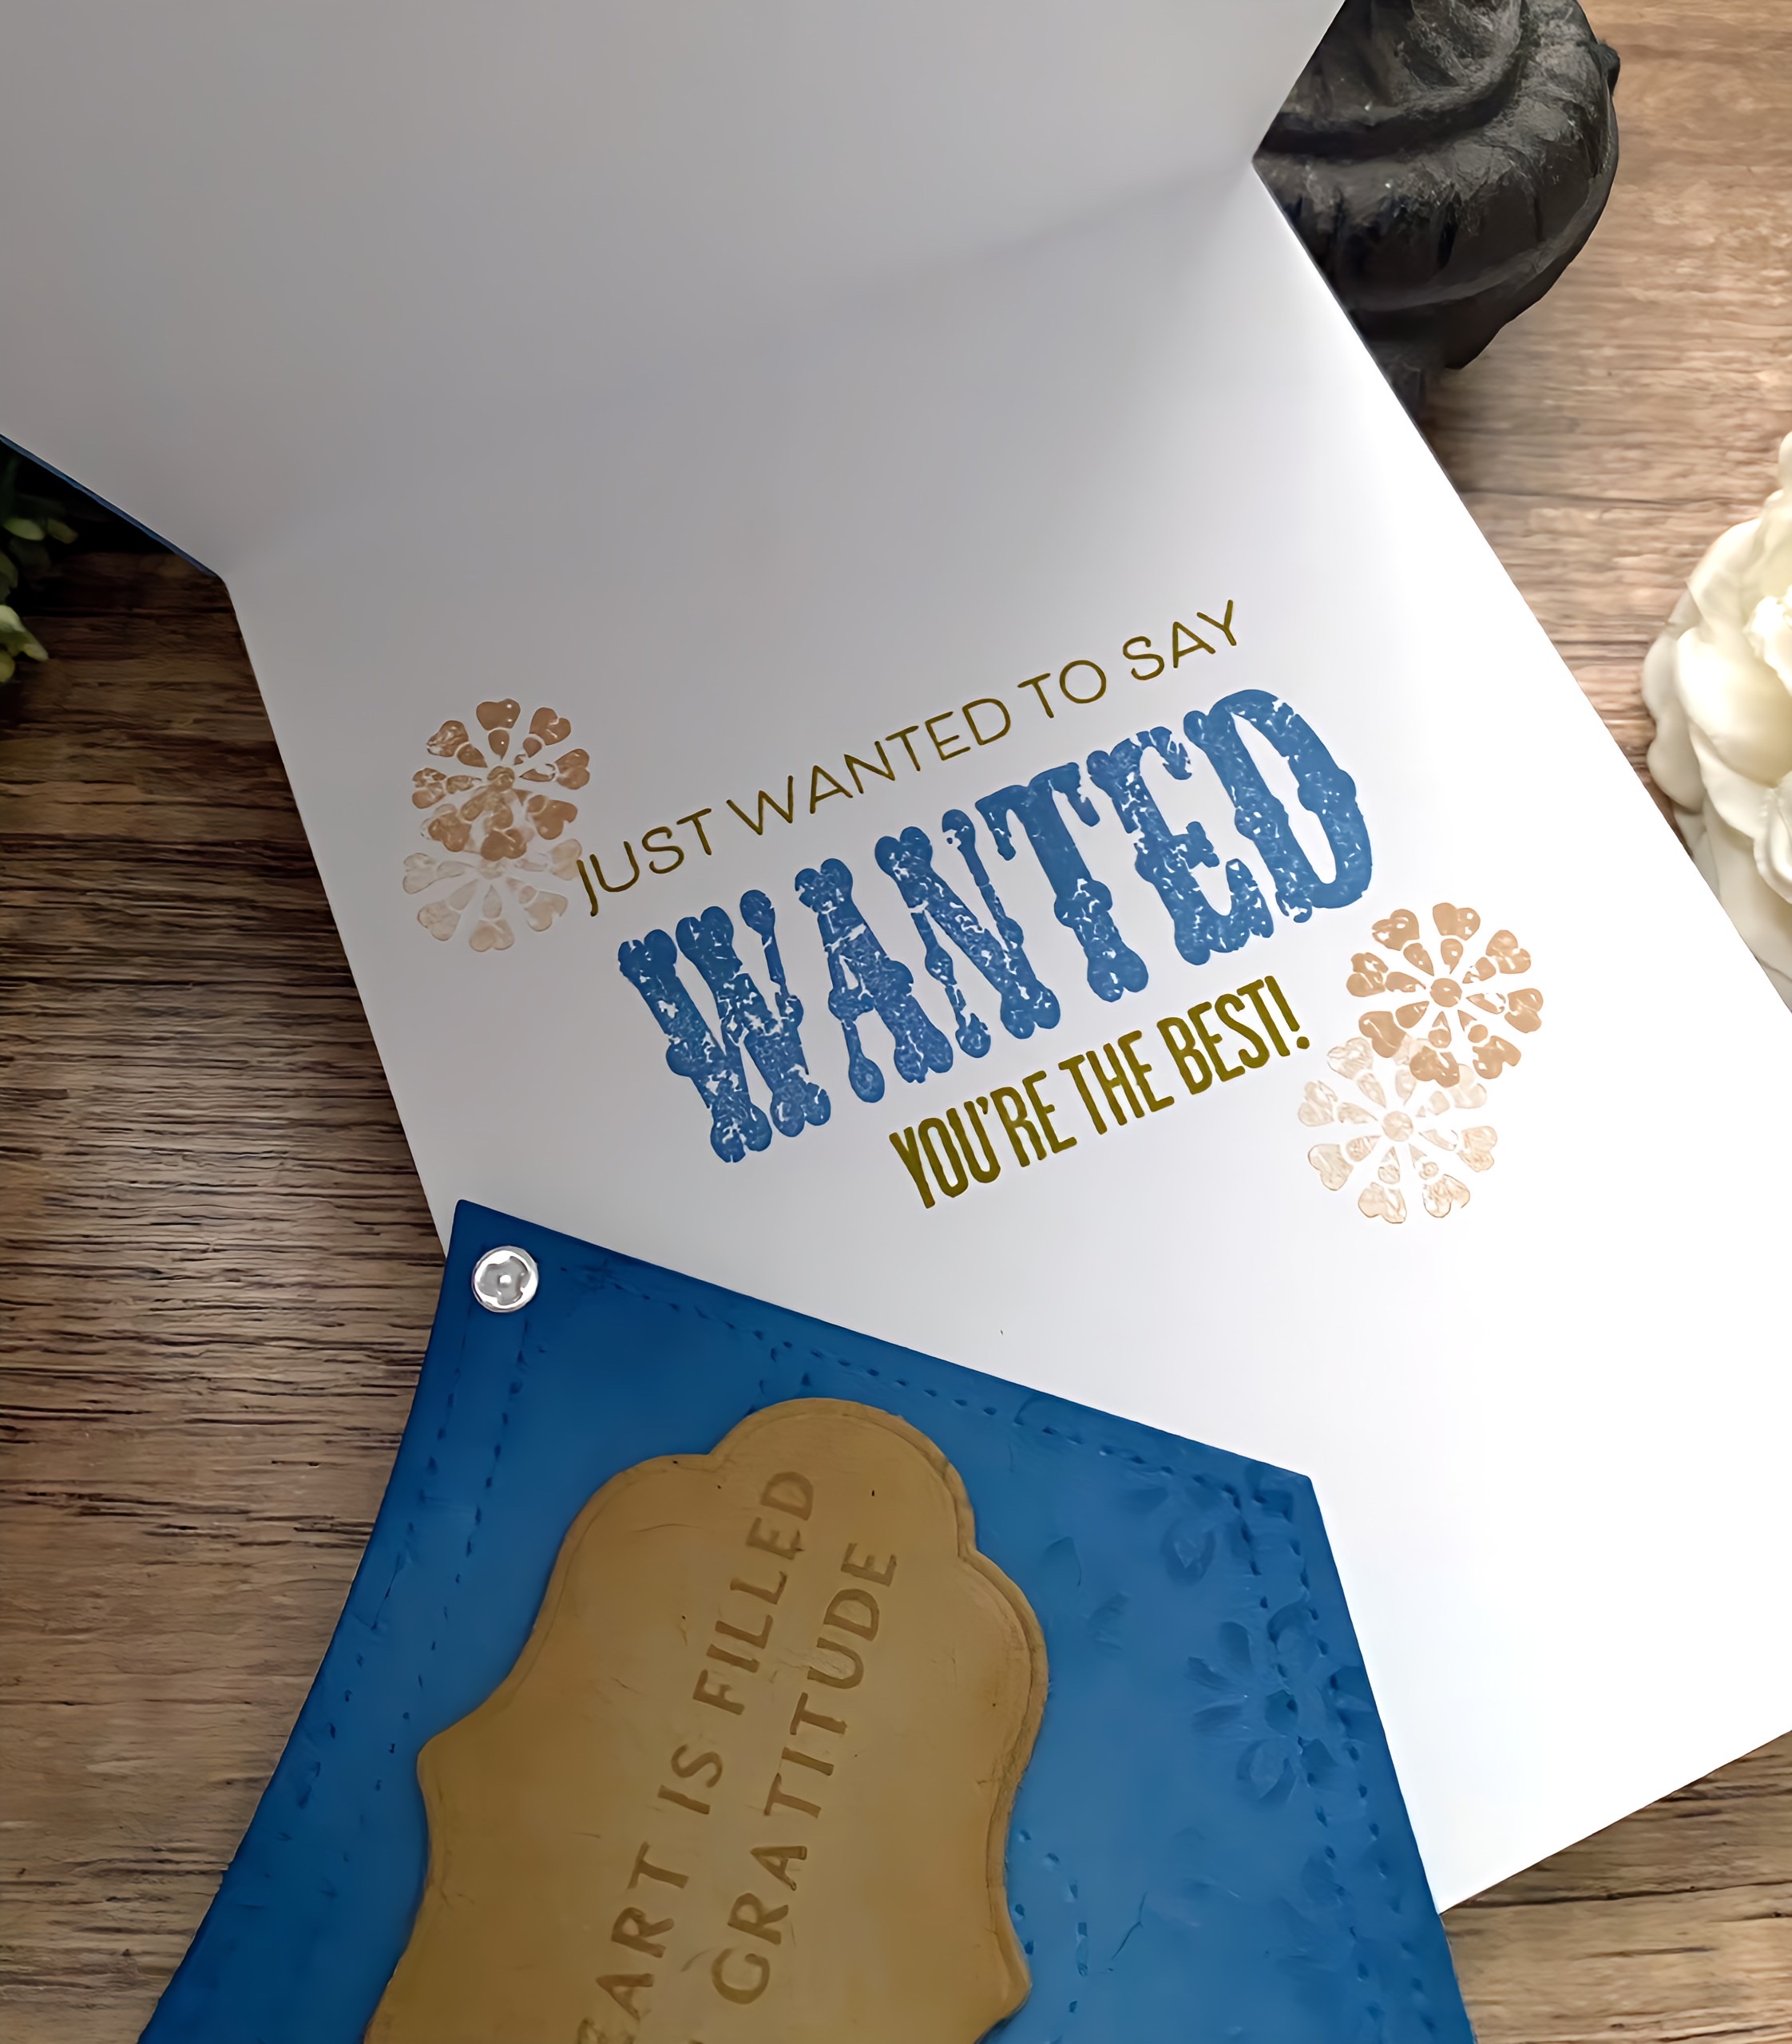
It's Teacher Appreciation Week and this year my son's school went with a country-western theme. I have EXTREMELY limited supplies in that category, but I got creative for today's card and tag! 

I own THIS die, but I didn't want the stitching lines along the edges so I bought a cheap die on Amazon to do the trick! I die cut it from Blueberry Sky cardstock and then added some Blueberry Sky and Enchanted Evening ink around the edges using a blender brush. The silver "rivets" are included in the die and I cut them from silver cardstock and adhered them with liquid glue. 

I pulled out a few of my favorite flowers and leaf dies that had a country feel. For the flowers, I used the Into the Blooms Die; this is the original set in the series so it was fun to pull it out again! The wheat and one of the leaf sprigs comes from the Beautiful Cornucopia Die and then the leaves around the flower coming out of the pocket is from the Into the Blooms: Sunflowers Die


I cut everything from white cardstock and then used my PTI dye inks to color everything with blender brushes. I glued the flowers together with both liquid glue and foam squares for dimension. The "jeans label" was cut using the Just Tags Die from Kraft cardstock and then I stamped the sentiment, which is from the Just Sentiments: To & From Essentials Mini Stamp Set, using Classic Kraft ink. I wanted it to look as realistic as possible and I think it turned out great!

For the background, I used the Woodblock Prints Stencil Collection; Blueberry Sky cardstock cut to an A2 panel and then used Blueberry Sky ink and Enchanted Evening ink around the edges. The panel the pocket is adhered to was cut using the Love to Layer: Torn Edges Die from white cardstock. I added Classic Kraft ink around the edges and then added the smaller print around the bottom using one of the other stencils included in the Woodblock Prints Stencil (linked above).

I added the pocket using foam squares and then attached the flowers, leaves, and wheat using both liquid glue and foam squares.  I decided to make a coordinating tag using the pocket die to attach to the gift that will be sent along with the card. This particular sentiment is from the Thankful For Fall Sentiments Mini Stamp Set and fits with one of the largest labels from the same Just Tags die set.

I have been saving the old SU! Wanted Stamp Set for YEARS....I think we're actually at decades if I'm being completely honest! Yikes! That being said, I have been saving this set for a project JUST like this! ha ha! I stamped the big WANTED sentiment using Blueberry Sky ink and then used the Just Sentiments: Just Because Mini Stamp Set to finish off the sentiments. I thought about selectively inking the "just wanted to say" portion to omit the wanted, but it seemed like the risk of messing up was too great! ha ha! I stamped a few of the accent images also included in the old Wanted Stamp Set for some additional western flair! My plan is to have something each day of the week, but we'll see if that actually happens, but stay tuned! ha ha! Thanks for fluttering by!