
Welcome to day 2 of the Ink To Paper countdown! Today I'm sharing a card made using the new Celebrating You stamp set. I also have two other projects below, so make sure you scroll down to see those! Before I begin, you'll want to head to the Ink To Paper Blog as well to see some other awesome inspiration!This new set has lots of different balloons, strings, confetti and bows! As much as I wanted to add EVERYTHING onto today's card, I tried to edit my enthusiasm! Ha ha!

To begin this design, I added some Hawaiian Shores ink around the edges of the card to create a soft look. I kept it lighter in the center to provide contrast. The "happy birthday" sentiment, which is included in the Celebrating You stamp set is stamped in black. I like to use a stamp positioning tool to get the image nice and crisp.

I stamped a whole bunch of balloons in different colors and shapes to create some visual interest. I also stamped and die cut different strings, bows, and tassels for some interest as well. I die cut an oval using the Nesting Basics Pierced Oval die cuts and layered that onto the blended panel. I also added the sentiment using foam squares. Once that was done, I simply arranged the balloons and added some confetti using the included circle image. A few sparkling clear sequins finish off this bright birthday design!
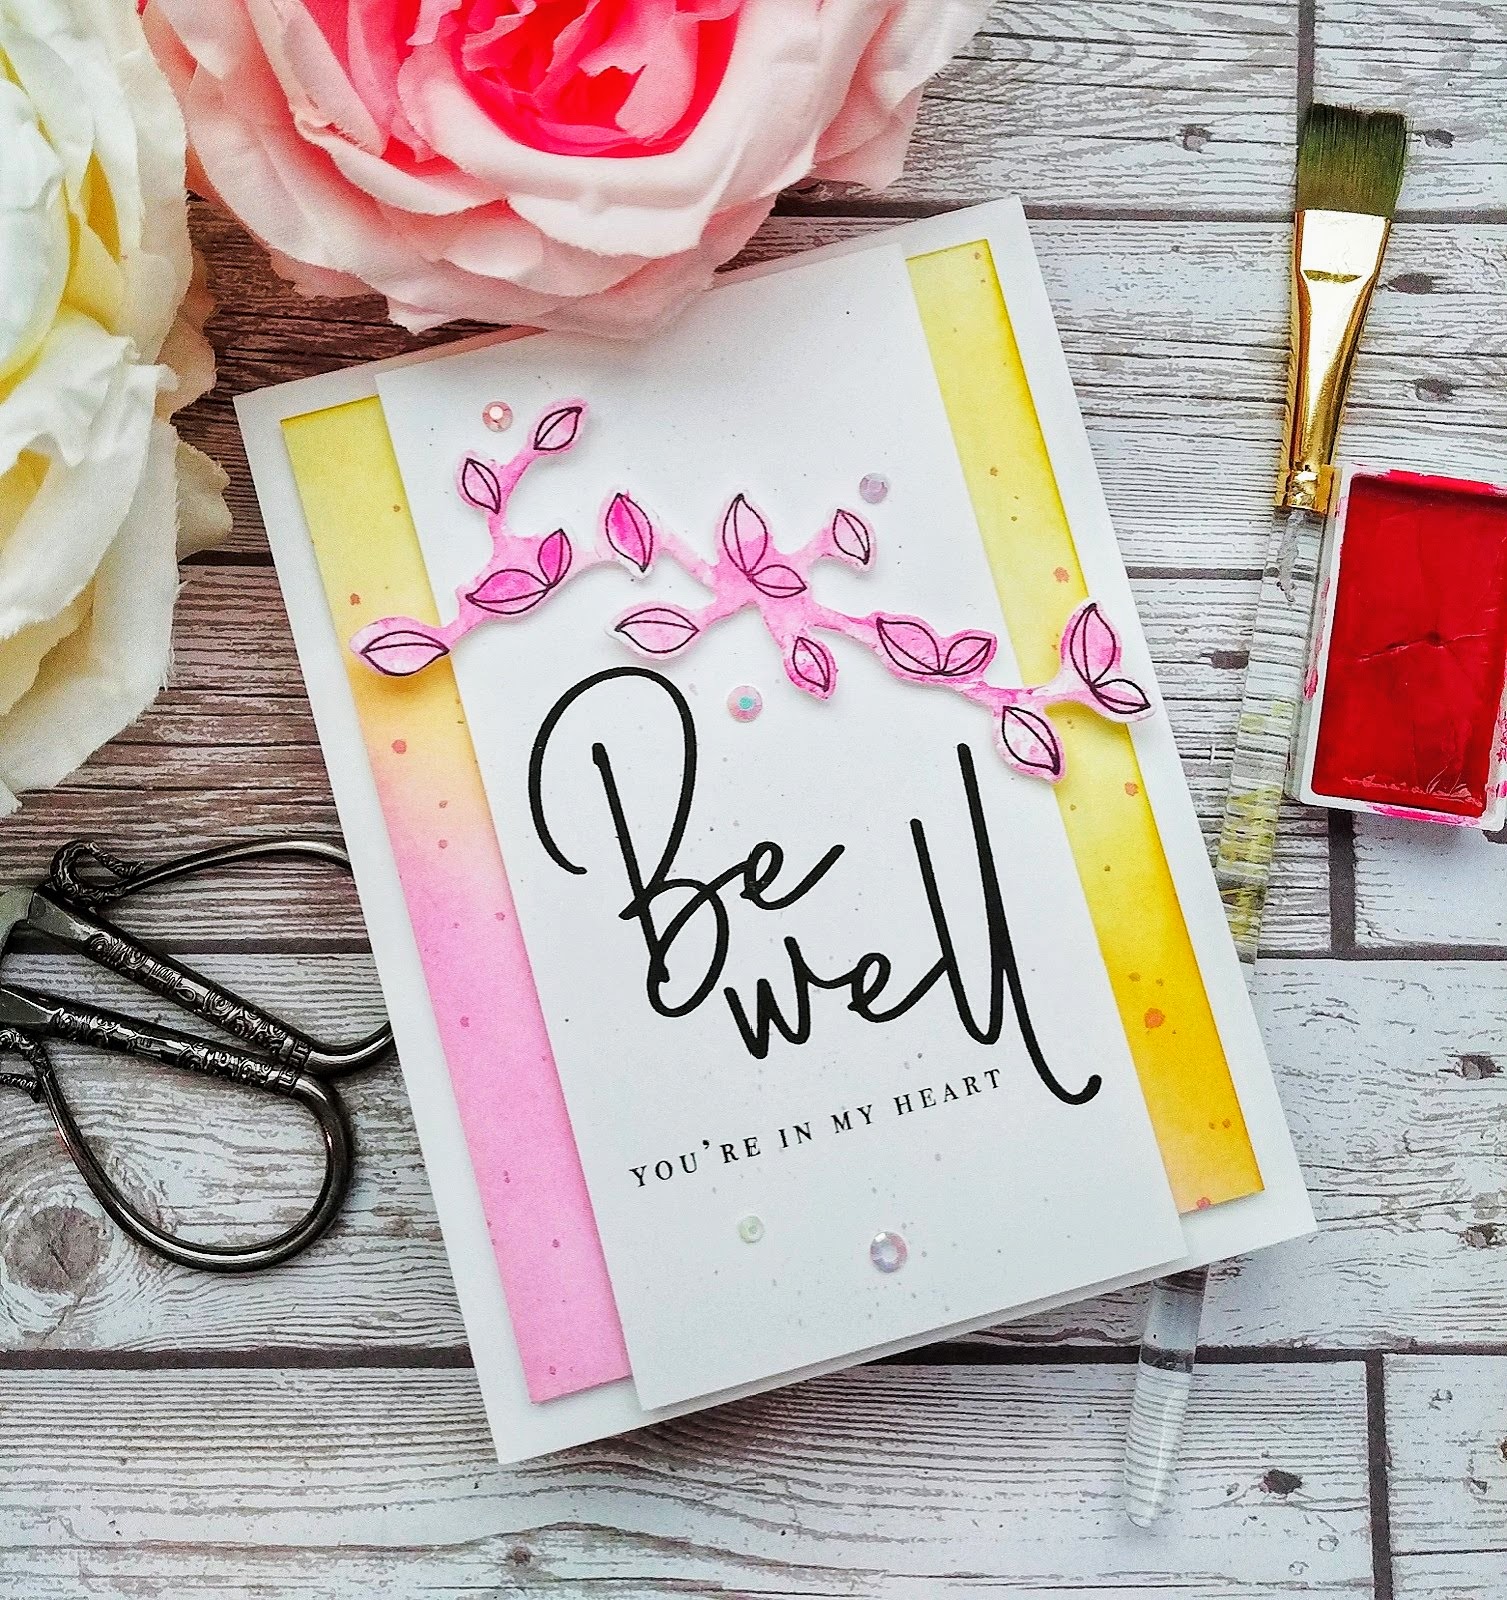
My next project uses the new Frame It Out: Wishes stamp set. Once I finished this card, it reminded me of packaging for a perfume or something! LOL! I didn't think I would like a simple design so much! To begin, I did some ink blending in pink and yellow. I also added some ink splatters in the same pink. I set it aside to dry and got to work on the sentiment panel.

I had accidentally gotten some splatters on this piece of white that was sitting on my desk, but rather than throwing it away, I decided to embrace more splatters and used it as the focal point for the design. I simply stamped the sentiments in black and added it to the blended panel.

I stamped the leaf image in black and then die cut it using the coordinating dies. I did some quick, messy watercoloring and adhered it above the sentiments using foam squares.

You can see how everything is popped up in this picture. I really like adding a lot of dimension when I create CAS designs. I added a few sparkling gems here and there for some sparkle and shine!

My last project of the day uses the new Be Happy stamp set and coordinating dies! These daisies were just begging to be stamped in shades of yellow and red for a "Happy" design! I don't normally create in these colors so it was fun to stretch myself!

I got to work stamping lots of daisies in different yellows and the red. I also stamped the pot in a few different shades to get a realistic looking terracotta pot. Once I had everything stamped, I die cut them using the coordinating Be Happy dies. I also added some tiny black dots to the center of the flowers using a black marker.

I stamped all of the sentiments in black and then die cut the word "happy" using the included dies. I glued those directly onto the stamped portion using a 2 Way glue pen. Once that was done, I added some Crystal Glaze over the top. I used a piece of Bitty Big: Green Parakeet pattern paper as the background for today's design. I thought it made the flowers pop and reminded me of something from my childhood!

I hope you've enjoyed today's projects! I'll be back tomorrow for Day 3 of the release, so stay tuned! Thanks for fluttering by!
1 comment:
Beautiful cards!
Post a Comment