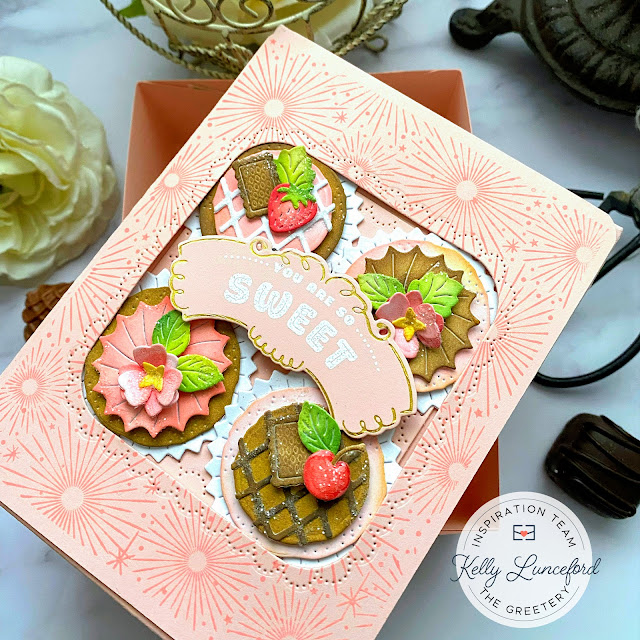
Hello friends! I’m so excited to be here today sharing a fun
project with you using fabulous products from the new Hip Hip Hooray release from The Greetery! I’m
particularly smitten with the Hey Cupcake Die Collection and I couldn’t wait to
“bake” up a few more, so I decided to use them for today’s project! It’s no
secret that I love making paper packaging of all kinds, but I always come back
to this particular box because it’s so easy to make and so fun to gift! This
idea works just as well for a card, too!
I know I went on and on about patterned cupcake liners the
other day, but for today’s project, I opted for plain white! Once again, I was
really going for cohesive and uncluttered! I used liquid glue to adhere the
cupcakes to the top of the box and then added the stamped and die cut panel
over the top using foam squares.
I can’t wait to fill this box up with goodies and things to
give for a special birthday! This box is also perfect for holding cards, so you
could make a set of birthday/cupcake/cake cards to go inside if you wanted! I
have been making this box style for over 20 years and the ways to use it are
endless! I had so much fun working on this project and I hope you have just as
much fun as your orders start arriving! Creating gives me such joy and I hope
you find the same joy as you find time to use these gorgeous new products! Thanks for fluttering by!


I remembered today’s date when you mentioned it in your last cupcake post. Lol. I love your beautiful project, super yummy! Thank you once again for sharing your box dimensions! 😎🍒
ReplyDeleteThis will be SO SWEET for someone to open! If I received it, I would want it displayed! SO SWEET! And THANK YOU, Kelly, for sharing your box measurements! I took note of it! ;) A SUPER JOB!!! ;)<3
ReplyDeleteGeesh! This is another LOVELY card! So pretty!
ReplyDelete